When you click on links to various merchants on this site and make a purchase, this can result in this site earning a commission. Affiliate programs and affiliations include, but are not limited to, the eBay Partner Network.
Stock XJ Cherokee Tech. All XJ Non-modified/stock questions go hereXJ (84-01)
All OEM related XJ specific tech. Examples, no start, general maintenance or anything that's stock.
Hi all! New here, and starting off rebuilding the carb on my '86 Cherokee Pioneer. Figured if someone else tries this it'll be one more resource for them to use. This is my first carburetor rebuild, so if anyone has tips, tricks etc pls chime in!
Some backstory: The car is a 1986 Jeep Cherokee Pioneer named Daisy. Bought it last August in Idaho, and it has since done almost 15,000 miles since, spending the Winter in Northern New Hampshire and now down on the Colorado Plateau for the Spring/Summer. Under the hood is a maze of vacuum lines controlling the various aspects of air/fuel delivery, that I have been slowly making sense of. Engine: GM 2.8L V6 Carb: Rochester 2BBL VaraJet 2SE 17085380 (translation of the carb number: 17085 = carb manufacture year 1985, 3 = carb model, 8 = AMC/JEEP application, 0 = automatic transmission)
To start I have used the opportunity to do some general labeling of components for my own reference. Things are numbered according to a general order of disassembly.
PICTURES:
AIR INTAKE COMPONENTS
CARBURETOR CONNECTION COMPONENTS
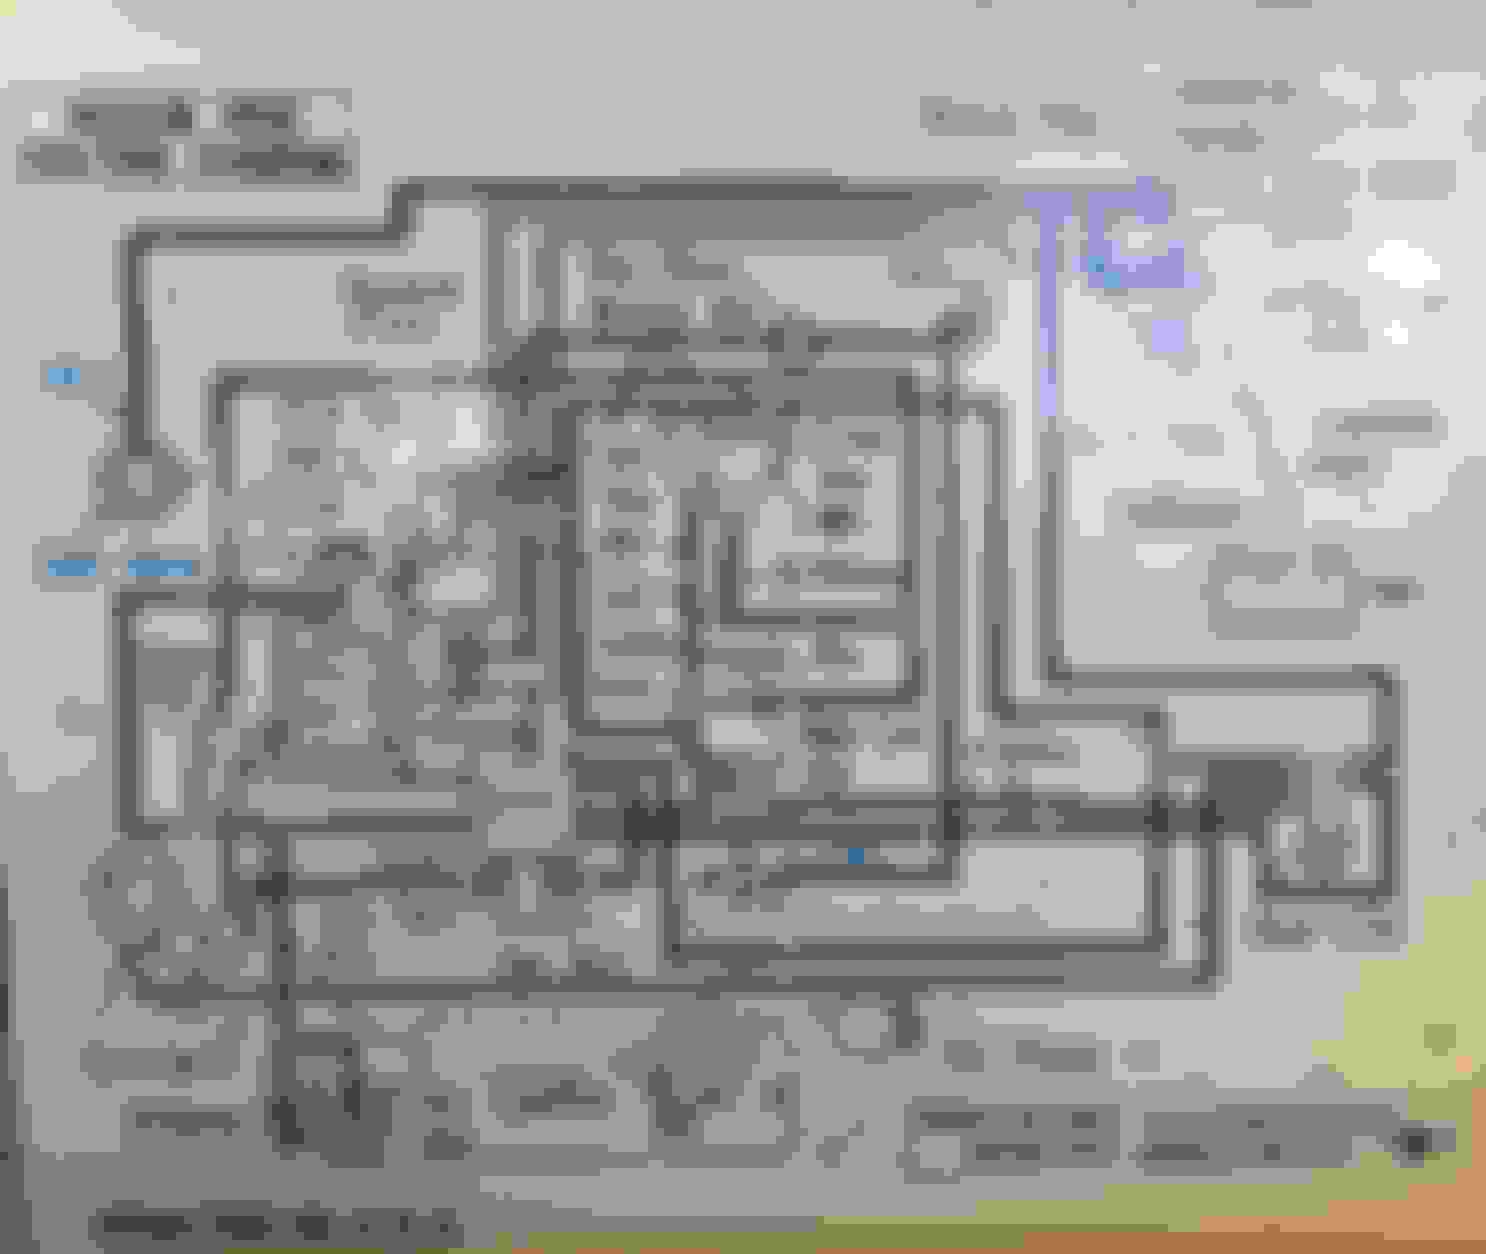
VACUUM DIAGRAM FROM EMISSION CONTROL LABEL:
To begin to make sense of the vacuum hoses, I am starting to realize that there are two main categories or systems: Emission control, venting the crankcase, carb-bowl, exhaust re-circulation, etc. and choke and air flow control, regulating the air/fuel intake into the engine at different temperatures. The two systems are intertwined, but it's been a helpful way for me to start thinking about it.
Thats the start, will post more as I go!
Last edited by Benjamin Getraer; 04-25-2020 at 12:56 AM.
Oh! My! God! A Rochester progressive 2bbl. Those things are about as rare as rooster teeth! I hope you don't ever break it because I have no idea where you'll find another. Actually if you want to eliminate the strangling emission controls, that's a nice place for a Rochester Twinjet. It will need a different manifold, but should perform better. I know, I know, it's a classic! Don't mess with it!
The thing with carbs is you have to keep them clean. I drag raced a 67 Camaro SS 350 with a Quadrojet on it. Ever time it started giving me problems, all I did was take it off and slosh it in a bucket of gasoline and put it back on. It acted like I just rebuilt it! Most carbs have bleed air ports on the outside that get coated with dirt and disturb the metering, especially at part throttle. I made so much money rebuilding carbs for guys that I should have gone into business. I had such a reputation that my company CEO asked me to do his Pontiac Bonneville! I never cared for Holleys 'cause they leak. Rochesters and Carters were my favorites.
No, I don't want any part of yours. It's way too complicated for me to mess with and I've been away from them too long. The carb? No problem, but the controls are a nightmare!
Oh! My! God! A Rochester progressive 2bbl. Those things are about as rare as rooster teeth! I hope you don't ever break it because I have no idea where you'll find another. Actually if you want to eliminate the strangling emission controls, that's a nice place for a Rochester Twinjet. It will need a different manifold, but should perform better. I know, I know, it's a classic! Don't mess with it!
It is a classic!! Haha, yeah I am gonna try to keep this stock, will replace/upgrade components as they fail.
So to start with, I had some adventures getting the carb off the vehicle. The basic order of operations is this:
1) remove the fuel line fitting from the fuel filter nut.
2) disconnect the throttle cable and the kick down cable from the carb.
3) remove the bolts connecting the carb to the intake manifold.
My fuel line fitting was STUCK in the fuel filter nut so badly, it didn't come apart until I had the thing in a vise... I ended up having to cut the fuel line to get the carb out, but made sure I had a few options for replacing it first - to be seen when I get to reassembly. Basically, you hold the filter nut while loosening the fitting. The fitting has soft threads though, and if it has not been removed for 30 years, or was overtightened, or someone put thread lock in it, or all 3, it can be VERY hard to get off.
Here is a cool look at how that assembly fits together though:
After getting my fuel line free, the throttle cable was easy enough to remove, but had to remove a bunch of the choke linkage in order to easily get the kickdown cable off. YourMechanic.com had better pictures of how the cable comes off, mine is much harder to reach.
The actual nuts holding the carb to the intake were very tricky to access - good luck getting a ratchet in there. I ended up slipping the 1/2" socket on one of them, then slipping on a bit that fit the socket connection on top, and then using a small line wrench in to loosen them. They were snug but not stuck, and I got them off.
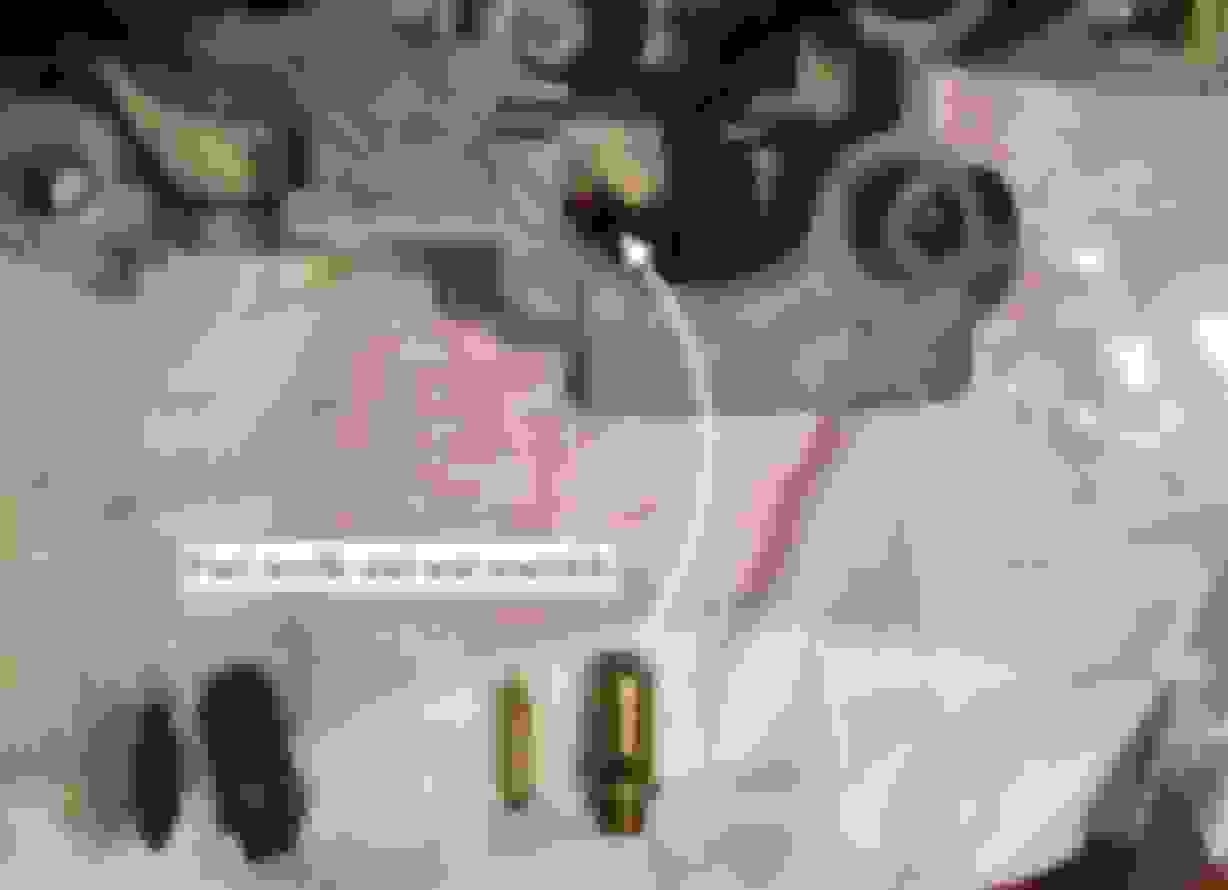
^ Note that the fuel line was still partly connected, bc the fitting was so stuck. Here is a comparison of the old fuel filter to the new one:
That fuel filter is what we used to call a "stone filter" because all it filters out is small stones! An inline filter added before the fuel pump works the best at providing clean fuel, however mount it in a place where it's protected from exhaust heat. If you see a reddish brown deposit in the bottom of the float bowl, that's rust from inside the tank that got thru the filter. That's IF you've got a steel tank.
This may not pertain to you, but Rochester carbs had a reputation for having small volume float bowls that don't support WOT long enough to complete a 1/4 mile drag race. The engine tends to starve 1/2 way thru 2nd gear! An electric booster pump back at the tank fixes that. Of course they weren't designed for that anyway. The Q-jet was the worst in that respect.
Sorry if some of the stuff I talk about seems trivial, but most people have had no real experience with carburetors, except the Edlebrock, which is a remanufactured Carter AFB used on classic hotrods.
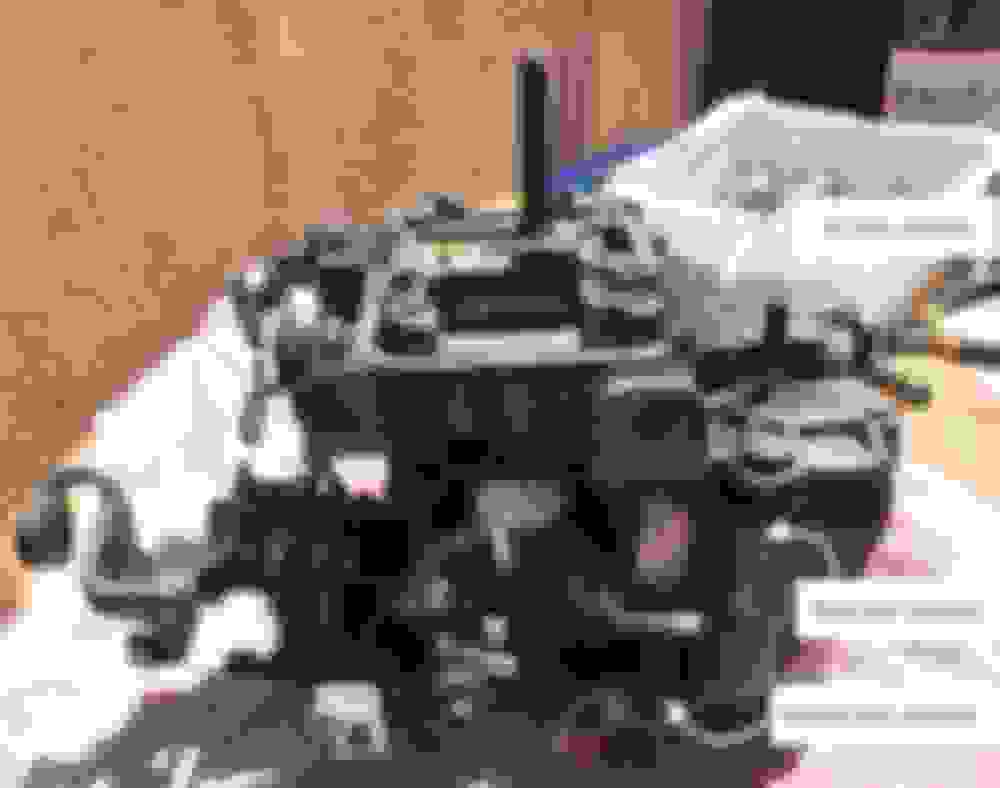
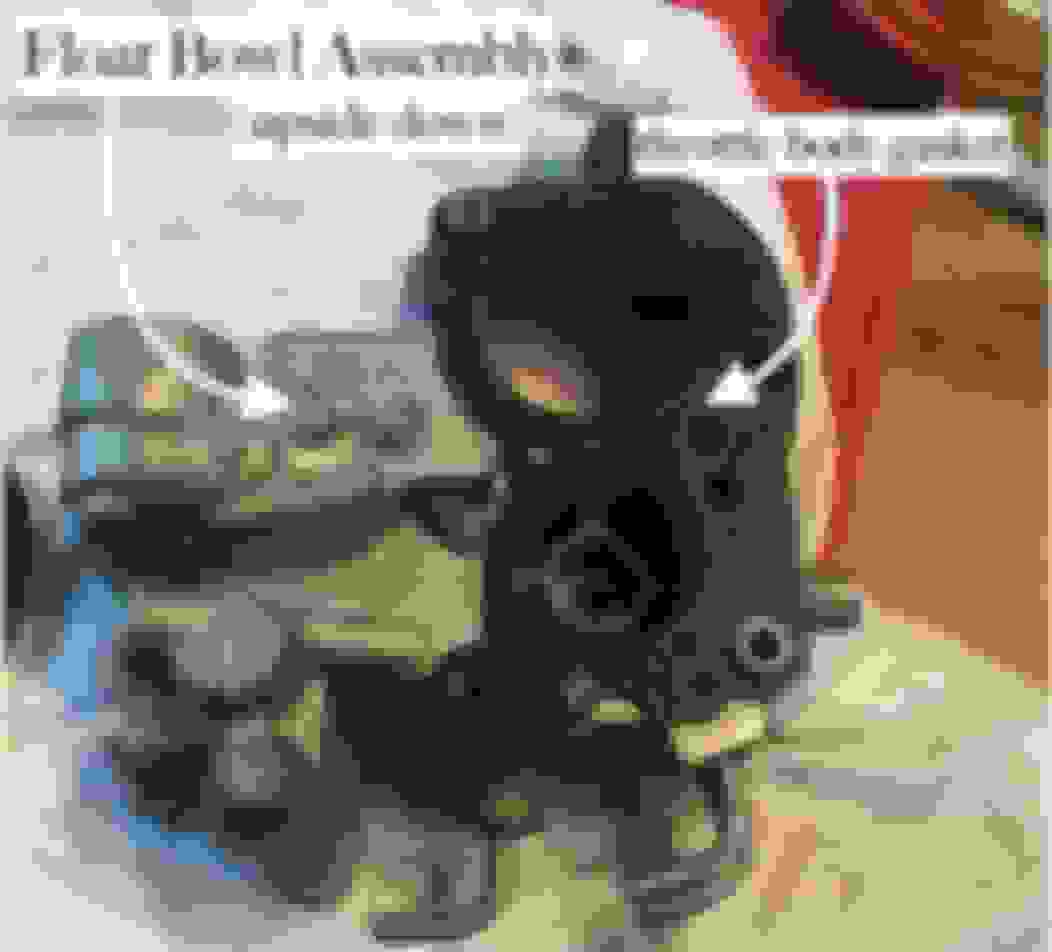
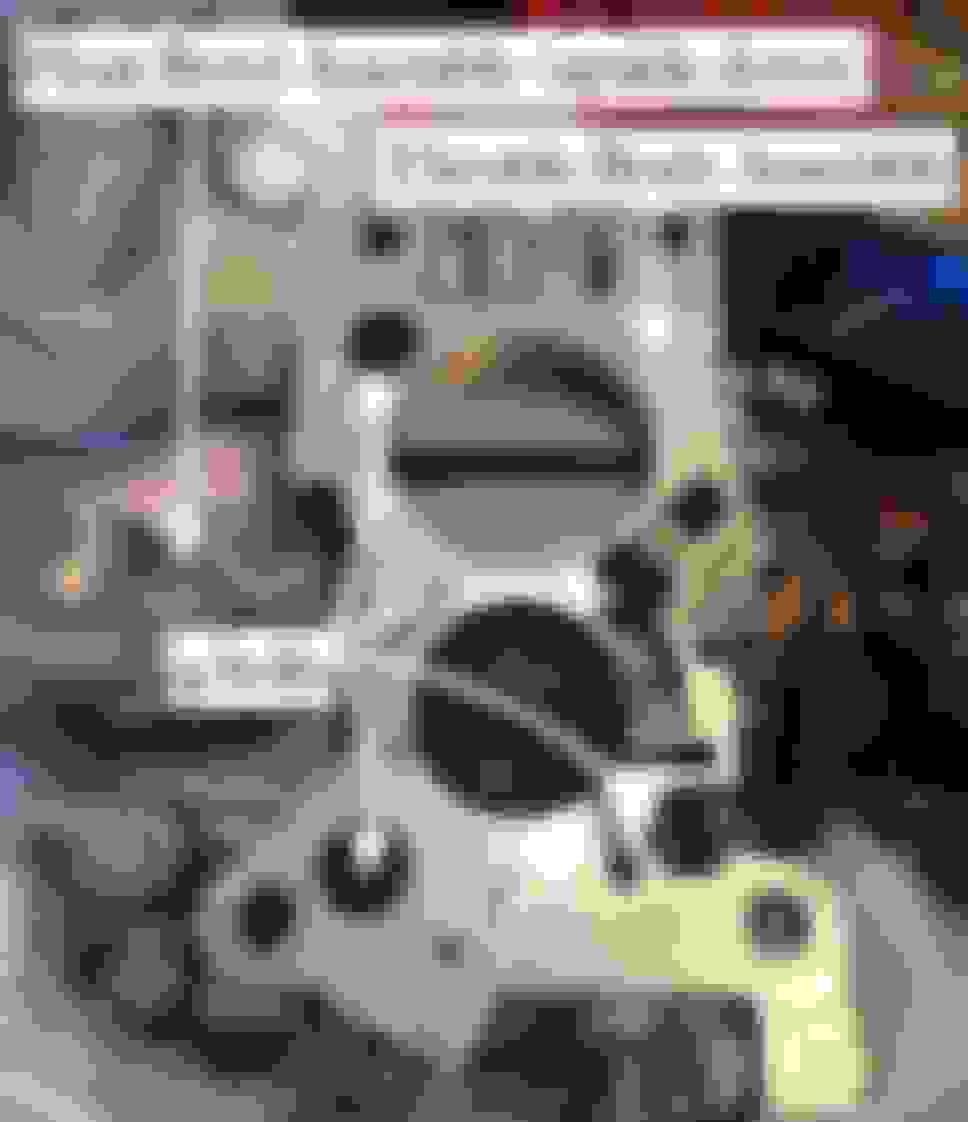
Started today with taking apart the carb bit by bit. There are three main components which are stacked vertically: the air-horn, the float bowl, and the throttle body. The air horn assembly is bolted on top of the fuel bowl and various pumps and jets, and hold the choke and secondary air valves. The float bowl assembly contains the fuel bowl and float, as well as the pump, jets, and venturi. The throttle body assemble is bolted onto the float bowl from the bottom, and contains the throttle valves and some fuel and vacuum passageways, including the "mixture screw." Here you can see all three of them sitting on top of each other:
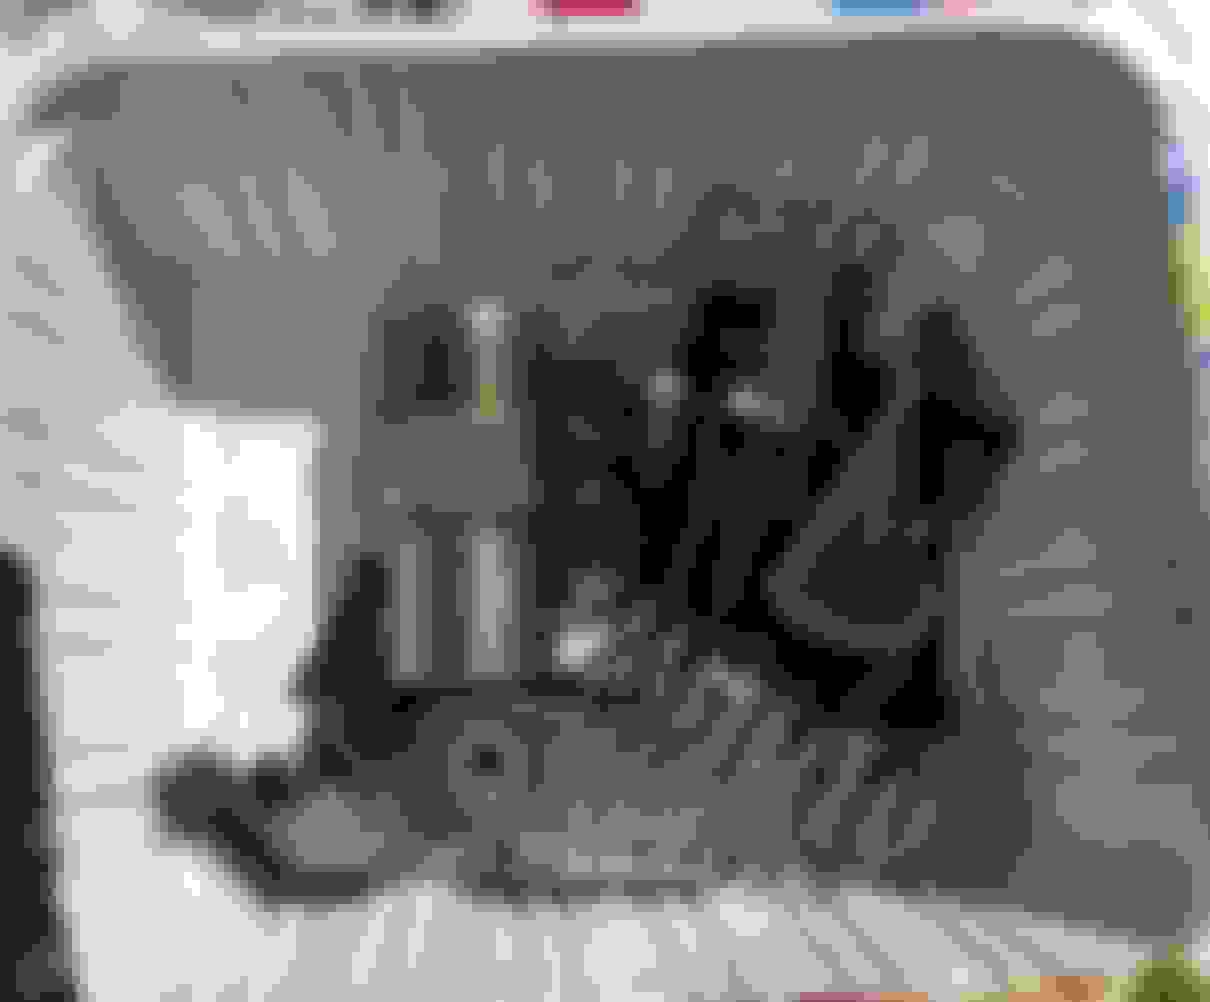
Next I started cleaning off as much dirt, grime, gunk etc. and taking apart removable pieces in order to give it a thorough clean.
If you see a reddish brown deposit in the bottom of the float bowl, that's rust from inside the tank that got thru the filter.
Here you can see the bottom of the fuel bowl, with all of the reddish gunk haha! Yeah, an inline fuel filter would be pretty easy and cheap to install. Maybe a next project!
Here you can see the vacuum controlled power piston, which operates the main metering jet. The power piston was removed by pushing it down and letting it snap back up until it pushed out of its hole.
All the metal gets soaked. The smaller pieces for about 1/2 hour, followed by some hand cleaning, the larger pieces for several hours.
All of the small machine screws and moving choke links got soaked in a little bit of lubricating oil, then wiped down. Internal pieces got wiped dry or spot cleaned with a little gasoline.
Started today with taking apart the carb bit by bit. There are three main components which are stacked vertically: the air-horn, the float bowl, and the throttle body. The air horn assembly is bolted on top of the fuel bowl and various pumps and jets, and hold the choke and secondary air valves. The float bowl assembly contains the fuel bowl and float, as well as the pump, jets, and venturi. The throttle body assemble is bolted onto the float bowl from the bottom, and contains the throttle valves and some fuel and vacuum passageways, including the "mixture screw." Here you can see all three of them sitting on top of each other:
Next I started cleaning off as much dirt, grime, gunk etc. and taking apart removable pieces in order to give it a thorough clean.
If you see a reddish brown deposit in the bottom of the float bowl, that's rust from inside the tank that got thru the filter.
Here you can see the bottom of the fuel bowl, with all of the reddish gunk haha! Yeah, an inline fuel filter would be pretty easy and cheap to install. Maybe a next project!
Here you can see the vacuum controlled power piston, which operates the main metering jet. The power piston was removed by pushing it down and letting it snap back up until it pushed out of its hole.
All the metal gets soaked. The smaller pieces for about 1/2 hour, followed by some hand cleaning, the larger pieces for several hours.
All of the small machine screws and moving choke links got soaked in a little bit of lubricating oil, then wiped down. Internal pieces got wiped dry or spot cleaned with a little gasoline.
So the last couple days have been spent disassembling and cleaning the carburetor. Taking everything apart involves keeping track of a lot of small parts, but the main structure is fairly simple.
There are 3 large structural components that house everything else. On top is the air horn assembly, which holds the choke and secondary air valves and covers the fuel bowl. The air horn is bolted into the float bowl assembly from the top, which contains the main fuel wells, jets, pumps, and venturi. At the base is the throttle body assembly with interfaces with the engine intake and contains the throttle valves and the fuel mixture adjustment, and bolts into the float bowl assembly from the bottom.
As I took everything apart I got off as much dirt and gunk as I could first, and separated out small parts that could be removed to allow for more thorough cleaning.
The power piston rod is vacuum controlled and operates the main metering rod. Mine was stuck in pretty good, but I was able to get it out by pushing the piston rod down and letting it snap back against its retaining bushing.
If you see a reddish brown deposit in the bottom of the float bowl, that's rust from inside the tank that got thru the filter.
Yup, there it is as predicted! Hopefully the new filter improves things, but an additional inline filter would be pretty cheap and simple to install, so maybe a good future project!
After seperating out rubber and plastic parts, everything gets dunked in the carb cleaner. Larger components get several hours. The smaller pieces get 1/2 hour and then cleaned by hand. The machine screws and external parts got oiled, while internal pieces got spot cleaned with gasoline.
After cleaning all the parts thoroughly, reassembly begins.
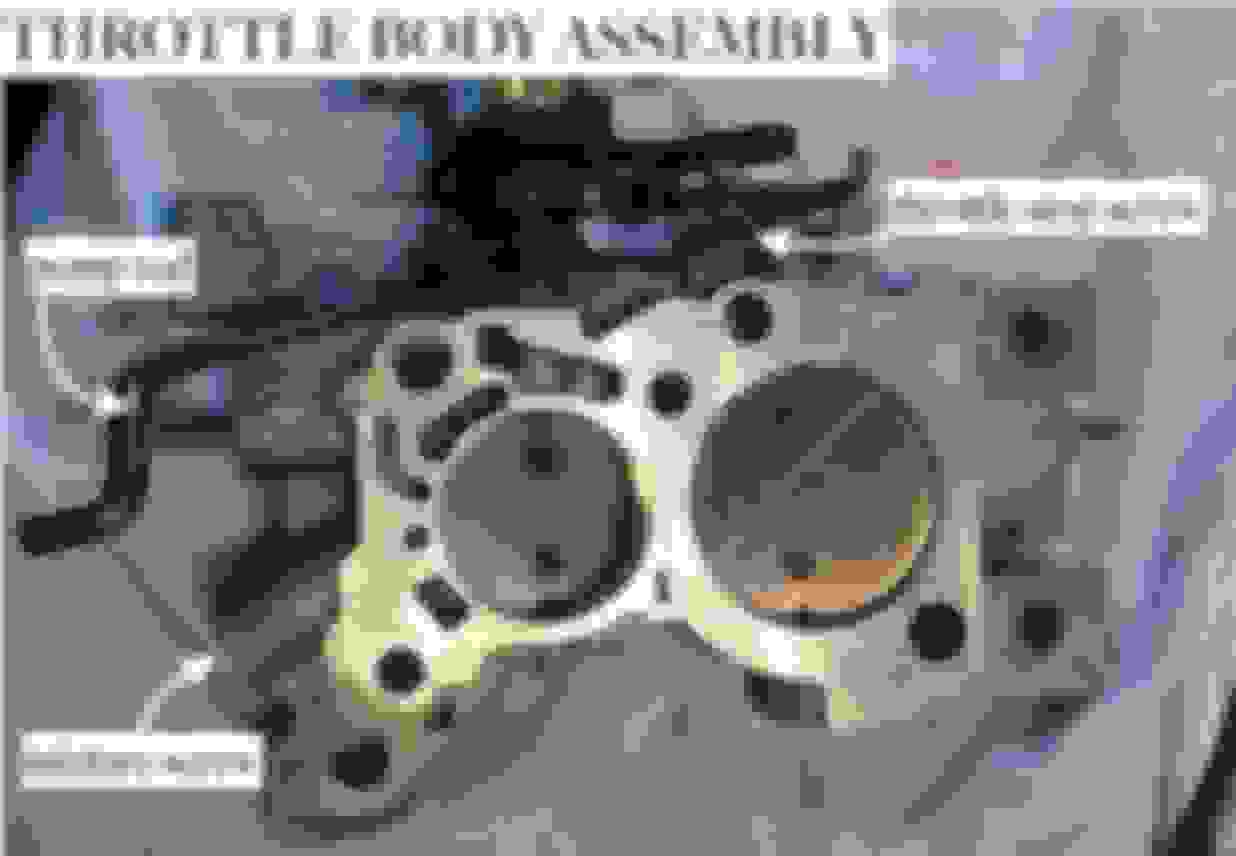
Starting with the throttle body, the pump rod, throttle stop screw, and mixture screw are installed. The pump rod connects the throttle lever to the accelerator pump lever to give a squirt of gasoline above the throttle valve when accelerator is pressed. The throttle stop screw inserts into the bottom of its hole to stop an arm attached to the throttle lever mechanism. When the engine is hot and the choke has opened to allow the fast idle screw to move off of the fast idle cam, the throttle stop screw keeps the throttle valve partly open. The mixture screw inserts into the lower part of the throttle body, between the idle fuel well and its outlet hole just below the throttle valve. At operating temperature, the throttle stop screw sets the idle airflow while the mixture screw controls the amount of fuel being sucked into the airflow. These will be adjusted after the carb is reinstalled, but right now the throttle stop is tightened until it is slightly protruding, and the mixture screw is fully seated and then back off a few turns.
The throttle body is then bolted to the bottom of the float bowl with a new gasket.
Last edited by Benjamin Getraer; 04-28-2020 at 12:52 PM.
Next, the choke coil housing gets installed onto the float bowl assembly, along with the choke coil lever and lever screw. These must be adjusted to properly operate the choke once the choke coil is installed. The fuel filter assembly is installed, including the spring, gasket, filter, and nut.
The pump discharge check ball is dropped into its proper hole, along with a new spring and retainer piece.
Next comes the fuel bowl float assembly. First the new seat for the fuel needle is installed, then the float is carefully assembled with the hinge and needle. Note that my float had a spring in place when I removed it and I am putting it back, although it did not appear on the parts list for the rebuild kit. I then adjusted the float arm for proper height.
I installed the power piston and metering rod assembly and replaced it the way it came out.
I then replaced the accelerator pump assembly with new components, but forgot to take a pic of it. It was pretty straightforward though.
Final assembly involved installing and tightening down the air horn assembly, and carefully reconnecting the throttle, choke, and vacuum break linkages.
With that, the rebuild is essentially complete. The final stage is installation, and tuning to get the proper choke, air, and fuel settings.
Benjamin, does your Cherokee still have the electric heater that goes between the carb and the manifold ?
No, it doesn't. I don't know for certain if it never did, or if it was taken off at some point... there are definitely a few electrical connections that are clearly missing (loose wires that I haven't figured out where they are supposed to live). That said, pics of the Varajet heaters I have seen show a different bolt pattern that I don't have.
I see someone before you removed the anti-tamper plug over the idle mixture screw. Good, then you don't have to mess with doing that. You can cut a screwdriver slot in the end of the needle with a Dremel cutoff wheel to make it easier to adjust. Basic idle mixture setting is 1 & 1/2 turns from closed. After it's totally warmed up, you slowly close the screw until the engine begins to stumble, the open it slowly until it stumbles again, counting the turns or parts of turns, then close it 1/2 the difference to center the mixture at best idle. The slower it idles, the more sensitive the needle becomes. Once it's slow enough to almost stall and the idle is smooth, turn the idle speed screw up to recommended idle speed.
After re-installing the carb, I spent some time performing adjustments to get things running as smooth as I can.
There are many different bits of the carb that could be adjusted and fine-tuned, but almost all carburetors have a handful of basic adjustments in common. The choke, the idle speed, and the air/fuel mixture screw. I don't have pictures of adjustments, but the components are all laid out in the photos above.
Choke: for my version of the Varajet 2SE, the electric choke coil is not adjustable. Both the coil housing and the coil lever have pre-set alignments that are not adjustable. The lever arm linkage can be bent if necessary, but I did not mess with it. The preset location worked fine.
Idle speed: This is controlled by the slow, or curb idle speed screw which is referenced in photos above. Once the engine is warmed up to operating temperature, the choke opens up to allow the fast idle screw off of the fast idle cam, at which point idle speed is controlled by the curb idle screw.
Air/fuel mixture: This is controlled by the mixture screw on the throttle body, also referenced in photos above. It controls the air/fuel mixture at idle, but also has a strong affect on acceleration.
Adjustment: There are a bunch of slightly different ways of doing this. I used a tachometer and vacuum gauge to get an exact measure of what was going on. With the idle screw backed out until the engine was much slower than spec, I adjusted the air/fuel mixture until the vacuum was very stable. It maxed out at just over 15 inches Hg for this 35 year old engine, which is on the weaker end. At that point, I raised the idle to the proper specifications as shown on my emissions sticker, 700 +-50 RPM. Once it was in the neighborhood of proper RPM, I very slowly adjusted the air/fuel mixture again. After every slight adjustment I monitored change to vacuum and then did a test acceleration, quickly revving and then releasing the throttle. If there was stumbling or a delayed acceleration of the engine, I backed the mixture screw out slightly to richen the mixture. If the throttle response worsened or did not improve, I moved the mixture screw slightly in to lean out the mixture. Once the response was where I wanted it, I went back and readjusted the idle RPM, going back and forth until I had the best throttle response I could get (on the leaner mixture side), and the correct idle RPM.
And that is that! The engine idles and accelerates MUCH more quietly and evenly, the throttle is more sensitive, and overall driving has a tighter feel if that makes sense. Anyhow, I am pleased with how the rebuild went.
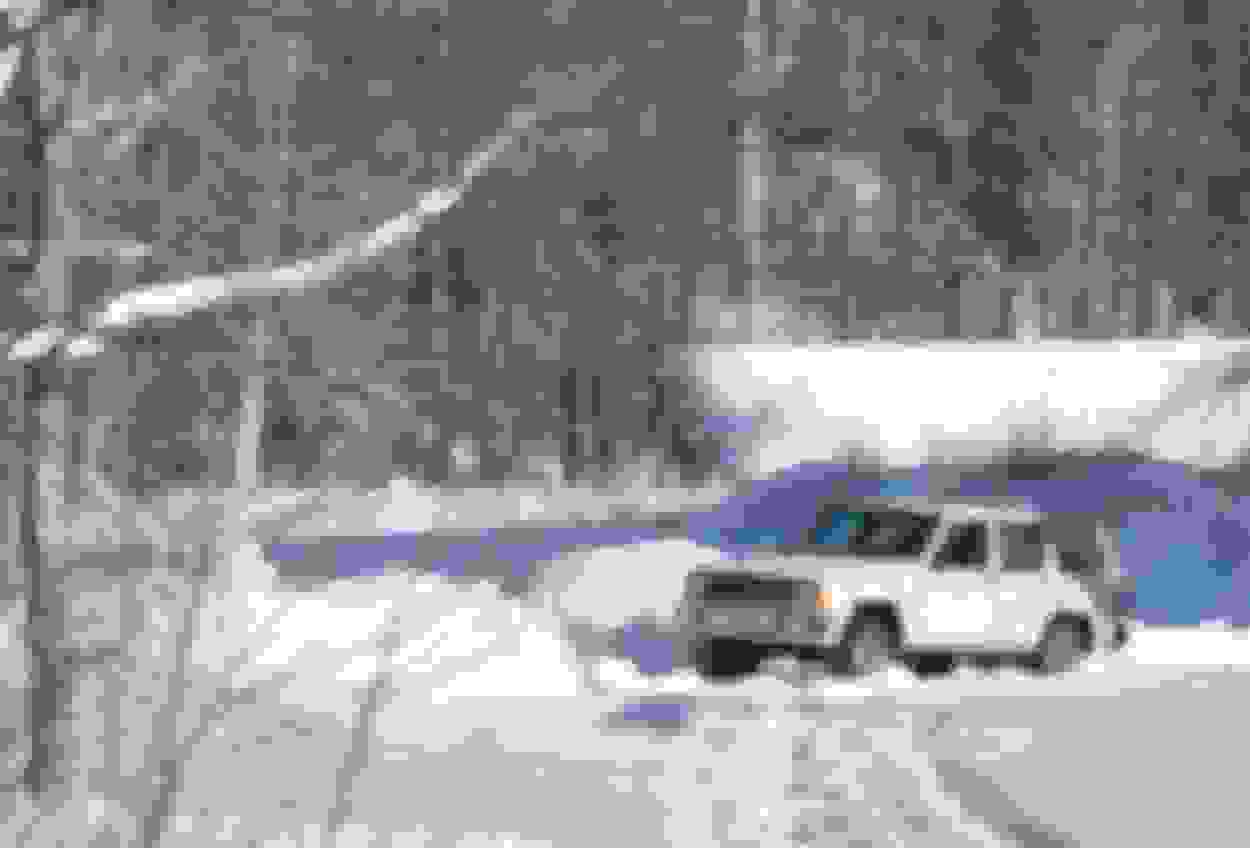
Here is a photo of Daisy from January.
Last edited by Benjamin Getraer; 05-05-2020 at 06:38 PM.

 04-22-2020 | 06:40 PM