When you click on links to various merchants on this site and make a purchase, this can result in this site earning a commission. Affiliate programs and affiliations include, but are not limited to, the eBay Partner Network.
Stock XJ Cherokee Tech. All XJ Non-modified/stock questions go hereXJ (84-01)
All OEM related XJ specific tech. Examples, no start, general maintenance or anything that's stock.
So this is something I’ve yet to do. I’ve got bottom end leaks front and back. Front crank seal, oil pan gasket, oil filter adapter and rear main.
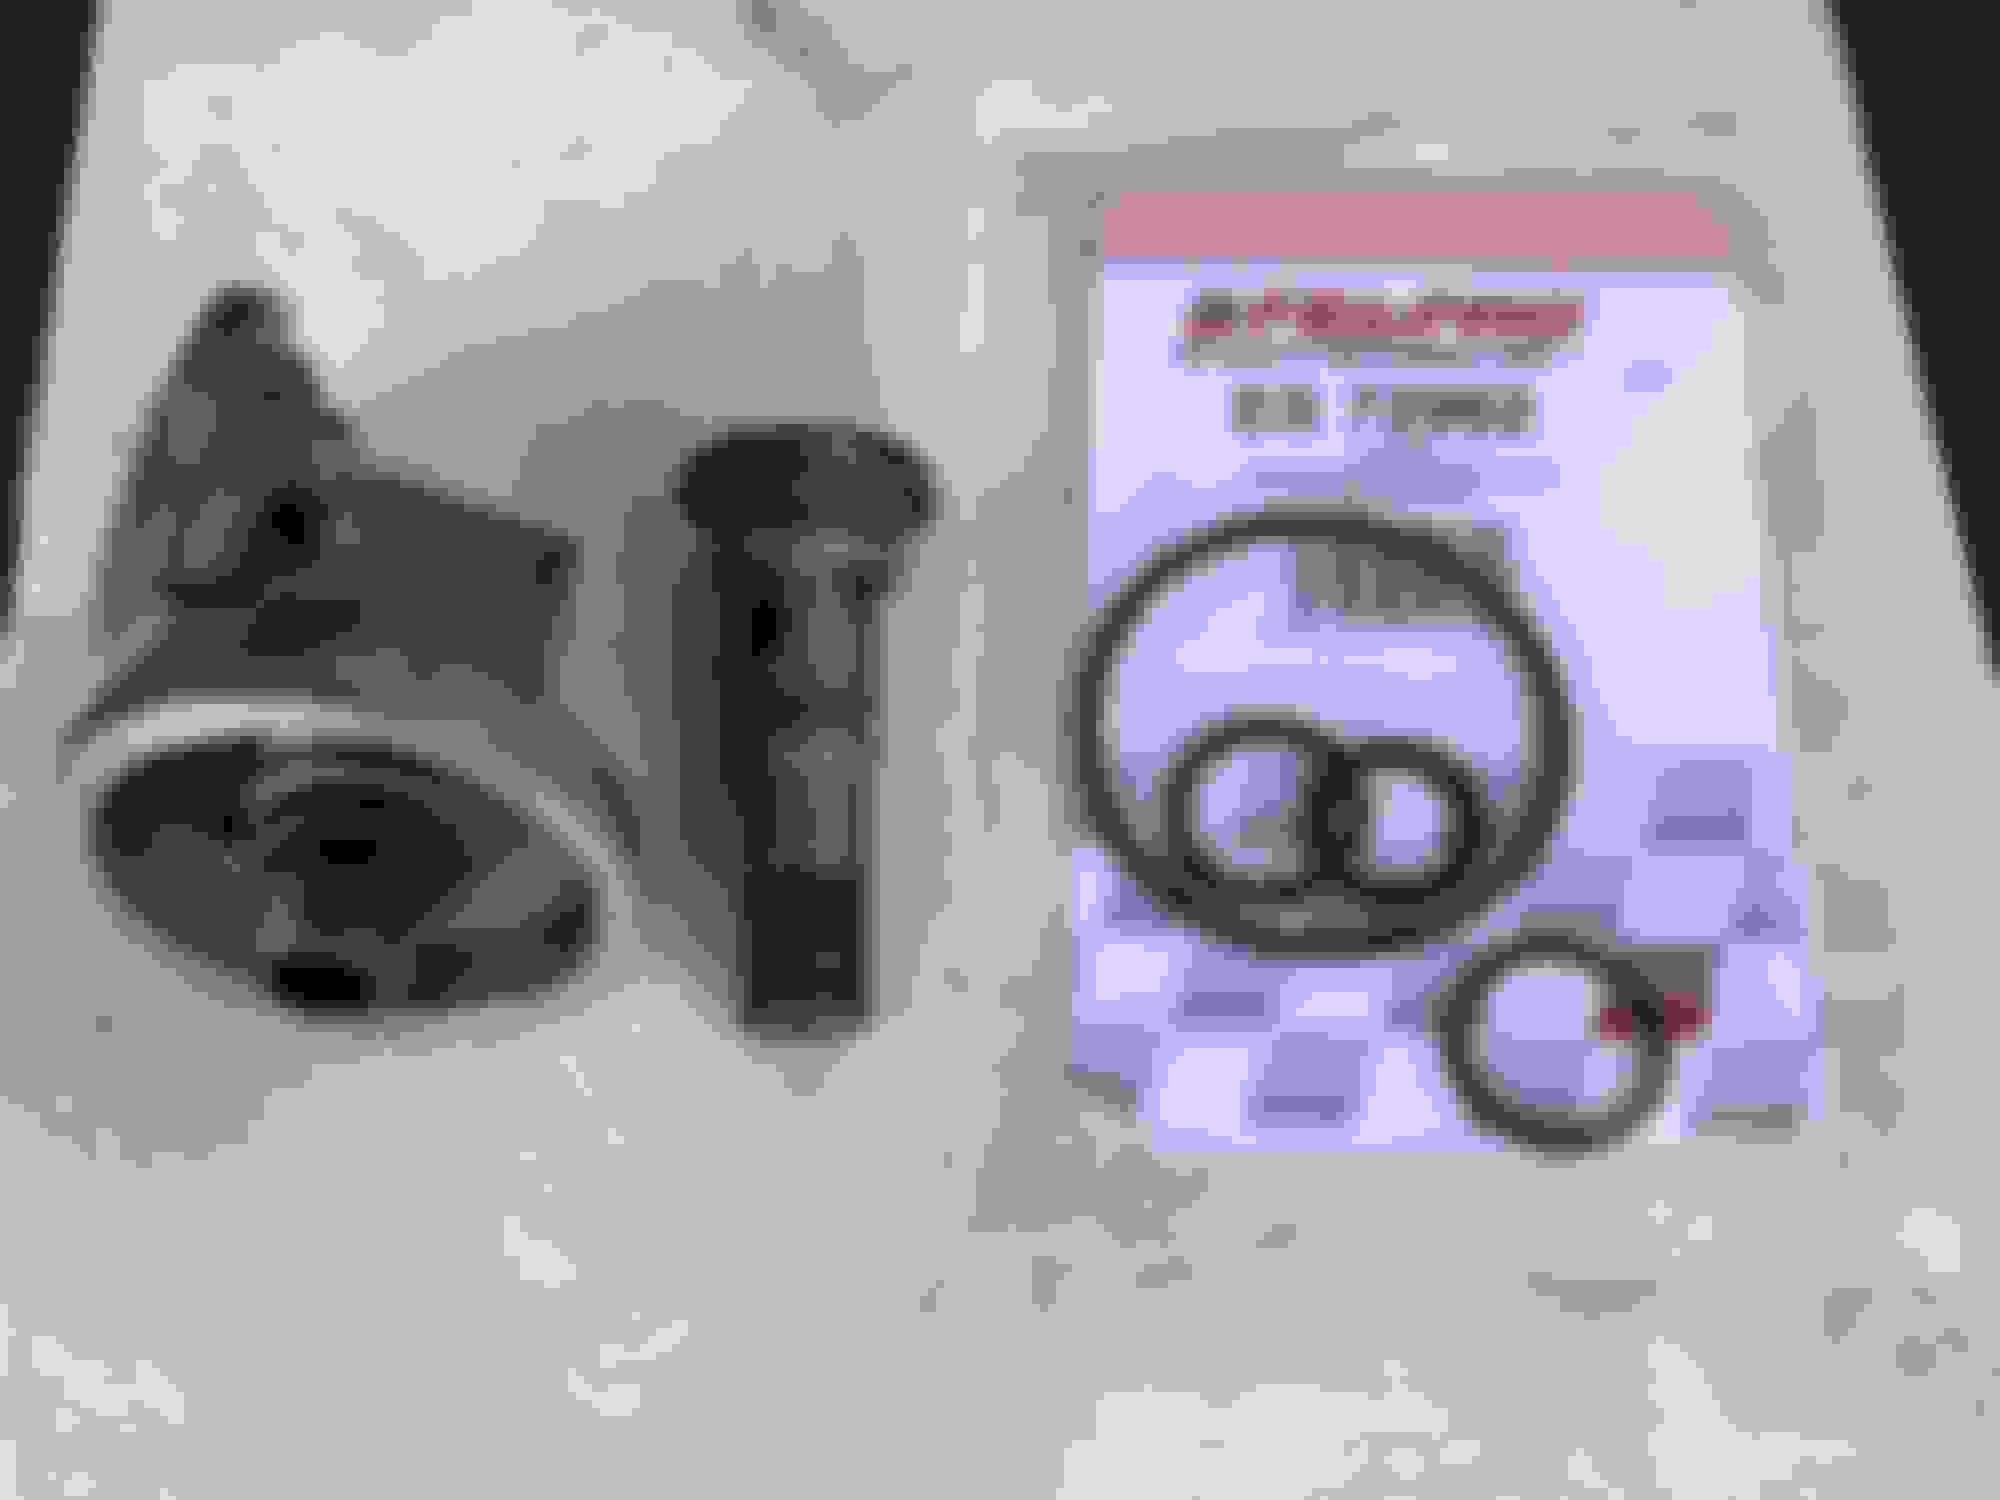
Because I’ll have the balancer off to do the front seal, I’ve decided to go ahead and replace the balancer and the timing cover gasket. This is also do to the Felpro kit I picked up. The kit comes with the timing cover gasket, front seal and two other items I’m not too sure about.
one item is a black rubber strip with holes, I’m assuming this is for the oil pan. (1)I shouldn’t need this for the oil pan as I’m using a full pan gasket correct? (2) Would it be easier to replace the timing cover/gasket first, then the oil pan/gasket? What order would y’all do it in?
The second item is a thin metal ring that I have no idea as to what it is. It hasn’t been covered in any of the homework I’ve done.
Now the drive bolt for the balancer pully looks quite long. Will there be enough space without pulling the radiator to crank this thing? How do you keep the crankshaft from turning?
I think I can pretty much handle the rest but feel free to chime in if you have any pro tips.
Now the drive bolt for the balancer pully looks quite long. Will there be enough space without pulling the radiator to crank this thing? How do you keep the crankshaft from turning?
I think I can pretty much handle the rest but feel free to chime in if you have any pro tips.
its too tight in there to just use a HB puller, however, if you purchase beforehand a bolt about 2" longer with the same thread, it will work fine
if not, I dropped the front bumper..(getting the balancer started back on is the space issue)
its too tight in there to just use a HB puller, however, if you purchase beforehand a bolt about 2" longer with the same thread, it will work fine
if not, I dropped the front bumper..(getting the balancer started back on is the space issue)
X2 on getting a shorter bolt for the puller if the HB puller bolt hits the radiator. Also buy a longer bolt, washer and nut the same thread as the HB bolt. When reinstalling the HB, thread that bolt all the way into the crank and use the nut/washer to push the HB on. Do not use the stock bolt to try and pull it on. It will only engage a few threads at first and you risk ripping those threads out. A little motor oil on the snout of the HB and the threads of the temporary bolt will help it go smoother and avoid ripping the new seal.
I got the oil filter adapter off. Wasn’t that hard. Doesn’t look like there was any locktight in the bolt. 12mm wrench, t60 bit and a 2’ cheater bar got it off no problems. Hardest part was punching the t60 bit out of the 1/2” socket it came with. Slid the closed end of the wrench over it. Secured it with hot glue because the wrench was slipping off. A good push with the cheater bar from the top and it started moving. Took a while to thread the bolt off with just the wrench but w/e.
Popped the bolt out. Cleaned it up and installed the three orings. Time to put it back on and move to the oil pan/rear main.
I know its a pain but taking the front axle out makes getting the oil pan off for the rear main seal alot Easier. And for the oil filter I just got rid of the adapter and Attach the filter right to the block like my TJ is you just have to get a smaller filter because of the motor mount.
I know its a pain but taking the front axle out makes getting the oil pan off for the rear main seal alot Easier. And for the oil filter I just got rid of the adapter and Attach the filter right to the block like my TJ is you just have to get a smaller filter because of the motor mount.
I wont be taking out the front axle to do the oil pan. I already removed the starter because it was caked in grease and needs to be cleaned. I’ll probably get the bolts out then raise the body via the frame rails until the axle droops a bit reach in, pull the pan out then let it back down. Reverse for reinstalling. I don’t have jack stands so I don’t want the Jeep up for a prolonged period of time forget about working under it with just the bottle jacks.
One thing to remember forever. Never put the weight of any vehicle directly on a cement block! They have a nasty habit of crumbling if the weight is concentrated on narrow points. Always use plywood or something to spread the weight out on top of the block.
I’d be looking up ABOVE first, and VERIFYING the source of the oil leak YOURSELF.
Everybody, who doesn’t own or have to pay for or perform your vehicle repairs, loves to poke their noggin UNDER the Jeep and come out bearing the false bad news that your RMS is leaking. Many mechanics, friends, and good old Uncle Bob seem to enjoy telling you it’s the rear main seal. Has a catastrophic ring to it, doesn’t it?
A simple leak at the back of the valve cover or other source could produce the same symptoms. You don’t need to be a mechanic to figure this out. If you have good eyesight and a dim flashlight, you’re good to go on your own. Don’t jump on the RMS/oil pan gasket bandwagon right off the bat.
Almost any oil leak on your 4.0 is gonna drip from the RMS area for two simple reasons:
First off, the engine sits nose-up and any oil will run back to the RMS area.
Secondly, the RMS area is also the lowest point on the engine. Simple physics and the old plumber’s adage apply here: “Crap flows downhill”.
Valve cover gasket, oil pressure sending unit, oil filter adapter seals and distributor gasket, in that order, have to be eliminated as possibilities first. A little tip here. Rather than use a dizzy gasket, use an o ring instead. NAPA #727-2024. Tips 12 and 13 will help you get your distributor back in place correctly.
One thing to remember forever. Never put the weight of any vehicle directly on a cement block! They have a nasty habit of crumbling if the weight is concentrated on narrow points. Always use plywood or something to spread the weight out on top of the block.
I think I’m actually going to do a trick I found here in the forms. Placing jacks between the front axle and body, lift accordingly spreading the two apart, wheels staying on the ground. After looking I may only need to make some clearance on the passenger side.
I’d be looking up ABOVE first, and VERIFYING the source of the oil leak YOURSELF.
Everybody, who doesn’t own or have to pay for or perform your vehicle repairs, loves to poke their noggin UNDER the Jeep and come out bearing the false bad news that your RMS is leaking. Many mechanics, friends, and good old Uncle Bob seem to enjoy telling you it’s the rear main seal. Has a catastrophic ring to it, doesn’t it?
A simple leak at the back of the valve cover or other source could produce the same symptoms. You don’t need to be a mechanic to figure this out. If you have good eyesight and a dim flashlight, you’re good to go on your own. Don’t jump on the RMS/oil pan gasket bandwagon right off the bat.
Almost any oil leak on your 4.0 is gonna drip from the RMS area for two simple reasons:
First off, the engine sits nose-up and any oil will run back to the RMS area.
Secondly, the RMS area is also the lowest point on the engine. Simple physics and the old plumber’s adage apply here: “Crap flows downhill”.
Valve cover gasket, oil pressure sending unit, oil filter adapter seals and distributor gasket, in that order, have to be eliminated as possibilities first. A little tip here. Rather than use a dizzy gasket, use an o ring instead. NAPA #727-2024. Tips 12 and 13 will help you get your distributor back in place correctly.
Thanks for the tips cruiser. The top end is looking good. Valve cover gasket is a new Fel-Pro. I was unaware the distributor was prone to leaks...
I’m not entirely sure if it is the rear main leaking BUT the oil pan gasket has failed. There are areas of the gasket torn and protruding out of the oil pan. Like a gasket hernia. While the pan is dropped, I’m going the be doing the rear main. There’s a lot of oil on this area and it COULD be from blow back but im already going to be into it. But yes most of the really heavy leaking is from the front seal area and oil filter adapter area.
Honestly I couldn’t tell you. I don’t have experience with HB pullers as I’ve never replaced one before. I do know this is a HB puller specifically for Chrysler vehicles. Maybe that’s why it looks different?

 07-04-2019, 11:03 PM