When you click on links to various merchants on this site and make a purchase, this can result in this site earning a commission. Affiliate programs and affiliations include, but are not limited to, the eBay Partner Network.
Stock XJ Cherokee Tech. All XJ Non-modified/stock questions go hereXJ (84-01)
All OEM related XJ specific tech. Examples, no start, general maintenance or anything that's stock.
I searched the forum for a How-To on flushing the coolant but only found discussions. There may be one that I just couldn't find, but decided I'd post up how I did mine. It may not be the "right way", just how I did it.
I did mine inside my shop and I didn't want coolant all over the floor so I went to Lowe's looking around for things I could use to make the job cleaner.
I bought the following:
4' of 5/8" ID Clear Vinyl Tubing
6' of 2" ID Vinyl Discharge Hose
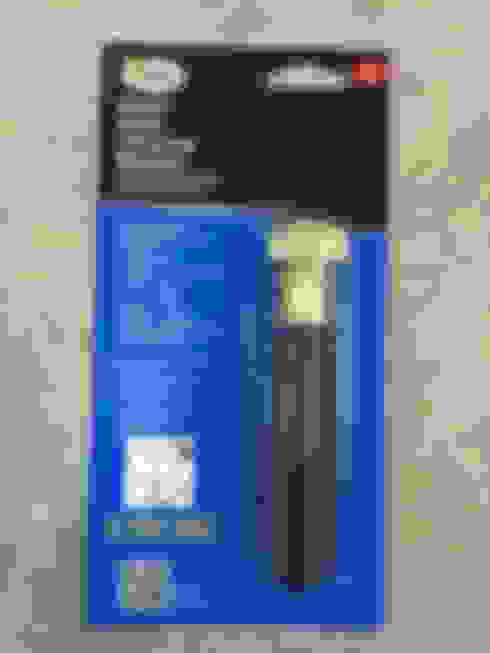
5/8" OD Nylon Barbed Hose Mender
Small (1"-2") Drain Cleaning Bladder (could have used the next bigger size)
I placed a large drain bucket under the jeep
Then I removed the airbox and using a pocket knife, cut a slit under the curved elbow of the lower radiator hose. This allowed me to push down or pull up on the hose and control the rate of flow into the drain pan.
After removing the lower hose, I cut it the rest of the way in two and removed the spring, outer protective sleeve and factory clamps.
I was sure to be very careful with the hose necks on the plastic radiator.
I placed a shop towel under the neck to catch any drips.
Next I removed the upper radiator hose and heater hose from the thermostat housing and removed the thermostat. THIS is what I found the thermostat had failed and actually came apart. The piece to the left was laying back inside the intake.
Once the thermostat was removed, I bolted the housing back up and put the upper hose back on and used a large vacuum cap over the heater hose port. ***I did NOT install the new thermostat at this time***
Next, I cut the bend section out of the upper radiator hose like so.
Using the piece of lower radiator hose I'd cut in two, I slid the blue discharge hose over it and secured it with the factory clamp. You could probably not use the clamp, but I didn't want to take a chance on making a big mess in my shop.
I put this combo back on the lower radiator neck and let the blue hose hang down into the drain pan and cut it to a length that would stay in the pan.
Using the drain cleaning bladder on a water hose, I sprayed water into the top radiator hose and watched the discharge hose below until the water ran clear. This is where I could have used the next bigger size bladder to seal up good inside the large hose. I just sprayed slow and increased flow to keep it from spewing back out around the bladder.
Once the radiator was flushed, I put the discharge hose on the other section of lower radiator hose I'd but in two.
And then reinstalled the combo on the water pump neck with the discharge hose into the drain pan.
And used the same process to flush the engine until the water ran clear.
I then moved to the heater hoses. I removed the lower heater hose and inserted the nylon hose barb into it and the length of clear vinyl tubing and down into the drain pan.
I didn't get a pic, but I used the same process of spraying water into the upper heater hose to flush the heater core.
Note - the drain pan was not clean when I started this, so all that mucky water wasn't result of what was in my cooling system.
Using this process, I only got a few drops of splatter on the floor.
Once everything was flushed, I installed the new thermostat and both radiator hoses. I re-used the factory clamps on all but the lower water pump neck just because it was such a b***h to get to.
When I put the new lower radiator hose on, I noticed it was making contact with the power steering lines. I removed the radiator hose and cut about 1/4" off the water pump side of it so it would create clearance over the power steering lines.
The new upper radiator hose came with a new plastic protector on it. Just to be on the safe side, I used the plastic hose protector from the old upper radiator hose on this area of the new lower radiator hose.
I removed the coolant reservoir bottle and cleaned it out really good.
I filled the radiator with 1 gal of straight antifreeze and 1 gal of 50/50 mix. I started the engine, topped coolant off until it wouldn't take anymore, burping the upper radiator hose along the way. I filled the coolant reservoir bottle and let the jeep run for about 30min with heat on, then shut the engine down to cool and checked / topped off as needed.
I just did this again yesterday when I changed the water pump. I flushed the system in the spring of 2014, using the prestone coolant flush bottle, ran is for 30 minutes only.
Fast forward to this past weekend, and I had to change the AC condenser which entailed removing the radiator, so I decided to change the 8 year old water pump and do another flush with the Prestone coolant flush bottle - this time I ran it for 3 days with distilled water. Came out really dirty even though I had done it last year. Flushed it one more time with distilled water and then filled with coolant.
Does distilled water really make a difference over tap water?
Originally Posted by OldTires
Nice write up, good ideas.
I just did this again yesterday when I changed the water pump. I flushed the system in the spring of 2014, using the prestone coolant flush bottle, ran is for 30 minutes only.
Fast forward to this past weekend, and I had to change the AC condenser which entailed removing the radiator, so I decided to change the 8 year old water pump and do another flush with the Prestone coolant flush bottle - this time I ran it for 3 days with distilled water. Came out really dirty even though I had done it last year. Flushed it one more time with distilled water and then filled with coolant.
Only use distilled water in your cooling system. Little to no mineral content means it won't corrode. Also it is $5 of distilled to do your cooling right.
Does distilled water really make a difference over tap water?
I don't know, but every one says to use it and it's cheap so why not?
I think the main point with older Jeeps is that one flush is not enough if it hasn't been done before. Crud just builds up and takes many flushes to clean out.
I have to say, now I run the engine cooler and I am getting super hot hot air from the heater core.

 10-27-2015, 05:53 PM


 the thermostat had failed and actually came apart. The piece to the left was laying back inside the intake.