When you click on links to various merchants on this site and make a purchase, this can result in this site earning a commission. Affiliate programs and affiliations include, but are not limited to, the eBay Partner Network.
I'm back at this restoration after a bit of a hiatus - new job, daughter being born, etc. You know how life goes...
That said, I purchased this 1987 Jeep Wagoneer XJ back in the winter of 2015 and started an initial rebuild thread. I was able to document some of the things I planned to do and even an update or two, but the thread died fairly quickly as I realized the extent of the work that was actually needed. Turns out, you can't always trust a seller who is several states away, even if they are a school teacher and sound like they are good people.
In that initial build thread I listed out a number of things that I planned to do as the thread progressed. Well, I didn't do such a great job documenting it all, but here is what I did do:
Old Man EMU 1.75'' springs - COMPLETED
Barely used XJ rear springs that I've had for years - COMPLETED
1.5'' wheel spacers - COMPLETED and REMOVED
BF Goodrich 31x10.5x15 K0s running on black steelies - COMPLETED and REMOVED
StopTech Slotted Rotors - COMPLETED
Centric Drums - COMPLETED
Centric Shoes - COMPLETED
New brake hardware kits & brake cylinders - COMPLETED
Brake pads - COMPLETED
Wheelskins new matching leather cover - COMPLETED
WLS Headliner kit - COMPLETED
2'' lift shackles - COMPLETED and REMOVED
four new headlights (found sealed beams on clearance!) - COMPLETED
New head unit (original is burnt out) - COMPLETED
Additionally, completed, but not listed:
Converted from a closed cooling system, to an open cooling system.
Removed the Heater Valve
Serviced front and rear differentials
Serviced transmission
Replaced door checks (where necessary)/fixed the ripped out door check mount on front driver door
Refreshed and improved grounds (as per Cruiser54)
Completely new exhaust system from manifold back
Completely new A/C system - I installed it, but had it professionally vacuumed down and charged
New shocks
New bump stops
Installed Air Lift helper springs
New window wipes, all around
New channel weatherstrip for the rear window divider
Designed and manufactured (for many folks on this site as well!) replacement roof rack skid strips, which are NLA
Upgraded WJ brake booster
Mustang injector upgrade
Bored throttle body
1989 ECU
1989 Transmission module
Replaced mirrors with units in better condition from a junkyard Jeep who lived in the South
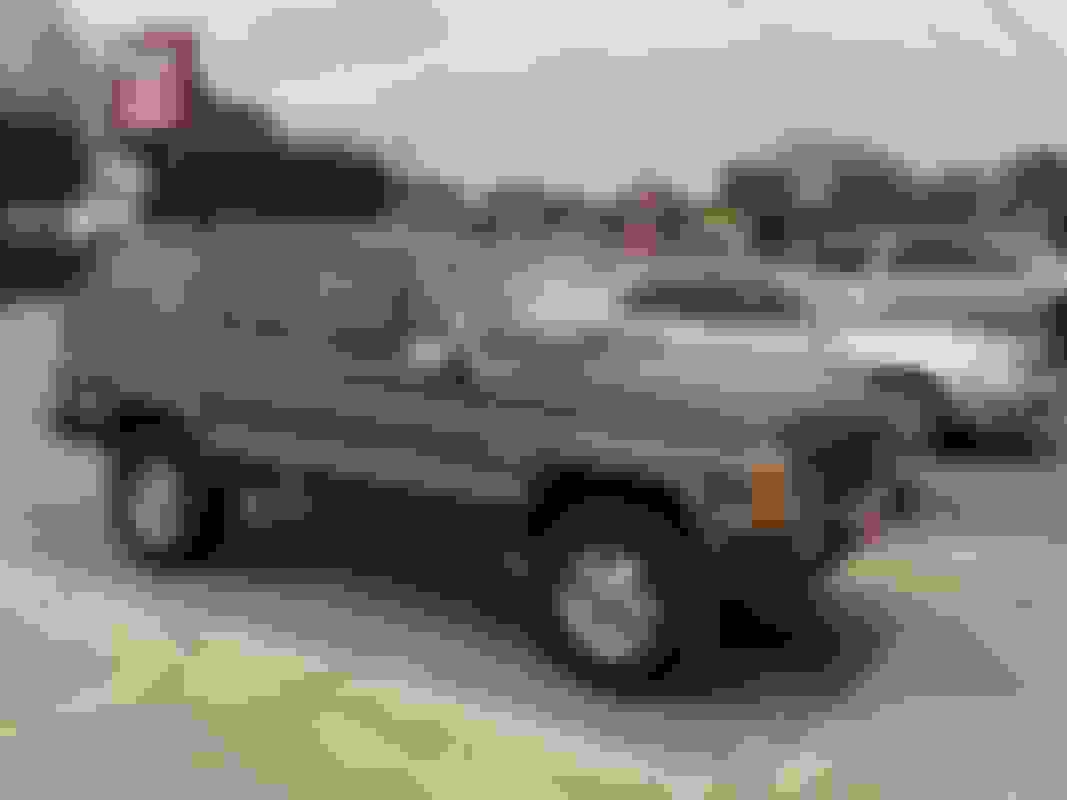
So, all that said, you're probably thinking, "wow! I bet that Jeep is looking great after all that work!". Well, you'd be wrong. Aside from the new tires and less saggy stance, she looked just the same. Case in point; this photo was taken in Oct 2017, right after the new General Grabber tires were installed. My daughter was born in Nov 2017, so maybe you can understand why the updates and repairs kind of came to a halt for a bit. I'll just throw that first time dad card right out on the table
But please, bear with me, the thread really will turn into a build thread, not just another "some guy telling everyone about performing +/- basic maintenance on another Jeep". I just had to lay out the backstory...ya know, to catch you all up...definitely not making excuses or anything
Let's fast forward to Oct 2019. For the past couple years, the Jeep was relegated to second vehicle status and was really only driven about once a week, on average, to keep it in a charged and fair operating status. I was performing regular maintenance, as required, but I was not making forward progress as far as any type of restoration goes.
One weekend in Oct, my wife and daughter were visiting her family in Savannah, GA and I had the WHOLE WEEKEND to myself. It was amazing. I was piddling about in the garage and just having a grand time. I noticed the rear passenger tire of lil Jeepie was looking low. As I was filling the air with tire I noticed that damaged rear qtr panel, which I've always been meaning to get to, was looking especially sad. I thought, "Hell I have all weekend, let's see what we can do about that thing. I can at least get the rust off and get some primer on it."
I'll be the first to state that I am no body work man. Firstly, I have no training whatsoever. But I do enjoy learning new things and if you want to learn, the flat panels of a Jeep are probably a good place to start? Anyway, I happen to have a Harbor Freight body hammer kit and since I had the weekend to myself I figured what the hell, let's see if I can't make it look better before spraying it with primer. So I removed the rear inner plastic trim and tail light to gain access to the inside and went to work. I even worked into the night some and needed to use a light. I had the light sitting outside of the fender and was working from the inside. And that's when I saw light from the outside shining through to the inside. Uh oh, I maaayyyyy have put off the repair for a bit too long :/
Luckily, however, the hole was localized in a very small part of the joint where the fender meets with the wheel well. I've used POR-15 patch for these kinds of little things in the past with other restorations (non-vehicle related) in the past with good results, so I used it here as well.
As you can see from the photo, while the rust was only through in one small place, it has spread on the surface inside the rear qtr panel in many other places. This job's scope continued to increase. But again, POR-15 (paint) comes to the rescue again:
Back to the outside of the Jeep, I was actually pretty happy with the job I did on the panel with the hammer work. What is kind of hidden from view in the first photo behind the bumper cover are a couple of creases in the metal where it was originally stamped out and beveled. I even got those out with a little heat.
Here is the photo before *I* added any body putty. Those with a sharp eye will notice that yes, there are remnants of body putter under that paint from a previous accident. Previous Owner, "Oh no, it's never been in an accident. My Dad bought it new in '87, garage kept for 25 yrs". Sure buddy. And you probably can't explain why it's on it's second coat of ****ty paint either?
Annnyway...I was actually pretty pleased with the work I did, considering it's my first panel repair job, ever.
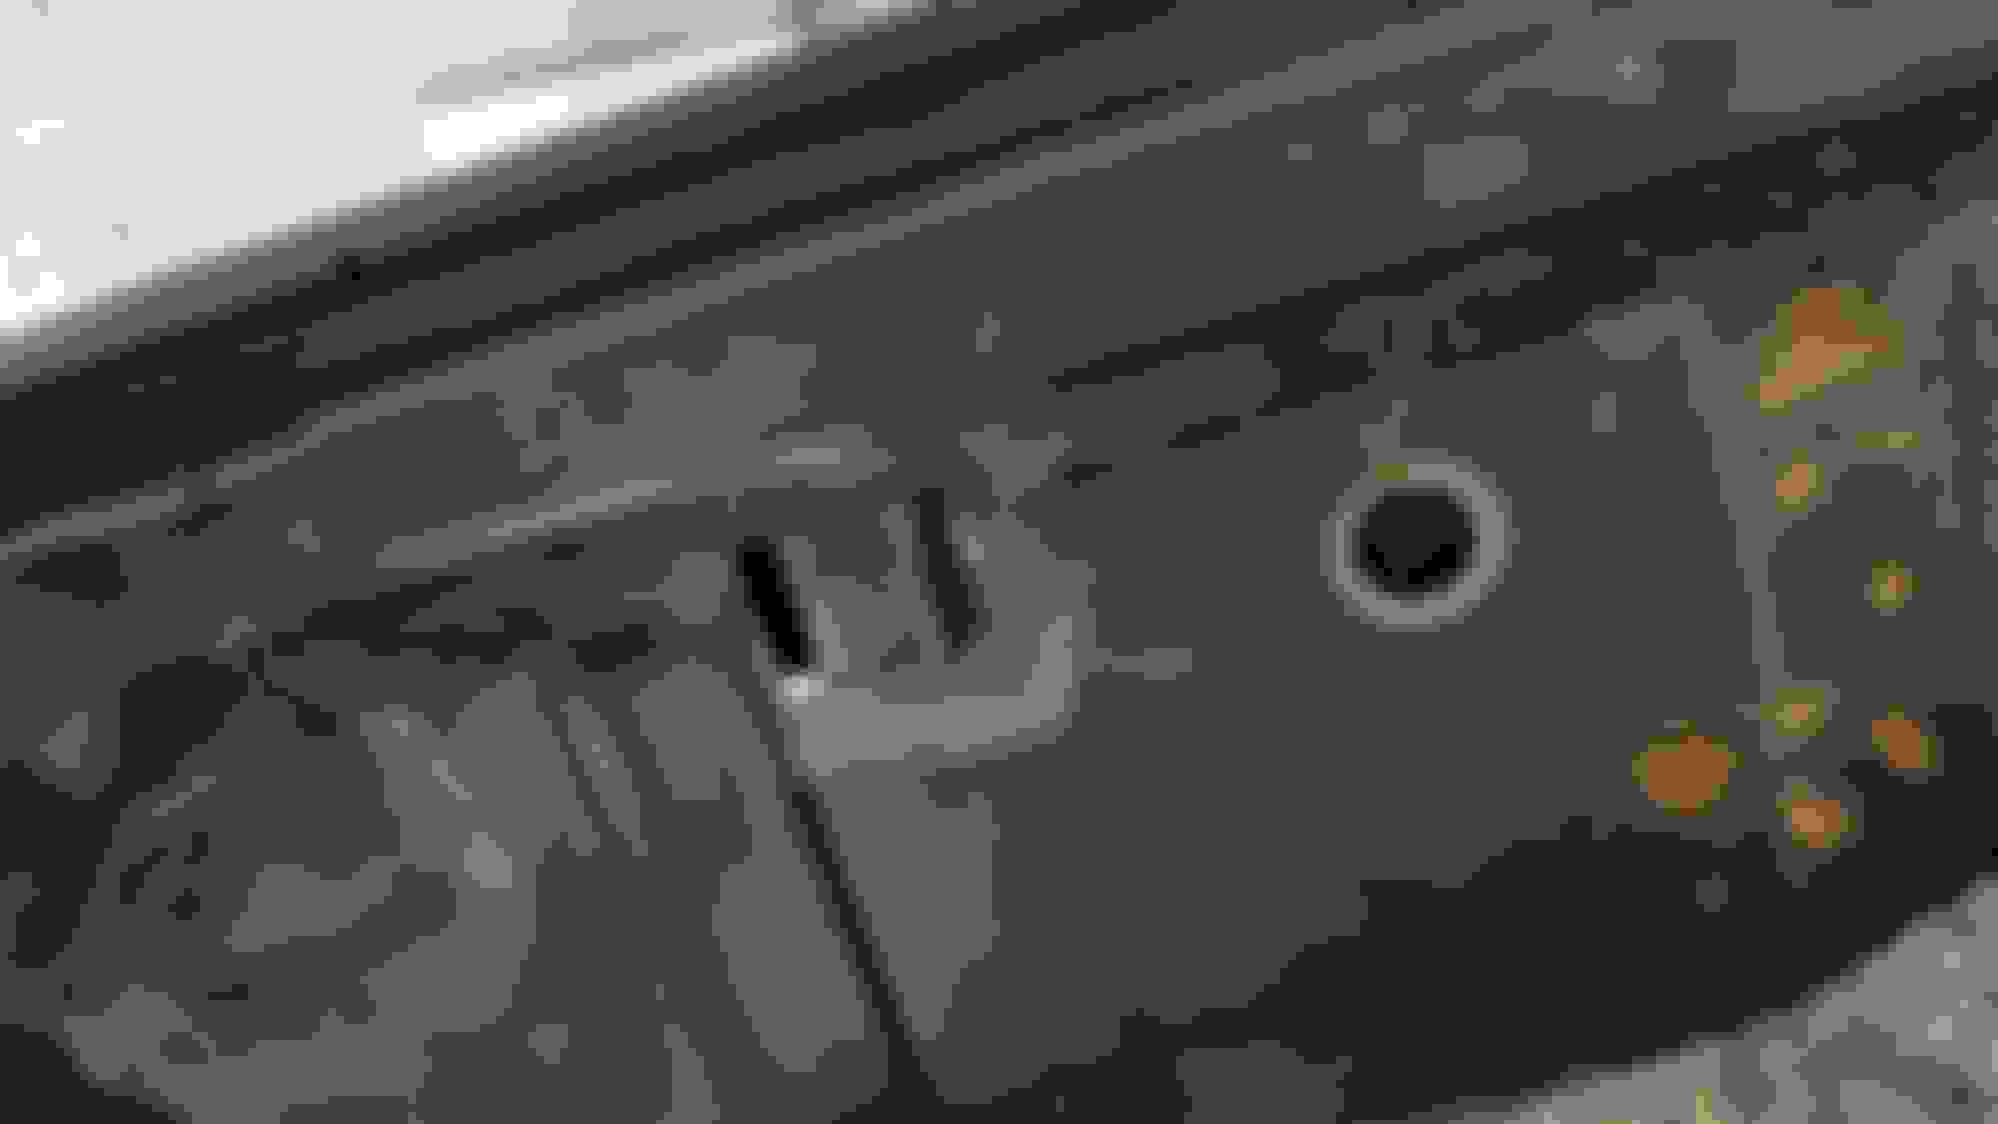
So those of you with really sharp eyes may have noticed in the photo where I POR-15'd the rear qtr panel that it appears the rust situation may be following the rear seam of the inner wheel well around, under the seam filler at the joint where the cargo floorpan meets the tub. And you'd right - area in question, circled below:
Having got myself started with the rust repair and POR-15'ing I decided to start chasing the rust. Things *might* have progressed past my intentions just a tad...
Now, before we go any farther, I want to state that I *did* know ahead of time about the rust issues under the rear passenger seat. That said, the rest of the rust was a surprise to me. Additionally, I was truly amazed by the amount of water that was trapped in the old jute carpet padding. It was literally dripping, sopping wet. Imagine taking a bath towel, dipping it into a tub of water, and then pulling it out. That is what I experienced with the jute padding. Surprisingly, it didn't smell like a dead goat's **** or anything - luckily for me - but it I can only assume that the water leached in there from the smaller holes/patches of thin metal at some point. I made a point to not drive the Jeep in the rain because of the holes in the floor boards for this very reason. There wasn't even any jute padding back where the holes were anyway, but it is what it is.
Oh yeah, I nearly forgot about this one. See that clear bag with white padding or something in it? It was also under the floorboards. I have no idea what it was, maybe some kind of additional insulation. But whatever it was, it was nothing but a sponge for even more water. Into the trash it went. The reason I'm posting this image though, is the carpet. I laid both the front and rear pieces out, upside down to first dry out. After that, I carefully pried off the old jute padding, folded it, and kept it for later use as patterns for whatever new insulation was going in, because it certainly was not. Later, and not pictured, I took both carpet sections to the local do-it-yourself carwash and cleaned the ever living hell out of them. The carpet is in surprisingly good shape - not just for the age of the vehicle, but also considering it was acting as the water barrier for many a year.
So clearly, by the amount of work that I've done. You can all safely assume that my quiet weekend alone with just me and ole Jeepie has probably elapsed. You are correct in this assumption. You would also be correct if you could have guessed that my wife was not pleased that I had stashed the entire interior of the Jeep in the dining room... But in my own defense, "we don't even use the darn room and it's got baby gates at both entries and it's a wonderful spot to store this stuff it'll only be a few we... Ok I'll move it out..."
Phase 2 - Let the surgery begin:
There sure wasn't a lot holding the front spring perch in place:
I could put my finger through the passenger side floorboard...
Make that both floorboards...
Driver's Side spring perch wasn't in as bad of shape.
No wonder the seat frame mounts were so rusty. Direct access to moisture/liquid water 24/7. This is where that stupid white padding thing was:
Just a lil' guy there at the end of the cargo floorboard:
The spot that started it all:
This is the driver's side, right above the fuel filler neck. It wasn't as bad as I thought, which sucks because I literally spent hours cutting spot welds to remove the fuel filler neck cover, sure that I would find the rust seeping in under there. Nope. Almost entirely a waste of effort.
Now, I'd love to take credit for the welding, but it wasn't me. A friend of mine is an excellent welder and he came over a couple of nights in a row and helped me out. Extremely kind of him. I did, however, cut out and form all the patch panels. It was an absolute killer using the metal shears so I eventually gave up and went and bought a Harbor Freight throatless shear. After that, things went MUCH better.
(As an aside, the Harbor Freight throatless shear is made by, I'd guess, a couple of different foundries and all just labeled the same with slightly different SKU numbers. The first one I bought was an enormous piece of crap. I didn't even bother putting it together. I returned it to a different HF, hoping they'd have different stock in and asked them to let me open the box to look at it before exchanging it. They did, and I found a much better one. That said, it ain't no Beverly Shear folks. I still ended up taking mine completely apart, filing and sanding where needed (which was a lot) and repainting. That said, it doesn't really need to look pretty to cut well, my improvements were mostly in smoothness of cut. Even out of the box, it cuts well enough to be worth the ~$120 I paid for it.)
Ok, back to the topic at hand. Unfortunately, it looks like I either didn't take many photos of the repairs patches, or else they didn't save, but here are the ones I have:
Top down view of the almost rebuilt passenger side floor pan:
So the previous images are all fairly old, taken back at the end of Nov. 2019. Not pictured above, but installed at the same time, are these Rugged Ridge front spring perch mount brackets. The OEM mounts pretty much suck. I mean, the Jeep engineers really phoned it in when designing those things. Anyway, these things should help alleviate any future issues. And give me a break fellas, I've not gotten to POR-15ing and undercoating the bottom just yet...thought you may spy some of the Chassis coating dripping out of the frame rails and brackets. I used three cans of the green-colored stuff while I had everything torn down and could easily into the frame rails from the top with the old, rusted body plugs removed.
The welds aren't as pretty on these, but to be fair, it was pretty damn cold the night we were doing it (as far as it goes for us southerners) and while I did my best to prep the area, there may still have been some stuff dirtying his welds. Regardless, while they aren't pretty, they are stiff.
So it was around this time I was talking to some of my co-workers about my ongoing project when one of them said, "Well, are you going to have it painted while you have it broken down that far?" Which only planted the seed. A couple of days later, I casually asked our painter at work if he does any paint work on the side. He's an absolutely excellent painter. Unfortunately, he doesn't, but he did say, that his cousin does and gave me his information. I called'em up and discussed the project and we struck a deal. They were slow at the end of the year and if I could get it in quickly then I'd be able to save about $500. So off I went, instead of POR'ing the newly welded, unprotected pieces, as I should have, I began to do a complete strip down, in earnest. I'm not sure if anyone on this site, other than Christclapper maybe, has ever fully broken down a Wagoneer XJ, but let me tell you, THOSE TRIM CLIPS ARE THE DEVIL. Honestly, removing the trim without damaging it was probably 3/4 of the work to getting the Jeep apart. But in the end, I prevailed...
I can tell by the raucous clamoring for updates that this build is likely to become a sticky jk, but you buggers are going to get them anyway.
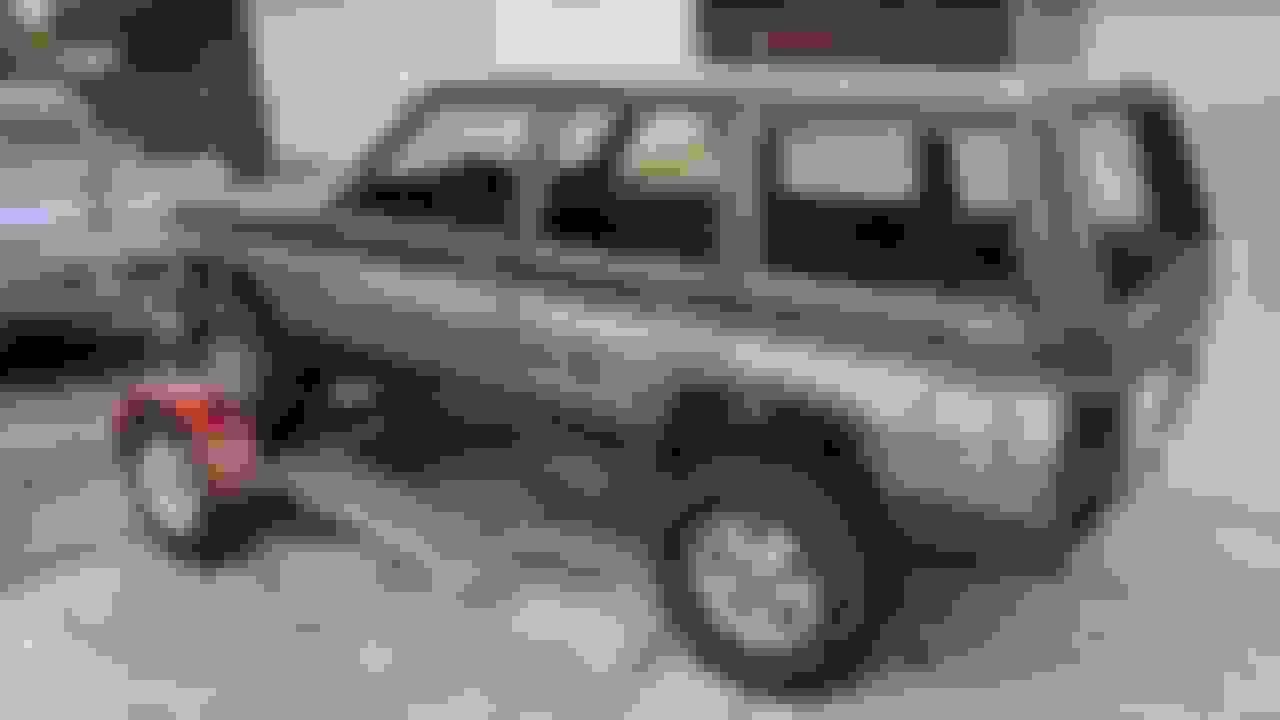
It took about two months, but I did finally get the Jeep back from the painter. It's nothing like ole Crist got done, that's for sure, but I like it. I imagine some folks will take issue with my departing from the OEM color, but I'll be honest with everyone; metallic graphite does nothing for me. I went with Toyota Calvary Blue:
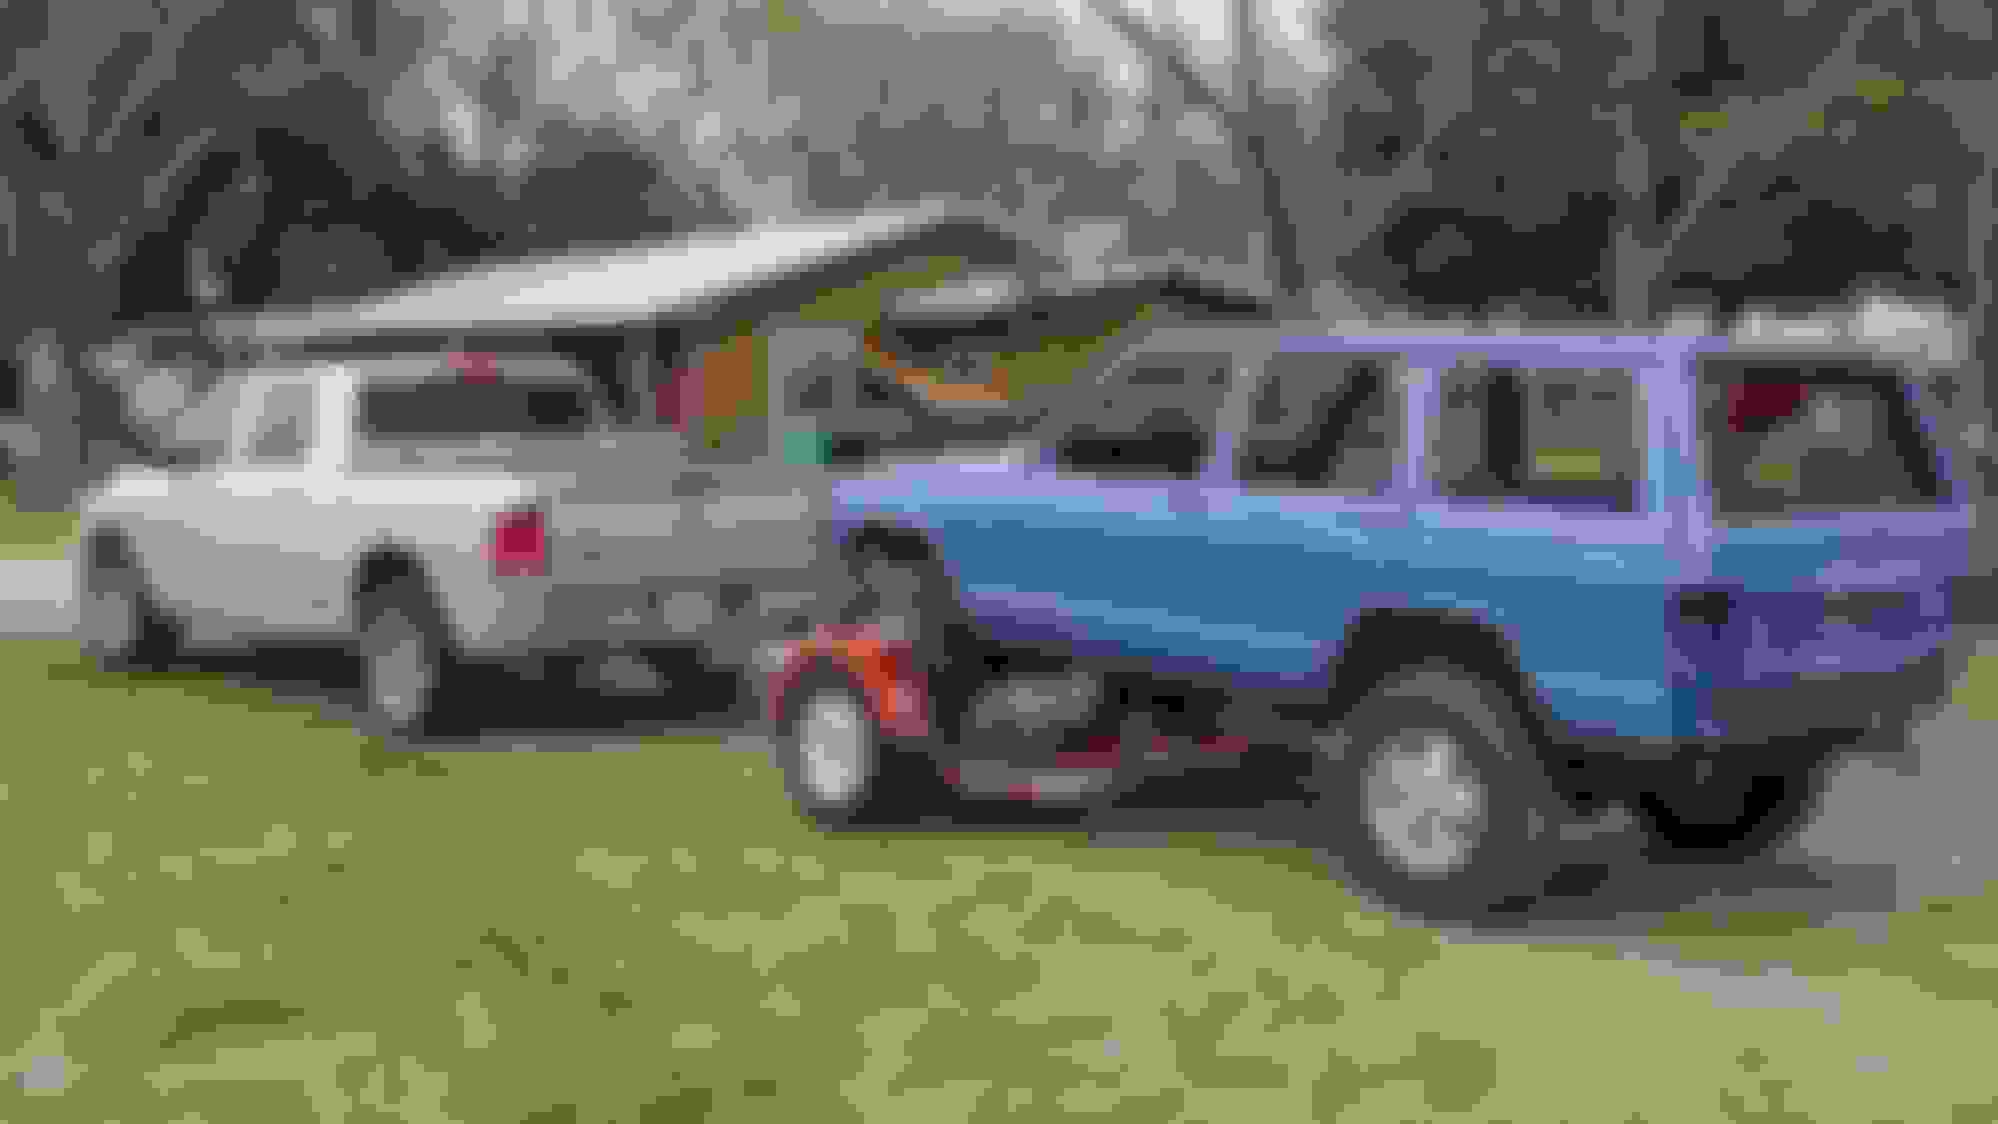
About a week later the painter and his worker came up and cut/buffed the paint.
I started by POR-15'ing the floor and other areas that I should have done before I sent it off for paint. And not pictured, but I also used three cans of Eastwood's green-colored internal frame coating on the insides of the frame rails while I still had easy access from above and each end of the frame rails.
Followed by inserting the new body plugs and then two coats of duplicolor bedliner:
Not trying to make you nervous here.
But you do realize that the breather for your rear diff goes into the uni-body on the driver's side.
Assuming it is like my '00.
When I did the internal frame coating on mine I ran a hose all the way to the engine compartment
where the front diff breather is and even used the same "top hat" breather as the front does before I did it.
My logic was two fold.
Thinking hosing it down with the internal frame coating was not a good thing.
Also I like to Fluid Film in the uni-body too.
Thinking gunking up the breather with Fluid Film might not be a good idea either.
I then installed the first layer of thermal insulation. I used the "Frost King" foil-backed duct insulation which has an R-6 rating while still be quite thin (1/8") for the first layer of insulation.
I can tell by the raucous clamoring for updates that this build is likely to become a sticky jk, but you buggers are going to get them anyway.
It took about two months, but I did finally get the Jeep back from the painter. It's nothing like ole Crist got done, that's for sure, but I like it. I imagine some folks will take issue with my departing from the OEM color, but I'll be honest with everyone; metallic graphite does nothing for me. I went with Toyota Calvary Blue:
About a week later the painter and his worker came up and cut/buffed the paint.
I'm looking forward to seeing your progress.
Not me. I think the colour looks great! Do you plan to "re-woody" it. Also, what type of paint did you use. The last time I painted a car and then cut & buffed it I used acrylic enamel. That was decades ago and I don't even know that is used any more.
Not trying to make you nervous here.
But you do realize that the breather for your rear diff goes into the uni-body on the driver's side.
Assuming it is like my '00.
When I did the internal frame coating on mine I ran a hose all the way to the engine compartment
where the front diff breather is and even used the same "top hat" breather as the front does before I did it.
My logic was two fold.
Thinking hosing it down with the internal frame coating was not a good thing.
Also I like to Fluid Film in the uni-body too.
Thinking gunking up the breather with Fluid Film might not be a good idea either.
Thanks Ralph. I've serviced both the front and rear differentials and honestly I can't recall there being any breathers going up into the frame rails. Not saying it isn't so, but I sure don't remember it. That said, the frame coating from eastwood is a real thin spray, almost akin to a stain, and after it dries I'd be surprised if even the two coats I applied are as thick as single coat of regular spray paint. I can't imagine that it'd cause too much in the way of an obstruction for a breather tube. Regardless though, good looking out - I'll climb under there and take a look just to make sure my memory serves me right!
Originally Posted by PCO6
Not me. I think the colour looks great! Do you plan to "re-woody" it. Also, what type of paint did you use. The last time I painted a car and then cut & buffed it I used acrylic enamel. That was decades ago and I don't even know that is used any more.
Thank you! I really like the color too. I am going to re-woody it! I've got "Vvivid"-brand Teak wood grain vinyl and White Maple wood grain for the trim, which I learned from CristClapper's amazing restoration was orginally wood grained itself. You sure couldn't tell that by looking at the state of my trim though, it was all gone with the exception of the back edging that was facing the panels - and that was only on a few of the pieces!
But you've provided me with a great segue into discussing the trim restoration. Let me just start with saying; what a complete and utter pain in the *** it has been. Firstly, removing the trim prior to the paint was a real treat. The original plastic retainers fit into the trim prior to the end pieces being crimped onto each piece's end. The shafts that protruded into the holes in the panels were ribbed almost like barbs so that they mightily fought being removed. In the panel itself there was a small ferrule-type plastic piece where the shafts were pushed into. Removing every piece of trim without bending them was quite a chore and took a lot of patience and dedication. On several, I had to access from the back side of the panel and actually cut the shaft off and push from the inside to get them to release from the door.
Then the end pieces needed to be removed. I thought getting them OFF the panels was a pain in the butt, well, it was easy compared releasing each and every end cap from its imprisonment. Granted, some were easier than others, but that's kind of like saying crossing the Amazon is easier than crossing the Sahara...at a certain point both options just suck.
As Crist and a few others who have attempted a restoration of a Wagoneer XJ have experienced, some of the ends of trim pieces have chipped corners or have split down the middle for one reason or another and needed repair before they could be put back into service. These have been epoxied, but not sanded smooth, primed and painted yet. Some needed new knurled nutserts installed as well as they were secured with screws. The doors all had this type.
Additionally, the aluminum trim itself needed some work. For the most part, it was in good shape. But as I mentioned before, some of the back edges had remaining OEM vinyl remnants that needed to be scraped off. It came off pretty easily, for the most part. There were just a few pieces where the very ends of the exterior/outside of the trim had started to oxidize and required some sanding down to get to clean aluminum again. Lastly, the interior facing portions of the aluminum, if ever treated with some kind of clear coat or corrosion resisting coating, were starting to show signs of corrosion in some spots as well. I do believe there was some kind of treatment done though, as raw aluminum generally will oxidize after 33 years in the elements. So what I did was to do a light sanding job on each of the pieces, followed by a wipe down, and then an etching primer and then a top coat of Rustoleum "Gloss Almond" to provide a nice, consistent basecoat color for the White Maple vinyl to lay on for consistency in color.
Post-cleaning/Sanding/Cleaning
After the Gloss Almond top coat.
And while I've started, but not yet finished, I then tried my hand at reapplying the vinyl to the trim pieces. As I had to purchase a piece of White Maple vinyl that was at least six feet long (by the standard 48" wide) to get the grain to run the direction I needed it to, I needed a way to get the 48" width down to a more manageable dimension for me to be able to apply it to the trim. To accomplish this, I found an ~5 foot long rigid cardboard tube and rolled the vinyl around it after taping the loose end to the tube. I then gently, but tightly rolled it around the tube, ensuring the ends of the vinyl were aligned and it was going on straight (so my grain pattern remained true). When completely, tightly rolled up and affixed with tape on the end edge, I taped off the end of the vinyl (on the tube) completely around the circumference with painter's tape where I planned to make a cut to give me a square edge with which to measure from for the next cut. Taping around the tube like this prevents the ends of the vinyl from being torn up and jagged from the blade. Then, using my compound sliding miter saw, I simply cut the end off like it was a 2"x4", measured in the width I needed for the trim coverage (~2.25", if memory serves) and repeated the above steps. Voila, I now had a 2.25" x 6' roll of vinyl to practice with. Like so:
Using a heat gun, scissors, L-square, and a vinyl-tapered (fine point) snap off razor blade, I went to work on the smallest pieces of trim to practice. Surprisingly, it went pretty easily. The hardest part being getting the cuts right to allow the vinyl to fold into the ends without the cuts being seen. Getting the vinyl to lay down without bubbles really isn't that hard, at least on something this small, and it can be lifted and reset, as long as you're gentle. This is the result of the first piece I did and this was the only piece of vinyl I needed, so it really isn't that impossible for a newbie to learn. Lastly, once you have it all in place, you use the heat gun to "lock" the ends in place. Note: I also used the heat gun before locking the folds in place on the front side to get it to fully bond to the trim's profile.
All-in-all though, I think it turned out nicely. I have discovered that the longer the trim piece, the more difficult it is to get the long, skinny vinyl perfectly square.
Alright fellas, I better get back to work for now!

 03-07-2020, 10:16 AM