When you click on links to various merchants on this site and make a purchase, this can result in this site earning a commission. Affiliate programs and affiliations include, but are not limited to, the eBay Partner Network.
Thanks Ralph. I've serviced both the front and rear differentials and honestly I can't recall there being any breathers going up into the frame rails. Not saying it isn't so, but I sure don't remember it. That said, the frame coating from eastwood is a real thin spray, almost akin to a stain, and after it dries I'd be surprised if even the two coats I applied are as thick as single coat of regular spray paint. I can't imagine that it'd cause too much in the way of an obstruction for a breather tube. Regardless though, good looking out - I'll climb under there and take a look just to make sure my memory serves me right!
Well again assuming it is like an '00 very easy to find.
The long line for the rear brakes goes into a hose which is attached to the top of the rear diff.
Both brake lines for each tire come out the sides of a block and the hose for the diff is attached to
a nipple on top of that block going into the uni-body.
If you pull off the hose at the uni-body side you will see a white plastic nipple.
No idea what is inside the uni-body though. I always assumed it was a check valve of sorts like the
transfer case breather uses.
With the whole Coronavirus thing going on, keeping folks at home (at least when not working), I've been steadily plugging away on my Jeep. Here are some of the things I've done over the past week or so:
I had been keeping the old, nasty jute-insulation in a couple of trash bags purely to use them as a pattern to cut the replacement insulation. Hindsight being what it is, there was no real reason for me to wait until I was ready to install this stuff to cut out the new padding and just toss the old stuff, but honestly it never even crossed my mind *sigh*.
Layin' out Nasty McGross #1:
One picture of that is enough, y'all get the idea. Post lining:
And then I wrestled and fought for a surprisingly long time to get the OEM carpet back in place. Much more difficult than I expected. As I mentioned earlier though, the original carpet is in really good shape. Especially after I took it to the wash and cleaned the ever-living-crap out of it.
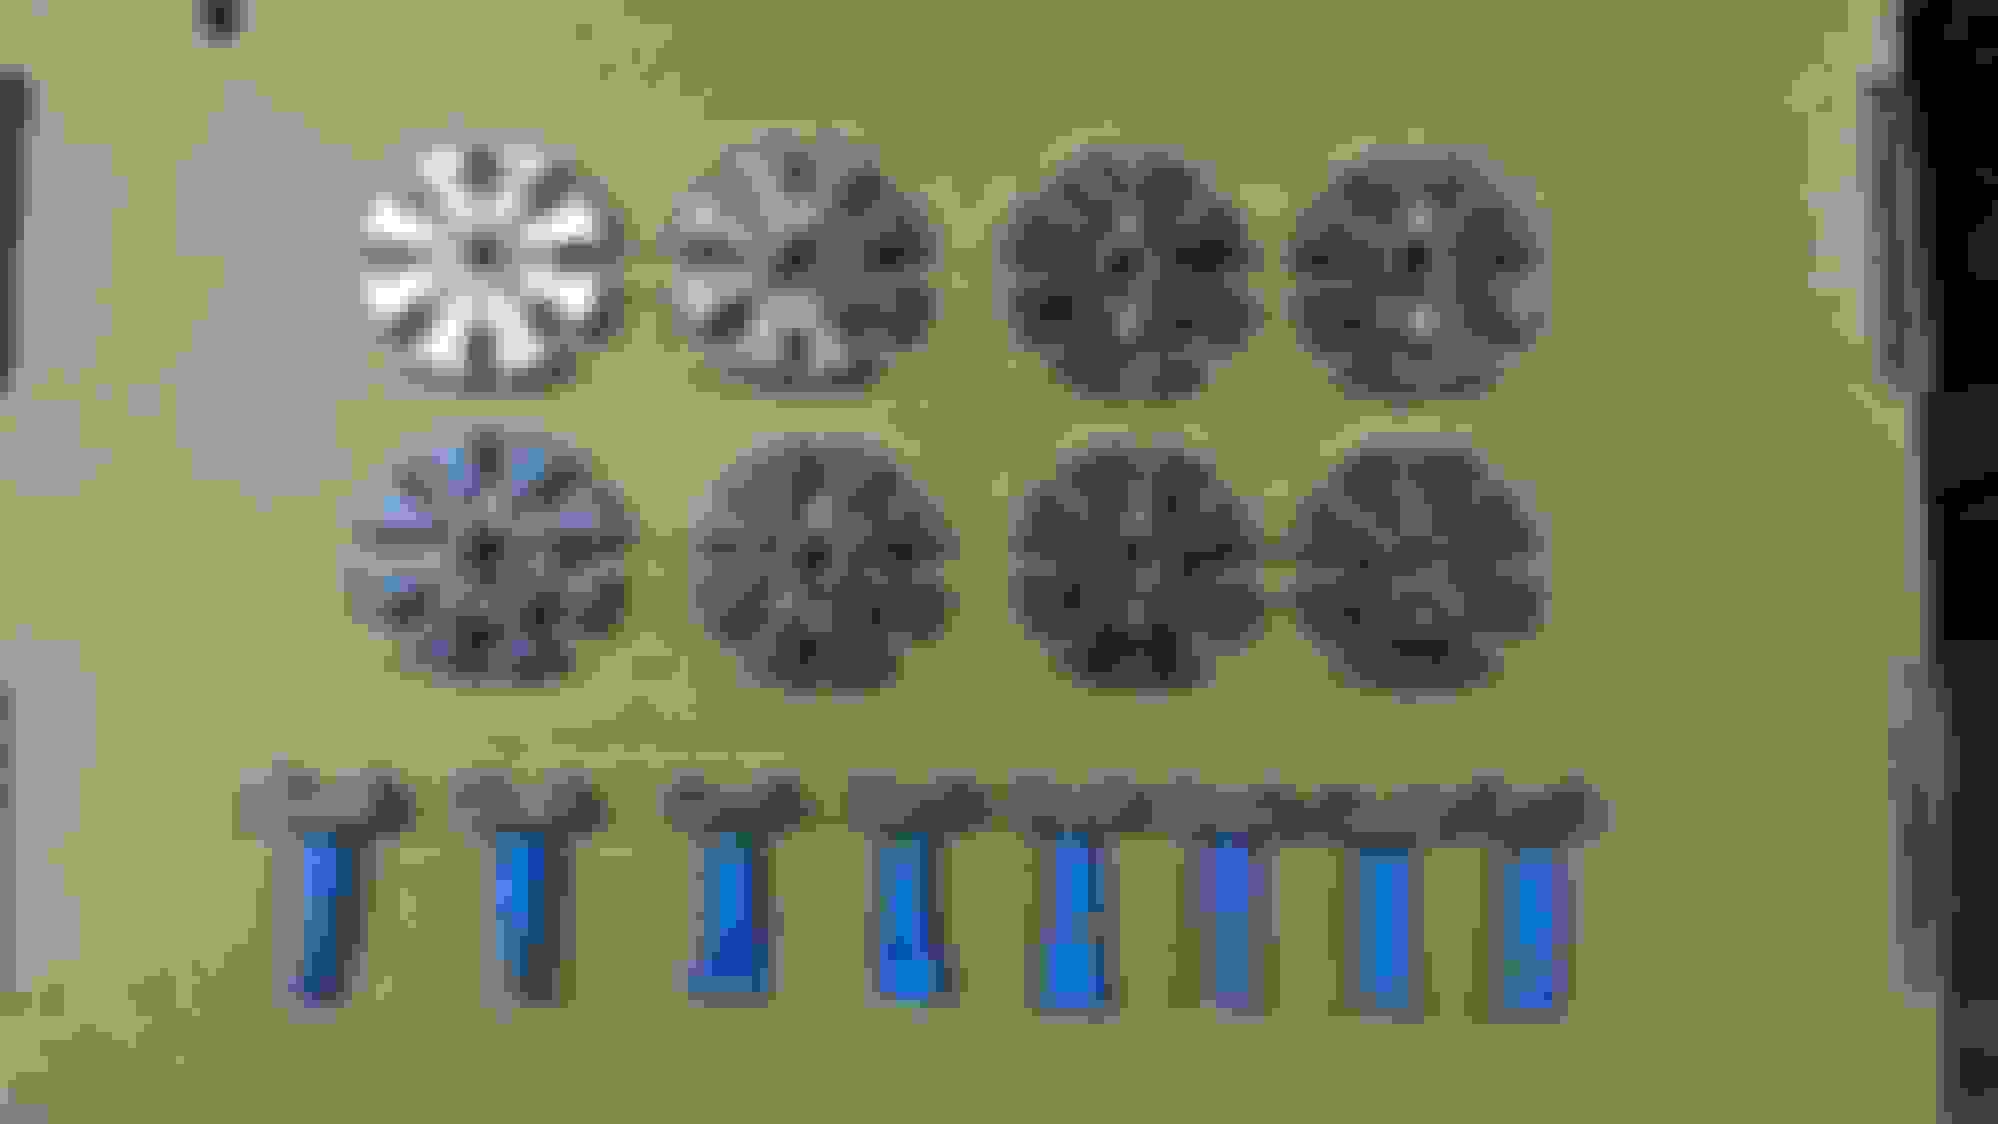
I've also been working on restoring the roof rack components as well as "future proofing" them as best I can so I don't have the same issues I did with assembly, which was that I basically had to use a screwdriver to get the leverage necessary to break the little circular locking gear to rotate and free enough to remove them.
I didn't force the circular gears more than I needed to be able to free them initially. After removal, I took the main cross bar rack ends off as well as the strapping points and tossed them all in a container of Evaporust after removing any dirt/detritus in the crevices. I left them in there overnight and the next day I was able to get them broken down with little effort. The Evaporust stuff is pretty fantastic for things like this, but expensive. You can make it last a long time as long as you remove as much dirt and oil from the items you are de-rusting before you drop them in the container. For larger pieces that I need to remove rust from, I use an electrolysis tank, which is also a fantastic, though more involved method, to remove rust.
Here are the circular locking gears (for lack of a better term) before polishing in my tumbler and the little reverse-threaded locking nubs that are moved up and down as they locking gears are rotated, locking/unlocking the racks and strap down brackets into place. I have taped off the threads of the locking nubs in preparation for POR-15ing. Please note, these have already been through ~24+ hrs in a tank of Evaporust with at least one cycle of being removed and wire-brushed to removed the chelated (chemical term for what Evaporust does) oxidation and expose additional oxidation for the Evaporust to react with.
Not sure if I had mentioned this previously, but I also scavenged some extra roof rack components at the salvage yard as my original rack, having spent much of its life in New Jersey, was suffering from a fair bit of corrosion on the pot-metal circular locking gears, runner rail end pieces, and well, any part that was chromed pot-metal. Luckily, I was able to find the salvage Jeep that had pieces that were in much better shape.
Additionally, and I'm not sure if this was a shrinkage due to age or the PO cutting them shorter, for some reason, but the rubber trim that run inside the roof cross bar channels and the four roof rack runner bars were all between 3-4 inches too short. Honestly, I think it must have been shrinkage over the years because I cannot think of any logical reason why someone would do it. Anyway, I said all that to explain that I scrounged the extra roof rack pieces for the rubber trim stripes and cut the difference from these pieces. After thoroughly cleaning each strip, I then cut around a 1/4" off the end of each piece to expose fresh rubber and then used some cyanoacrylate (super glue) gel to adhere the two pieces together. Cyanoacrylate is quite a good glue to use for rubber to rubber contact. One thing that I did notice, that may help others in the future, is that the my original rubber trim, which I have treated only a few times with 303 Aerospace Protectant, were significantly more pliable and softer than the scrounged pieces. I thought that was interesting and a testament to the rubber restoration properties of that product.
After the glue had a few minutes to set-up, I then used SEM Trim Black and painted the rubber strips to provide additional (future) UV protection.
NOTE: SEM Trim Black is a single part paint, but you need to wear a respirator. I initially used my normal mask, but it did nothing. I got dizzy and felt unwell for hours with only a little exposure while painting in a well-ventilated area. By the time I noticed that my mask wasn't functioning properly it was too late. It's great stuff, but it needs proper PPE. I wish it said the same on the can.
Here is a close-up view of the extended trim pieces. You can see the joint, but it won't be noticeable once installed. Certainly less noticeable than a 3-4" missing chunk of rubber anyway:
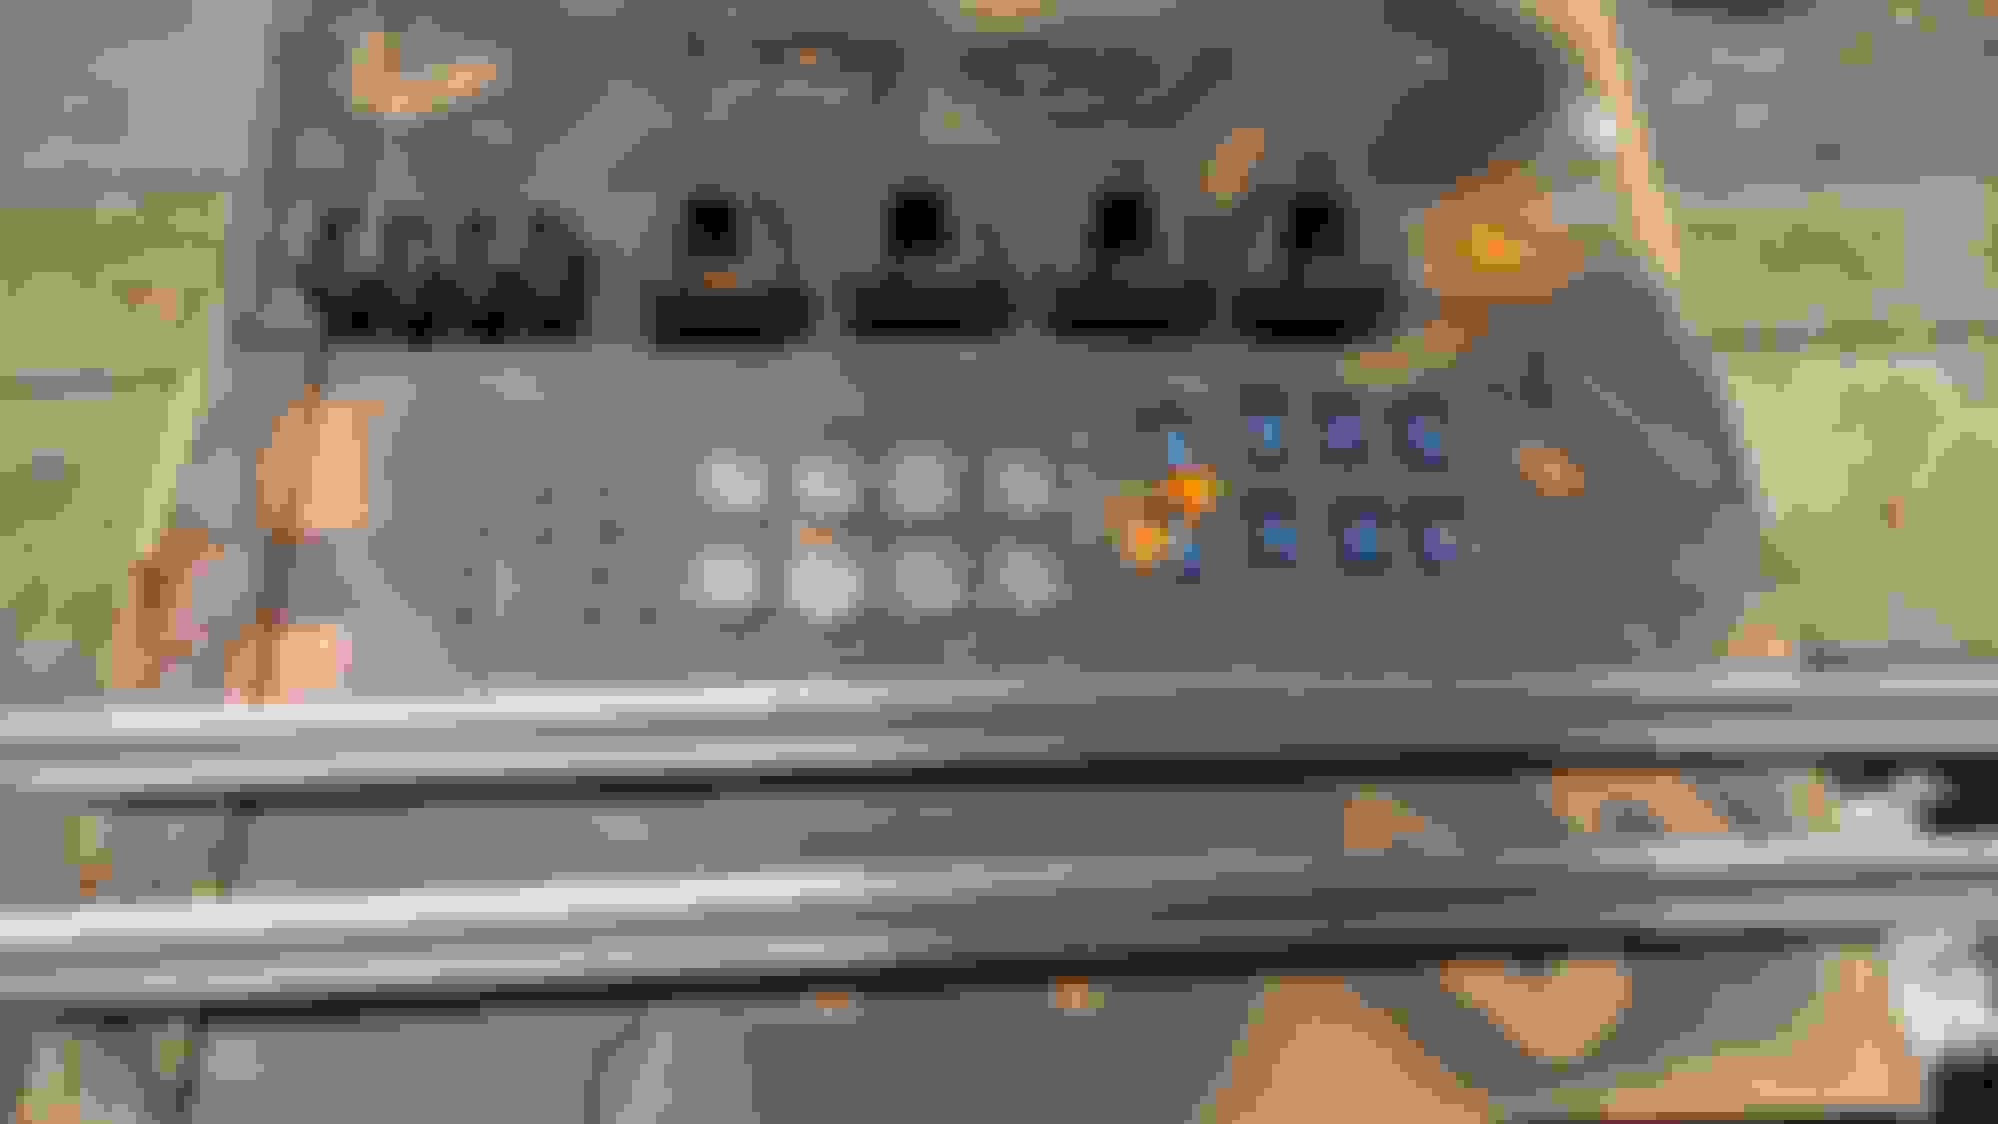
And finally, here are all the roof rack components post-restoration/future proofing, prior to re-installation. When putting back together, I liberally greased the threads - night and day difference. And btw, I replaced all the well nuts for the main roof rack rails as the originals were absolutely toast. If you purchase these, you can reuse your original hardware:
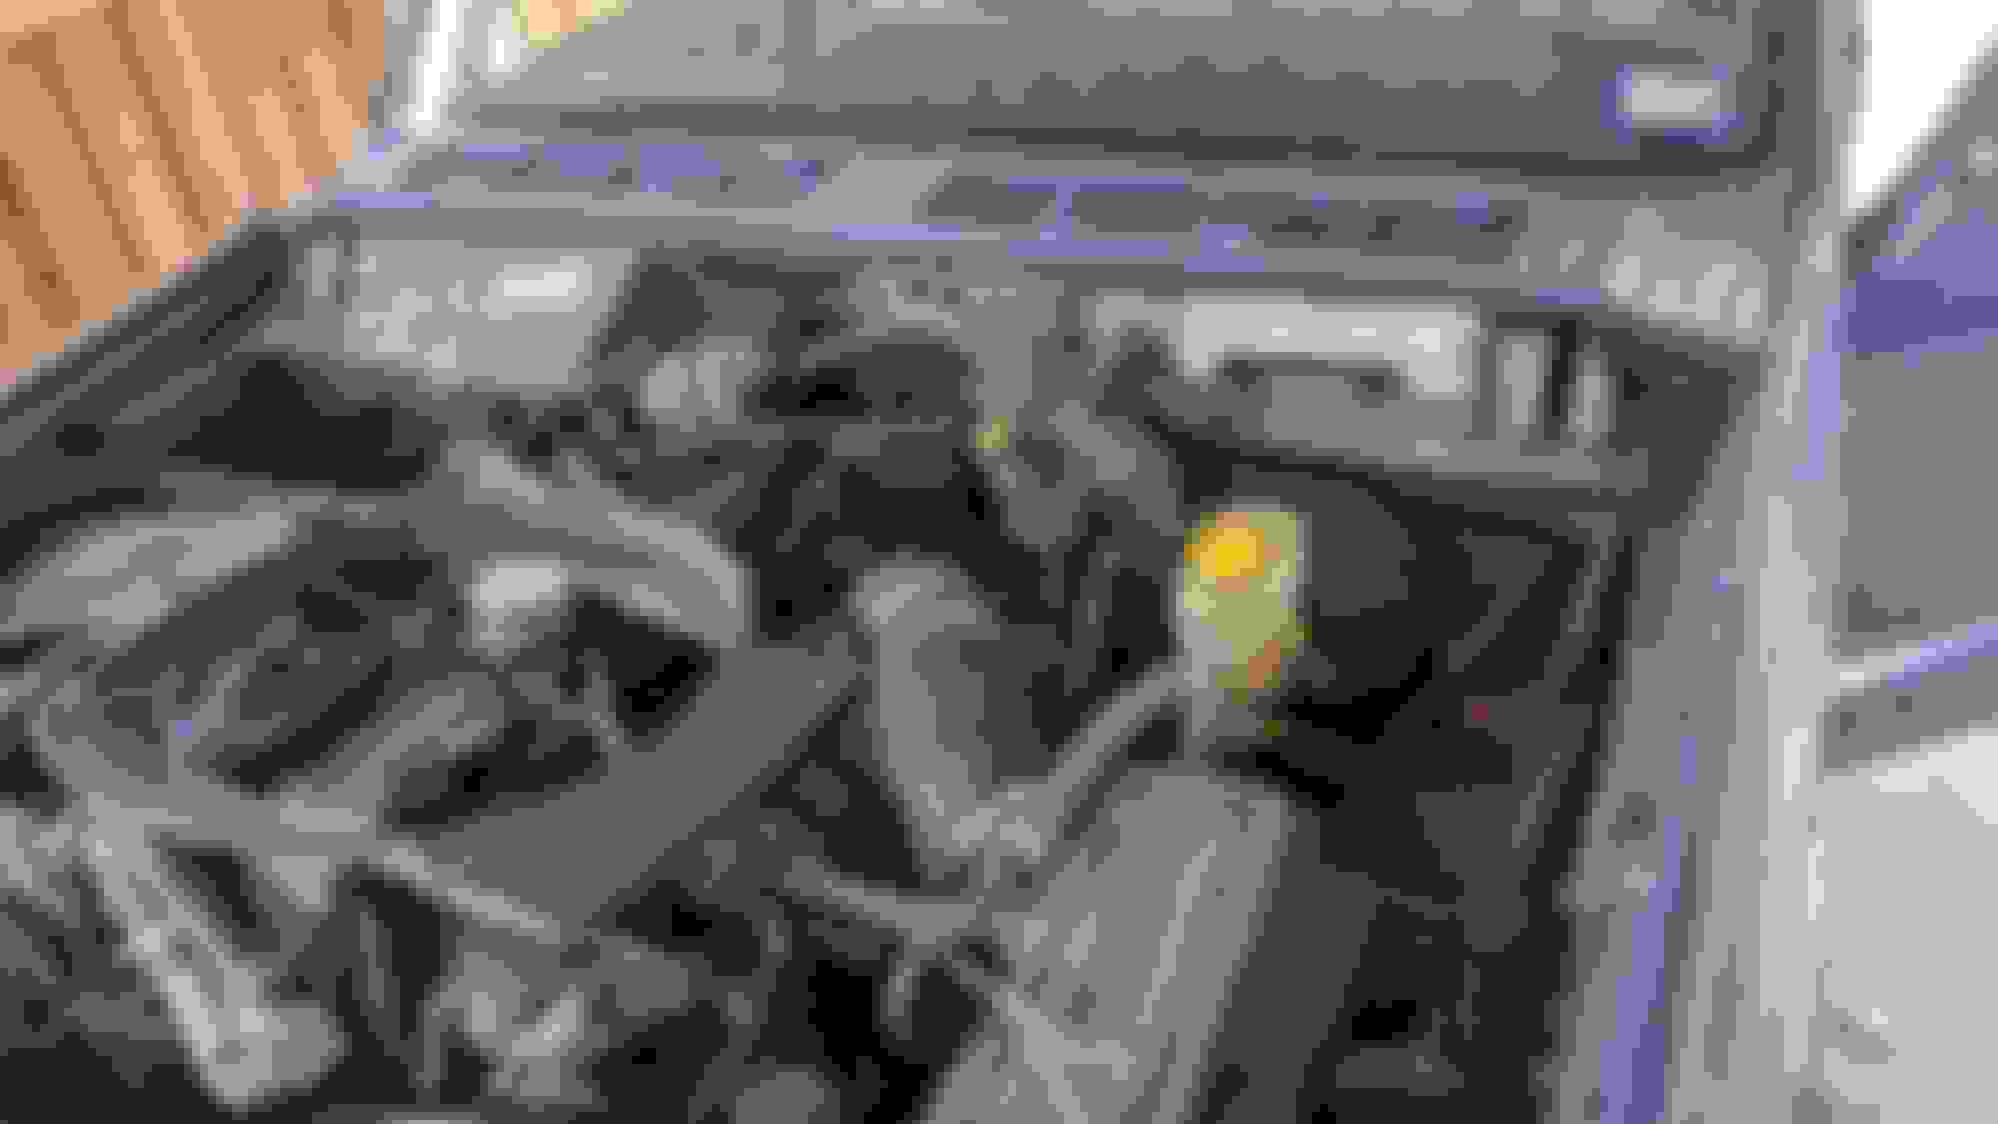
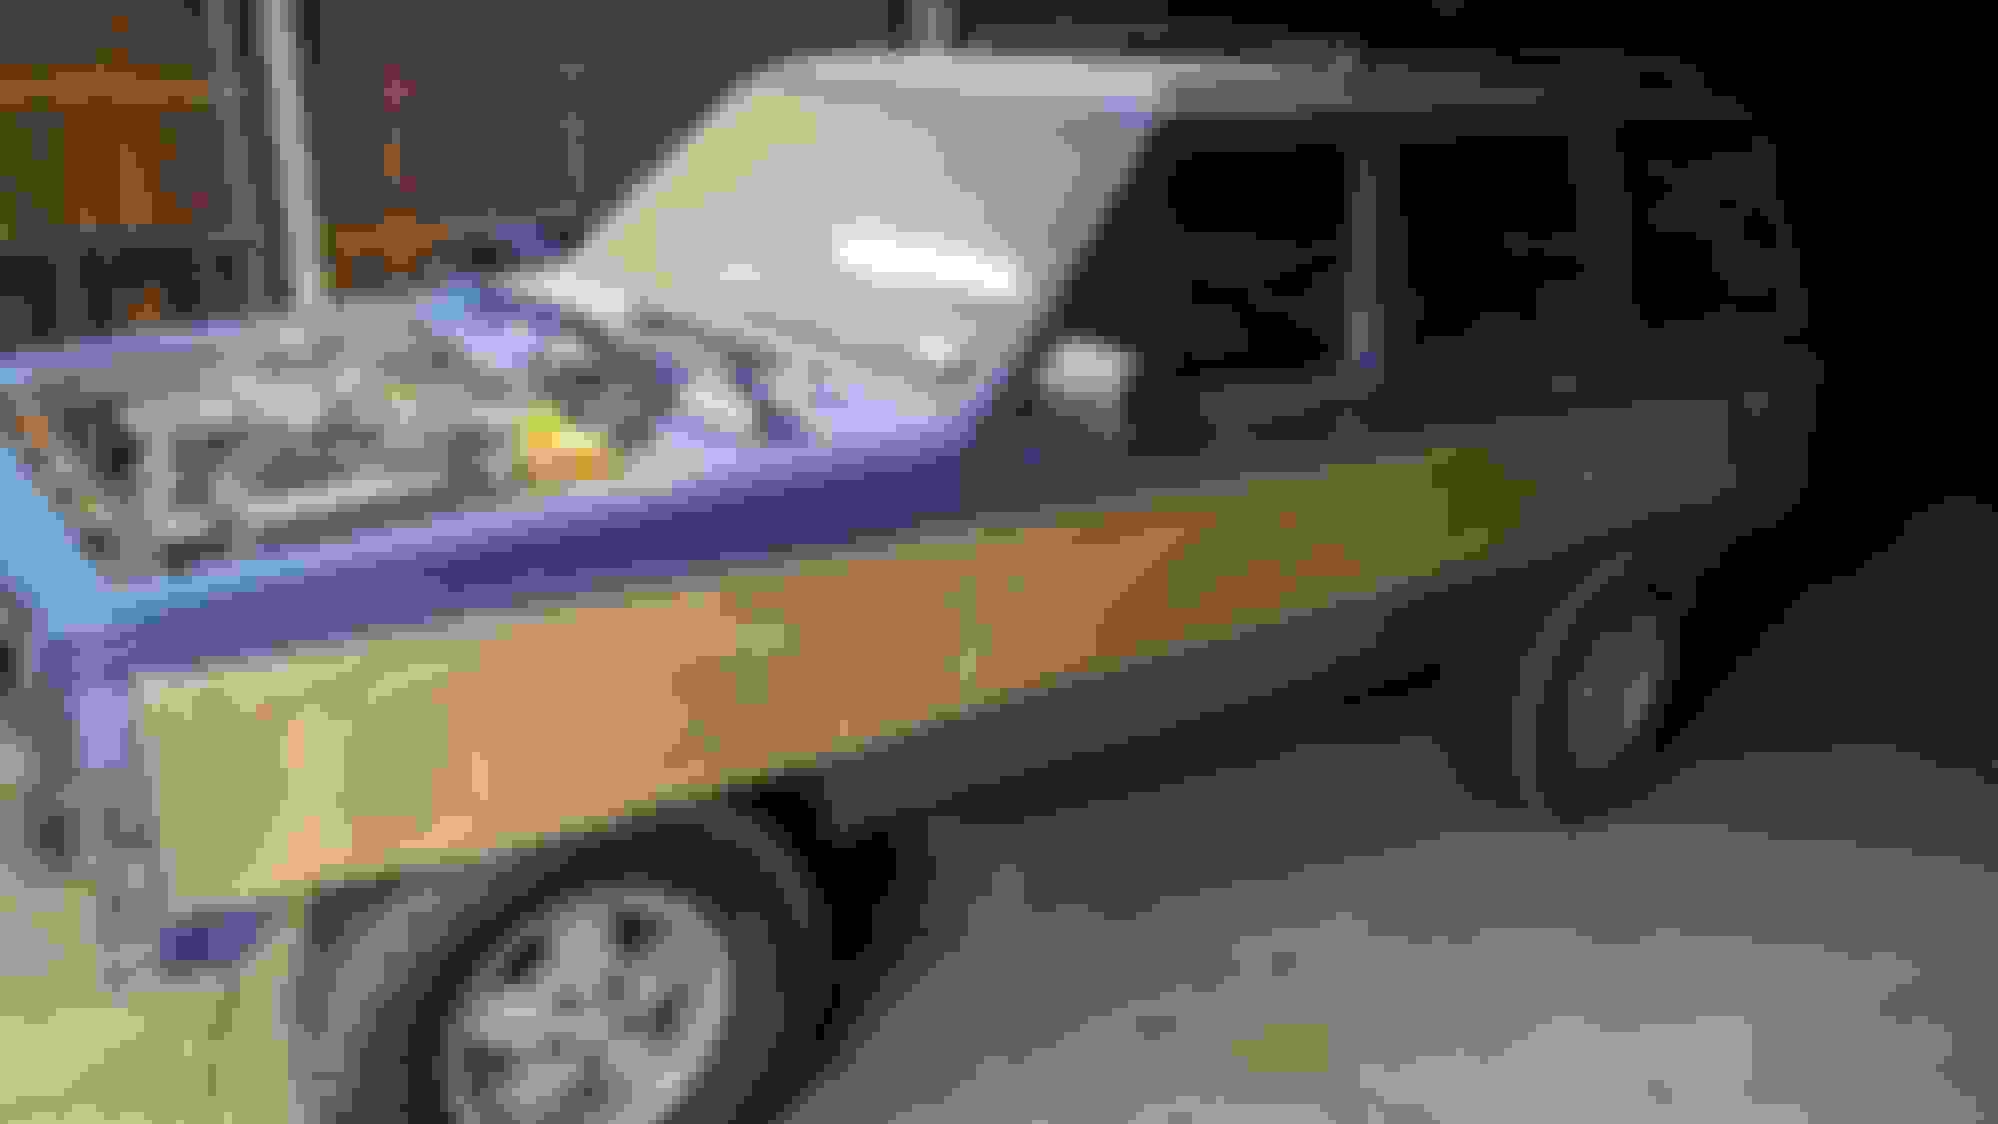
So another little project that I had to undertake myself because of (evidently) poor communication with the painter, but he didn't paint in the interior of the engine compartment as we had discussed (and agreed to). Therefore I was left with what I consider to be a a half-*** looking paint job. I know most people would never see the inside, but it would bug me. To address this, I went to the local O'Reilly that does custom paint mixes in an aerosol can. It was cheap at ~$24/can but I believed the results would be worth the cost.
This is what I started with. Can't stand it, just looks unfinished. I proceeded to remove all the remaining hardware holding in the grounding cables and other doo-dads and plastic hole plugs. I also zip-tied all the cables and hoses back out of the way to different anchor points on the engine.
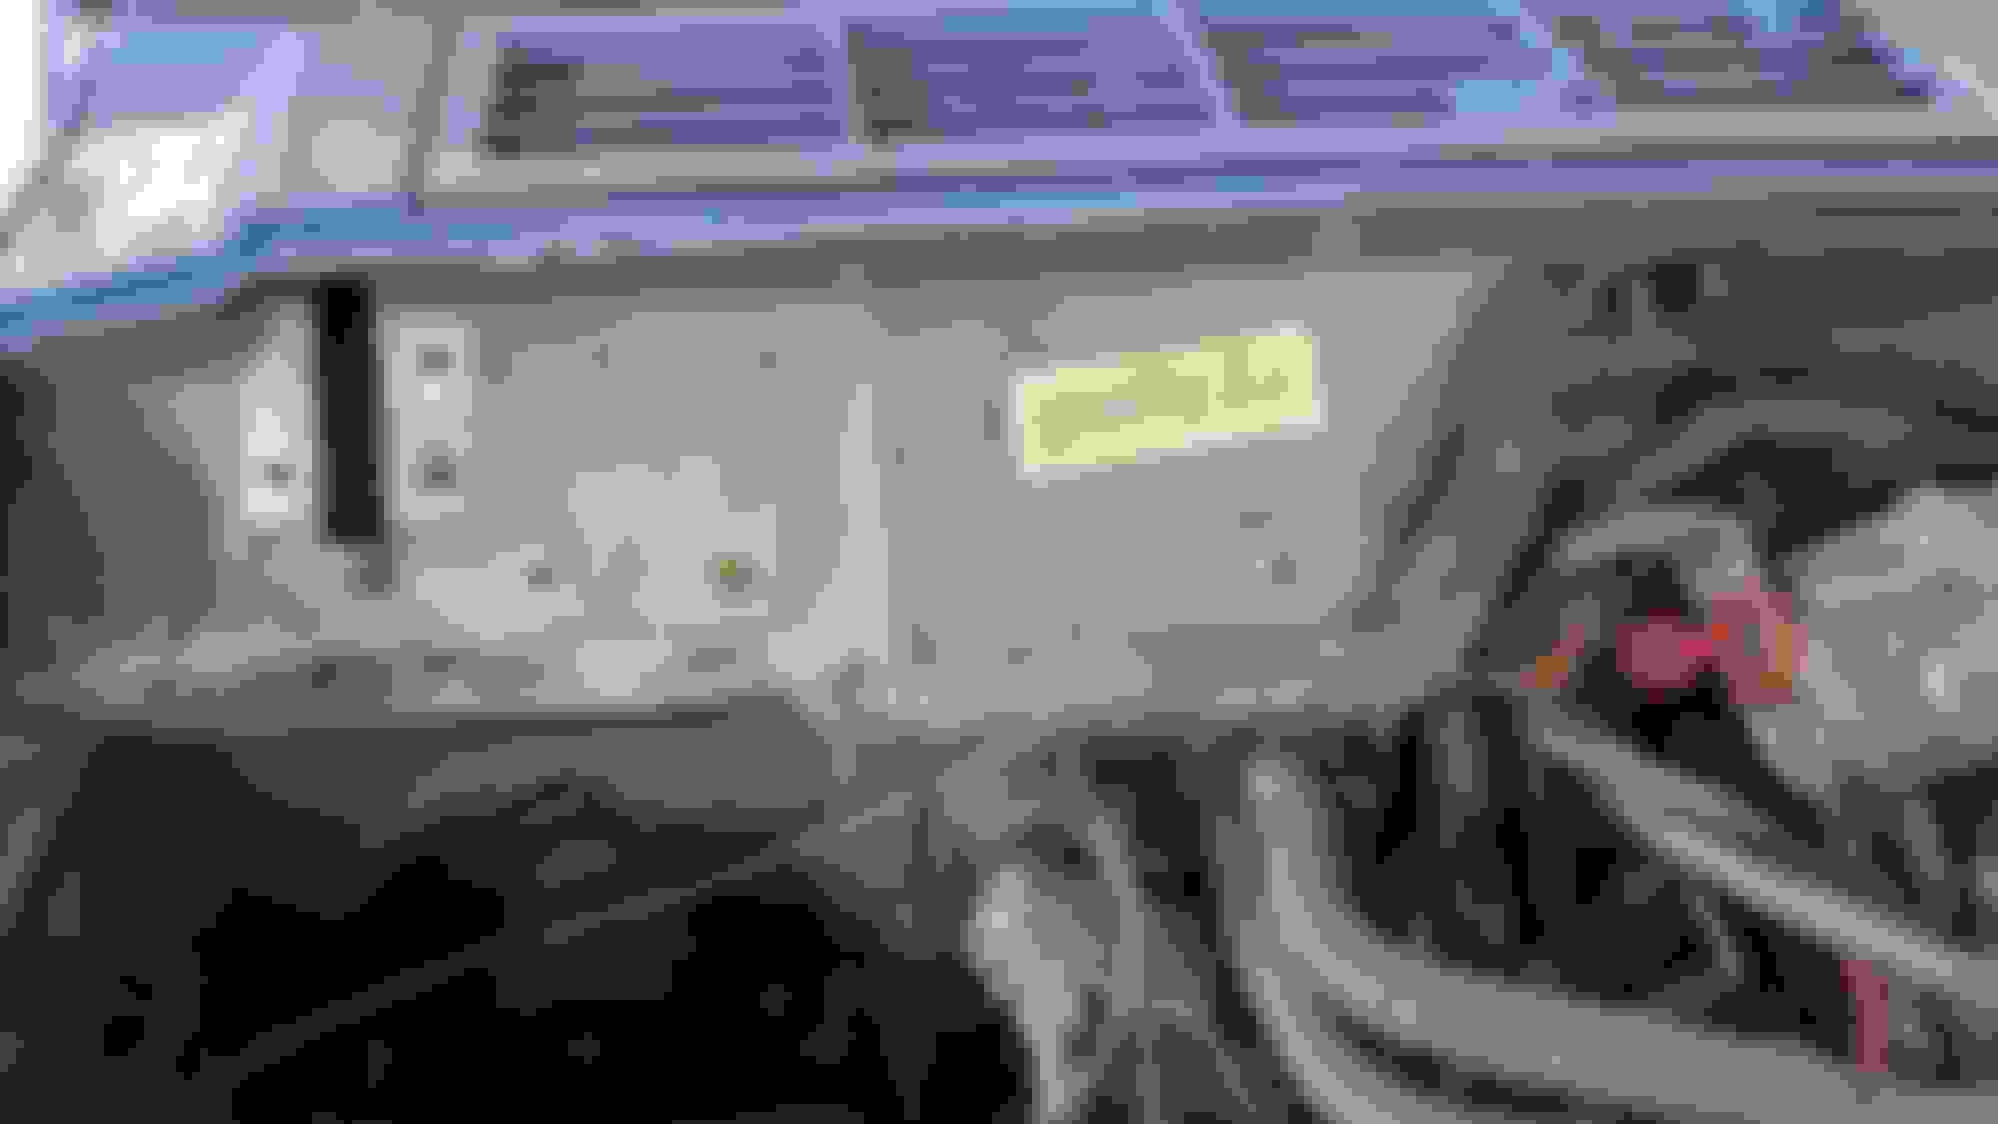
After a very judicious scraping, vacuuming, cleaning with those "tough rags" (think wet wipes for degreasing in the garage), I was able to tape off the whole engine compartment and the sides of the qtr panels and front doors to protect against any over spray. Two coats of etching primer, two coats of Toyota Calvary Blue, and two coats of clear coat.
Granted I didn't go all the down into the engine compartment, but that's because I plan to do a color-matched Monstaliner on everything that remains the oem silver-gray color at a later date. Regardless, IMO, doing this makes a world of difference and I'm very pleased with the results:
Some of you with sharp eyes may have noticed that I didn't remove the data sticker on the driver's side of the bulkhead, but that the other sticker with the barcode on the passenger's side is missing in the after photos. Unfortunately, this sticker wasn't plasticized and was just a regular ole sticky backed paper sticker. I truly haven't the foggiest idea what is was there for, maybe it was used on the production line to indicate this or that was complete or maybe it was added later in life by a dealer for a similar reason. I really don't know. But since I don't know, I wanted to try to preserve it as best I could, though it had faded and the edges had frayed over the years. Plus there was water damage, etc. It really wasn't salvageable in its current state. so what I did was to take some clear packaging tape and "laminate" it to toughen up the image and provide strength for its removal. After the tape was in place, I took a razor blade and removed it. It came free easily.
I then took it to work and used our scanner to digitize the image. A few clicks of darker resolution and I was able to get a usable, though not printable, image. I then decided that I wanted to see if I could reproduce it. Over the next few days - during my lunch hour - I searched for and installed numerous "digital" font packages. Unfortunately, however, none of them were close enough to the serial number under the bar code for me to be happy with them. However, I did find a font that closely matched the (differing font) serial number in the top left corner. On this one, I only had to modify the "6" digit to better match the original pattern.
I used an application that most everyone has these days, MS Powerpoint, to recreate the original decal. I started with a blank document, imported the original decal and sized it to the correct size. After that I inserted lines and rectangles using a 30% pattern fill to replicate the original pattern in the bar code. This was a tedious task, but I'm pleased with the results. I've already mentioned that I got pretty lucky with the smaller serial number, only minor edits, but on the serial number under the bar code, I had no joy. For this one I actually had to zoom in and overly a shape (right triangle and rectangles) over each and every digit to replicate the original font-type as close to exactly as I could.
I'll admit, it's a pretty unnecessary detail, but I like personal challenges and learning how to do things that I don't know how to do. Anyway, I'm pleased with the result. I'm going to cut out and laminate one of these labels and re-affix it on the bulkhead. I'm kind of torn on whether to reinstall at a slant like it was or to make it square. Details, right?
You are doing the same as I did or will do.
I love this topic.
but I don�t have my Wagoneer with me
It is at the tire shop.
I never had so much time available for my Wagy
continue with pictures.
Thank you! You should post some pics up in this thread! I'd love to see your Waggie as well.
I know it appears that I'm spending lots of time all at once on this because of the progression of my thread, but was actually a fairly spread out process until recently, when I got it back. I've been really kicking it into high gear since then because I want to get the windows and door locks back in as soon as I can so I can lock it up at night. It's not that I live in a bad neighborhood, but there are still opportunists who will drive through at night and get into things if not otherwise dissuaded.
That said, I do have a small update!
I received my parts back from my powder coater yesterday:
And I dropped my door checks and requisite hardware into my re-purposed roaster oven/parts cleaner (Greased Lightning @ 100% concentration + ~150-215 degrees heat does *just about* all the work for you!)
I love following this thread. You're about 8 months ahead of me on everything
Thanks kindly! When I got my Jeep, I was really expecting to jump into the restoration basically from the start. Little did I know that the PO had done a fair bit of fibbing and stretching of the truth (I purchased it over the internet).
Anyway, apologies for the lack of updates over the past week or so - crazy busy work week (working from home, which makes everything about 5x as hard). Even though I had some pretty long days, I've still been getting myself out there in the evenings and knocking out what I can. I've got a lot of updates, so I'm going to have be more brief so it doesn't take forever. But if anyone has any questions, just let me know. Also, I'm going to try to keep them in chronological order, but you might spot some things out of order!
Alright, in my last cliffhanger I posted an image of my Door Checks about to be dropped in my Greased Lighting spa, so I'll start there.
Post heating/scrubbing:
I then painted them, for the heck of it. My driver's door check mount has a slight stress crack, so I made some strengthening plates from stainless steel plate:
A little "after" shot. I'll skip the details, but I also cleaned the door accordions and door light switches (and their accordions) in a similar manner. I had to purchase a new driver's door switch as I accidentally broke off the second tab for the door chime. Which I almost immediately removed and then disconnected again because it's the most horrid noise ever - evidently it's been broken for a long time and I just never knew it. That was $10 that didn't need to be spent...
Ok, jumping out of chronological order for just a bit here, but while I had the hood off, I took the opportunity to undertake the C101 connector elimination a la Cruiser54's wonderful Renix-site.
Starting off:
As *everyone* always says after they do this, it's not at all hard, but I'll admit that it is intimidating. Not because butt-connecting wires is hard, but because you know if you screw it up then you've got a big ole problem. I likely over did it, but I used both heat-shrinking and low-temp solder (integrated) butt connectors that, when heated, melts the solder and joins the wires AND an extra layer of heat-shrink tubing over that. Another thing that I did differently than most people was to take out around 12" of excess wiring that was just in place to place the C101 connector closer to the side of the bulkhead. Not necessary, but gave it a cleaner look. Note: I would not suggest trying to remove the extra wiring unless you have the hood off, unless you want to destroy your back.
And the after:
And since it's in the above image, I'll post a better image of the refurbished/repainted cruise control servo:
Somewhat of an out-of-order tidbit is this wing window. You might ask yourself, "Why is he posting just a pic of the dumb wing window? Well, I'll tell you boys, it's because getting that d**n seal back into that channel was a solid pain in the butt. I've still the other one to do as well. I think now that I figured out something that worked (plastic body panel pry tools) that it may not be as bad, but I'm not looking forward to it...
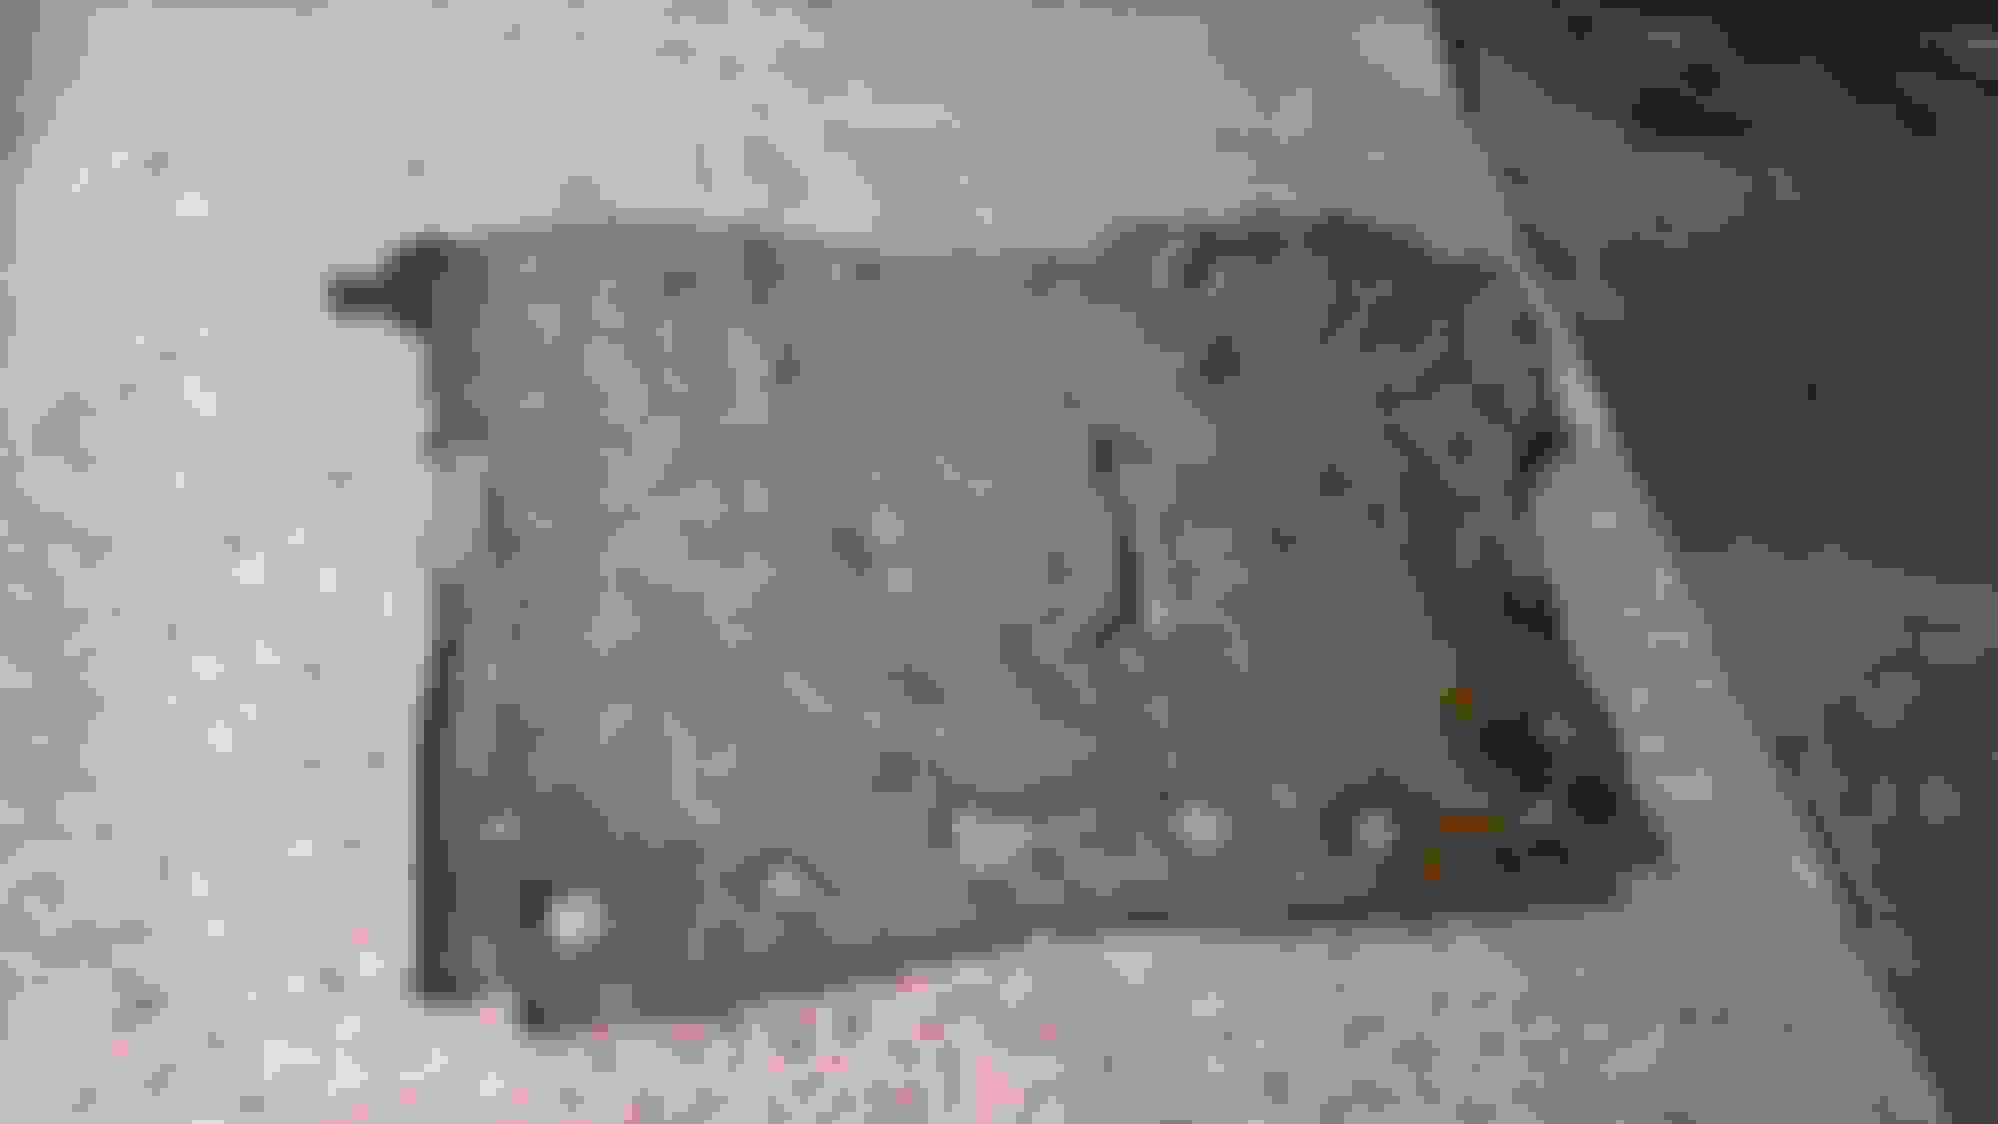
So one thing I noticed about both the front and the rear bumpers (front being an OEM unit) the rear was a re-pop, is that the entire interiors of both were completely rusted out. This rot then spread around to the front through holes for the bumper ends/other trim. Obviously, no company is going to spend the time to mirror-chrome the parts that no one is going to see, but they also didn't do any kind of (long term) treatment to prevent corrosion. So as I had to replace the rear bumper, I decided that I would to so. I wiped the whole thing down with acetone and then taped off the holes in the bumper. I then POR-15'd the complete interior side of the bumper (two coats) followed by a coat of flex-seal, for the heck of it. I also got some of the ends where it would be covered by the bumper end caps:
Couple of shiny areas in this shot where I noticed I was light on the Flex Seal in some spots:
Of course I don't know if this will help or not, but I can't imagine that it can hurt.
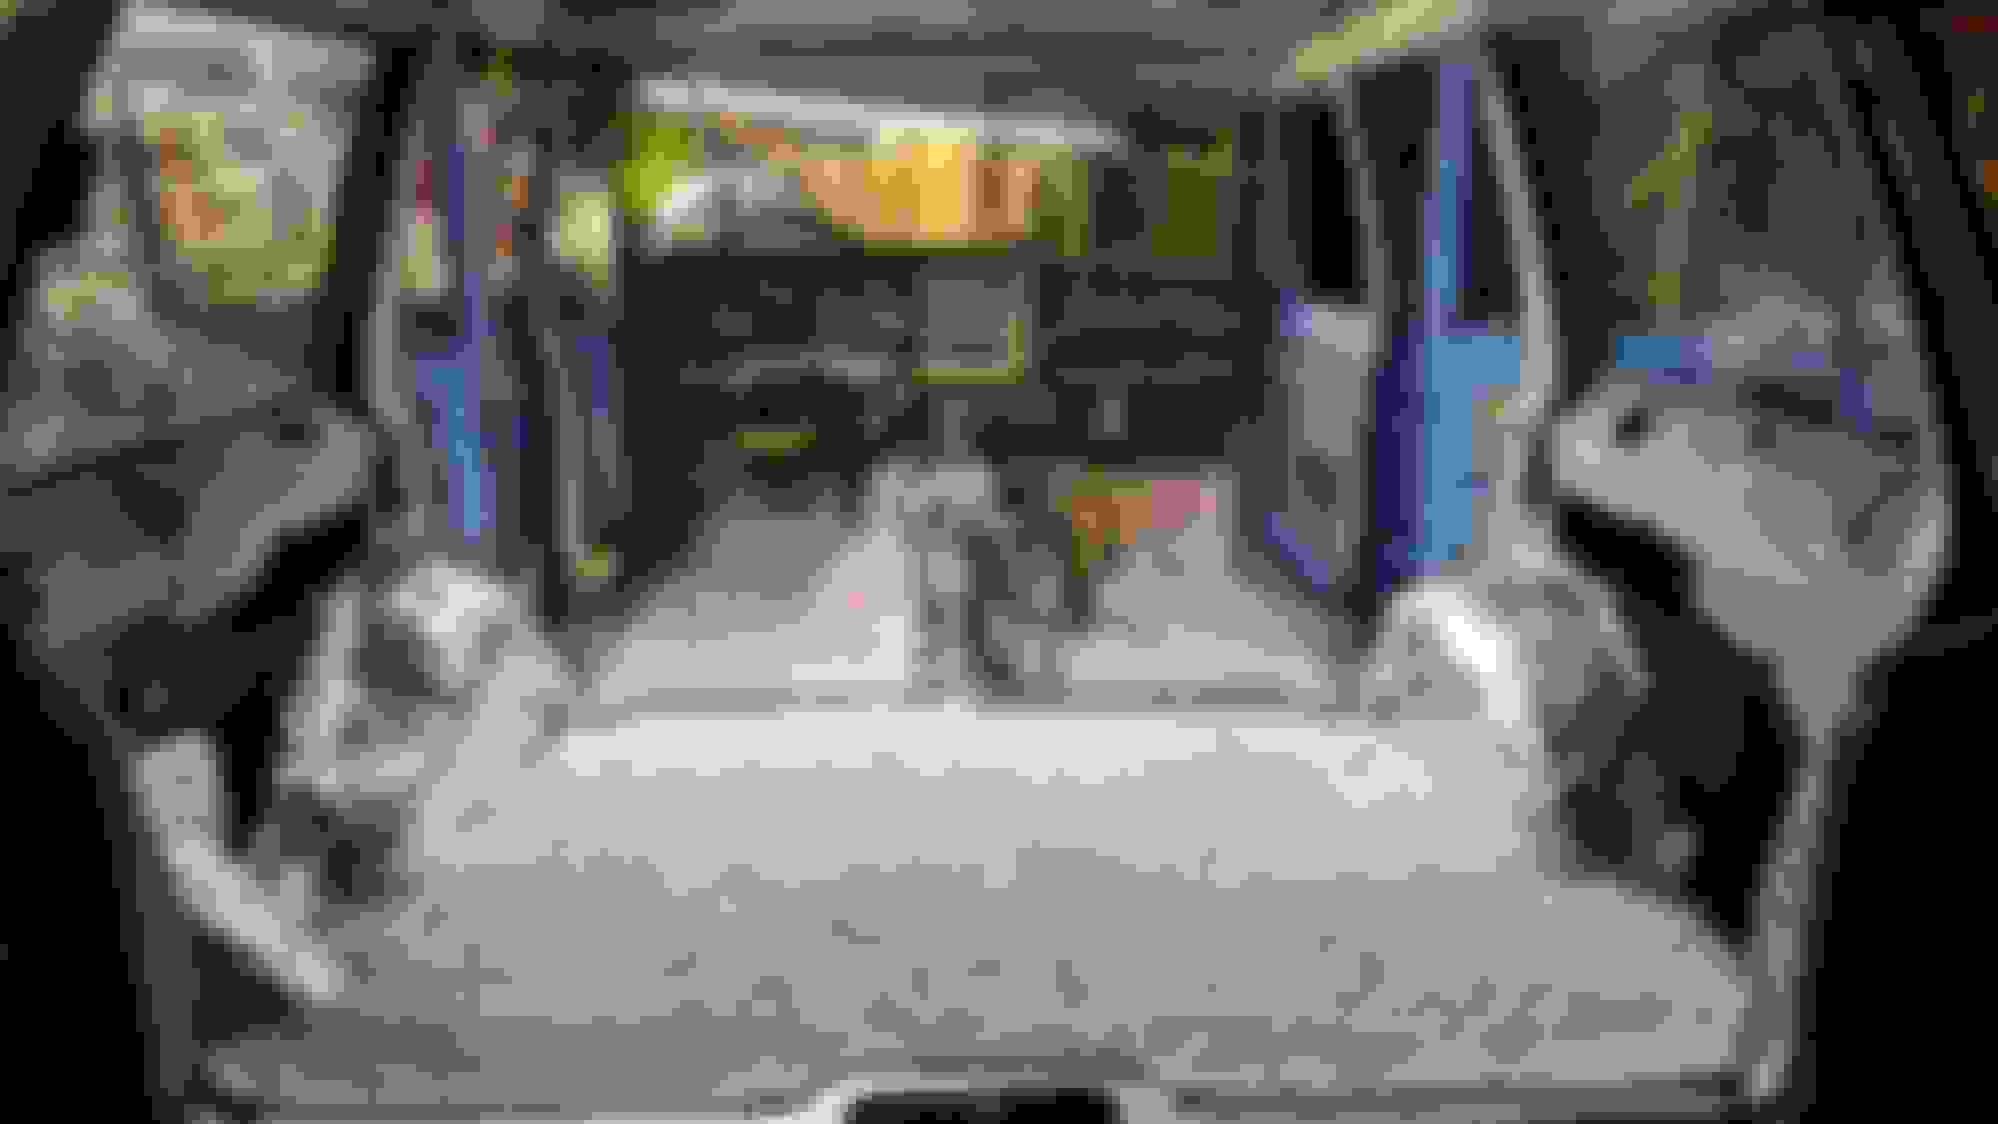
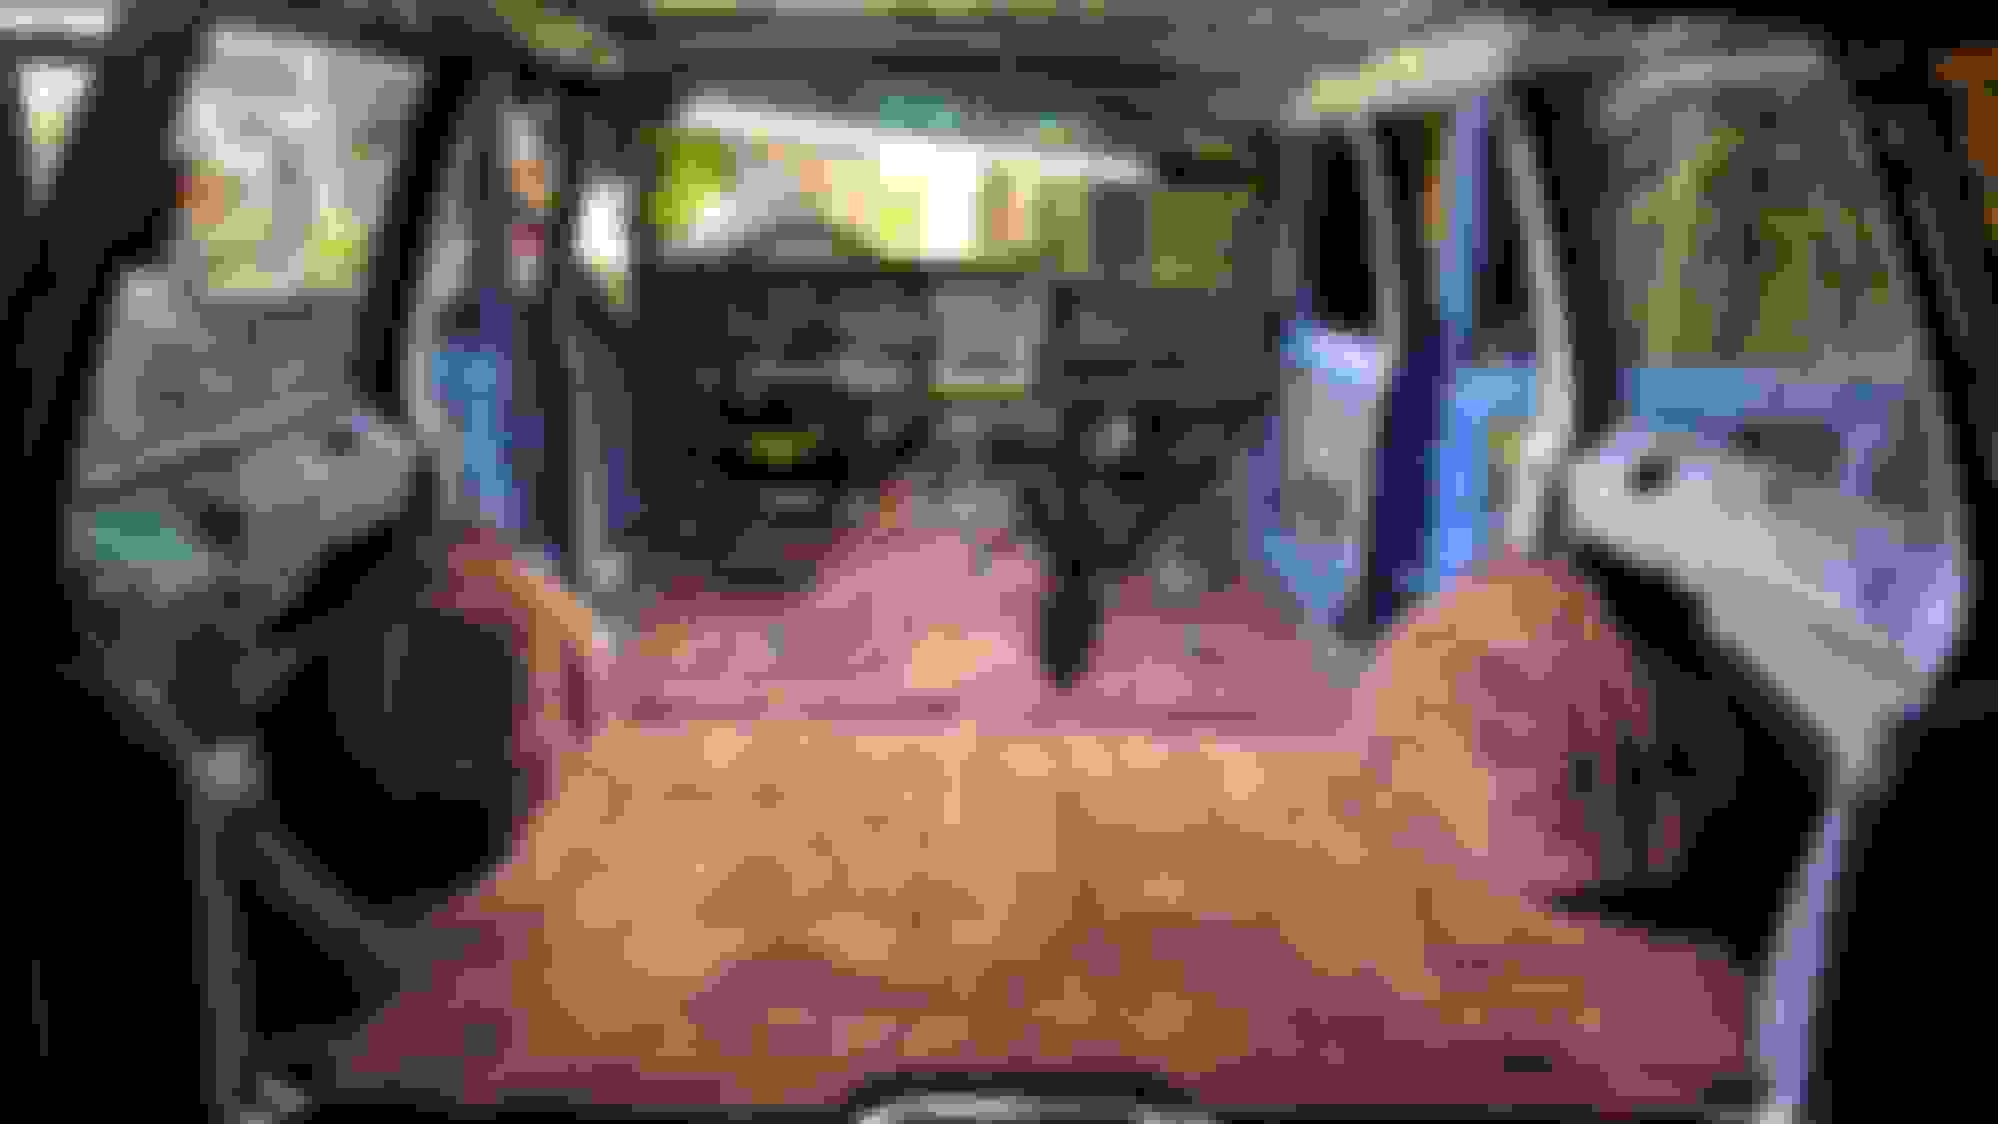
So since I've had the Jeep, there have always been some little bleached-out spots in the rear cargo area. A previous owner must have bought a leaking bottle at some point and just lived with it. It always annoyed me and I have constantly told myself that I'll re-dye it one day. Well, I finally did. I picked up some maroon liquid dye and used a small hobby brush to fill in the bleached areas, dabbing and agitating the areas with a blue shop paper towel. I'm very pleased how it turned out. It's not dead-nuts perfect, but it is a lot better. It's even better in person than in the "After" image, but the phone kept picking up a larger variance in the color. Unless my eyes are shot, I reckon..
The "Before". There is even a spot in this "before" shot that I did as a trial. It's about at the 5 o'clock of the lowest bleached spot.
The "After". As I mentioned, that spot in the middle where it's noticeably different post-dying isn't so bad in person. There are actually about 5 other spots in this "after" image closer to the passenger side that I fixed that you can't see nearly as well.
Alright, so I'm getting closer to doing the vinyl woodgrain on the sides of the Jeep, which is preventing a few things and slowing me down quite a bit; I can't put the windows in until the new vinyl on, because the regulators will get in the way of my hands while trying to tighten down the nuts, can't put the interior handles back in because of similar issues, etc. So last night I started to lay out the groundwork to make the patterns I need for the woodgrain. Using a carpenter's pencil to trace was working "Ok" but not great. Then I had the wonderful idea to grab some of my daughter's sidewalk chalk - that did the trick!
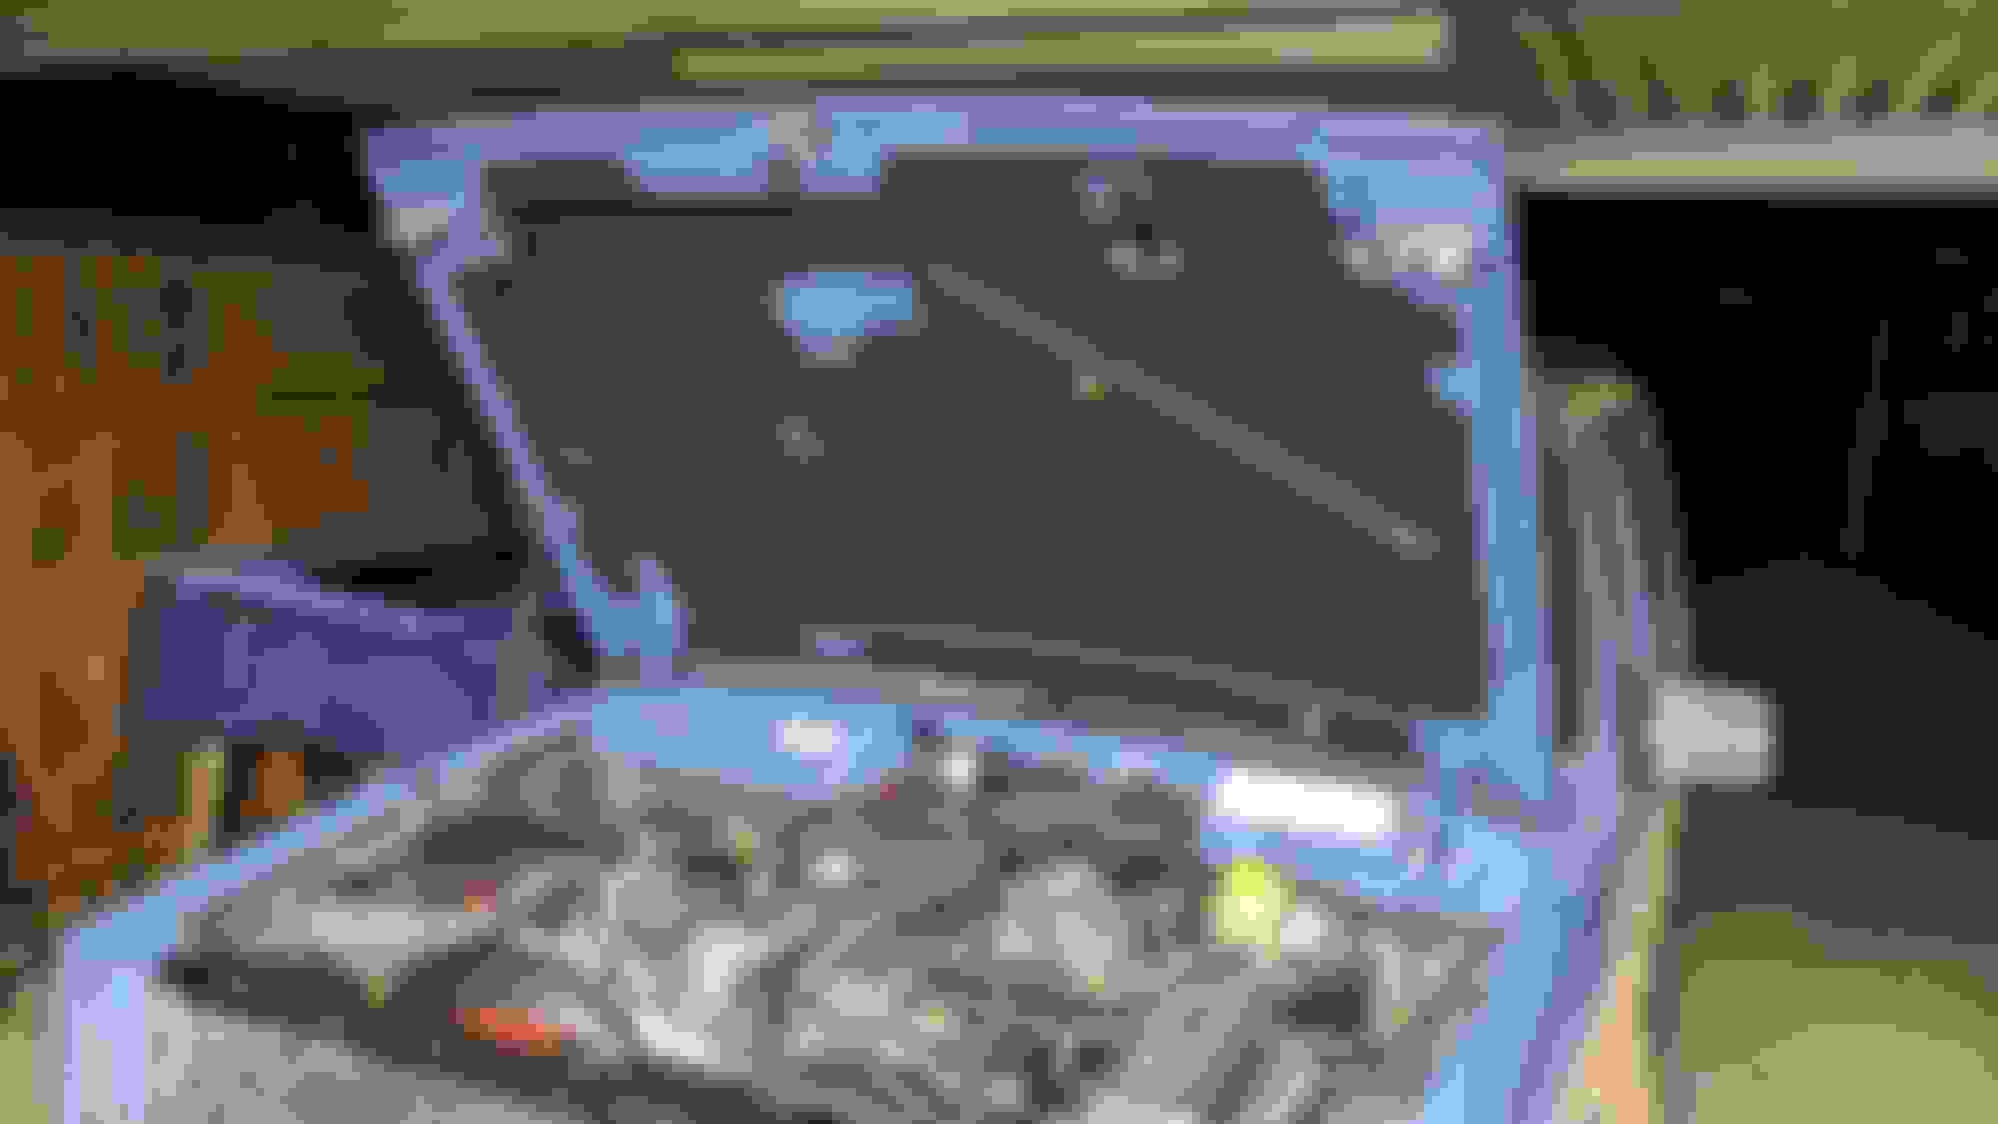
I also got my hood back from the painter. Only problem was that my neighbor(s) that I can usually count for a helping hand were otherwise occupied, not to mention our current "6ft" rule that we are all trying to observe. However, I decided I could rig a way to do it myself. I was right, I was able to do it, but it wasn't all that easy and I got lucky that I didn't damage or scratch anything. For future reference folks - wait for a buddy...
I then went on to add some 80mil Noico sound deadening material to the hood and added some of the remaining Frost King duct insulation over the Noico for some thermal protection - I ran out and will need to go back later and apply some more.
You sharp-eyed fellas might notice the pretty, new yellow-chromate plated hardware I used...it purty. I like fresh hardware, I especially like stainless steel and yellow-chromate hardware. I have also added a new cowl seal, re-installed my reproduction barcode decal, the NOS safety hook catch bar, powder coated upper radiator bracket, and POR-15'd hood release pivot. And of course, the crowning glory, the new hood insulation...

 03-16-2020, 12:15 PM


 I have also added a new cowl seal, re-installed my reproduction barcode decal, the NOS safety hook catch bar, powder coated upper radiator bracket, and POR-15'd hood release pivot. And of course, the crowning glory, the new hood insulation...