When you click on links to various merchants on this site and make a purchase, this can result in this site earning a commission. Affiliate programs and affiliations include, but are not limited to, the eBay Partner Network.
If you want to sell one those extra chrome rear bumpers let me know. I want to replace my black bumper.
Pat
Pat, I'm happy to just send you one for free - just pay the shipping. I will note though, that both of them have some imperfections, hence my reasoning for replacing them. PM me your address and I'll get a shipping quote. I could probably get it mailed out as earlier as tomorrow.
Love the progress on your restoration and thanks for posting it up. I'm curious, and I hope I didn't miss it, but did you manage to find the source of your water intrusion into the passenger compartment?
Well fellas, been awhile since I've been able to do an update. Sadly, my wife's mother was taken to the hospital in late-April and it was discovered she had advanced lung-cancer. She fought hard, but ended up losing the battle. So the whole deal slowed my progress for quite awhile while we were dealing with that whole sad situation. Furthermore, the loser that I had paid to paint my fenders, rear hatch, hood, and front clip just continued making excuse after excuse as to why he hadn't completed painting my parts. I finally got fed up with him and went and got my parts. Of course he didn't have my money anymore - being a loser I didn't really expect it anyway - so I took his cheap Husky HVLP gun and told him he was lucky I didn't call the police when he tried to object. Unfortunately, I forgot to grab the front valence that goes between the two front fenders and his number is now disconnected, so I'll be needing to source another one (if anyone has a parts Jeep laying around and has one, please let me know.
That said, I was done trying to have others paint my parts and decided to just do it myself. I've never used 2k paint before, painted any auto parts before, nor used an HVLP gun, but I figured if that dips*hit could do it, then I'm sure I could figure it out. I then proceeded to sand the parts down again, as the guy had done a crappy job on it, and used a 2K primer from a can (Eastwood) on all the parts. After that, I wet sanded them again and filled any divots or dings with glazing putty, followed by an additional coat of 2k primer. I did some research and figured out the basics of a 2K paint using an HVLP gun - the whole process ended up not being as difficult as I had imagined. That said, no one is going to be giving me any awards, but I am pretty pleased with the way it turned out and frankly, it looks better than the paint job on the rest of the Jeep. Lesson learned on trying to save some money on paint in the future. But it is what it is..
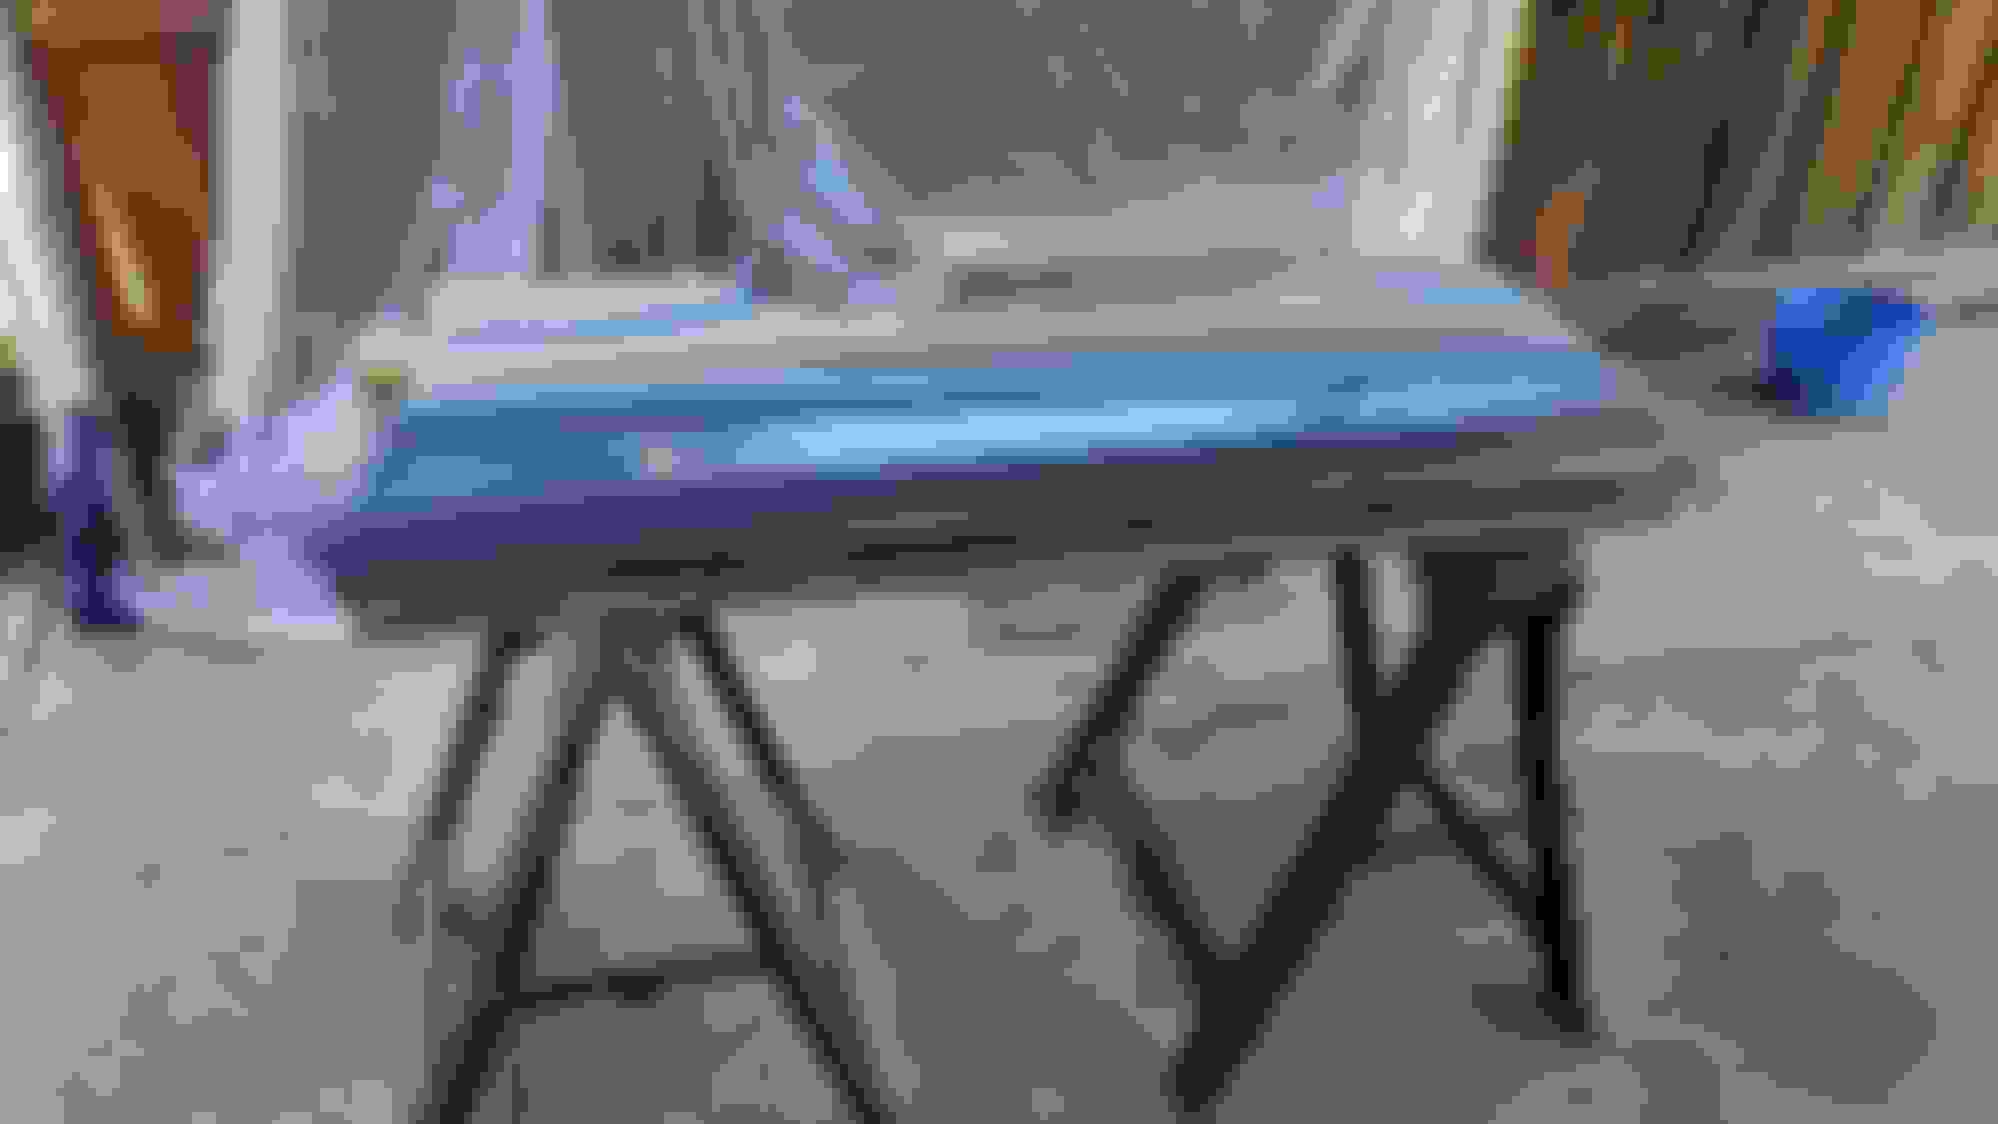
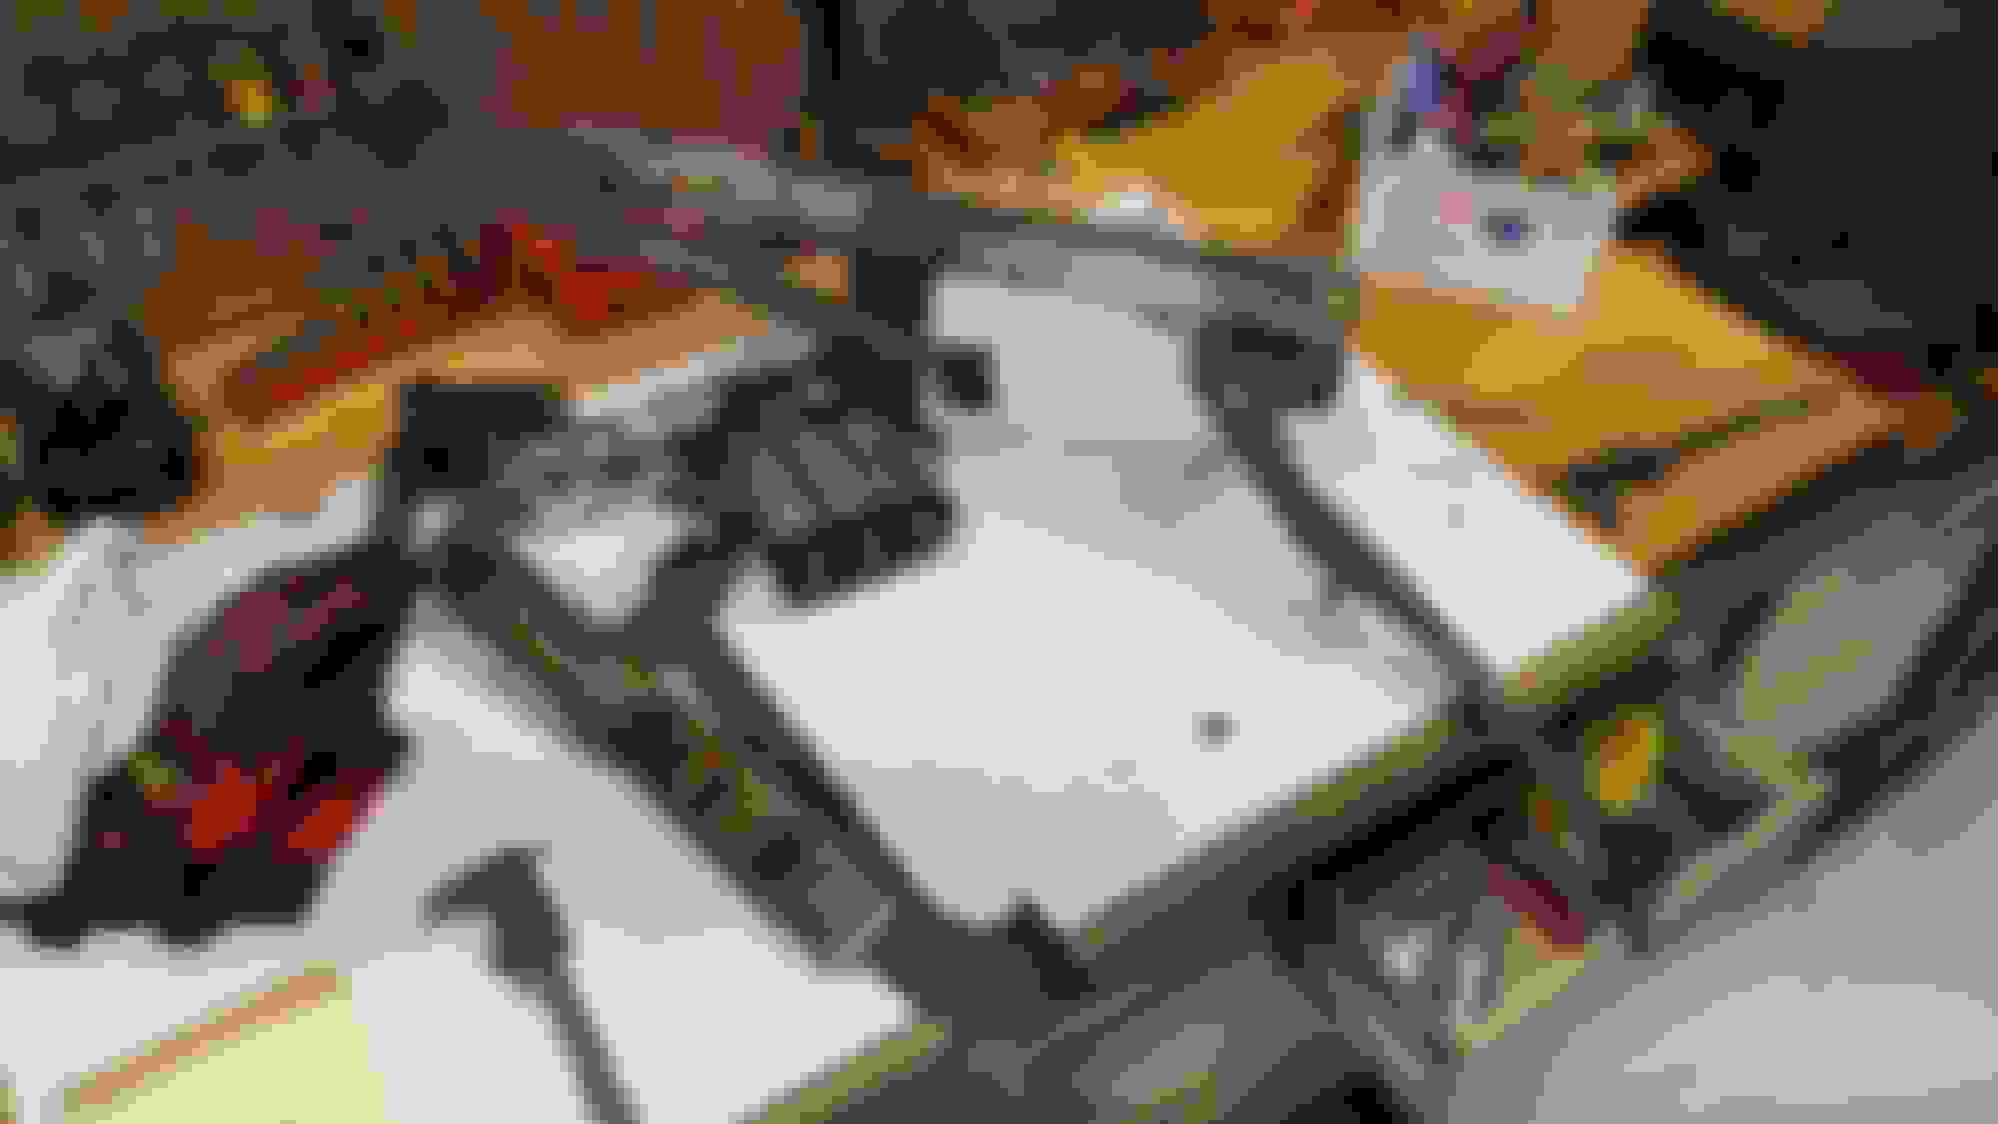
Here are a couple of pics of the process, prior to clear coat:
For those that have painted before, you know that there is a lot more work to do after the paint/clear coat has dried. Orange peel. Apparently, professionals in closed environments and with better equipment, are able to prevent or minimize orange peel, but I had no such luxuries. So far I've only wet sanded, compounded, and polished the front fender, front clip, and hood so I could get the front end back together. I really wanted to be able to get some additional parts out of my garage and wanted the "win" of having at least a semblance of completed vehicle sitting in my driveway again...it's been a long time since I could back in!
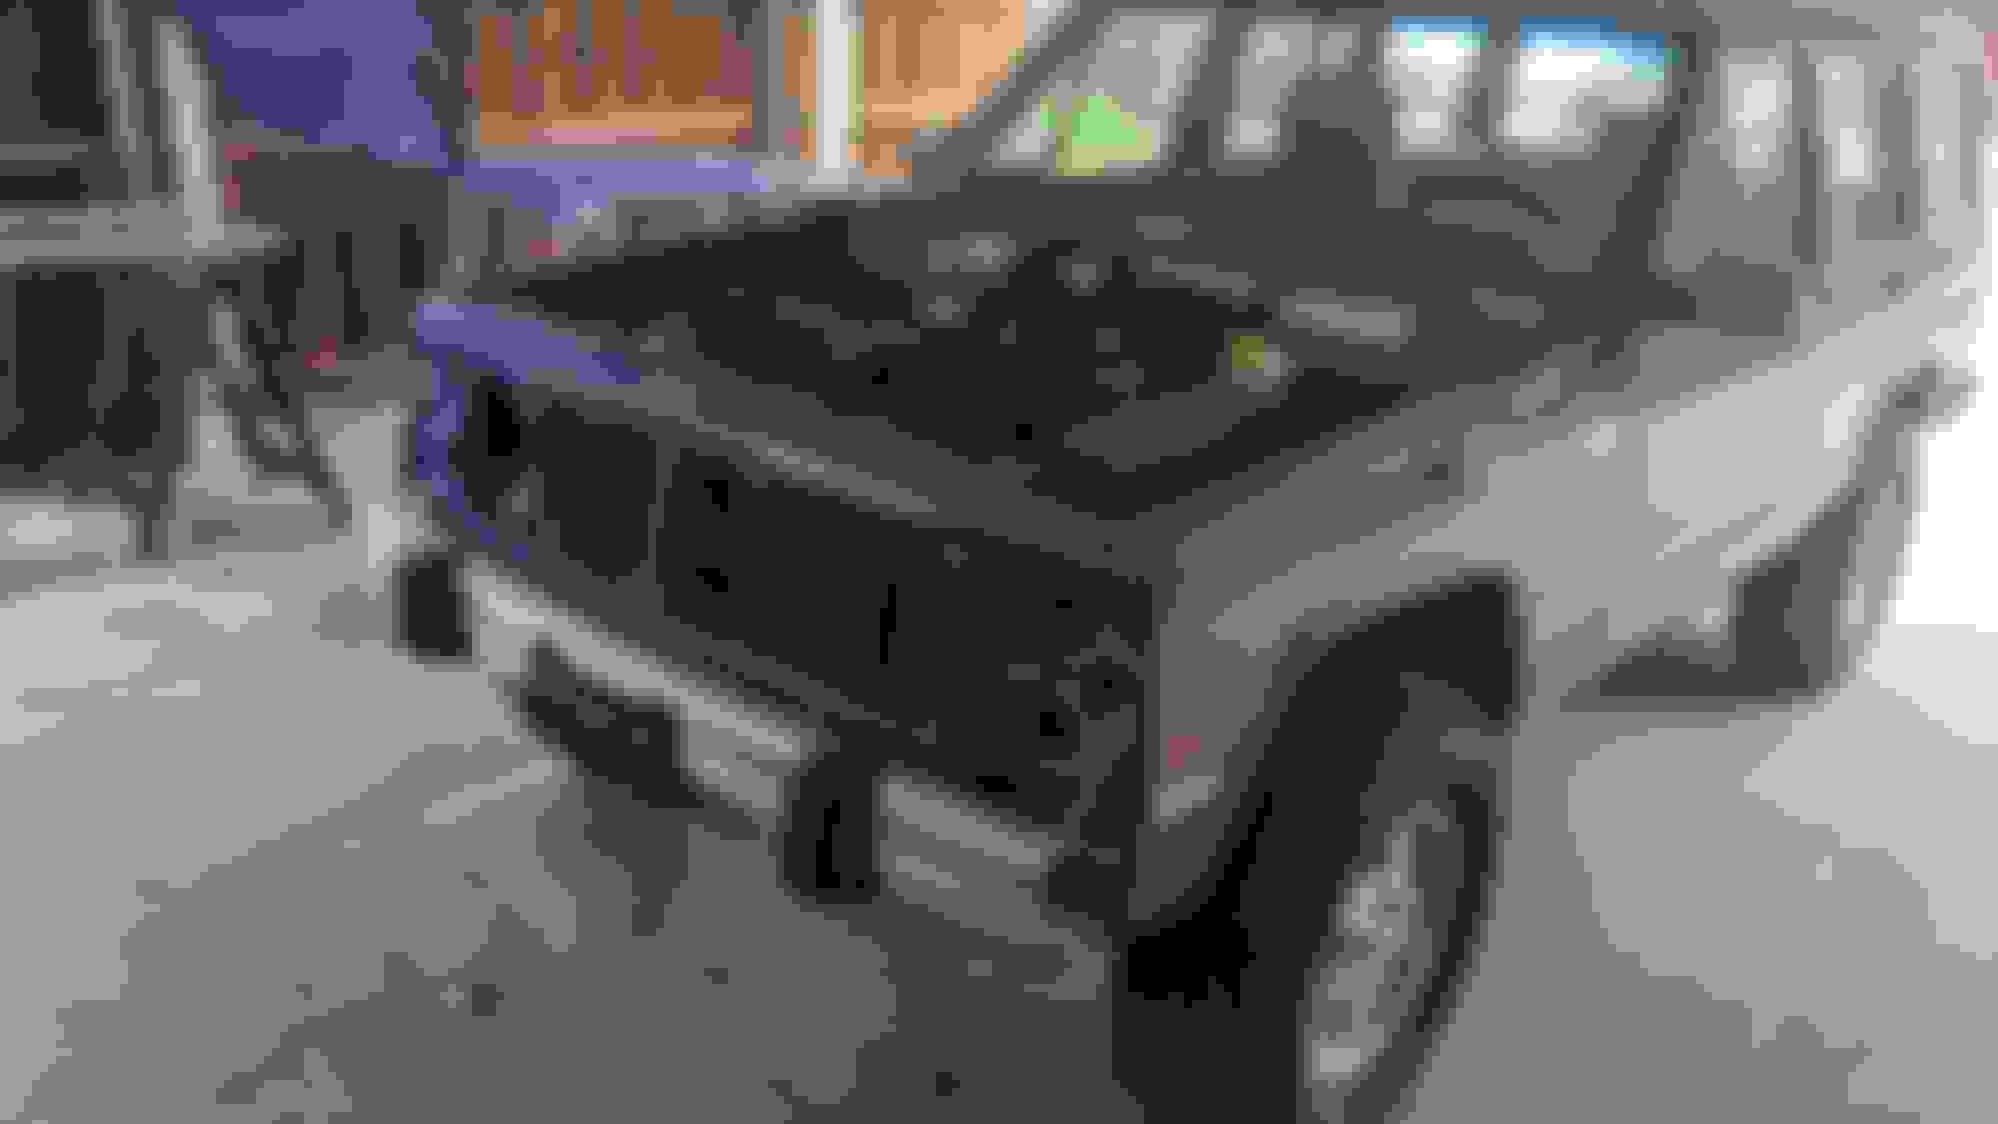
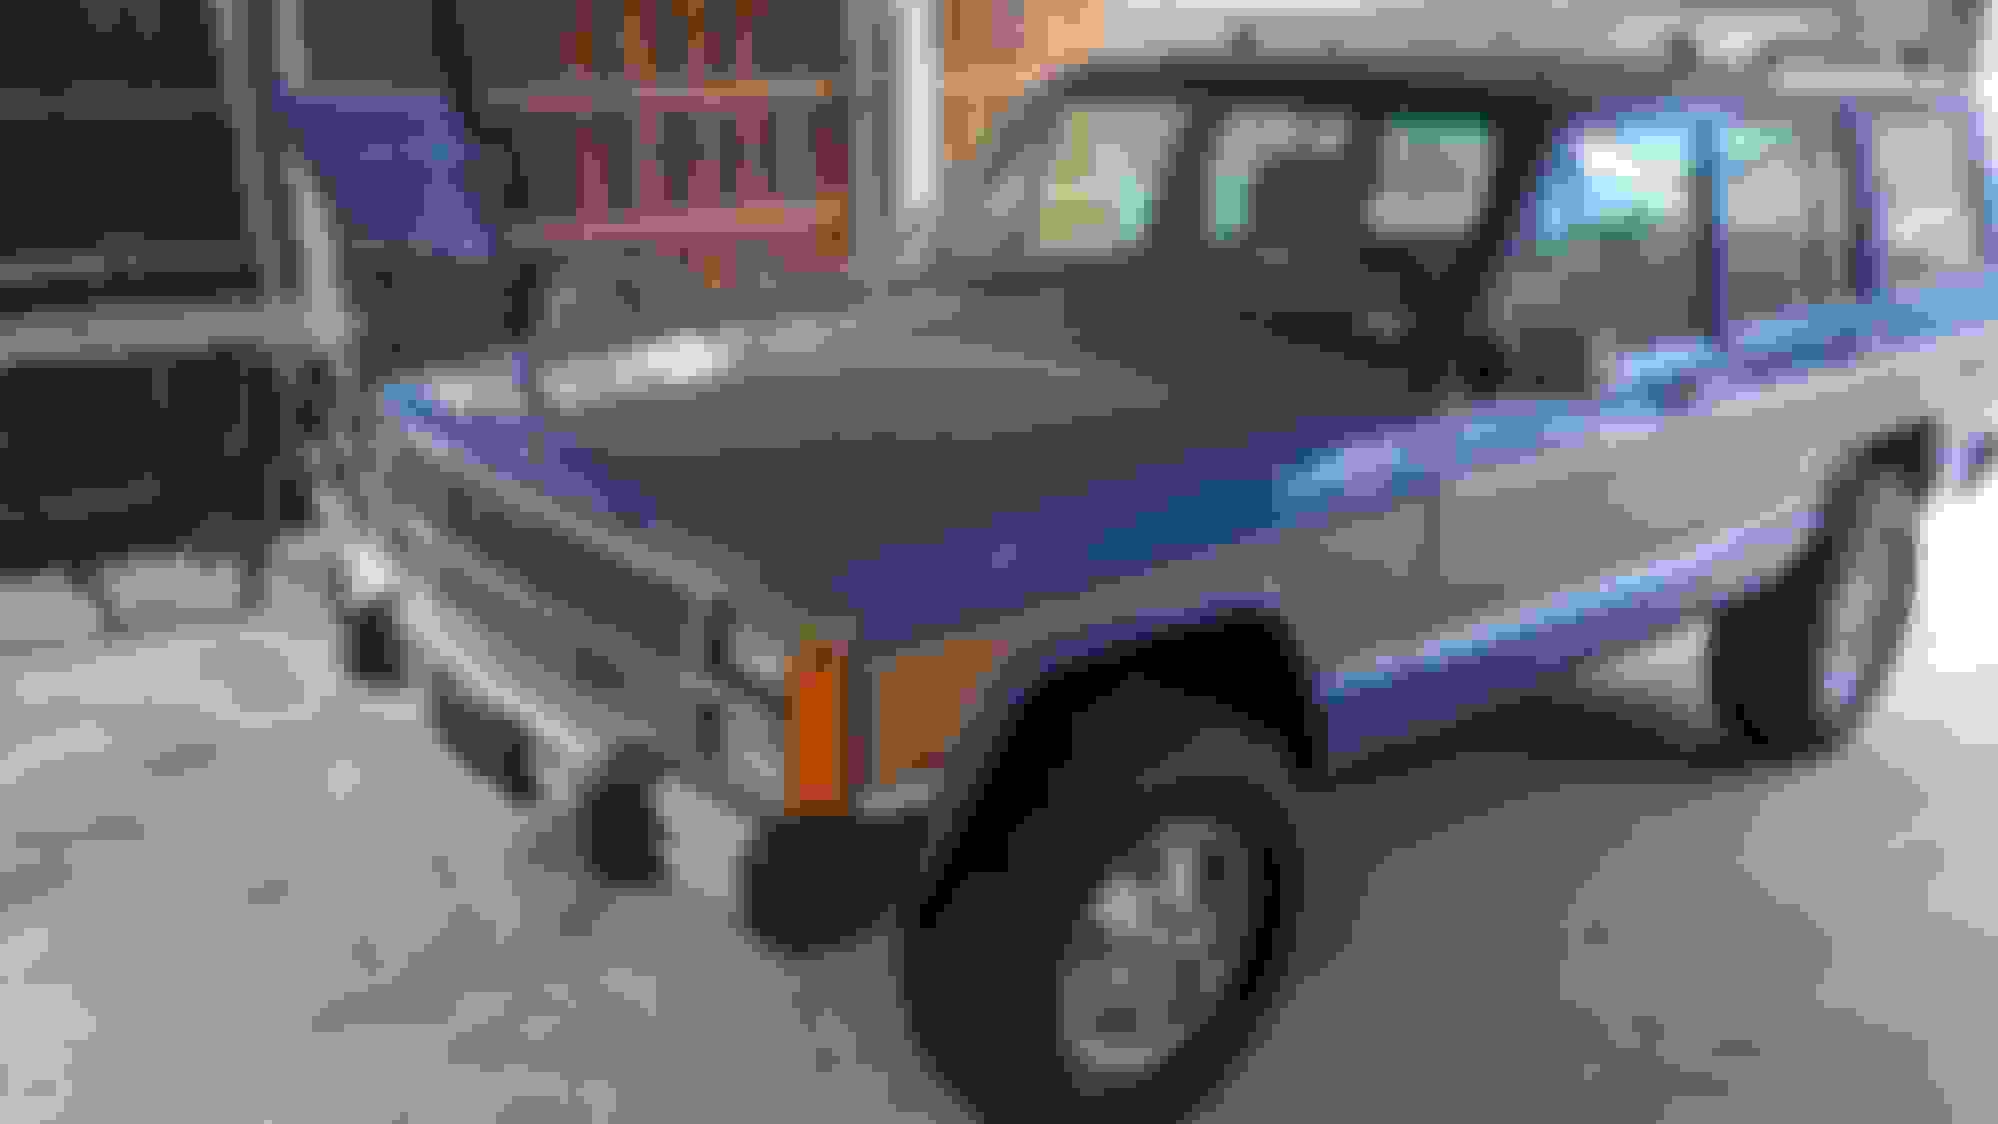
Here is a pic of the front clip and fender mocked back in:
And then this afternoon, I went ahead and got the bumper end-caps and, headlights, headlight covers, and grill back in. The headlight covers will be replaced before long and the grill is dirty and needs some love, but I just had to get it on before I called it a day. Beginning to look like a Waggie again!
Another thing that some folks may notice is that I have also got the front seats in again. This was also a bit of a process because I had removed and disassembled the electric seat frame for my driver's seat because several of the pivot points were worn out and had wallowed into more oval shaped holes rather than circular. I spoke with an older friend of mine is who kind of my machinist mentor who offered to help me fix some of these holes by opening them up and putting in some new, shouldered bolts to act as the pivot points.
That went well and wasn't too tough, but getting this ****ing clock springs back in with the proper tension was a complete and utter pain in the ***. And I mean it. It took me about 4 hours to just get those two springs back on. I ended up using two locking pliers, one on the center protrusion on the center of the spring and a needle-nosed version on the first pair to act as a leverage and rotate the spring into place. Sounds easy, but I assure you, it was not. I would not suggest anyone take these things apart...
And while I don't have any pictures, I did repaint both chair frames before reinstallation.
Last little update is that I finally said forget it and just replaced the old, already once cleaned, NSS with a new unit purchased on Amazon. For whatever reason, my NSS has been acting up for months now - I could barely get the Jeep started. I had to rock it back and forth. Wiggle the shifter, put it in neutral, park, blah, blah, blah to get the thing to start. Starting took up to 3 or 4 minutes or more. So the new one went in easily as could be, but for whatever reason, which I have yet to fully sort out, it will only start when in park. I get nothing when when I put it into neutral. I also don't know if I have reverse lights yet as I don't have my taillights hook up at this time. I'll find that out soon enough though. One thing I will note though, is that it seems I don't have much "adjustment" play in this new NSS, so I may need to take it out and compare the two adjustment holes to see if they are the same size.
I was fortunate with my seats not to have any worn pivots. I don't have the power seats, but I do have the manual sliding/pivoting seats- or what ever that option was called. My problem was the front of the seat frame where it bolted to the floor rotted out, so I had to reconstruct the front feet. Of course, like you, the entire frame got a new coat of black paint and light machine oil at the pivoting parts.
By the way, I read through all of this and I really like your restoration, a lot. I've put a lot of time into mine, but I think you have a whole lot more time into yours. I just might copy some of your ideas!
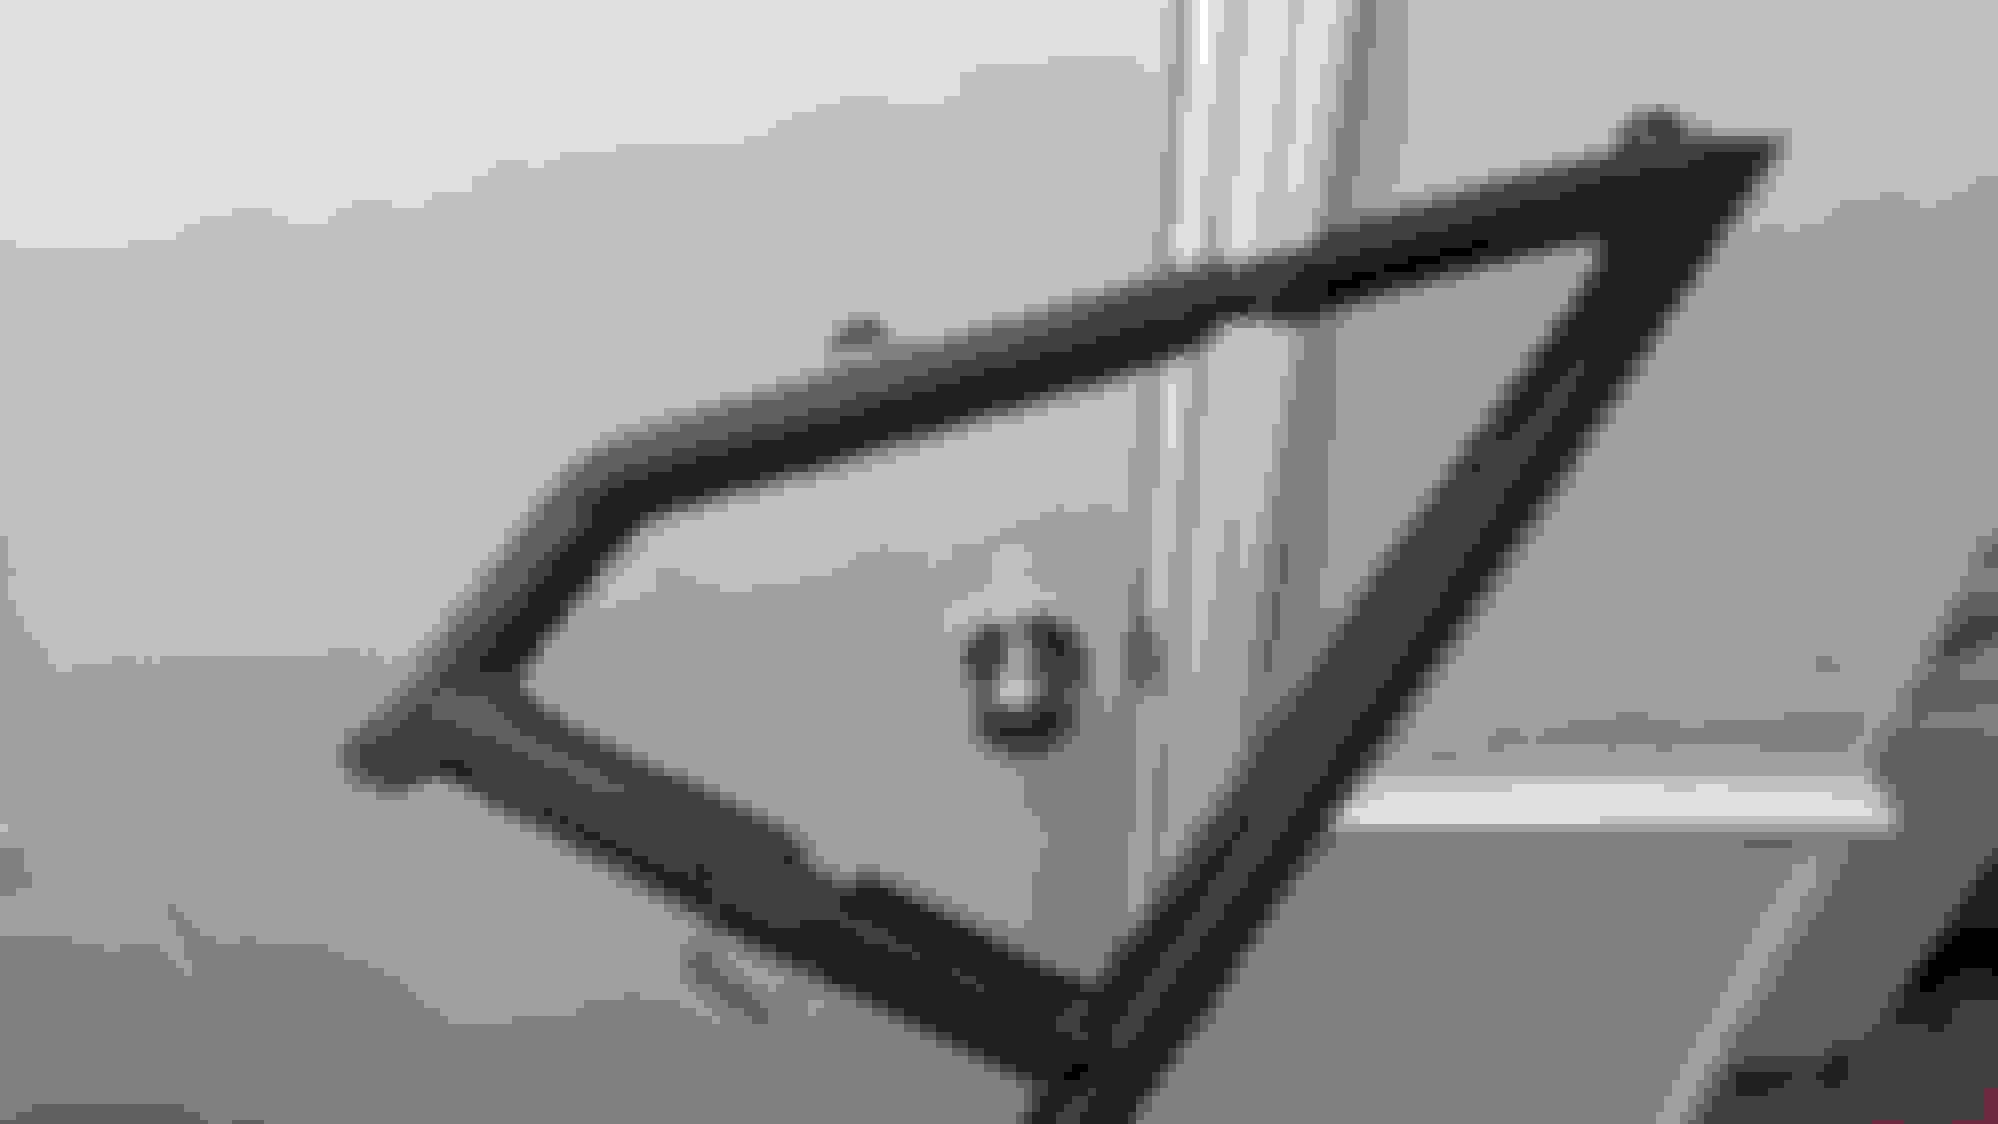
Somewhat of an out-of-order tidbit is this wing window. You might ask yourself, "Why is he posting just a pic of the dumb wing window? Well, I'll tell you boys, it's because getting that d**n seal back into that channel was a solid pain in the butt. I've still the other one to do as well. I think now that I figured out something that worked (plastic body panel pry tools) that it may not be as bad, but I'm not looking forward to it...
I am currently searching for replacement wing windows. My driver's side glass pivot is completely rusted out. My passenger's side is workable. I want to replace ALL the window seals/moldings.

 04-15-2020, 08:40 AM