When you click on links to various merchants on this site and make a purchase, this can result in this site earning a commission. Affiliate programs and affiliations include, but are not limited to, the eBay Partner Network.
Well, a little more progress today. When I was wet sanding the fenders, front clip, and rear hatch, I accidentally burned through the clear and base coat (seemingly in like about 2 passes, so I must not have had much coverage there when I painted the first time. Annywayy, I chose to view it as an opportunity to practice some additional painting.
Also, I really half-assed the paint prep on this front air dam - the one I picked up the other day at the THIRD junkyard I went to was already really beat up badly. I used some of that flexible bumper repair stuff made by Bondo. It worked pretty well, actually, but I got kind of lazy when sanding it down level and tried to use an orbital sander. All I accomplished was to really screw up the surface even further and cause gouging and other such issues. I've pretty much decided that I am going to have to look for one that came from the factory already prepped and painted and redo that one at a later date. This one will get me started, however.
I also wanted to document another project that I recently tackled, and can happily say that I accomplished, was to install a relay headlight harness for the four-headlight (H4701 & H4703) set-up that we have on these Jeep Wagoneer XJs. I did as much research as I could before attempting to do this, and I found *tons* of information on how easy and "plug and play" this is for the two-headlight Cherokee XJs. Unfortunately, for our four-headlight XJs, there are more questions than answers floating around the internet. So before I tackled it, I did as much research as I could to completely understand what was going on within the new circuit, and what I would need to do to make it work with the Wagoneer. I've also been meaning to do this for a number of years, but until fairly recently only the two-headlight harnesses were available. Luckily, the Wagoneer XJ isn't the only vehicle that was fitted with these headlights - they were also used on some mid-80s Chevy pickups and Camaros. The following these vehicles have provided enough of a market for some folks to decide to make them - lucky me.
Alright, enough explanation, here's what I did - sorry no pics, I had my hands full trying to make it work - but I did get it to work:
Voltage to headlights:
Before: 12.16v, engine running
After: 13.3v, engine running (matching the battery)
Note: Most Cherokee XJ write-ups/Youtube videos show the relays being mounted near the batteries. I don't know if the Cherokees have the exact same wiring harness set-up, but the main connector to the front clip for my Waggie comes through a hole in the bulkhead on the driver's side, behind the headlight, so this is where I ended up mounting the relays. I did need to extend the power cable, which I routed alongside the harness that runs over to the passenger side headlight.
OEM Wiring:
Headlight - Low
Green - Positive
Black - Negative
Headlight - High
White - Positive
Black - Negative
2nd Note: The Black Negative wire that comes through the main bulkhead connector runs up as a single wire to approximately the middle of the OEM harness wrapping in split-loom, where it is then crimp connected to a total of eight additional black and grey wires, four per side. Four of the wires double back on the original black wire and go to 1) the turn signal, 2) the amber driving light on the the corner, 3) the Low headlight, 4) the High headlight.
Relay Harness (note, this may vary by harness brand):
Headlight - Low
White - Positive
Black - Negative (Black wire is shared on the harness)
Headlight - High
Blue - Positive
Black - Negative (Black wire is shared on the harness)
Installation:
I chose to retain the OEM main bulkhead connector, so I left it in place, but cut the Green, White, and Black wires on the front clip side of the harness (ie, if the bulkhead connector was connected, I cut on the front clip side of the connector). I then cut the three prong female connector off the relay harness and used heat-shrink butt connectors to attach the new new quick-disconnect connector to the Green, White, and Black wires to the White, Blue, and Black wires on the harness. Now this is where I messed up - on my 1st try, I only connected the aftermarket harness to the OEM harness's black (ground) wire. This caused my headlights to function, but the turn signals and amber corner lights did not function...which makes sense because they had no ground. So Round 2 - I cut out the butt connector from the black wire and then re-inserted the original Black Ground wire from the OEM harness AND the Relay harness Black Ground wire into the butt connector (on one side) and the black wire from the OEM harness into the other side - making it a 1 into 2 connection.
To Clarify, it looked like this in the end:
OEM Harness BLACK butt-connected to Relay Harness BLACK ANDOEM Headlight Harness BLACK
OEM Harness GREEN butt-connected to Relay Harness WHITE
OEM Harness WHITE butt-connected to Relay Harness BLUE
This installation was quite a bit more involved than the "Plug & Play" it is for the Cherokee, but I'm glad I did it. The headlights are noticeably brighter than before.
Oh, lastly, since I know folks are likely to ask - did I splice in the OEM H4701 and H4703 female headlight connectors into the new harness? I did not. For the Lows, you are able to (admittedly) force the two prongs into the two (used, POS/NEG) plug receptacles. For the Highs, the two holes that have the spade connectors (one of the three prong holes is not used) are not situated in a manner that you can force the two prongs into. What I did was to just use a small (tiny) flathead screwdriver to push the spade connector's retaining tab down and slide the spade connector out the back end of the three-prong plug. I then simply inserted it into the other receptacle (unused for the highs) hole, which then allowed me to install (ahem, forcibly connect) the high headlight in the same fashion I did with the lows.
So the reason I did it this sloppy way is ONLY because my plans are to replace the OEM-style sealed beams with the LMC truck H4701/H4703 "Euro-Conversion" headlights, which will use the connector that came with this harness: https://www.lmctruck.com/1973-87-che...csb-dual-150mm
Anyway, I'm sorry I don't have pictures, I know those help a lot, but I hope my description is useful to some!
You are correct, what I meant was a first light coat, to give the second, heavier coat, something to "grab" onto so that it is less likely to run. I mean it still will if you lay it on super heavy, but what I mean by "wet coat" is that you get a good layer of clear on it that will (hopefully" not have any dry or rough-looking patches. If you get worried that you are laying it on too thick, then it's better to stop and wait for about 5-8 mins and then hit it again with another coat. If you are shooting full gloss, it can run easier than a semi-or matte gloss, imo.
As I'm sure you know, when painting plastic, using an adhesion promoter before spraying your color coat really helps the paint stick. I prefer Krylon clear coats, ha!
That was the one thing I did not do. Use adhesion promoter. Which I am wondering if that was a bad idea.
I chose not too cause I am not painting plastic. The insets I am painting might be vinyl but I think they might actual be leather.
I can't tell. LOL.
I poked around at the my store to see what I could find in clear coats. Everybody like to word things differently.
Krylon Fusion has a Gloss, Satin, and Flat. If I had to guess thinking the Satin would be a semi clear coat.
Duplicolor, which we also sell, depending on which clear coat you use uses different terms.
Gloss for their vinyl/fabric one. Crystal and matte for their other clear coats.
If I had to guess the matte would be a semi gloss in their brand.
I used an application that most everyone has these days, MS Powerpoint, to recreate the original decal. I started with a blank document, imported the original decal and sized it to the correct size. After that I inserted lines and rectangles using a 30% pattern fill to replicate the original pattern in the bar code. This was a tedious task, but I'm pleased with the results. I've already mentioned that I got pretty lucky with the smaller serial number, only minor edits, but on the serial number under the bar code, I had no joy. For this one I actually had to zoom in and overly a shape (right triangle and rectangles) over each and every digit to replicate the original font-type as close to exactly as I could.
I'll admit, it's a pretty unnecessary detail, but I like personal challenges and learning how to do things that I don't know how to do. Anyway, I'm pleased with the result. I'm going to cut out and laminate one of these labels and re-affix it on the bulkhead. I'm kind of torn on whether to reinstall at a slant like it was or to make it square. Details, right?
What did you do with the driver's side jamb label with the VIN on it? Mine is completely illegable.
Ok, jumping out of chronological order for just a bit here, but while I had the hood off, I took the opportunity to undertake the C101 connector elimination a la Cruiser54's wonderful Renix-site.
Starting off:
As *everyone* always says after they do this, it's not at all hard, but I'll admit that it is intimidating. Not because butt-connecting wires is hard, but because you know if you screw it up then you've got a big ole problem. I likely over did it, but I used both heat-shrinking and low-temp solder (integrated) butt connectors that, when heated, melts the solder and joins the wires AND an extra layer of heat-shrink tubing over that. Another thing that I did differently than most people was to take out around 12" of excess wiring that was just in place to place the C101 connector closer to the side of the bulkhead. Not necessary, but gave it a cleaner look. Note: I would not suggest trying to remove the extra wiring unless you have the hood off, unless you want to destroy your back.
And the after:
I have yet to do this. My fuse box was more important, and I haven't had any issues with this connector... Y E T.
What did you do with the driver's side jamb label with the VIN on it? Mine is completely illegable.
Honestly, I haven't done anything with it yet - the guy that painted my Jeep removed it and I don't have any photos of what it looked like. I'm happy to reproduce it as well if you can give me a good, straight on image of yours. I can tell you now that it won't be perfect though. That one was only so close bc I was able to remove it and scan it in. I was then able to make the dimensions of the scanned label actual size and match them perfectly. But I can at least try to get something close enough if I have something to work with. What year is your Jeep again? I wonder if they changed over the years?
*Edit* nm, it's an '87 too, duh.
Originally Posted by ajpulley
I have yet to do this. My fuse box was more important, and I haven't had any issues with this connector... Y E T.
I actually had not had any issues either, but since I had the hood off already I figured I may as well do it as you'll never have as easy a time with the hood on. Frankly, I can't imagine how sore my back would have been had I done it with the hood on. There was enough stooping as it was without the hood obscuring light and access.
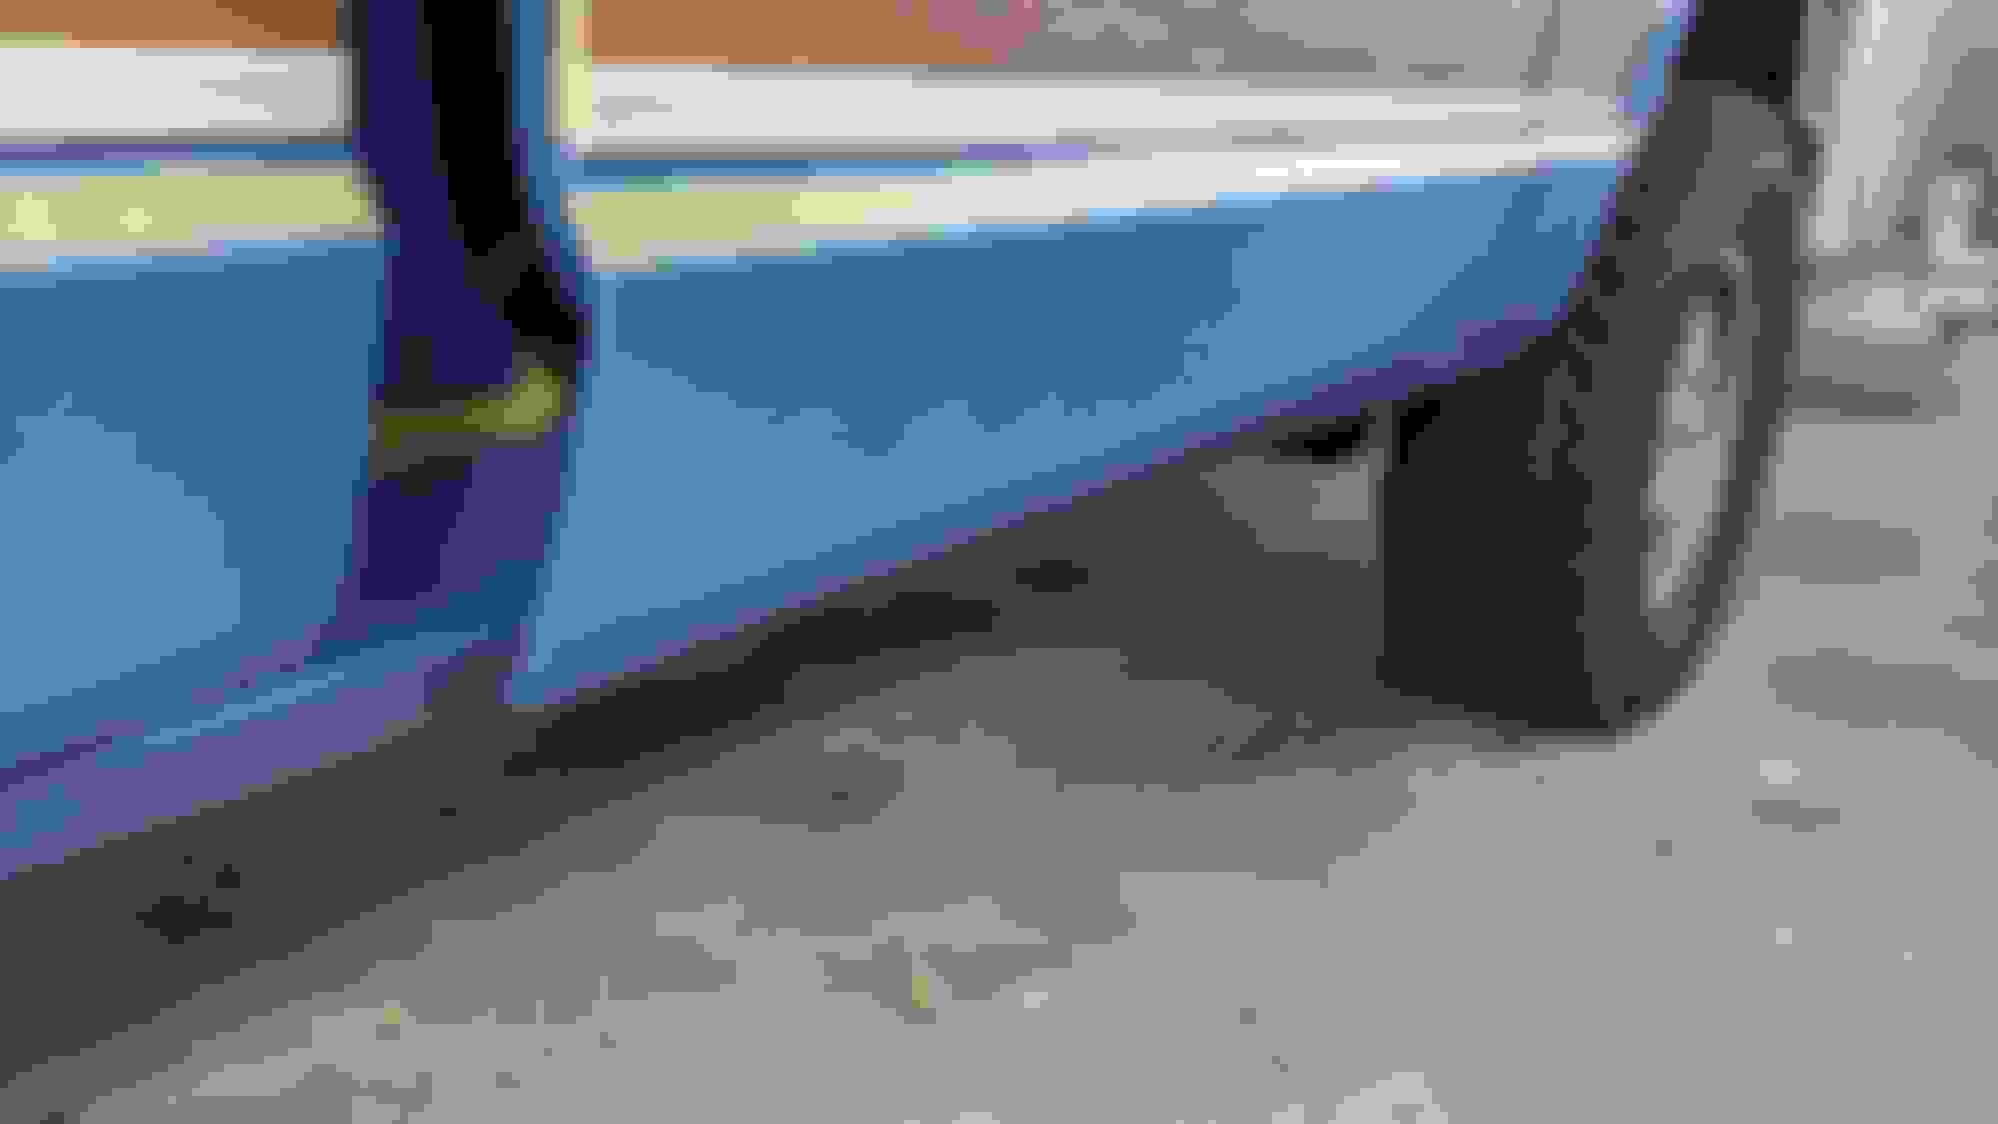
So this weekend I had time to finally get out and apply the Monstaliner along the bottom of the quarter panels and in the door jambs. I chose to go with the "tintable" Monstaliner and purchased some of the matching color toner for my paint code. In the directions, it was explained that it is important that the color used was *toners only*, no fillers/binders/hardeners, etc. All-in-all, it matched pretty well, considering it was mixed with a white-base. I will admit I was a little worried when I saw the color after I mixed it as it didn't match well at all, but it did end up matching close enough once dried. Application of the Monstaliner could not be simpler - really as easy as it's made out to be. The only thing I'll say is that the reviewers are correct - you need to order about 2-3 extra foam rollers because they just plain start to break down as you're using it. It wasn't really a problem for me because I did what the other reviews said and as soon as I started noticing the roller was starting to come apart, I replaced it. Luckily, if you do get any little bits on whatever you're rolling at the moment, you can just wipe it out with your finger and roll over it and it's unnoticeable.
Figured I would give you an idea of how the Color Coat lays down.
Ralph,
You were right, that stuff lays out beautifully. I snuck out at lunch today and hit two of my worst panels with the stuff. I wish I had before pictures because they were really quite bad. The rear qtr interior panel, while not scuffed or dinged up, was really really faded by the sun. The rear hatch bottom trim piece was in bad shape, scuffed and dinged and discolored badly. I did sand this one a little bit on some spots, but really, not more than a cursory knock down of the high points. The damn thing looks nearly new...
Those look great.
Guess you get what you pay for. LOL.
They going to match as is?
Or you going to have to do a little of your magic with the clear coat on them too? LOL.
I have been playing with the clear coat on some test panels that I did.
Figure follow your lead on that and see how they come out.
Just some of Duplicolor stuff I had lying around. Better but...
Was going to try the Krylon Fusion Clear Coats but thinking might try the SEM Clear Coats instead.
Ralph,
Yes, these match perfect without the clear coat trick. Which is great, because I hate messing with clear coats if I don't have to.
Glad to hear you're working on some test panels, that should help you get the look you want. The SEM paints are good stuff - I've used a few different of their products on this build and it's all good stuff and tough. All the black bumper pieces have been painted with SEM Trim Black. That stuff is no joke though - it's not like regular spray paint - whatever it is, use a respirator, regardless of whatever type of clear, well-ventilated environment you think you have, you'll need a mask. I didn't use one the first time and I had to go inside and call it a night. Have not had the same problem with their paint though. I think it must be different.
Yes, these match perfect without the clear coat trick. Which is great, because I hate messing with clear coats if I don't have to.
Glad to hear you're working on some test panels, that should help you get the look you want. The SEM paints are good stuff - I've used a few different of their products on this build and it's all good stuff and tough. All the back bumper pieces have been painted with SEM Trim Black. That stuff is no joke though - it's not like regular spray paint - whatever it is, use a respirator, regardless of whatever type of clear, well-ventilated environment you think you have, you'll need a mask. I didn't use one the first time and I had to go inside and call it a night. Have not had the same problem with their paint though. I think it much be different.
Funny you should mention the SEM Trim Black. Through my store I have access to some but not all SEM products.
Like I could get the black paint I used on the door panels but can't get the clear coats. Thinking we just started selling the stuff
and as time goes on will have access to more and more of their products.
I deal with the some freight and the specials that come in on overnight.
Anyway just this morning two cans of the Trim Black that somebody ordered came in.
I looked at it and said ooooh. LOL.
Wonder what this is like?
Now I know. LOL.
It's pretty good stuff, that's what it is! I'd say it goes on similarly to their color coats. Its intended purpose is for the exterior trim pieces that were originally black from the factory but have faded in the sun over the years. Granted the items I've sprayed have been pretty much in the shade under my car port since I painted them, so I can't speak to how long they'll last once I get them in the sun more often, but I will say that the finish is pretty darn tough and has held up to minor bumps from DA polisher I used on the Jeep and some soapy scrubbing to get the dried-on compound splatter off. It's a real nice matte black and replicates the OEM finish for trim pieces very well.
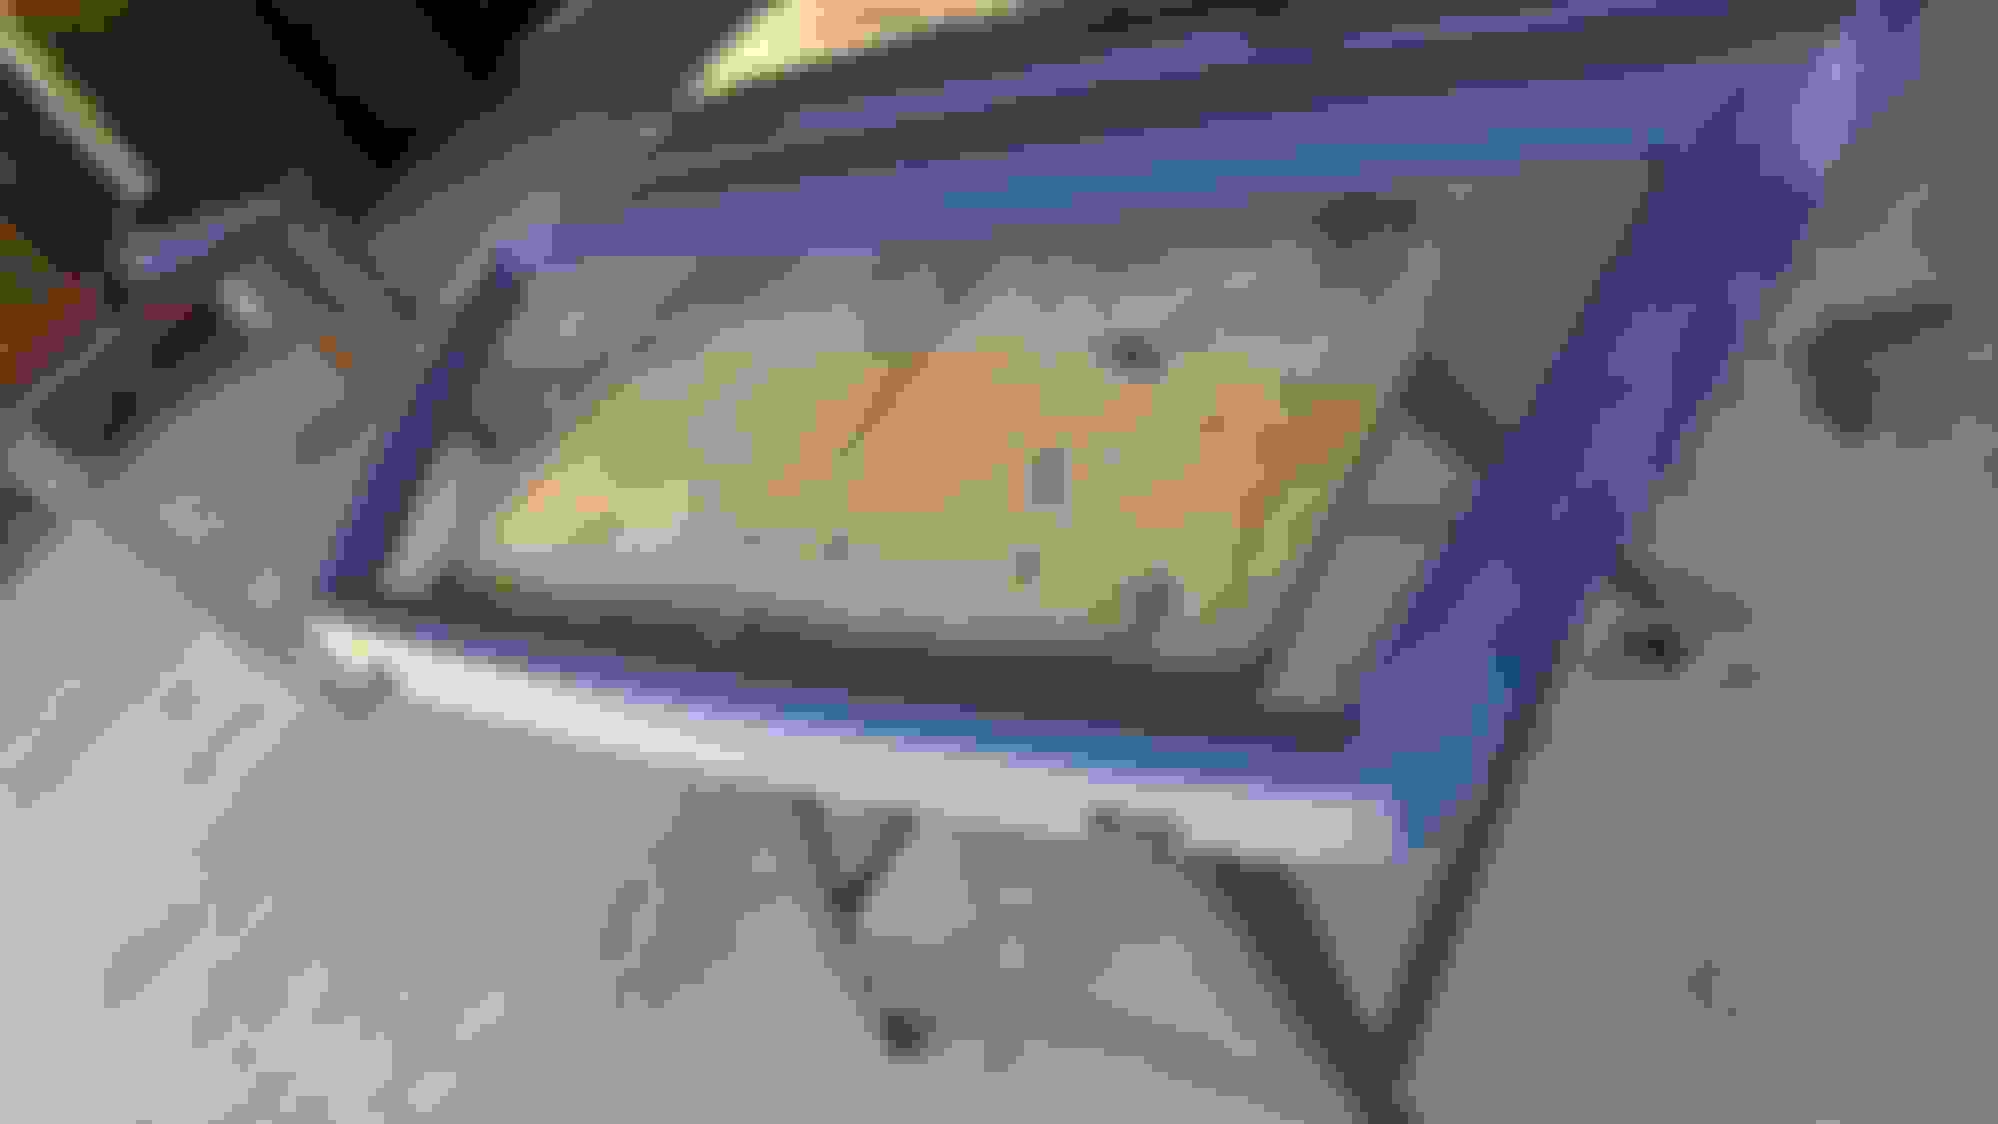
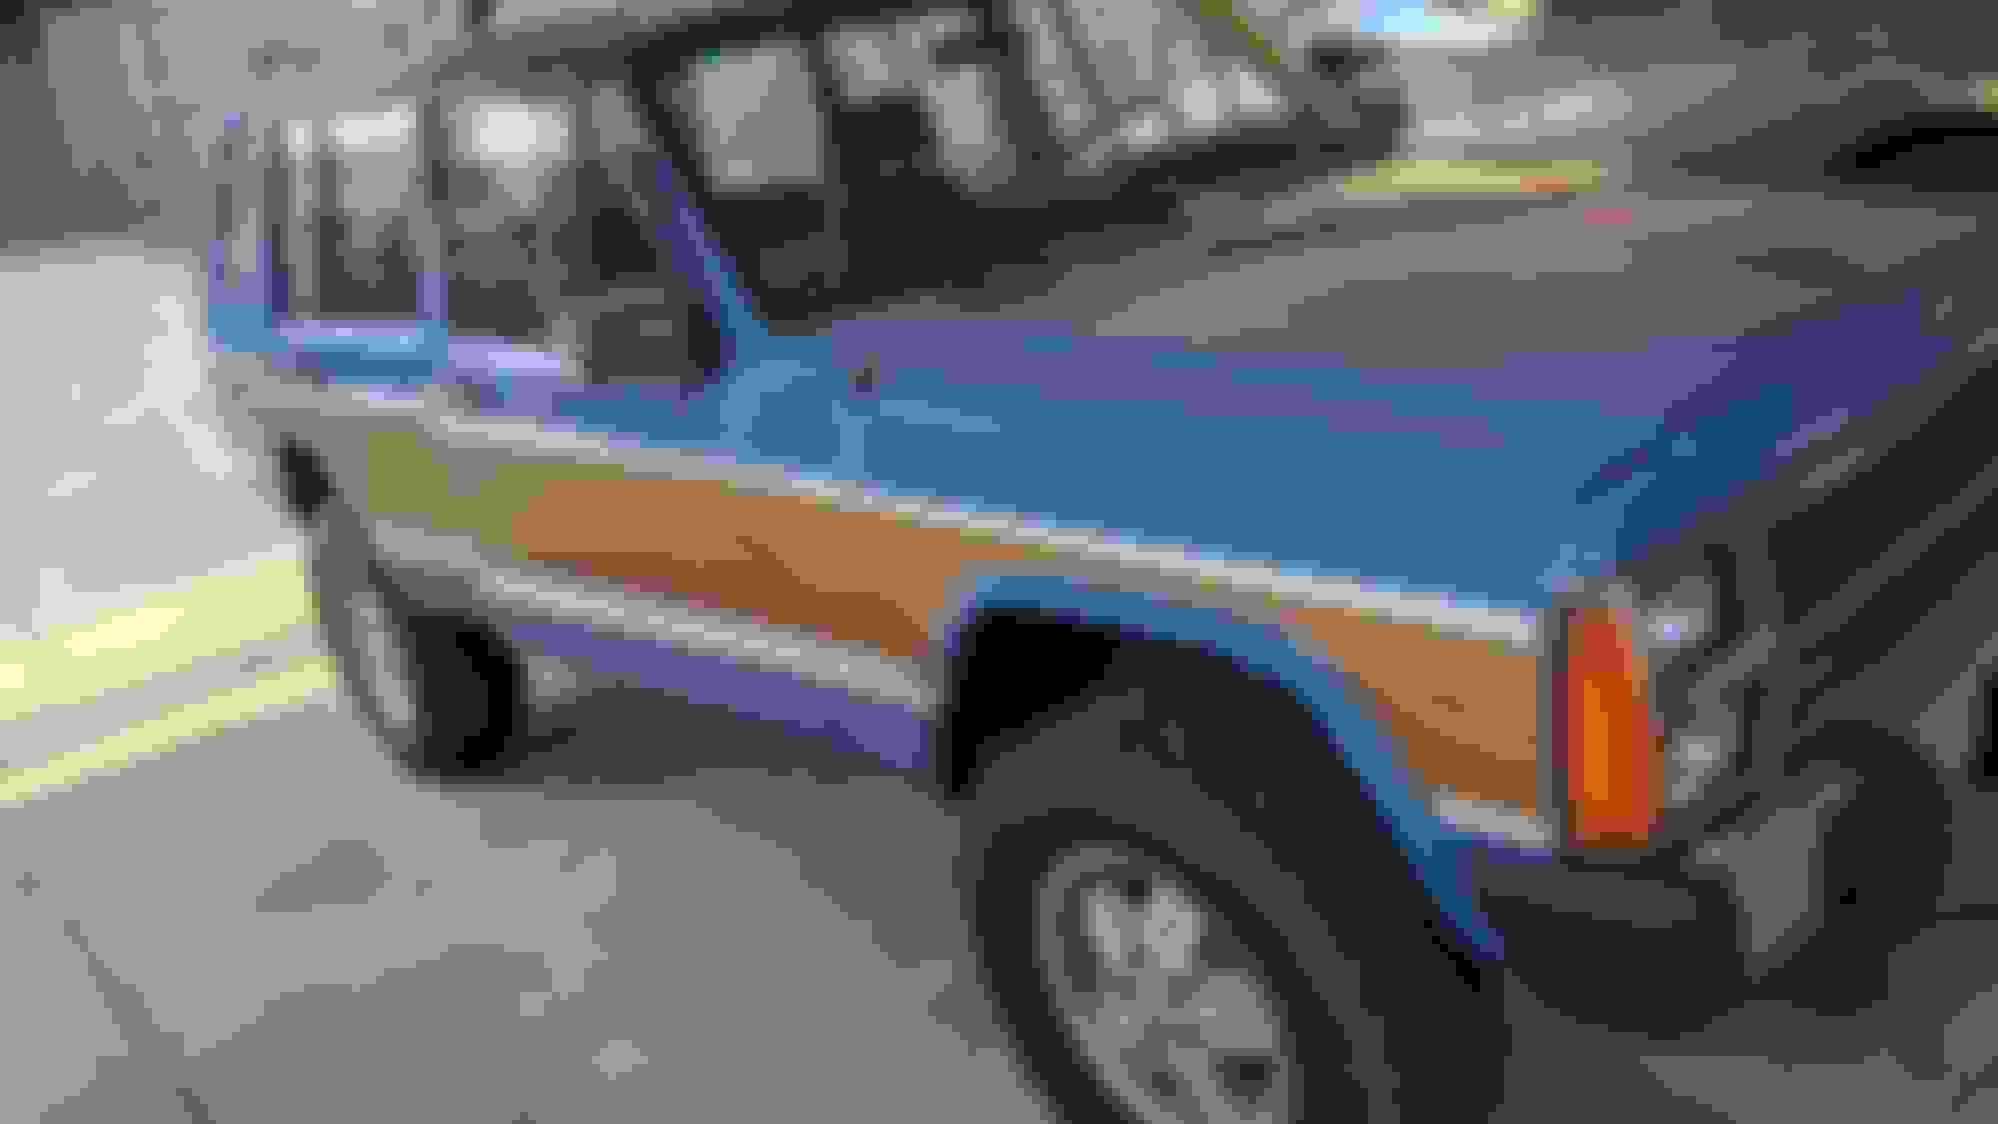
So I did get a little bit done tonight (and this weekend), but the mosquitos were horrible tonight, so I called it pretty quick. That said, I did get the new hatch mounted this past weekend and the vinyl and trim installed. Fishing the wiring loom through the new one was easy ONLY because I taped up the connectors and before that had pulled a wire through the channel when pulling the old harness out. the wire was wrapped around the lead connector and then they were all tapped up to avoid anything that it could catch on. The windshield washer hose was really easy to pull through using the sam wire/tape trick.
I hate to see her go, but I love to watch her leave...nice looking rear end

 08-07-2020, 09:33 PM