
'99 "The Jeep"
 04-12-2013, 05:31 PM
#106
CF Veteran
Thread Starter
Join Date: Jan 2010
Location: Virginia Beach by way of Michigan
Posts: 5,482
Likes: 0
Received 25 Likes
on
25 Posts
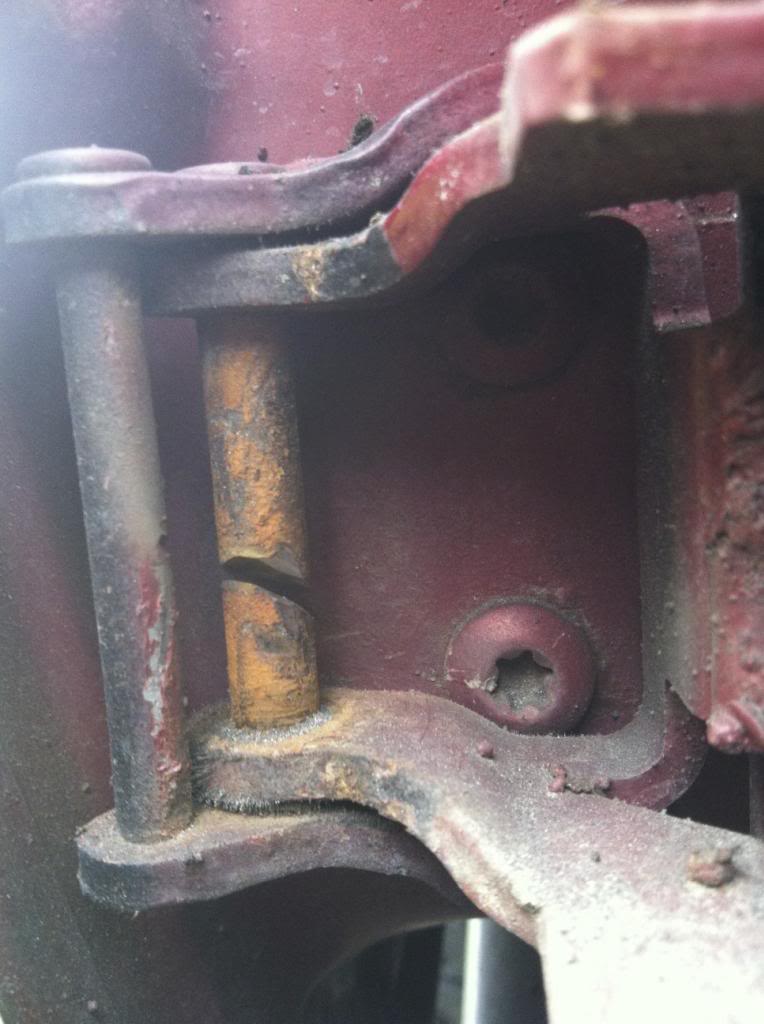
So this past week I started hearing a real annoying "clickity, click, click" sound every time I drove the Jeep. My first suspicion turned out to be correct - axle u-joints. Went up to the local fleet supply store, bought a couple Spicer 760's, and awaited the weekend to arrive.
In the mean time, I called up my buddy Tim who works with Stone Off-road and somewhere in our chatting we were talking about winches. I told him about my new control box from RC and he asked if I still had the old one. "Yup, sure do. But one of the solenoids is bad, hence the reason I have a new box. RC sent me the whole thing rather than just the solenoid, so I'm not complaining at all." He says he's in need of a new solenoid for his winch and asked if he could have my old box. "Sure, if we can do some fab work and put new axle u-joints on my XJ." So we got to fabbing and installing.
Here's how the Jeep sat this morning. Looking proud and loving life. Things were about to get better.

First thing was to undo some bumper bolts so the bumper could be angled down to create some extra work room.

My buddy Tim measuring out some DOM

And the bending begins...

Cutting off some excess and getting the angles right

A little welding...


And the main hoop is on!

Did some more measuring, more cutting, and more grinding for the side runners

Don't you just love the smell of welded metal in the morning?

With all that done, a little paint on the welds, and getting the bumper bolted back into place, time to pull the axle shafts and replace some u-joints.


After a few hours of time in the garage, time to show off the new look.

In the mean time, I called up my buddy Tim who works with Stone Off-road and somewhere in our chatting we were talking about winches. I told him about my new control box from RC and he asked if I still had the old one. "Yup, sure do. But one of the solenoids is bad, hence the reason I have a new box. RC sent me the whole thing rather than just the solenoid, so I'm not complaining at all." He says he's in need of a new solenoid for his winch and asked if he could have my old box. "Sure, if we can do some fab work and put new axle u-joints on my XJ." So we got to fabbing and installing.
Here's how the Jeep sat this morning. Looking proud and loving life. Things were about to get better.
First thing was to undo some bumper bolts so the bumper could be angled down to create some extra work room.
My buddy Tim measuring out some DOM
And the bending begins...
Cutting off some excess and getting the angles right
A little welding...
And the main hoop is on!
Did some more measuring, more cutting, and more grinding for the side runners
Don't you just love the smell of welded metal in the morning?
With all that done, a little paint on the welds, and getting the bumper bolted back into place, time to pull the axle shafts and replace some u-joints.
After a few hours of time in the garage, time to show off the new look.
 04-13-2013, 07:44 PM
#107
CF Veteran
Thread Starter
Join Date: Jan 2010
Location: Virginia Beach by way of Michigan
Posts: 5,482
Likes: 0
Received 25 Likes
on
25 Posts
Spent the day finishing the bumper completely. Sanded everything down and got the bull bar prepped for painting. Primed it and while the first coat was drying I sanded down my d-rings so they could be repainted as well. In all, did 1 primer coat and 3 coats of gloss black.

Then I got the new lights bolted on and wired up.

Then I got the new lights bolted on and wired up.
Last edited by no rdplz; 07-02-2014 at 10:02 AM.
04-29-2013, 07:45 AM
#108
CF Veteran
Thread Starter
Join Date: Jan 2010
Location: Virginia Beach by way of Michigan
Posts: 5,482
Likes: 0
Received 25 Likes
on
25 Posts
Started working on making the rear doors removable last night. Only got the pins cut and removed on one side and the next few days are supposed to be rain-filled so hopefully there will be a break in the weather for a couple hours for me to finish 'em up.

Snagged a 5-wire loom for each side from a couple Ford Windstar engine bays. Cut off the retaining clip and once these get cleaned up and spliced in I'll have quick disconnects for the rear door wires.


Snagged a 5-wire loom for each side from a couple Ford Windstar engine bays. Cut off the retaining clip and once these get cleaned up and spliced in I'll have quick disconnects for the rear door wires.
Last edited by no rdplz; 08-05-2013 at 02:00 PM.
04-29-2013, 06:41 PM
#109
CF Veteran
Thread Starter
Join Date: Jan 2010
Location: Virginia Beach by way of Michigan
Posts: 5,482
Likes: 0
Received 25 Likes
on
25 Posts
Got the wiring all done for the disconnects on the passenger side. Tomorrow I'll work on the driver's side and then Friday I'll do the drop in mod.
Last edited by no rdplz; 08-05-2013 at 02:01 PM.
05-01-2013, 11:07 AM
#110
CF Veteran
Thread Starter
Join Date: Jan 2010
Location: Virginia Beach by way of Michigan
Posts: 5,482
Likes: 0
Received 25 Likes
on
25 Posts
Got a call from my boss at work and he said he needed to meet with me for about 10 minutes. Didn't say why, just said to come to his office. So I go in, take a seat and he says, "Okay, annual evaluation time." Now over the past 7 years I've had pretty consistent evals. Our job does it on a scale of 0-4, 4 being you're phenomenal. This year I was pretty close to a 4, which made me happy because one, that means I do my job very well, and 2, that means I have job security. Along with that good eval came something very unexpected, something I didn't even know we did - a bonus check!
So I get my "Congratulations, keep up the good work" and proceed back to my office. Once there, I open the check, see it's for a pretty good amount, call up Stone Off-Road, and order Rock Krawler's 3-link Long arm kit.
So I get my "Congratulations, keep up the good work" and proceed back to my office. Once there, I open the check, see it's for a pretty good amount, call up Stone Off-Road, and order Rock Krawler's 3-link Long arm kit.
Last edited by no rdplz; 05-01-2013 at 10:08 PM.
05-01-2013, 10:36 PM
#112
CF Veteran
Thread Starter
Join Date: Jan 2010
Location: Virginia Beach by way of Michigan
Posts: 5,482
Likes: 0
Received 25 Likes
on
25 Posts
Yeah I'm pretty stoked to be going to LA's. Nice thing about RockKrawler's 3-link is that it's identical to their 4-link, just minus the one upper, so if I decide to go to a 4-link later on all I have to do is order the one upper and it's done.
05-03-2013, 11:15 PM
#115
CF Veteran
Thread Starter
Join Date: Jan 2010
Location: Virginia Beach by way of Michigan
Posts: 5,482
Likes: 0
Received 25 Likes
on
25 Posts
Finally got the bedliner touched up and also replaced my broken center console bracket with a new metal one.
Before the touch up and then after with the new bracket.
Before the touch up and then after with the new bracket.
05-03-2013, 11:17 PM
#116
CF Veteran
Thread Starter
Join Date: Jan 2010
Location: Virginia Beach by way of Michigan
Posts: 5,482
Likes: 0
Received 25 Likes
on
25 Posts
Started on the long, arduous task of making wiring quick disconnects for the front doors. Body ends are done for both sides, door ends will happen tomorrow. The plugs are from the front doors of a ZJ with the Inifinity sound system.
Last edited by no rdplz; 06-23-2014 at 03:12 PM.
The following users liked this post:
AudioFreq (04-19-2020)
05-07-2013, 05:44 PM
#119
Junior Member

Join Date: Sep 2012
Location: Keystone Heights, FL
Posts: 64
Likes: 0
Received 0 Likes
on
0 Posts
Year: '92
Model: Cherokee
Engine: 4.0 HO
05-07-2013, 08:35 PM
#120
CF Veteran
Thread Starter
Join Date: Jan 2010
Location: Virginia Beach by way of Michigan
Posts: 5,482
Likes: 0
Received 25 Likes
on
25 Posts
ZJ with the infinity sound system for the fronts and 2 Ford Windstars for the rears (the Windstar connections are in the engine bay, driver side, right on top next to the intake manifold).