When you click on links to various merchants on this site and make a purchase, this can result in this site earning a commission. Affiliate programs and affiliations include, but are not limited to, the eBay Partner Network.
Snagged it off Ebay... Here's the link thermal insulation
Not the cheapest solution but certainly one of the easiest and fastest... I didn't want to mess around with glue over my head.. I wanted it done...
Thanks.. I didn't think I'd be going in this far but I'm having fun and it's just rolling along now so I'll keep it going...
Just a heads up for anyone removing the headliner.. One of the problems that appeared as I was taking the headliner trim off was those darn metal clips on the back of the windshield pillar trim...Even with the correct removal tool gaining access to pop them off wasn't going to happen without a damage report..I snapped two off on the drivers side and one off on the passenger side... The solution was to install those metal retainer clips back on the trim with the hot glue gun..It was WAY easier and faster than any epoxy/adhesive I could have used...These metal retainer clips are also used at the back hatch but I got that off intact....
Other than that it was smooth sailing and it's up and in place...
And I did install a microphone for the cell phone hands free calling..
So with the headliner officially installed we move on...
Next up was the seats and carpet removal... This step is like Christmas.. You never know what present is waiting for you under the carpet...I seriously lucked out and the floor is as good as I had hoped...Some minor clean up and the floor pans will be ready for a coat of Eastwood's platinum rust encapsulator for an added layer of protection while I'm in here...
Heat barrier is added to the floor and trans hump...The barrier is now another layer water can't get through from wet feet or spilled liquids...The firewall seam is taped so if the windshield, cowl air intake, etc... leaks in the future it can't get under the heat barrier.. This should keep the floors dry for years to come..
A close look at the previous pics will reveal the stereo power cable... And that's the next phase of the build.. I'm keeping the stereo practical and not going overboard as I had contemplated..There simply isn't enough room to do what I was thinking and keep the useable space open without turning the relatively small interior into a rolling concert hall with too many amps,wires, etc.. So for now it'll get a sub box and a capacitor that will be seen the rest will be hidden..
Back to the power cable.. I've seen power cable routing all over the place in different threads.. Some go from the battery clear across the engine bay to the driver's side then in through the firewall... I didn't want to run that much cable around the engine bay.. I chose a more direct route to the passenger side rear quarter interior panel where the capacitor will get mounted..I've seen a lot of "no where to run the cable" statements which I guess is true if you're not willing to drill a hole somewhere..But I was...
I drilled a hole in the firewall "up high" in the passenger footwell area...High enough that it will be routed with the other wiring up there and won't be seen with the convoluted tubing over the wire...Here's the rough in pic...
From there it heads down the kick panel area and along the inner sill trim...Basically following the existing wiring harness only lower laying in the plastic trim pieces itself below the trim screw holes...And yes, there's room to run it... Here's the pics..
And finally back to the rear quarter where there's plenty of room...The finished run will have protective sheathing in different forms I'll post some pics with the final install..
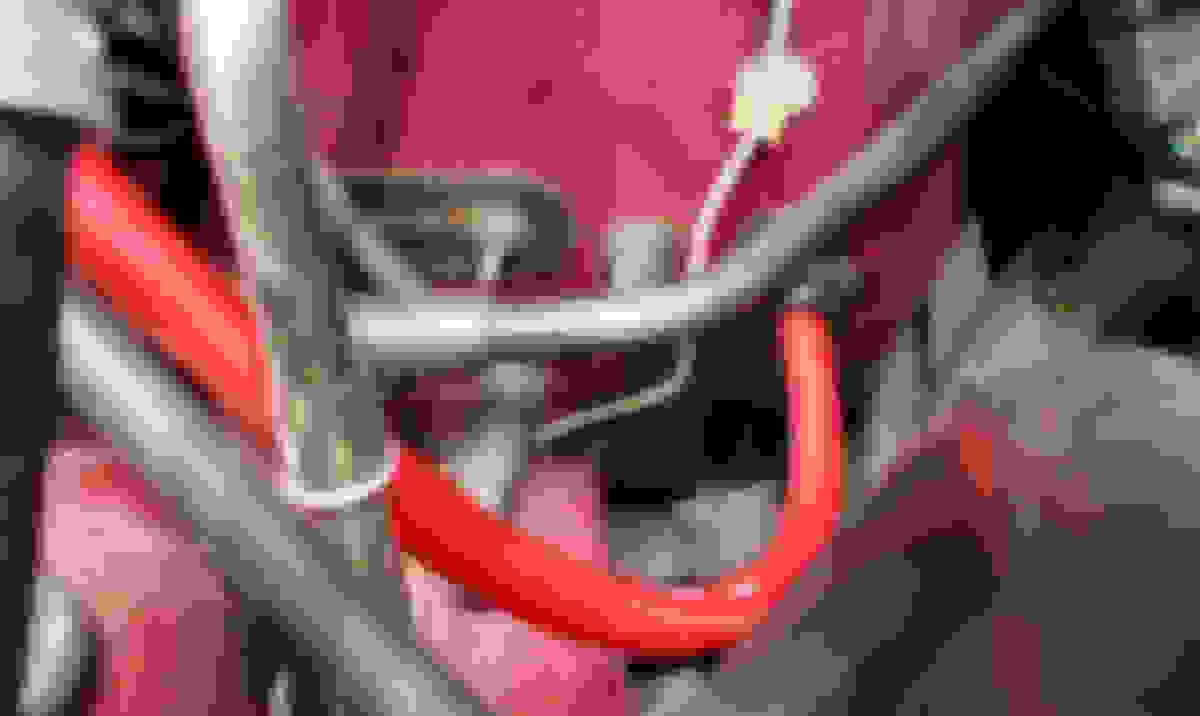
So what about the firewall hole ?? I chose the only real waterproof option with a gland grommet ...Here's a pic of the grommet location in the engine bay.. This will get the convoluted tubing to match the rest of the engine bay wiring..A small brake line bending/rerouting gets the job done... Now I have a nice, easy run to the battery... And a good cable to supply power to anything that needs it in the future back there..
Speaking of wiring.. Every wire connection that doesn't get a terminal end gets a wire ferrule.. It makes for a nice, clean, reuseable connection to the amps...
Here's the amp signal wire in the process..
And I'll throw in a set from the amp wiring rough in... Check out the clean connections...
There's a bunch happening at one time with the stereo so I'll post this part of the process...I did the double DIN conversion and the Metra center dash surround to go with it... After the usual dash mods I trial fitted the new head unit.. I went with a Pioneer touch screen with all the goodies including a CD/ DVD player with two ports for cameras...One will be the back up camera and one will face forward... Here's what I started with...
And a trial fit of the DVD touchscreen..
After seeing that I had plenty of room I made the decision to modify the opening a bit more.. The head unit has it's own cooling fan and with everything around it being a HVAC duct I added heat barrier to the back and sides to cut down on the wild temperature swings that will occur when running the AC/heater...I only wrapped the ducts and left everything open for the head unit fan to draw air from multiple areas in the back...
That will stabilize the area and hopefully keep the head unit happy...
While the center dash trim is off I need to address another area so when the trim goes back on it's a done deal...The switch panel was the next item on the upgrade list.... Here's the factory piece getting ready to be removed..
I bought a custom switch panel with a few extra features...... Now I have a dual USB port charger and enough switches to run everything I'm adding...
I bought this one because the quality is better than most I've run across..I like the textured surround it'll make a nice addition to the dash...
I bought this one because the quality is better than most I've run across..I like the textured surround it'll make a nice addition to the dash...[/QUOTE]
I too enjoy a factory and clean looking dash so I have to ask where this switch panel was found�
What I don't like about the after market switch is the lack of back lighting.
Do you plan on switching to LED lights for the rockers?
You can kinda take care of that though.
You use the toggle from one of those but the rest of the stuff from a factory switch.
I did it with that Ext Idle Switch I was trying to make way back when until I bailed on the idea cause I sourced a real one.

 09-14-2021 | 05:13 PM


 This step is like Christmas.. You never know what present is waiting for you under the carpet...I seriously lucked out and the floor is as good as I had hoped...Some minor clean up and the floor pans will be ready for a coat of Eastwood's platinum rust encapsulator for an added layer of protection while I'm in here...


 ... Now I have a dual USB port charger and enough switches to run everything I'm adding...