When you click on links to various merchants on this site and make a purchase, this can result in this site earning a commission. Affiliate programs and affiliations include, but are not limited to, the eBay Partner Network.
I wish those tweeter pods were available back when I replaced my sound system. Nice find.
I dumb lucked into a factory tweeter pod set at the local pick and pull. I stuck'em in my parts pile. If I had known these were available I might have gotten rid of them. I do like the pure stock look though.
Finally getting down to buttoning up the dash area.. Time to get out the Metra double din dash bezel...It's a simple procedure, use the vents and metal clips from the original piece and snap it in place..
I ended up with the sub box control under the dash...
And finally a shot of the finished dash...It was quite an undertaking for the front seating area.. So many upgrades blending together...
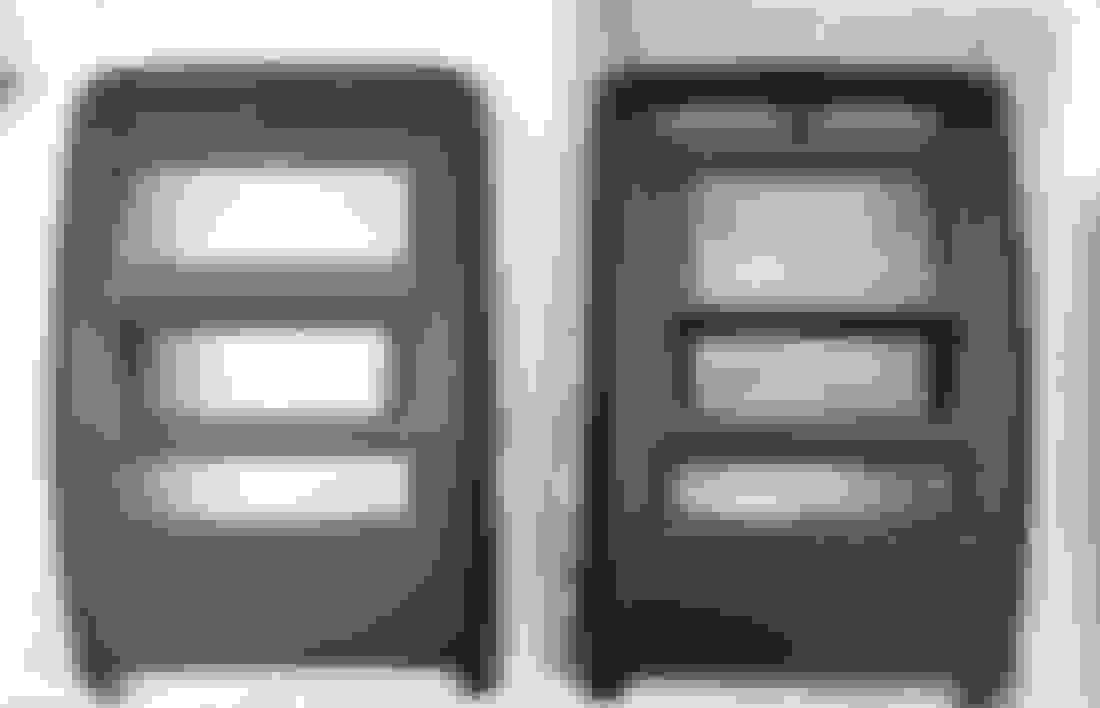
Question for ya. With the extra switch bezel and the Metra kit, does your rear defrost button "stick" when you push it?
Funny you should ask..Sounds like you've had some experience with the Metra bezel.. I saw how tight all those added switches are in the bezel.. And that was the first thing I tried after the bezel install.. It's close but not hitting the defrost switch so it doesn't interfere with the operation.. I made sure not to bend any metal tabs during the install so it wouldn't move the openings.. The Metra bezel has a soft , rubbery coating on it and I'd be afraid to shave any if it did hit..I'd be more inclined to move the switch panel a touch or bent the tabs and move the bezel if need be... All in all mine fit perfectly for the components used..
So it feels good to get away from the seating area and move on..
.Which brings me to the rear cargo area.. First area of concern is the wiring harness for the hatch...Although this thing has low mileage I seen the wiring harness's boot had a tear and needed attention.. So I broke out the spares I snagged at the boneyard for the occasion..
After removing the plastic hatch trim I pulled the hatch's harness connector....
Unplugged the harness from the hatch, cut the old rubber boot off the body harness and pulled the harness back through the holes to gain access to the wiring and get some room to work.. Here's how much length I gave myself to work...
Now, everything worked ... But I could see through the ripped boot the wiring was just starting to split the insulation..
I lucked out and the wiring was intact.. But I still touched the wiring with a small amount of solder and then took the easy way out and encased the wires in silicon sealer.. Then rewrapped the harness tight.. I'll be moving the harness slightly so this section doesn't sit in the same area for the bending ceremony every time the hatch is opened..With the harness repaired it's time to reinstall it.. The first problem is the connectors won't fit through the rubber boot...So each connector now needs to be disassembled to pass through the boot...These connectors have a center lock that comes out...
And they are all different styles so you can't get them mixed up... After I removed the center retainer I used a key to pop the wiring from its position.. You could also grind down a small flat screwdriver for the task...
Laying the wiring out straight each connector is a different length.. So I taped the harness and connectors tight.. Then slipped the wiring harness back through the body opening and then passed it through the boot like this...
Then up through the hatch and out the hatches' connector opening so the connectors could be reinstalled...Then buttoned up everything for the finished job.. I brought the back up camera wiring up through the rear window squirter boot as there was no room to spare in the wiring boot... So the hatch wiring is a done deal !!
Funny you should ask..Sounds like you've had some experience with the Metra bezel.. I saw how tight all those added switches are in the bezel.. And that was the first thing I tried after the bezel install.. It's close but not hitting the defrost switch so it doesn't interfere with the operation.. I made sure not to bend any metal tabs during the install so it wouldn't move the openings.. The Metra bezel has a soft , rubbery coating on it and I'd be afraid to shave any if it did hit..I'd be more inclined to move the switch panel a touch or bent the tabs and move the bezel if need be... All in all mine fit perfectly for the components used..
I've had the kit for about a year now. Love it. I might just be the switch panel design or if it can be moved slightly but my defrost switch ever so slightly drags so I have to remember to flip it up. If anything I can always elongate the holes on the switch panel and push it a bit to the passenger side if need be. I wouldn't shave the metra panel either.
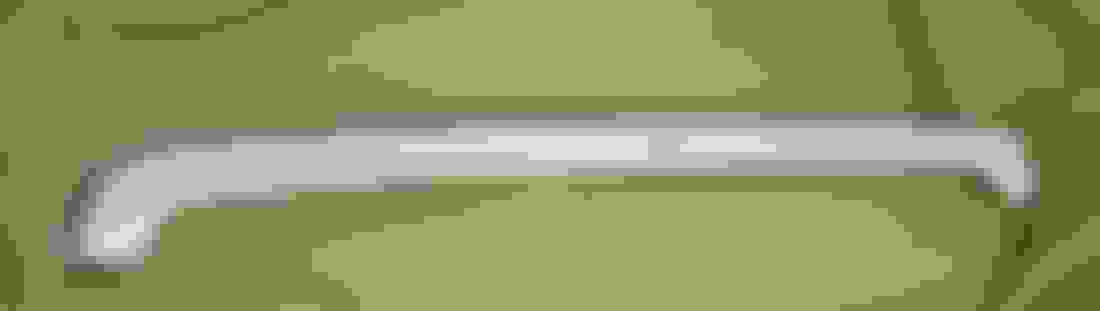
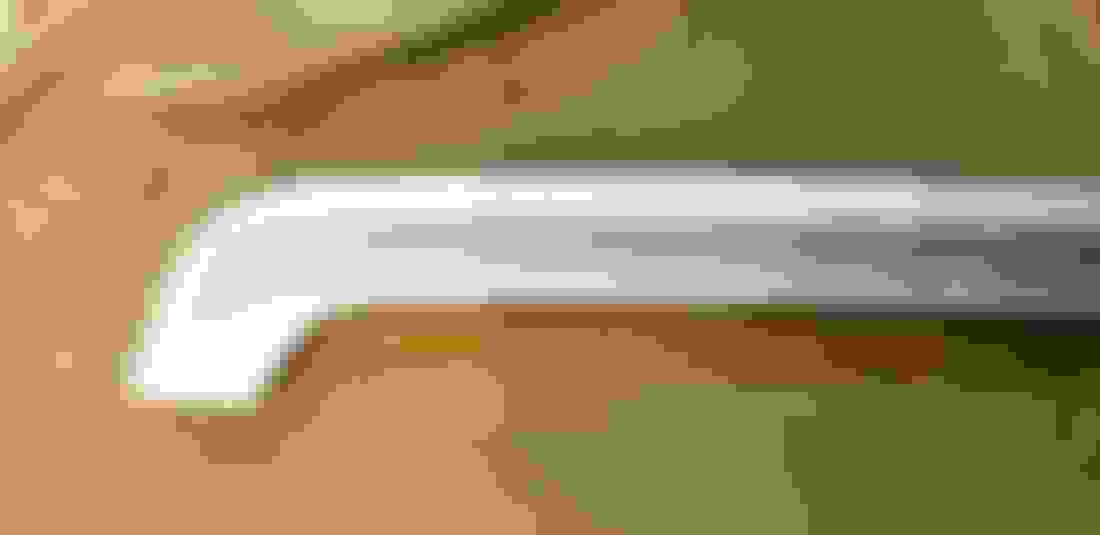
With the liftgate wiring passing all tests , it's time for one more mod on the liftgate.. I've had this on the shelf for a few years and I'm finally at the point I can install it...The XJ Orvis spoiler !!!
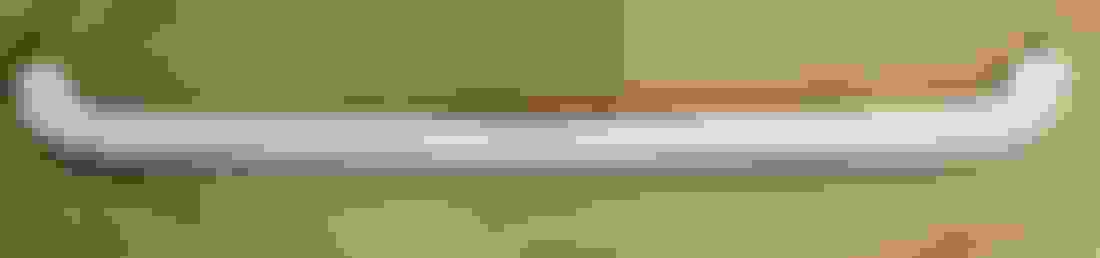
I like the design of this spoiler.And I guess the factory did too...LOL... It adds some flair to the rear of the vehicle...The fit and finish is very nice.. I'll throw up pics with some details ...
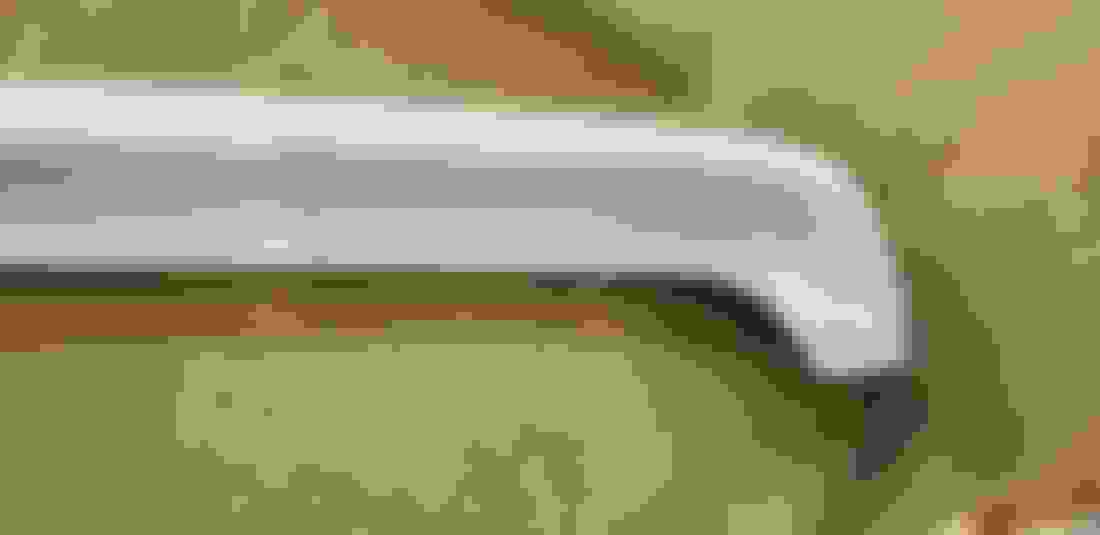
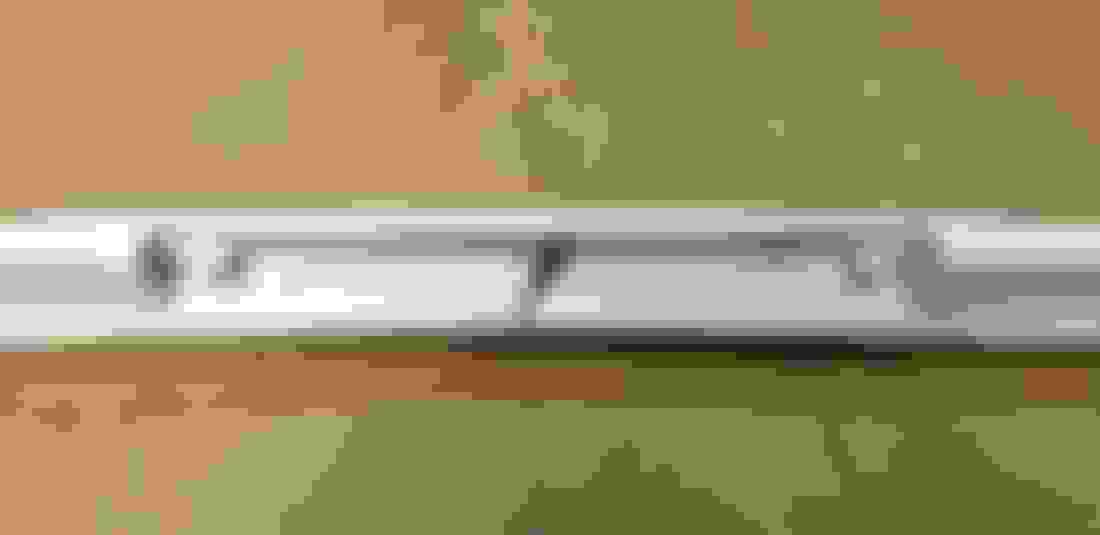
This part came from spoilerlights.com when they were available.. Evidently the supplied third brake light will fit an original Orvis edition XJ spoiler as well...Here's a close up of the third brake light area... Overall I'm very pleased with the fit and finish of the spoiler.. It won't take much to get it perfect...
From what I've been reading the factory used some super bond double sided tape to originally install them... Now, even though this one was supplied with the double sided tape it also has provisions to fasten it down with supplied screws...I'm going to carefully install this using method B {the threaded holes} as well as the double sided tape... It won't be coming off when it's done.....
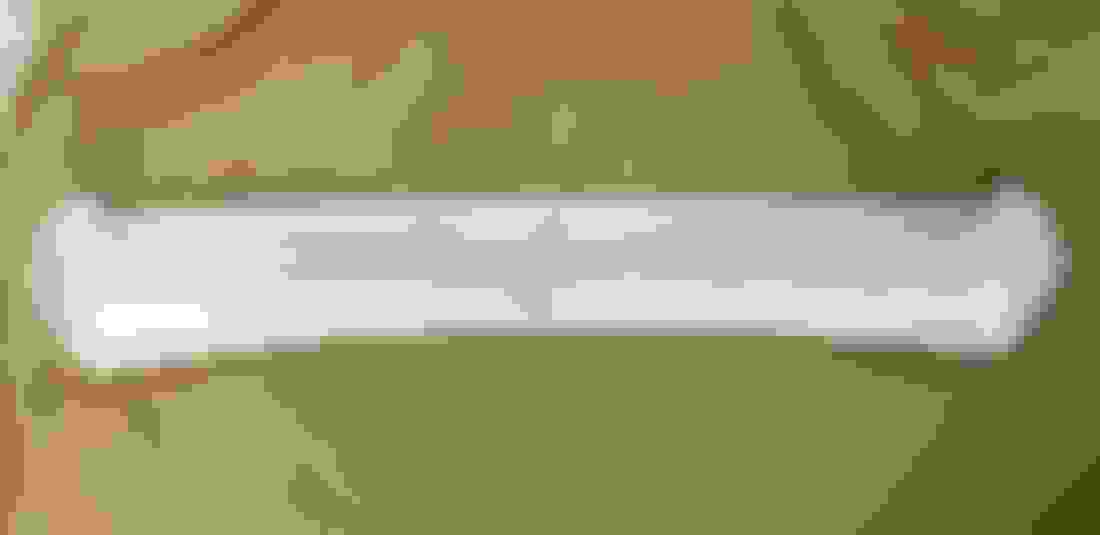
Anyhow, I decided to use studs instead of the supplied screws for reasons I'll show later..But the first thing is to locate the spoiler and drill some holes in the lift gate.. I used some short studs in the threaded holes that had points on them..The points left marks on the lift gate where the holes needed drilled...After drilling the outside holes I trial fitted the spoiler using longer studs.. Here's a pic of the studs and their location...The original lift gates third brake light is removed and their will be a metal plate used to seal the hole.. The metal plate in turn will get a hole drilled for the center stud.. But for now I've left the center stud off for this trial fit...
Here's the spoiler with the first trial fit.. This thing fits great and there's only one position it guides itself to... Once drawn down it will fit like a glove...
I remember the first time I saw an Orvis XJ and noticed the spoiler.
I thought that was so cool. I had to have one.
Then came across the SpoilerLights reproduction.
I did not like how the brake light on it connected to the harness.
So I cut the connector off the third eye and butt connected it to the wiring.
I asked how the spoiler was attached to an Orvis XJ on the UK XJ Group on Facebook.
They are actually bonded on. They say that you can't remove one without destroying it.
Which is a shame.
I paid $150 for mine years ago and at some point the price went up to $250.
From what I understand they don't make them anymore which is a shame.
I can't run mine cause I have this weird dent in the top of my hatch.
Lets water run under it and I think it is finding its way into the hole for the third eye and getting into the cargo compartment.
I tried covering the hole but it did not help. Nothing wrong with the design it is that dent that causes my problem.
One of these days I will get it back on.
Shot from when it was on.

 03-14-2022 | 05:45 AM