When you click on links to various merchants on this site and make a purchase, this can result in this site earning a commission. Affiliate programs and affiliations include, but are not limited to, the eBay Partner Network.
As I'm building this XJ, the search for NOS parts is ongoing... One headlight surround had the screw hole stop blown out from overtightening when I got it... I found an NOS piece still in the box to replace it...I'm just not confident that an aftermarket part will hold up at this position in the long run... I have visions of a cheap plastic part warping or breaking just like the original part.. And I want to paint this stuff once and done...
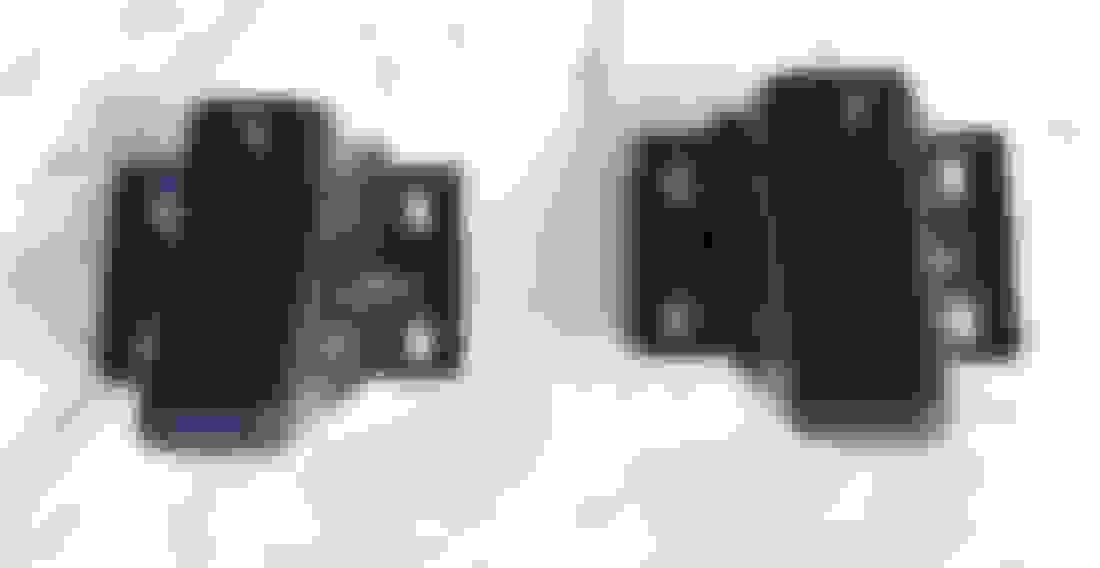
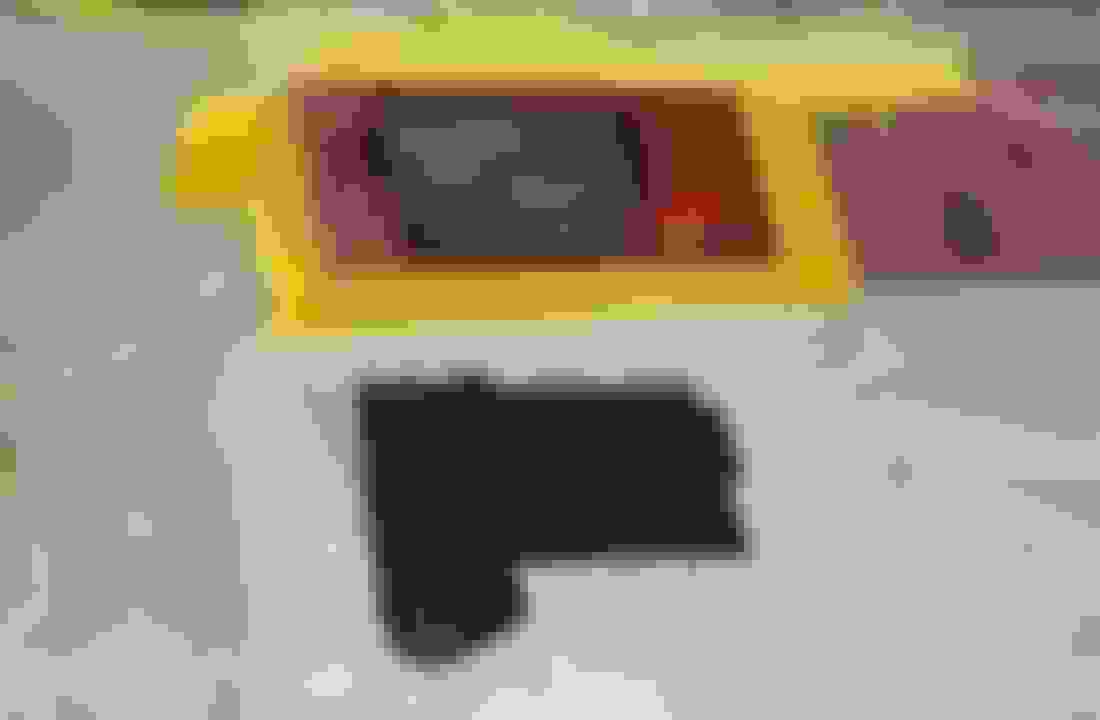
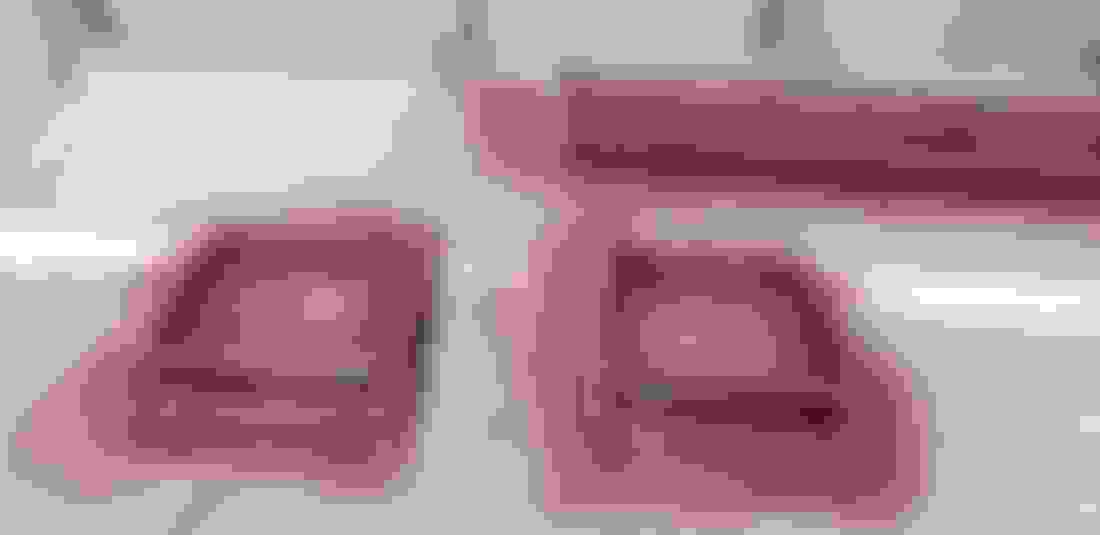
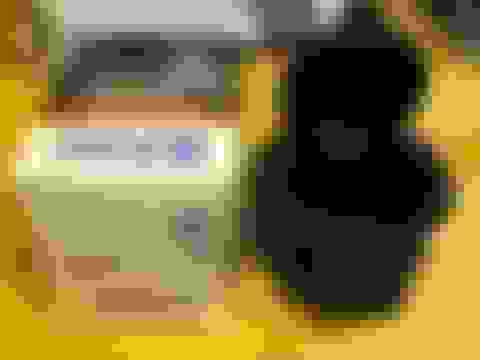
Anyhow another part I found made it's way to me this week... It's the console insert for XJs with heated seats{as you remember I installed heated seat switches in the ashtray}... This one's a tough one to find at all let alone NOS in the box !! And I paid way too much for it...LOL...This will make a great addition to the interior.. I like the way it fills in the cup hole..
Here's a borrowed pic to show the insert in it's place...
Don't feel too bad cause I paid way to much for mine and that was years ago.
But I really wanted it too so....
Bought it in anticipation of getting heated seats in my '00 someday which I was able to do.
That picture looks strangely familiar for some reason.
LOL.
Yeah, thanks Ralph for making me aware of the insert...After I saw your picture I knew I had to have one.. It looks empty without it in there with or without heated seats...
Yeah, thanks Ralph for making me aware of the insert...After I saw your picture I knew I had to have one.. It looks empty without it in there with or without heated seats...
I have all the XJ parts catalogs downloaded in PDF's to my computer.
And if it wasn't for that might not never have found out about the existence of this.
I like to give people a hard time when I see that they installed factory heated seats in their XJ.
I tell them that they are not official if they don't have the ashtray.
LOL.
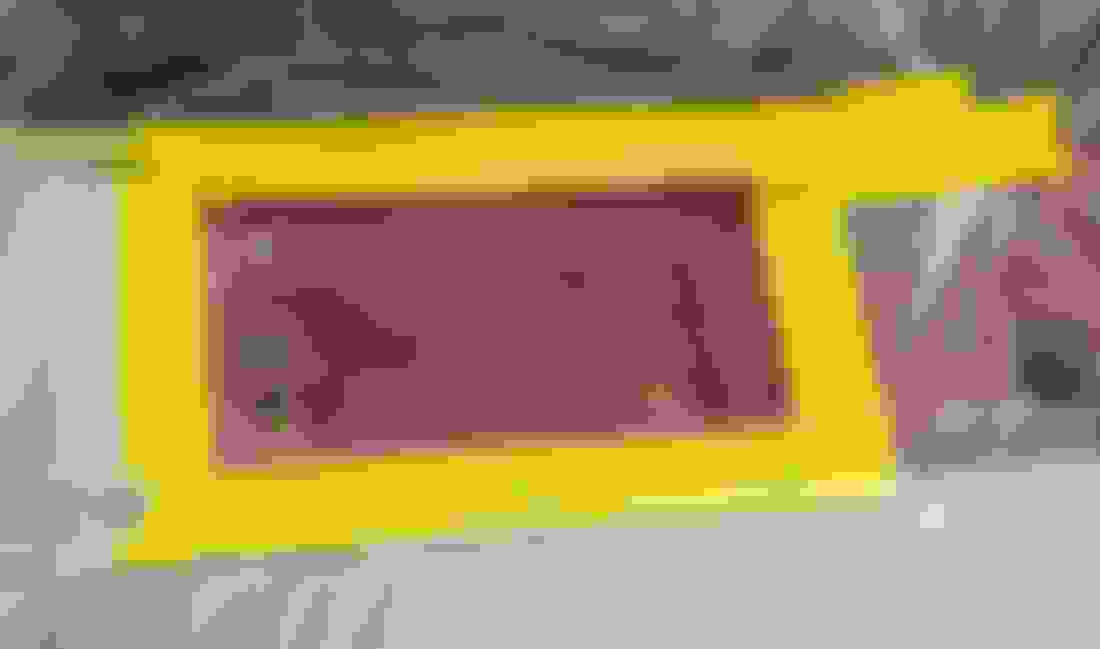
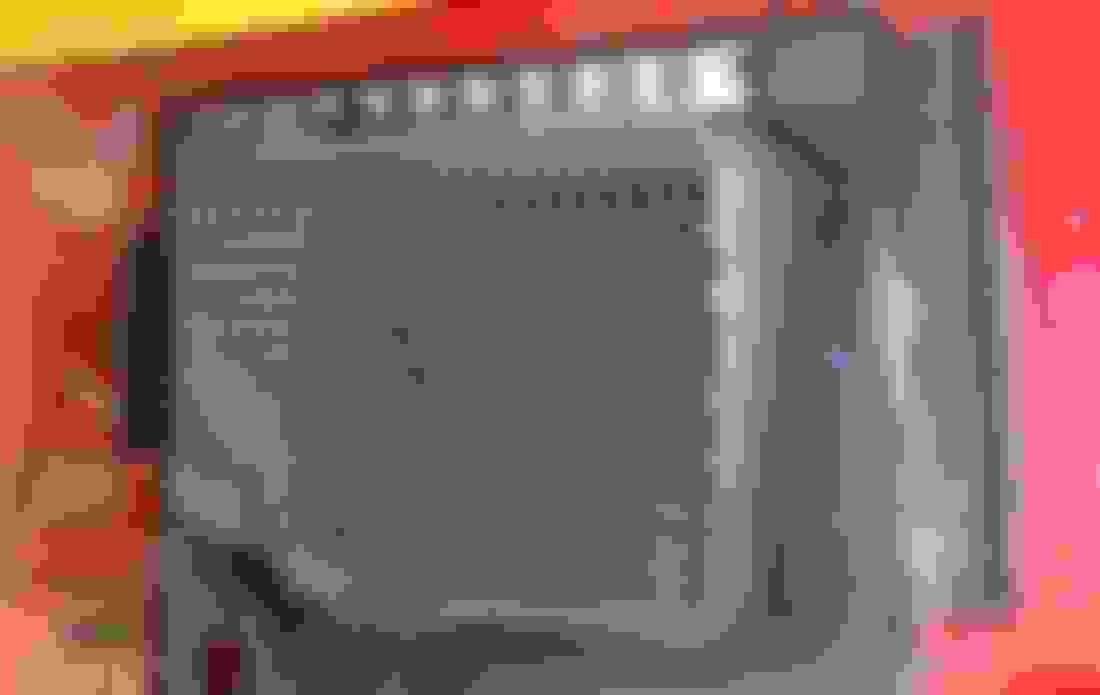
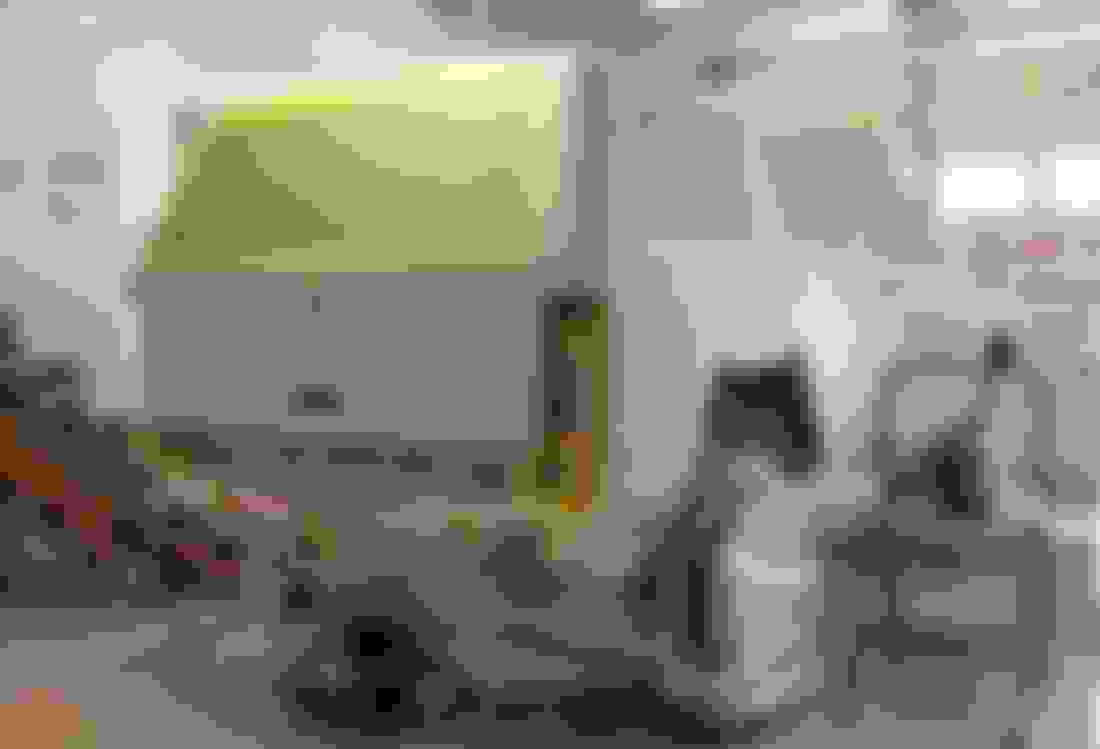
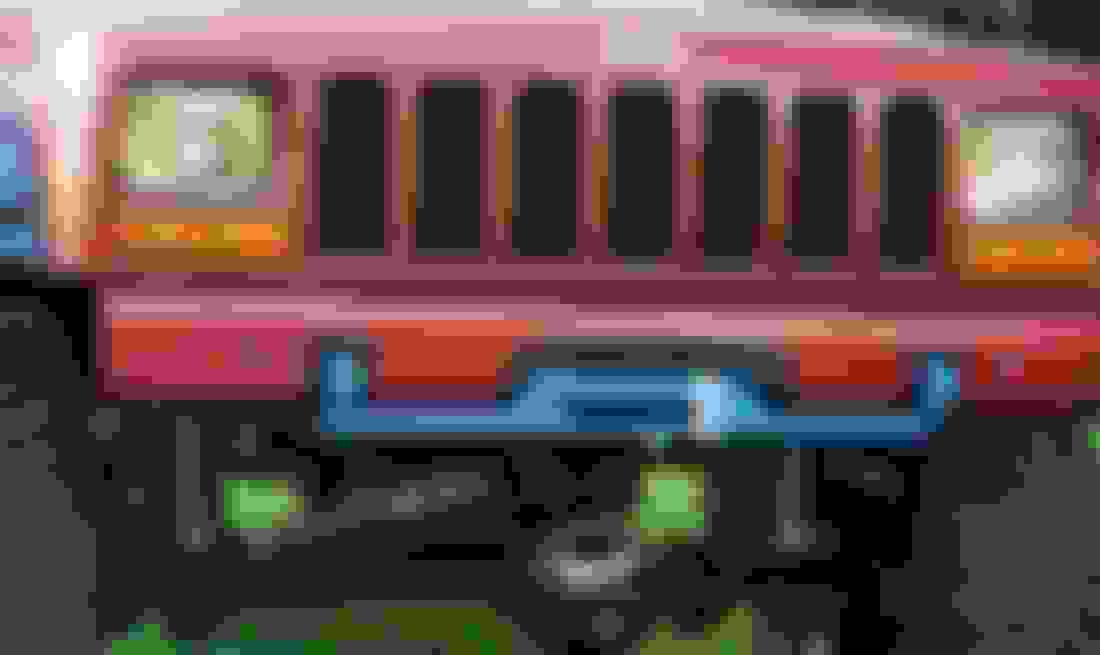
I haven't talked about this on this build thread but it came up in the hidden winch thread so I'll show the feature... The hidden winch is great for location, but I need to have the winch selector lever somewhere that's easily accessible.. If you remember I reclocked/ spun the lever down on the winch...It now comes out the front of the bumper...Here's the pic showing where the shaft for the lever comes through the bumper {center left}..It's actually a 3/8 ratchet extension that sits flush with the bumper..I machined a square hole in the original lever to accept this extension..Now all I need is a "key" to operate the winch lever..
Now, by now everyone know how I like to detail the things I do.. So a simple hole in the bumper looked OK but on the cheap side for getting it done..I ended up welding a washer to the bumper to give it the finished look...Here's the bumper now sandblasted,epoxy primered, and two heavy coats of 2k surfacer showing the detail around the key...
Oh, and while I was sandblasting the bumpers as luck would have it I ended up with pinholes in the rear bumper...... So I ended up buying a new rear bumper... I'm not wasting any time trying to fix something like that...I got it from Omix Ada for $100.00..At that price it's not worth the hassle ...
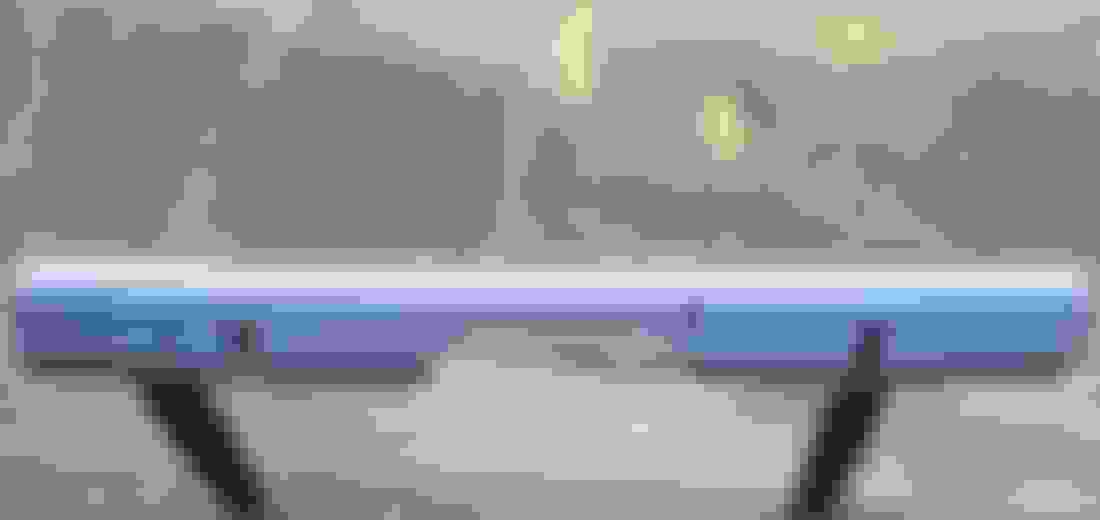
I'll add a pic of the rear brackets... These are the originals that were sandblasted, 2K epoxy primered, then 2 coats of VHT satin black chassis epoxy...They won't be rusting any time soon...
After making sure all panels passed the quality control {after the 600 grit} for the metallic basecoat, I stripped all the masking paper and plastic getting ready for the last step before the paint flies... But there's a few things that need attention before the color goes on.. First up is to cover the whole vehicle with some plastic sheeting for the surgery that needs performed..
First area is the cowl...
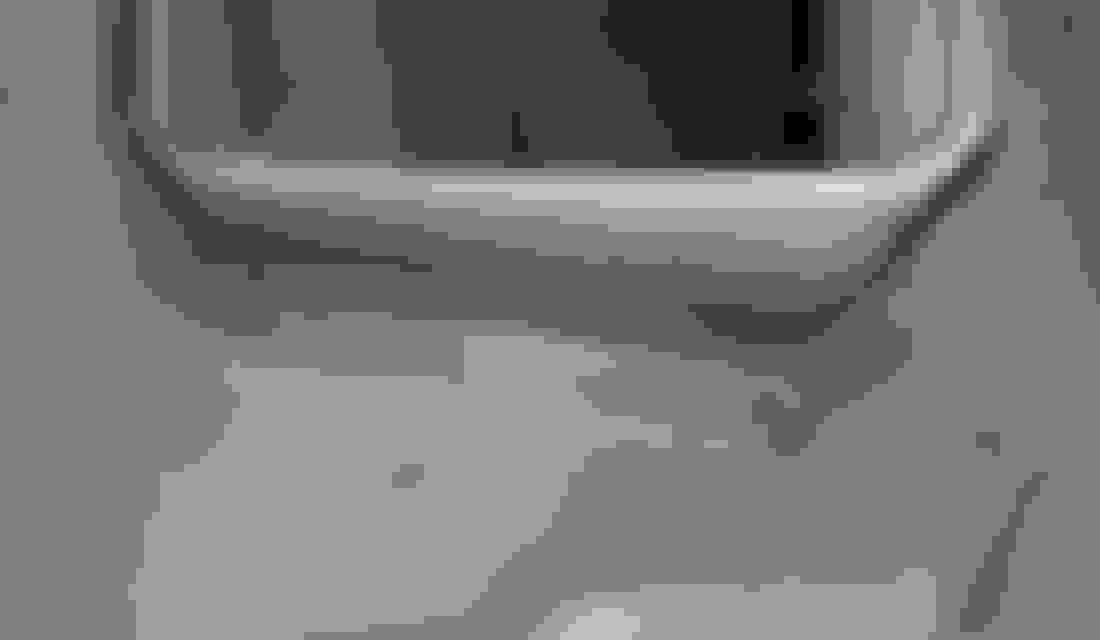
I'm going in for the HVAC intake seal... I don't want to be doing this after it's painted so now is the time to address the known issue...I've read through many threads showing what to do... And modified the process to what I feel is the best reusable way for my needs...Carefully cut as shown...The moveable plastic inserts are not waterproof but there's a drip tray to catch the water from going in the opening... That needs to stay or you'll have some major water issues.. Here's how it should come out if you cut carefully...
Here's what we're looking at... The stamped opening isn't bad on this one I've seen some where the corners were nearly flush with the floor of the cowl and water would go right in without the factory seal...I can reach back in there the whole way around it so there's no need to hack it open any further...
I put the automotive seam sealer { A caulk tube only costs around 10 bucks at the local auto body supply} on my finger tip and simply went in for the seal...Nothing fancy or overly slopped up...Just got er done....
Now here's a step that I haven't seen anyone address... Maybe I wasn't looking but I'll add it here now...When this vehicle is done it's going to sit outside.. And I need to rodent proof it so I'm the only one going for a ride... No unauthorized passengers...LOL...So I had a piece of aluminum extruded mesh from the shop gutter guards...And it easily shaped into a cap for the air intake..This should do the trick !! I ended up using more seam sealer around the outside edge to seal it fast to the intake.. Now it's time to let everything dry and inspect it tomorrow before it gets buttoned up...
I welded some side flaps to the top cover and crimped the cowl areas where the flaps will rest..
Now the cover will lay flush with the surrounding area...
And to seal everything up I used some ZIP tape...Simple and effective.. And I can access the area any time it's needed...
And the last area before the color goes on... I drilled a 1/2 inch hole at the rear of the rocker to gain access to shoot some rust proofing inside the rockers...
I'm using eastwoods black internal frame coating for the job... It comes with a long tube to snake up in there ...
Here's a close-up of the nozzle it's cut on a 45* angle with multiple openings so as you drag the hose out the cavity it shoots it in all directions...And the nice thing is it actually fits up in the openings of the rocker drains so I was able to get all the way to the front and work my way back.. I used half a can on each rocker so it's definitely covered in there...
And lastly I've got 1/2 inch plastic plugs to pop in the hole at the rear... And it's a done deal.. Now I'm ready to move on to the last phase of this paint work...
I pulled out the last NOS part I needed to prep before the color flies... I managed to snag a headlight surround to remedy the blown out screw hole on the original piece.. With this getting the sealer and primer surfacer and finally sanded it's time to get down to it...
After getting the garage clean and prepping all the parts it's time to get it done... Here's the last pic of the prepped body...All retaped and papered... 3M painters plastic with a paint grabbing coating was used for the undercarriage..Rocker to rocker and front to back the suspension is sealed off from the paint overspray...
And the fun begins...Here's the base coat getting stirred... There's a ton of metallic in the paint !!..
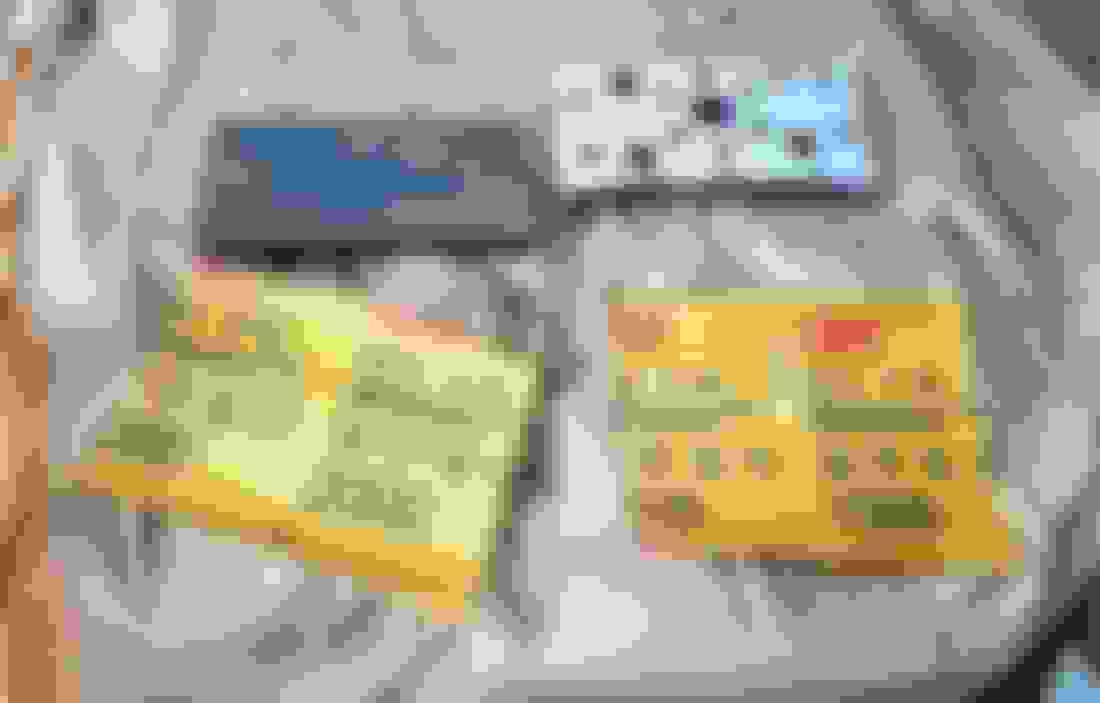
I ended up laying down 3 coats of base coat ... Here's some pics around the second coat... First up is the parts area...
You'll have to bear with me on the pics while I was painting.. It's tough to show the exact color when it's so bright in there the camera is all over the place trying to get the tones...
I ended up shooting 3 coats of clear on everything...Look up the sides and check out how straight the body panels are....I guess all that block sanding paid off !! It's much straighter than the factory ever had it...
I'll throw a few more in to try and show the color and quality as shot from the gun... I'm very happy with it overall... More to come after the cut and buff.....
Engine: 4.0, new lifters valve job with new springs and exhaust valves, preload set with shims
Originally Posted by Corky
I ended up shooting 3 coats of clear on everything...Look up the sides and check out how straight the body panels are....I guess all that block sanding paid off !! It's much straighter than the factory ever had it...
I'll throw a few more in to try and show the color and quality as shot from the gun... I'm very happy with it overall... More to come after the cut and buff.....
Tried my hand painting (hood only) for the first time ever with rattle cans last weekend, so um, I did a rustoleum primer coat, wet sand, 2 base coats, and 4 clear. So far so good, but when I wet sanded the clear (and I never used a block other than the little rubber thing that holds sandpaper) this is where I think I messed up. I didn't know what I was going for, and of course to me the sanded clear just looked like a mess. Didn;t know when to start of stop, still not sure but I either went too far or not enough. But when I buffed it with polishing compound it shined up reasonably well, however I did have about 100 small pinholes that grabbed the white compound and held it, looks like stars in a black sky. I think this maybe was because I did too much clear, or it dried too quick in the hot sun and bubbled.
But, you did good there!
Last edited by 97grand4.0; 06-01-2023 at 07:49 PM.
For rattle cans,The hot sun will dry the top and keep the rest soft for a while where if you keep it out of the sun it'll dry from the inside out..The clear will soften the color too in the sun...All you want to do is knock down the texture and then buff...
Activated /catalyzed paint is different with heat and accelerated drying times..
When I shot the bumpers and assorted parts I didn't get all the coats of clear on them the night of the big paint ceremony... I ended up sanding the clearcoat with 1000 grit, being careful not to sand through to the basecoat. Then reshot 2 more coats of clear on the bumpers, grille, headlight buckets and hood scoop.. I took some pics out in the sun to try and get a more true color... The metallic still looks "flat" in the pics but it really pops in the sun...
Engine: 4.0, new lifters valve job with new springs and exhaust valves, preload set with shims
Originally Posted by Corky
For rattle cans,The hot sun will dry the top and keep the rest soft for a while where if you keep it out of the sun it'll dry from the inside out..The clear will soften the color too in the sun...All you want to do is knock down the texture and then buff...
Activated /catalyzed paint is different with heat and accelerated drying times..
When I shot the bumpers and assorted parts I didn't get all the coats of clear on them the night of the big paint ceremony... I ended up sanding the clearcoat with 1000 grit, being careful not to sand through to the basecoat. Then reshot 2 more coats of clear on the bumpers, grille, headlight buckets and hood scoop.. I took some pics out in the sun to try and get a more true color... The metallic still looks "flat" in the pics but it really pops in the sun...
That explanation makes perfect sense, best I've heard from anyone. It was sort of an experiment anyhow, and now I know, not a total loss I can still do over or buff it up. I had some experience with air paint guns years ago but it was just enamel on machines, but you're never too old to learn.
The cut and buff is a process... I've got about 10 hours into it and I'm just winding down the wet sanding phase...I start with 3M 1500 on a soft pad and wet sand the whole panel..This is the grit that I use the most, it takes care of the paint correction {dirt nibs, texture etc...} Followed by 2000 grit to clean up the 1500 scratches... Then it's finished up with 3M's Trizact 3000 grit on an interface pad...The 3M Trizact line is a cloth backed grit used in conjunction with the sponge interface pad that helps hold the water as you're wet sanding and can be used by hand or with an orbital sander.. The Trizact pads go a long way when wet sanding and one pad did the whole jeep...The cherokee has so many body lines I ended up doing everything by hand like all the earlier prep....Here's what I'm using...
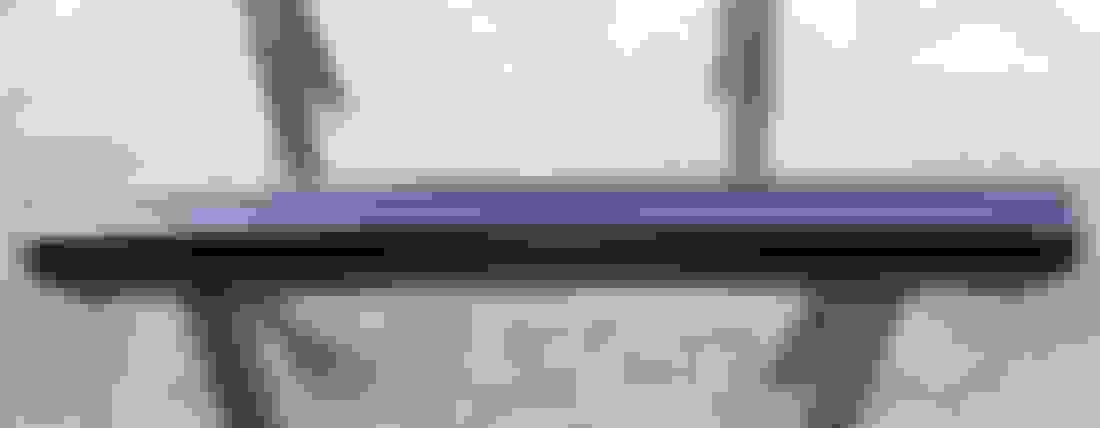
Here's a pic looking down the side after the Trizact 3000.. It's still needs a thorough cleaning to get the clear residue off the panels but you get the idea.. It's straight and smooth !! Next up is the buffing..

 02-06-2023 | 07:57 PM


 ... So I ended up buying a new rear bumper... I'm not wasting any time trying to fix something like that...I got it from Omix Ada for $100.00..At that price it's not worth the hassle ...