When you click on links to various merchants on this site and make a purchase, this can result in this site earning a commission. Affiliate programs and affiliations include, but are not limited to, the eBay Partner Network.
Thanks, I enjoy working on projects like this and it's easy for me to go overboard...lol... Speaking of overboard, although I know this is a "winter vehicle" the paint is taking on something completely different from what I intended.. I was just going to shoot it and move on.. But I'm now in the process of a full blown cut and buff...
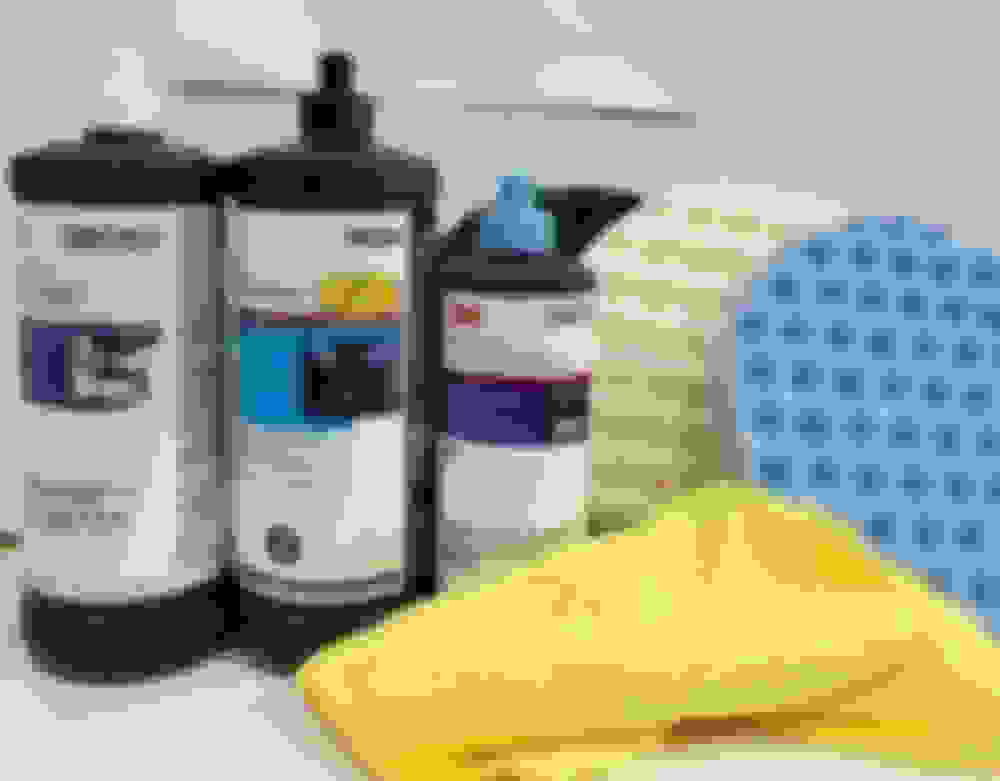
It's a multi step process after the 3000 grit.. 3M has a Perfect it system that I use for the higher end vehicles I've restored, so I broke that out to give the jeep some love...Basically its a cutting compound ,swirl remover, and a finishing compound with it's own dedicated waffle foam pads...
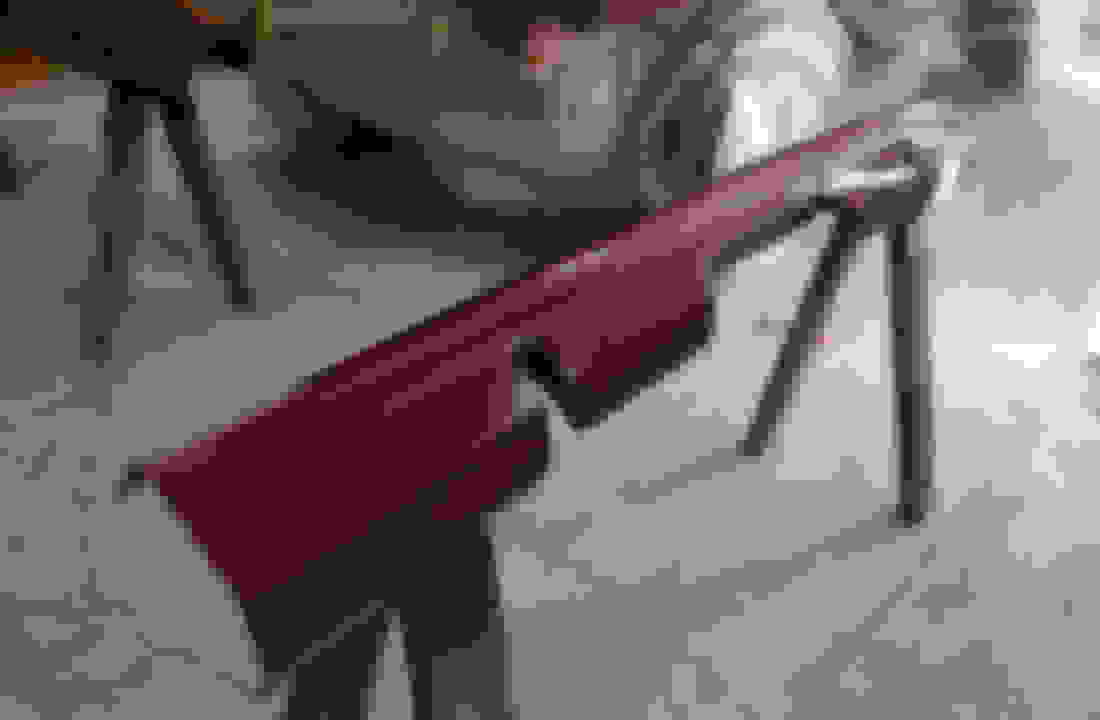
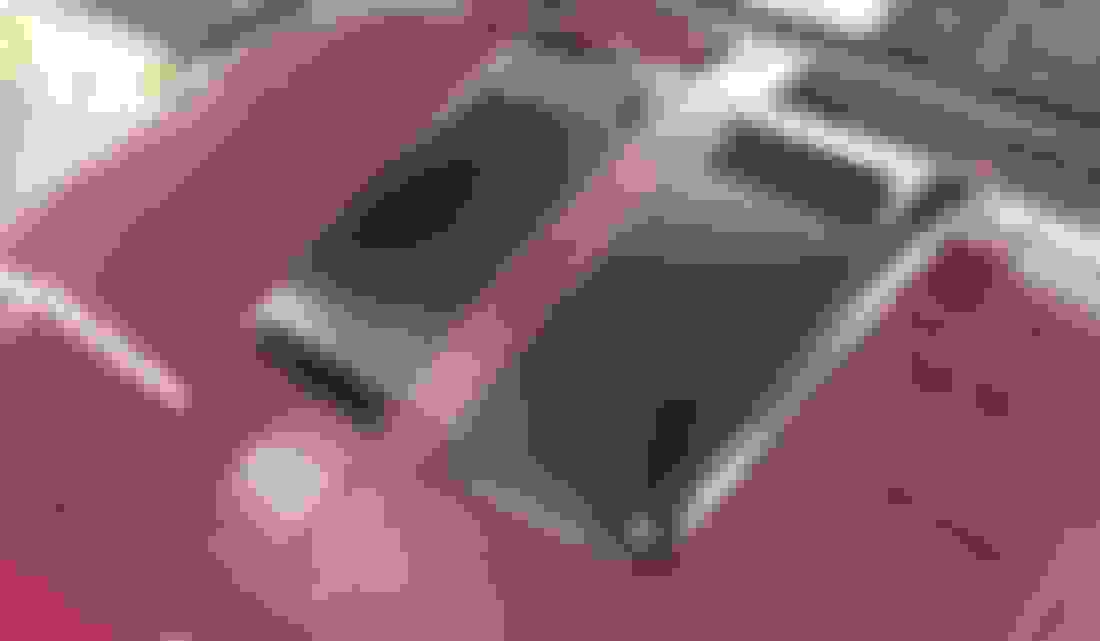
With the XJ I need to break the whole vehicle into sections and go through the whole process at each section... Taping the edges and body lines so there's no burn through.. All areas get carefully buffed making sure the buffer is running off the edges and lines not against them,, It doesn't take much compound ..Here's a pic of what's needed.. This pic shows the upper window and handle area already buffed out and just a small amount for the whole big area.. .
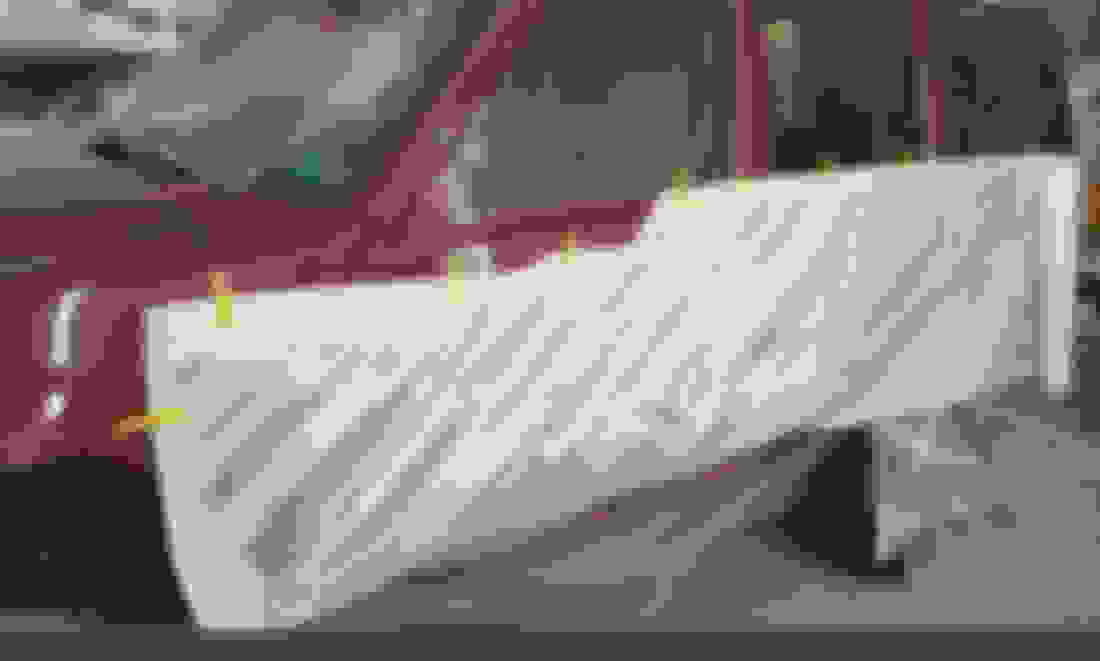
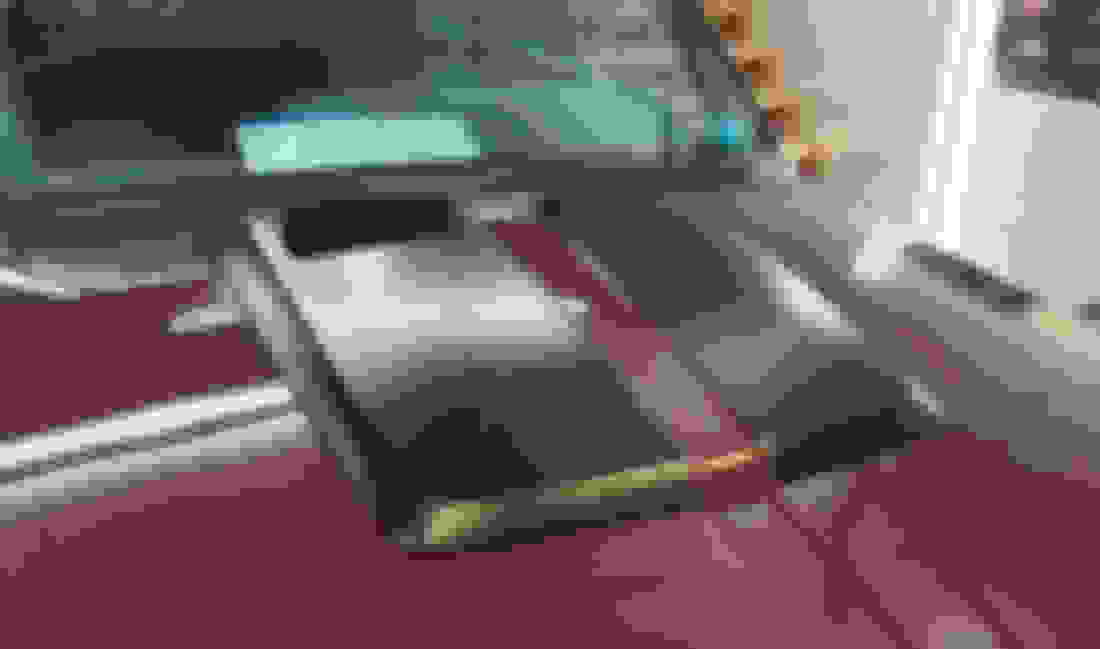
I add an extra step and use an 8 inch wool pad for the first step.. it shines up like glass making the waffle foam pads an easy task ..
I'm not going to go into much detail other than what's been said on this.. I'll admit, It's a lot of work and not for a beginner to attempt it on the XJ with all those body lines most probably would have shot the paint and called it a day.. But as you'll see the end result is well worth it..
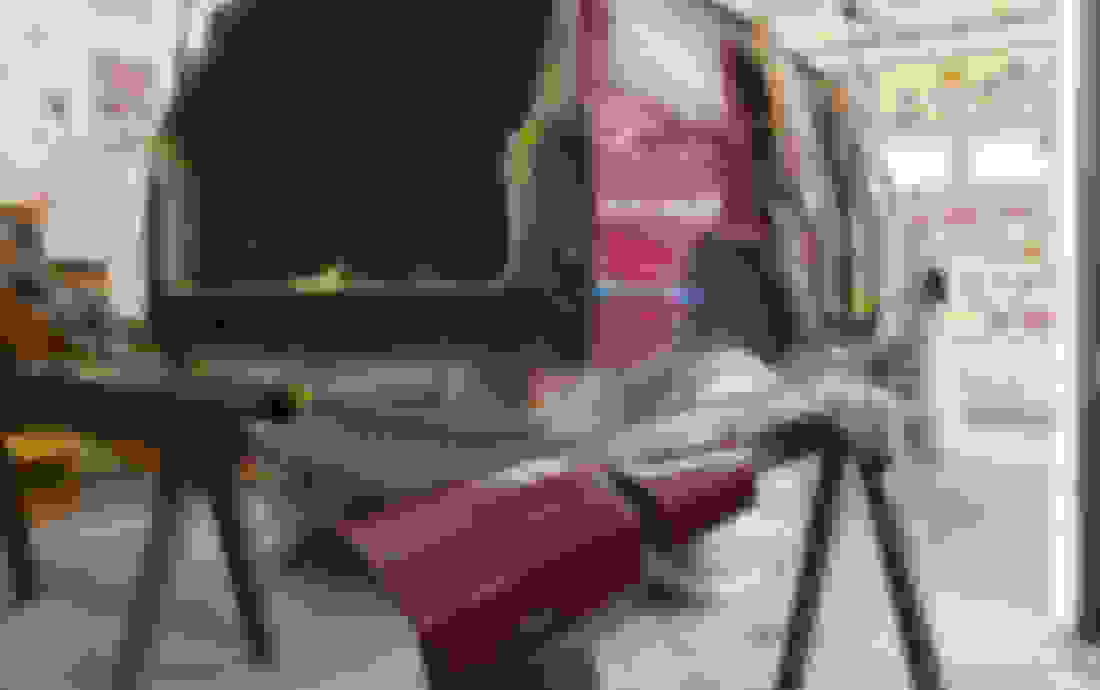
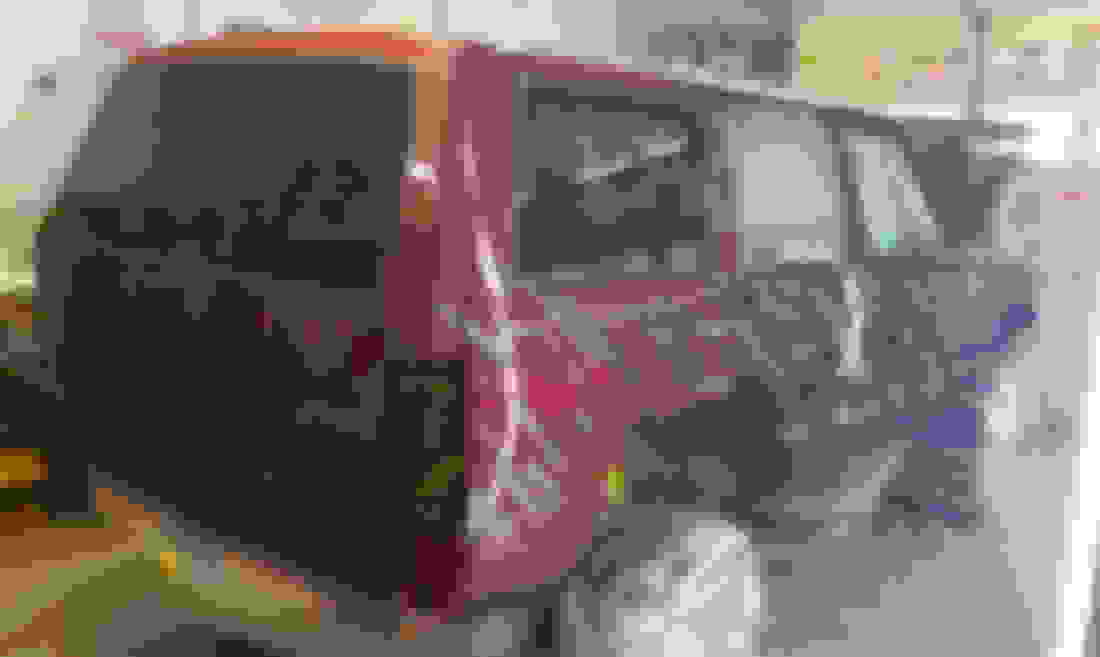
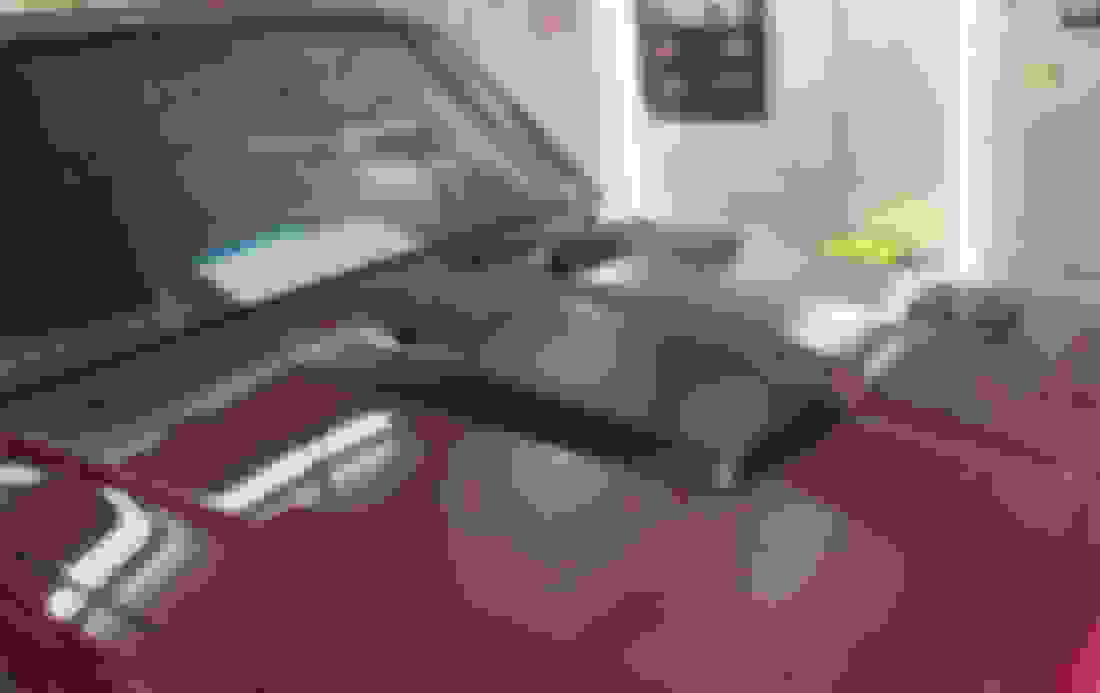
...Come up I'll show you what to do.. I've been working on it after work.. A panel or 2 at a time.. Check out the reflections with just the wool pad... I'll buff the whole side out from here with the foam pads they don't cut like the wool pad it's a very nerve wracking ordeal with all the body lines..
I remember when I was taking Auto-body and paint back in high school (way back 1978). Actually took the class my senior year. First semester was auto-body, second paint. Each student was assigned a flat 3 foot by four foot panel that was painted by the previous years students. They had us strip it with paint stripper to bare metal. D-A it, prime it, shoot it with lacquer paint. Lightly sand it with the right grit. Shoot it again with clear coat. Sand it again with 1200 grit. Buff it out. A girl could do her make-up in front of our panels when we were done. Paint is different today. But the process is pretty much the same if you want it to be that special. Thanks for taking us with you through your hard work! Brings back memories!!
With the cut and buff finished up it's time for the masking paper and tape to come off... For the next phase of the build... I wanted to personalize the build with some graphics..And so it happens...
With the layout of the graphics I determined I needed to do this in sections...
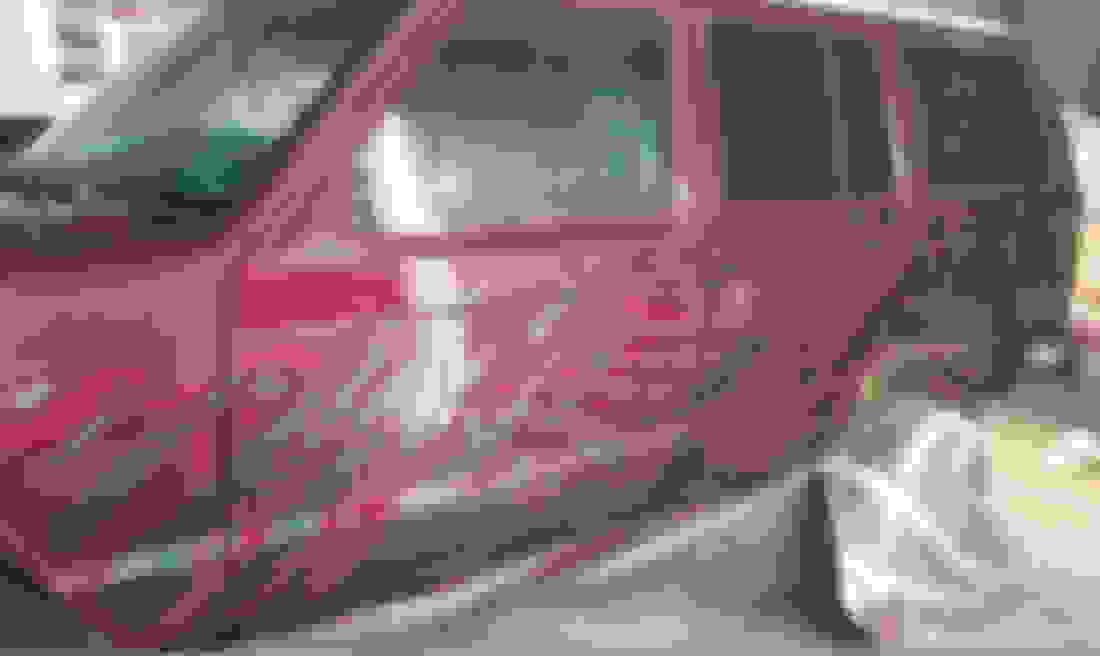
I used the "wet" method of applying them after cutting the whole side into four sections... What a job... The graphics are a matte black.. As usual the camera had a rough time with the colors...Anyhow here's the main graphics for the side completed.. There's still some areas that get more...
Thanks !! Those pics are coming ... I have a few more steps before I roll it out in the sun.. Finished up the right side graphics and added the rear quarter 4x4 emblems...That's it for the graphics until the rear spoiler goes on then that upper area gets a few more...
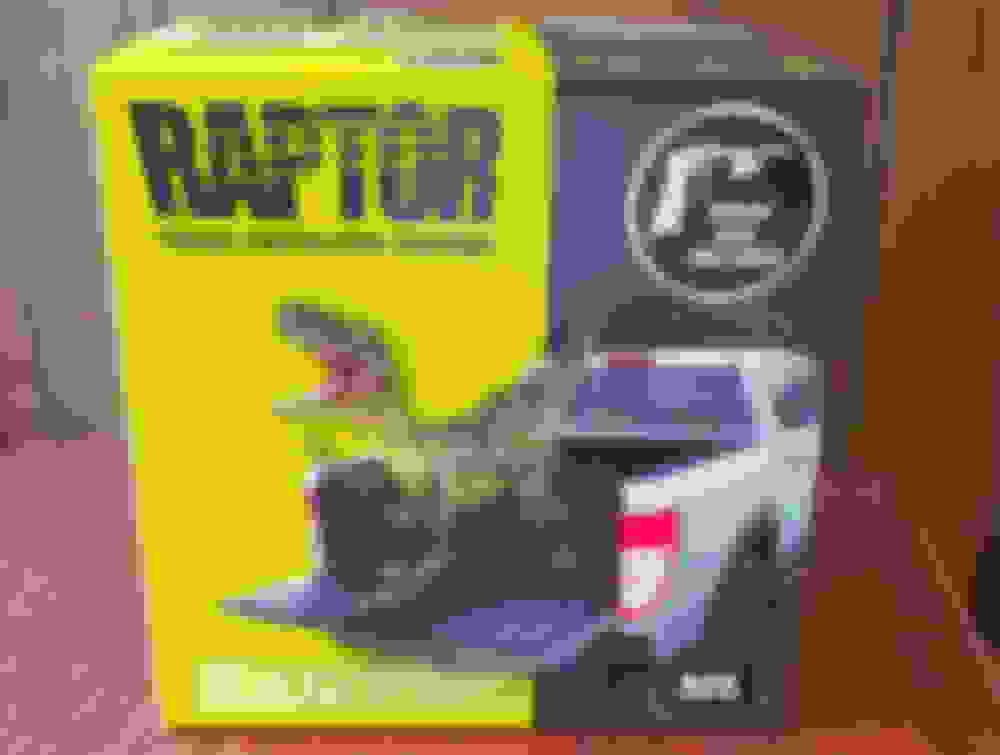
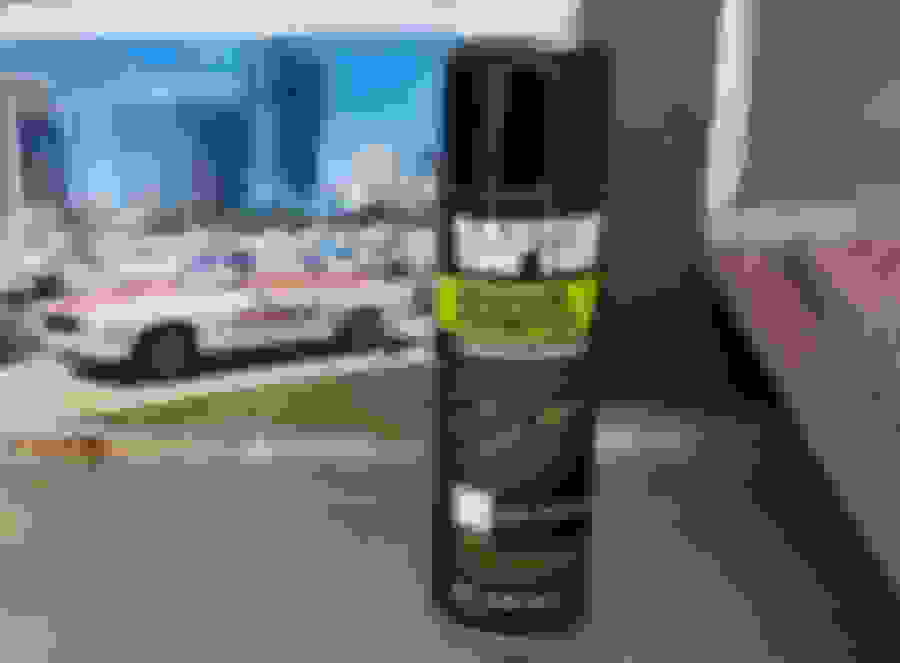
With the paint and graphics done it's time to address the remaining undercarriage procedure... That would be the undercoating...I wanted something tough not just any undercoating... I ended up getting this....
I've seen great reviews on this stuff and decided to pull the trigger on the kit...
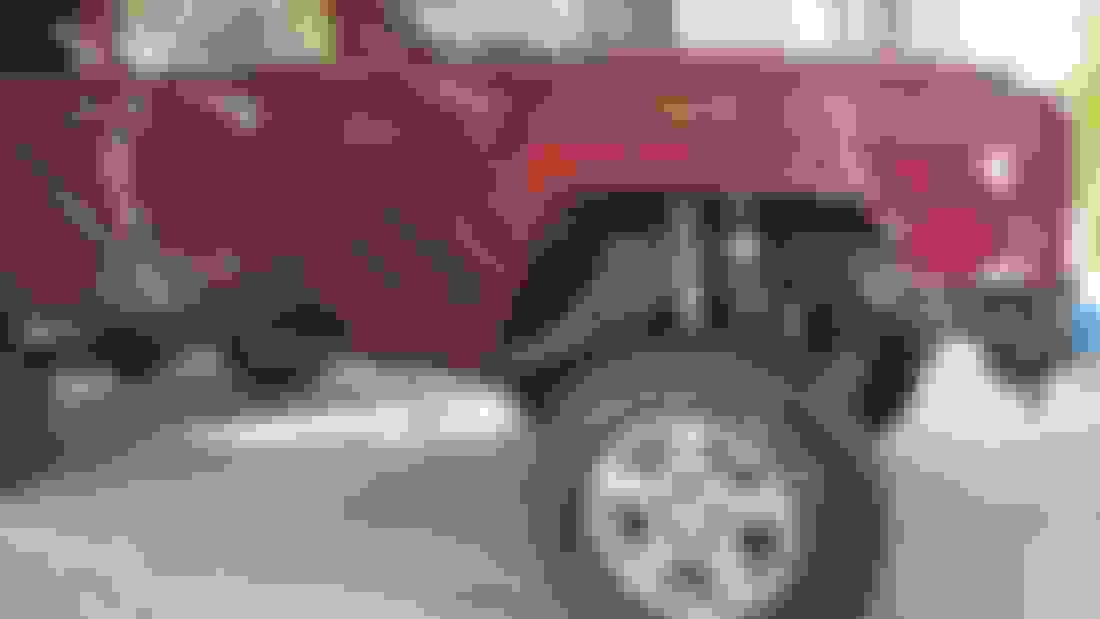
So with that I ended up {yet again !} covering the whole jeep with plastic so there's no overspray... I used plastic and the aluminum foil trick for the suspension components...
For anyone undercoating the wheel wells aluminum foil is the way to go.. You just wrap and crunch it in place... Done, and it's super easy to unmask...No wrestling with paper/plastic and tape...
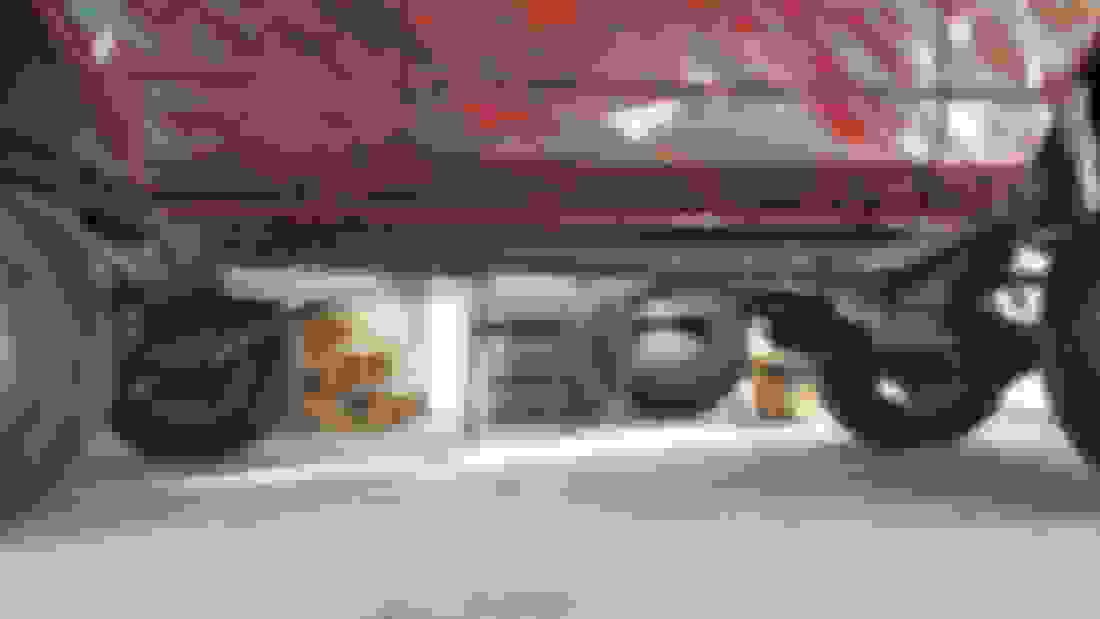
What I ended up doing is taping the back side of the frame rails so it gets coated the outer sides and bottom ..And then the outer pinch weld on the rockers got taped so everything including the back side of the rockers gets the raptor liner...
Now, I've already coated the entire undercarriage with an epoxy coating.. So I'm only concerned about the raptor liner going on the areas I've taped off for the road rash and mud.. I don't have time to sand every area of this and also there's still the original undercoating, although hardly any... So I took the easy way out and bought this to do the job...
I snagged 4 cans of the Raptor adhesion promoter and only used 2 cans even with 2 good coats for all those areas...There's just too many areas that wouldn't have been sanded properly plus now the epoxy substrate is intact with no sand throughs on the edges...
The Raptor liner sprayed beautifully using 50lbs pressure on the regulator..Suggested pressure was 40-60 so I split the difference...I sprayed two coats an hour apart like the instructions stated...Check it out it turned out wonderfull !!
...
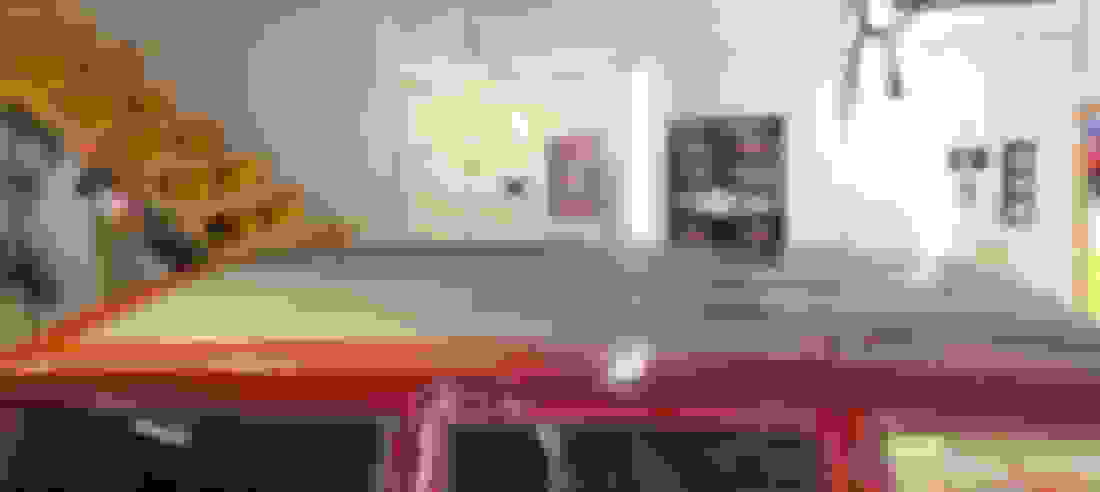
OK here's the deal.. I've hauled stuff on the roof rack and scratched the heck out of the original paint.. It made no sense to me to repaint the roof and repeat the scratching all over again so I used the raptor liner on the cargo area of the roof so when stuff goes for the ride there's no permanent evidence for eternity up there ...Again, it got two good coats of adhesion promoter and then two coats of the Raptor liner.. I'm real happy with the results...
...
This concludes the Raptor liner application for this build..I'd recommend this stuff to anyone looking for a rock hard layer between the elements and your ride...
Well now I finally get to the fun stuff... Final assembly... After drilling a hole in the hood I added a wiring grommet for the hood scoop wiring to pass through.. Here's some pics of the final paint scheme for the scoop.. The center valley got body color.. The scoop got 3 coats in a satin urethane...

 06-21-2023 | 08:50 PM


 ...Come up I'll show you what to do.. I've been working on it after work.. A panel or 2 at a time.. Check out the reflections with just the wool pad... I'll buff the whole side out from here with the foam pads they don't cut like the wool pad it's a very nerve wracking ordeal with all the body lines..