When you click on links to various merchants on this site and make a purchase, this can result in this site earning a commission. Affiliate programs and affiliations include, but are not limited to, the eBay Partner Network.
Got the winch synthetic rope spooled on the winch drum and the pro link installed.. Had to wind it super tight to get it all on there.. Even burned my hands in the process...lol.. I put the gloves on to finish it up... Lesson learned...
Hey man, This is one heck of a build!!! There's a lot of information you have provided.. No short cuts here!!!!!!!!!!!!!!!!!
The hood cowl is the bomb!!!
Thanks I'm glad you like it... I really enjoyed building it and coming up with new ideas....
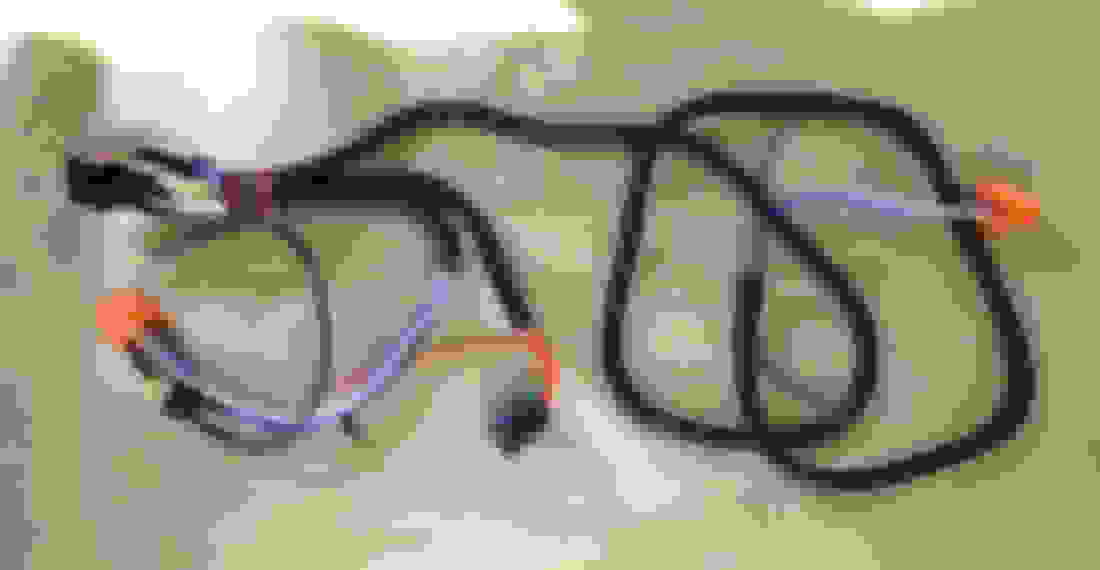
It's time to continue with the front grille area components...Next up is a headlight harness upgrade kit... I've got two... First one is the tried and true Putco harness that was popular for years... I have this and spare relays..
The other one is the True Mods harness that uses the bosch style relays and has ceramic headlight connectors...
I ended up choosing the True Mods harness... Everything I've bought from them is top notch and I like the bosch style relays...I have extras from the auxiliary relay box so it's a good fit...
With the choice made it's time to make it happen... My XJ is a sport with the factory fog lamps.. I want to keep them functional without a big ordeal with extra relays, wiring, etc... So the easiest solution is to add the fog lamp relay trigger wire to the new harness..{ it shuts them off when the high beam is activated} and I'm assuming the fog lamp circuit senses this wire for proper operation I've read numerous threads where the fog lamps were rendered unusable from not transfering this wire to the new harness...
The procedure is a simple one... Cut the two red wires on the left headlight connector.. Turn the headlights on high beam... The one that reads voltage is the high beam wire for the bulb...
Seal the high beam wire off you don't need that one.. The OTHER red wire is the fog lamp relay wire.. That needs to be added to the new harness's high beam terminal..I cut the harness terminal off and reinstalled a new terminal with both the wires together.. It's a done deal for functioning fog lamps...Simply snap it back in the ceramic connector it's ready for service...P.S. Some companies had trouble with this style harness not having the advertised gauge wire used for the rated amps... I'm happy to report this one from True Mods does in fact have the correct gauge wire...
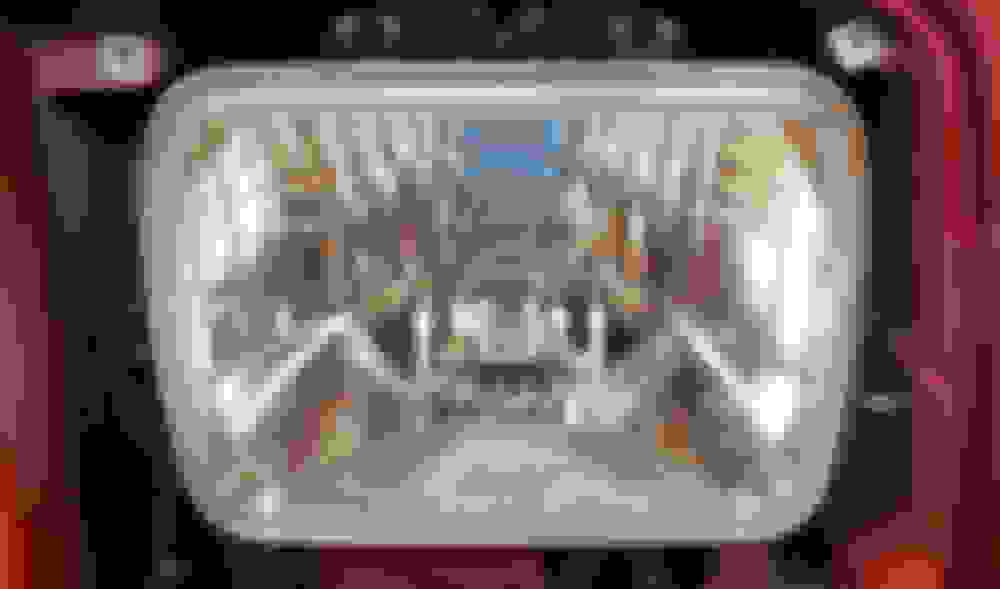
I'm going all the way and adding some different headlamps... Here's the set I bought...
This set has a glass lense not plastic and the rear is nicely sealed up....
For the bulbs I sprung for the Osram Night breakers... These have great reviews and the company has a good rep for their products...
Here's the assembly in it's final resting place..To say they're bright doesn't do them justice.. Between the new harness and these, they're WAY better than what I took out
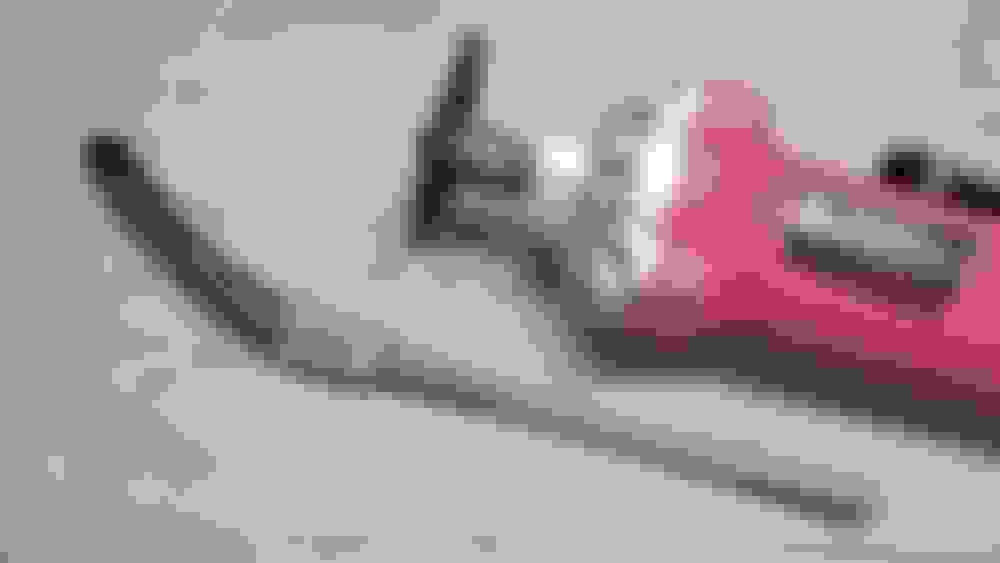
While installing the headlight harness relays I pulled the battery.. It went back in for the last time..But before it went back, I broke into my NOS parts stash again and installed the thermal battery cover....
Here's the part number for anyone looking to get one.. I still have the old one but the new one is much cleaner..... Yeah , I'm out of control...lol...
Could you post up a pic of the thermal battery cover installed? I'm not familiar with that part and am interested in seeing where it goes.
Nice moves with the headlights. I much prefer the look of halogens vs LEDs. Years ago I did the Putco harness and Cibie housings. They're wonderful. Only thing I might say about your setup is I am not a fan of bulbs with the blue filter on them. The blue filter actually reduces usable light output and adds a blue tint that is rough on the eyes. I used some Osram Silverstar 2.0 H4's (55/60 W) and have had great lifespan out of them. Don't think I've had to replace one. Great color from them, no blue.
I found one of those once in the boneyard on an XJ and grabbed it.
Pretty sure there are no markings on it and until now it never even occurred to me that it could be a Mopar part.
With all the shots I have taken over the years you would think I would have one with it on the battery out of the Jeep.
But noooooo.....
LOL.
I just goes around the battery, that opens up into a rectangle, and I placed mine so it sits at the bottom of the battery and probably extends 2/3rds up the side if I had to guess.
Yes, exactly as Ralph has stated... It's simply a thermal battery cover... I'm assuming it works in conjunction with the battery heat sensor under the battery...It's always been there after numerous places changing out the battery over the years so I figured I'd keep it intact...The new Ram trucks also have one but its more of a jute/insulation style cover now....
Trying to finish up the grille area leaves one last item on the list.. Time for the transmission auxiliary cooler and a B&M temperature gauge...I bought a Derale 13503 cooler.. The dimensions are the biggest height wise to fit the grille opening...The B&M 80212 gauge kit is the most complete for the install. Here's the rundown of the process..
I've read the multiple threads and watched numerous videos on adding the cooler and most simply cut the return line rubber hose... Add barb fittings, and run rubber lines for the cooler...After looking at the routing {coming out of the top rad fitting} it made more sense to me to redirect the hard line and eliminate a few feet of "extra" line that serves no purpose...So I cut the hard line, added a flare to the end and bent it to come around the radiator opening for the cooler hose to connect ...
Now the radiator return line is heading in the right direction for the cooler hose to connect...
With the cooler supply line ready it's time to add the temp gauge sending unit... I chose this area to make the cut...
Before I add the inline tee I want to address some mods for the cooler return hose... So I cut the factory hose crimp and pulled it off....
With the remaining hard line prepped for install I assembled the sending unit and tee using some thread sealant to keep everything dry..
Here's the final routing of the cooler return line and sending unit... A nice, direct line with no looping around the area under there...
I installed the cooler on the driver's side in front of the electric fan.. It made sense for quicker warm up in the winter and as shown keeps the return line footage to a minimum to get the job done... As needed for proper operation the cooler is on it's side with the inlet at the bottom, outlet at the top to prevent air lock...So that's it... Ready for service and I can now button up the grille area......
I want to get some Nickle copper alloy line and do a 90% hardline setup for when I put the trans cooler in mine.
Yes, that would be the best way ... Use as much hard line as possible... I've done coolers where there's just the small sections joining the cooler and the hardline... I took the easy way out on this one..Taking into account what would have been the original length of rubber hose I really didn't go overboard on the rubber hose length.. And I'm not sure just how much flex happens over rough terrain... That original section of rubber line is there for a reason and I'd be afraid to remove it and have it break/crack ...I may revisit this in the future if there's a problem but judging by how many use way more of the rubber cooler hose I think I'm in good shape...
On a side note I bought a set of the double barbs for joining two hoses together like you see so many use to add the cooler... After holding them in my hand I used a caliper to measure the opening and it just scared me.. There was way too much restriction through those brass barb fittings.. I made it a point NOT to use them....There's so many ways to plumb a cooler.. I used braided hose with a liner in them for use on the water in my airboat... Everything was plumbed with AN fittings...I was thinking about going this route but I'm at the point where I just want to get it done...
I'll throw a pic of the airboat in here since I've shown some details of the cooler.. I painted this also and I'll be using the jeep to tow this to different areas of the river here for some fishing...There's no mistaking me out there...lol...
Got the rear bumper installed.. Used the factory style plastic rivets to install the center trim piece.. I precisely cut the rear bumper caps to fit the flares perfectly.. Finished up the job with some "wiper" edge trim like the bushwacker flares use...
I polished and installed the tail lights, marker lights, and front turn signal lights.. The lenses look brand new..The last set of lights to go on are the fog lamps... I restored the original set {that really wasn't bad} and added some better bulbs.. These went on without an issue..
Finished up the front bumper, bumper caps, and front air dam...The front bumper cap was cut to match the new wider radiused opening of the bushwacker pocket flares...
It looked bare and unfinished with it cut off... I ended up making a custom bumper end cap with the left over piece from the back...Now it looks complete below the front flare from all angles..
Here's a corner shot of the custom caps...
And one from the side to show the flare's radius matched nicely... I used the same wiper style trim to add a finished look to the front to match the flares...
So it's a done deal... I'm happy with the outcome with the hidden winch and using as much factory parts as needed to make it a somewhat seamless transition with all the components...

 08-19-2023 | 07:31 PM


 ..
..


 .. Yeah , I'm out of control...lol...


 ...
...