When you click on links to various merchants on this site and make a purchase, this can result in this site earning a commission. Affiliate programs and affiliations include, but are not limited to, the eBay Partner Network.
Hey man, I've gotta stop re reading this thread!!!!!! I thought I had covered the rodent entry points on my XJ.... Great fix to the acorns rolling around in the air vents!!!! No hack job either!!
Where did you find the tape to fix the cowl???? You can't leave this gem sitting outside when you done with it!! LOL!!!!!!!
Well, the whole idea was to have a winter ride that was somewhat presentable... And I went overboard from there...lol.. But yes, it's going to be outside for the winter as my ride to work..I'm going to take it to a few shows before I get it completely muddy trying out the new suspension and differentials...
Anyhow, the ZIP tape is actually a super sticky vinyl tape{almost like a huge electrical tape} used with the zip system for new homes to seal the coated, exterior plywood instead of using Tyvek wrap to make them air tight.. It's that sticky you can't hardly pull it off your fingers.. It's not cheap but you can get it at lowes, home depot etc... We have excavating contracts in new developments and the stuff is laying around from the carpenters using partial rolls and tossing them.. So I grab it when I see it and use it for everything...
Speaking of outside for the winter.. I bought a set of heated mirrors and installed them today... Anything to make the winter life easier...
I bought a lifetime supply of the interior panel push clips that are used everywhere.. And usually broke or ready to break..Now the panels will be good and tight again..
Well I went to the boneyard today... I go about twice a year.. It's hit or miss on the XJ stuff... Luckily this time had some XJs at the yard to pick over...I found a 2001 Cherokee classic that hasn't been there too long... Only thing missing was the front seats.. To be honest the interior was very nice for it's age so I snagged the original mopar master window switch with perfect lettering, some extra screws, rocker switches, a few interior plastic trim parts, and a rear hatch seal that was in great shape {I ripped mine }...A rear dome light {for extra parts}that always seems to be missing on every one I've looked at... On a side note all four wheels were there.. I thought that was odd for their condition and soon realized it had 5 wheel locks on every rim !! If I needed those wheels I'd be going back with my master set of lug removers...
Anyhow, the main reason I went was to get a set of the window trim with the rubberized coating.. IF there was any good pieces to be found...It's very rare to find a good set.... Mine are peeling at the top like so many others that have been sitting outside.. As luck would have it This classic had perfect trim so I snagged the whole set !!! Here's the set cleaned up and ready for installation...After trying to find just the right cleaner to get them done I ended up using lacquer thinner on the rubberized coating and it took the years of road grime off that usually coats them.. I'm super happy with the whole set...
Here's a close up of the tops that are always peeling.. This XJ must have been in a garage for most of it's life to have the trim this nice...
The rubberized trim is in it's final resting place.. That takes care of all the trim, door handles and lighting around the outside of the vehicle...
I replaced the gas filler door rubber stops for new pieces the old parts were pretty hard.. Now there's a noticeable improvement in the cushion when opened.. Replaced the passenger front door check the old one had some play and I wanted to get that done before the door panel went back on...I applied some front window tint to match the rear glass.. Now the glass looks more balanced looking at the vehicle..
I moved on to the suspension for the final inspection including retorquing all components, stainless steel cotter pins, greasing, and finally alignment.. I did a quick alignment when it was initially assembled but this was the final phase with the track bar, toe and castor getting dialed in...I had set the adjustable control arms by the chart provided for the lift {or projected lift } but the castor and wheel base were way off.. Wheel base was short by almost an inch.. Castor was way off with pretty much no castor dialed in { which was causing the front coils to have a slight arch from the spring perches being so far out of spec}.. The driveshaft was pointing straight at the transfer case.. I ended up spinning the LCAs 5 turns out which not only got the castor in the ballpark but also stretched the wheelbase in the process...Now the front tires are more centered in the wheel well like it should be..The suspension is now ready for the road and I'll recheck the alignment at 500 miles when the suspension component torque is rechecked..
The last NOS part is coming out of the box.. The fuel filler hose "heat shield"...Part number 55003285AB...I'm more inclined to see this as a hose guard than a heat shield, after all there's no exhaust near it...[?] Anyhow I had sandblasted my original and I wasn't happy with the overall condition of it and I don't want to waste my time trying to revive the original when I can get a more suitable replacement..This will get epoxy coated, then Raptor lined on the outside when the rest of my parts gets the coating...
So as I'm buttoning up the interior getting ready to give the sound system, fans and amps a test run I came up with the idea of adding "just one more thing" before the interior is a done deal.. It all started with the center console coming out for the trans temp gauge to get installed in the console and... You know how it goes....
Here's the starting point... This is with the engine warmed up and running..
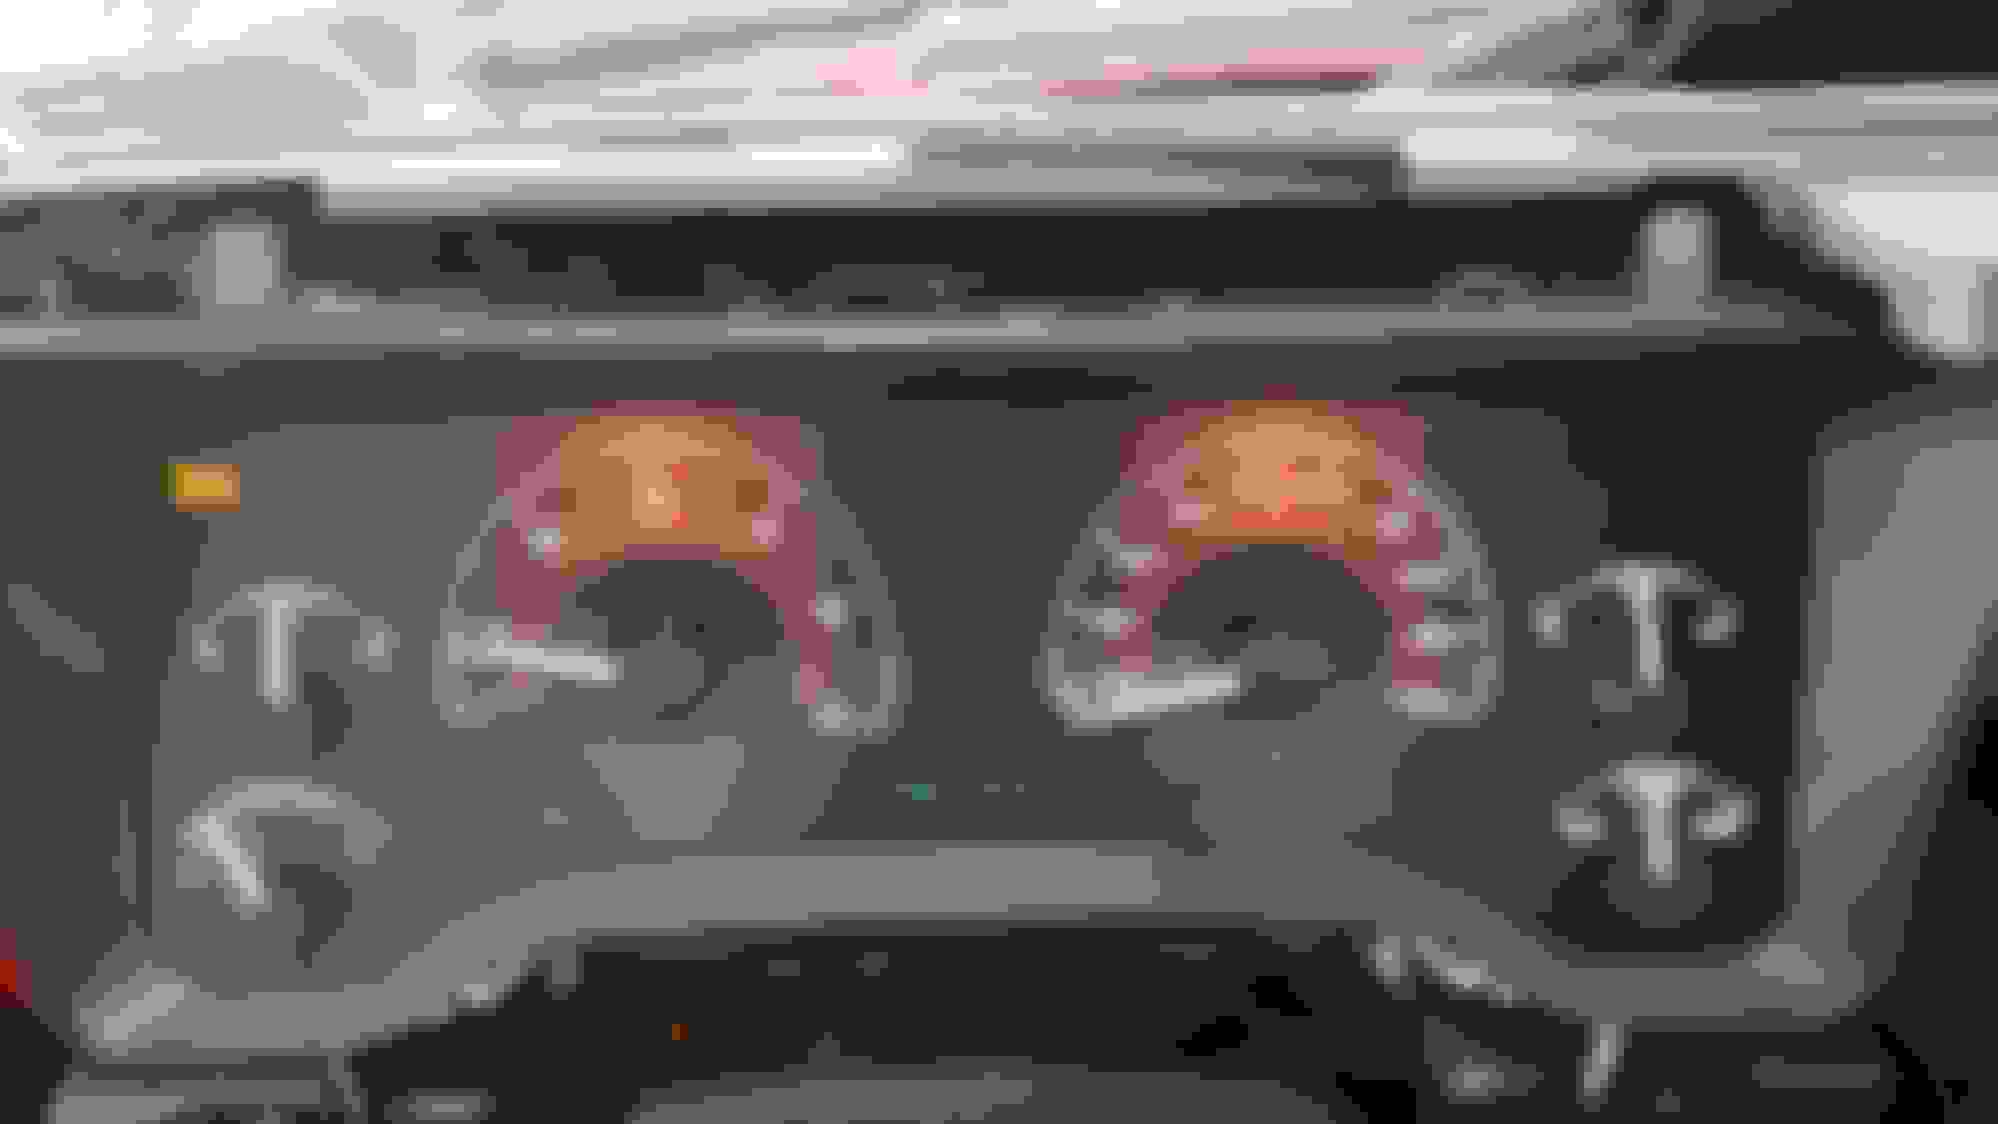
So out comes the gauge cluster for a cleaning and... Going in deep again
Out with the old.... And in with the new !!! I went with Azzy's design works Eurohex kit that closely matches the theme of this XJ...
I reinstalled the gauge cluster and checked the accuracy of the gauges while running by the readout and my OBD2 scanner... It's a done deal...And a much better layout for this build...
The pic was taked from over the wheel that's why the odometer looks off center.. It's where it needs to be ...And the cluster lense got rebuffed and is crystal clear......
Next up is the climate control.....
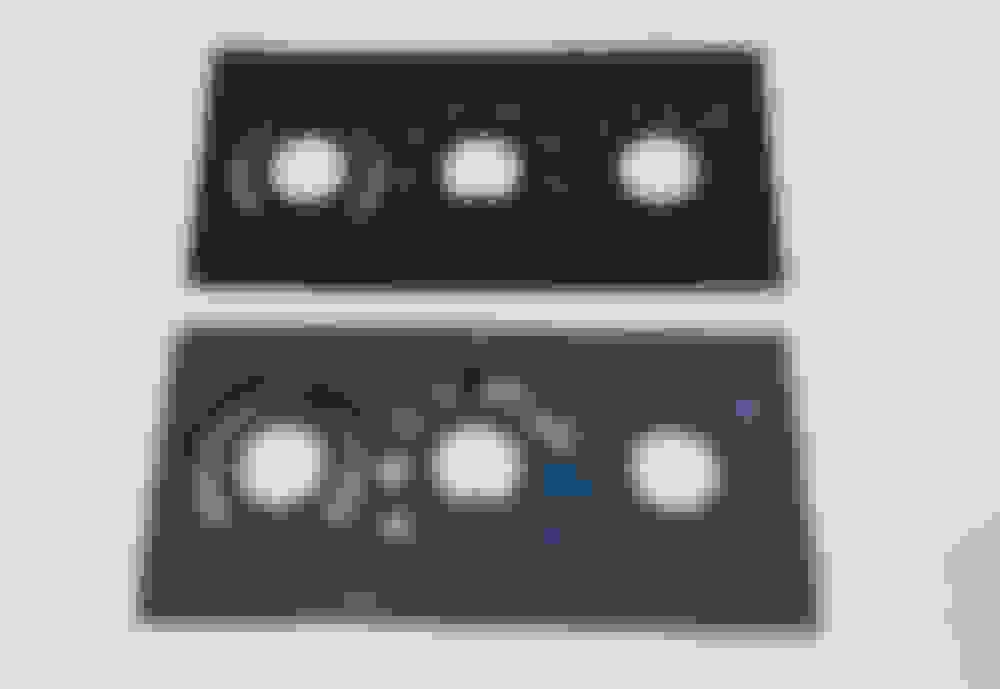
The original overlay is held on by a glue strip that covers the entire panel... Here's the thing, the glue covered even the areas that have the light shining through !! With the old glue turning yellow the lighting leaves a lot to be desired by todays standards... So when I reattached the new overlay I made sure it wasn't covering the illumination areas... old adhesive covering lighted areas new overlay
And back in it goes for a test run...
Well at least it was a quick side track....... And one that totally changes the interior for the better IMO...
Thanks... I'm happy to be where I'm at with the build... So I'm working my way out of the interior with the last few mods... I installed the trans temp gauge in the console and made up my own custom temp gauge bezel to match the agate color....It's a textured finish to make it look like it should be there....
After reinstalling the center console I worked my way out of the dash...
One big item on the list was to find a home for the hood vent switch ... I wanted it to look like something the factory might have done...
Here's a shot of the finished dash with the new gauge lay out and the hood vent switch in place...
This area has always looked like it needed something and the switch is the perfect item.. I had engraved switch labels made up and custom fit them in a recessed area I machined into the panel.. The added bonus is you can easily watch the hood vents open and close while activating the switch....
..
Before the seats go back in for the last time I installed the last amp adjustment ***** in their final spot under the dash.. I can easily get to them if any adjustments are needed...
... I snagged some Weathertech floor mats for the front and rear seating areas.. They look and fit the best out of any brand out there IMO...
So that's a wrap on the interior panels ,switches and modifications in the seating area... And boy am I glad to sit back and enjoy all the hard work in here....
Since this is my winter storm/recreation vehicle and not the grocery getter I put a sub box in the back that takes up some space but what the heck.. More weight for traction...LOL.....I installed a 2 farad capacitor in the quarter along with the SMD amp fan controller.. The wiring tucked away nicely behind the interior panel and none is showing...Nice and neat and still enough room for jumper cables etc.. for the winter emergency kit...
So that covers the interior and what got done...I still need to charge the capacitor and hook up the auto EQ microphone that sets up the equalizer and time delays for the sub and speakers automatically..Then its ready for some tunes on the road...
I wanted to show this in case anyone needs one of these... Mine was destroyed under the hood and I wanted the factory replacement.. And as luck would have it MOPAR still makes the under hood light... Less than $20 for the factory part and it's a done deal... Here's a pic with the box for the part number if anyone wants the factory part...
I wanted to show this in case anyone needs one of these... Mine was destroyed under the hood and I wanted the factory replacement.. And as luck would have it MOPAR still makes the under hood light... Less than $20 for the factory part and it's a done deal... Here's a pic with the box for the part number if anyone wants the factory part...
Years back I bought a new one from my dealership too.
I want to say it pretty much cost me what the Dorman one would have cost on Amazon.
Of course they are a customer of the Napa I have since retired out of so assuming I got the "Friend and Family" discount.
LOL.
The hood vents and the switch for them are absolutely good stuff!!!!!!!!!!!!!!! You probably have some of us up at night trying to find parts for that!!!!!
Thanks guys...Part of the fun is contemplating just the right look for each mod..I do spend way too much time thinking about the details..Hopefully it shows with the end results...
You know, I noticed the broad range of vehicle applications that under hood light got used for when I was searching...That was one of those parts I didn't give much thought to until I needed it and I was surprised it was still around..
Speaking of lights, I've had a "kit" for the XJ interior lighting for quite some time...It's a broad kit for more than the XJ I'm sure.. But as luck would have it,the overhead console takes different bulbs than the ones supplied...Everything else worked including the new under hood light's LED replacement...I ended up twisting the steel hoops at each end of the LED so it sits flat with the lense..Not sideways as would be installed..
Anyhow , other than the LED back up bulbs in the pic I'm not adding any more at this time to the outside of the vehicle.. I don't want to open that can of worms just yet...
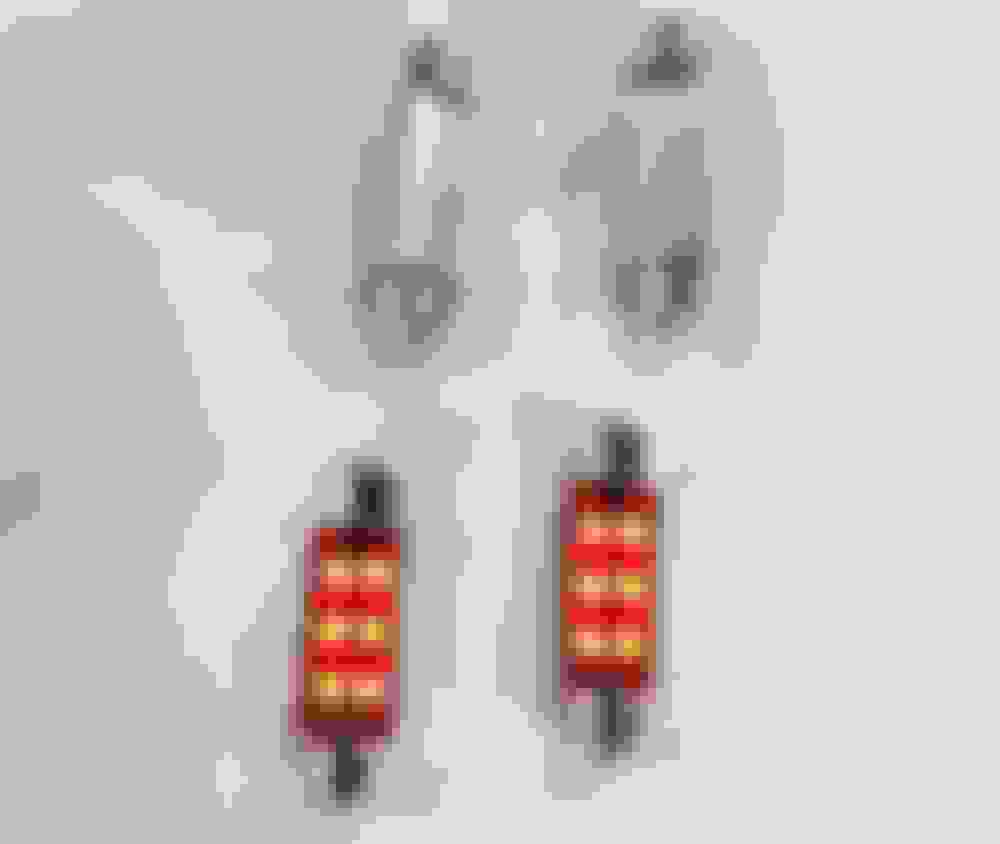
I bought some higher grade 42mm festoon LEDs for the four map lights in the overhead console.. These have some nice heat dissipators on the back since they will be on every time the doors are opened..
Now when the doors are opened there's a whiter/upgraded spectrum in the interior than that yellowish, dull incandescent hue...It's amazing how you get accustomed to the new vehicle's leds and the old stuff looks quite lacking with the lighting...Here's the new, brighter look in the process...
So that should be the last of bringing the interior into the 21st century...Back to the outside of the vehicle...

 09-10-2023 | 08:38 AM


 }...A rear dome light {for extra parts}that always seems to be missing on every one I've looked at... On a side note all four wheels were there.. I thought that was odd for their condition and soon realized it had 5 wheel locks on every rim !! If I needed those wheels I'd be going back with my master set of lug removers...


 ...
...

 .... And one that totally changes the interior for the better IMO...


 ....
....