When you click on links to various merchants on this site and make a purchase, this can result in this site earning a commission. Affiliate programs and affiliations include, but are not limited to, the eBay Partner Network.
I will be ordering pocket flares for my 2001 build,, did you look at the Napier Brand ?
Originally Posted by Corky
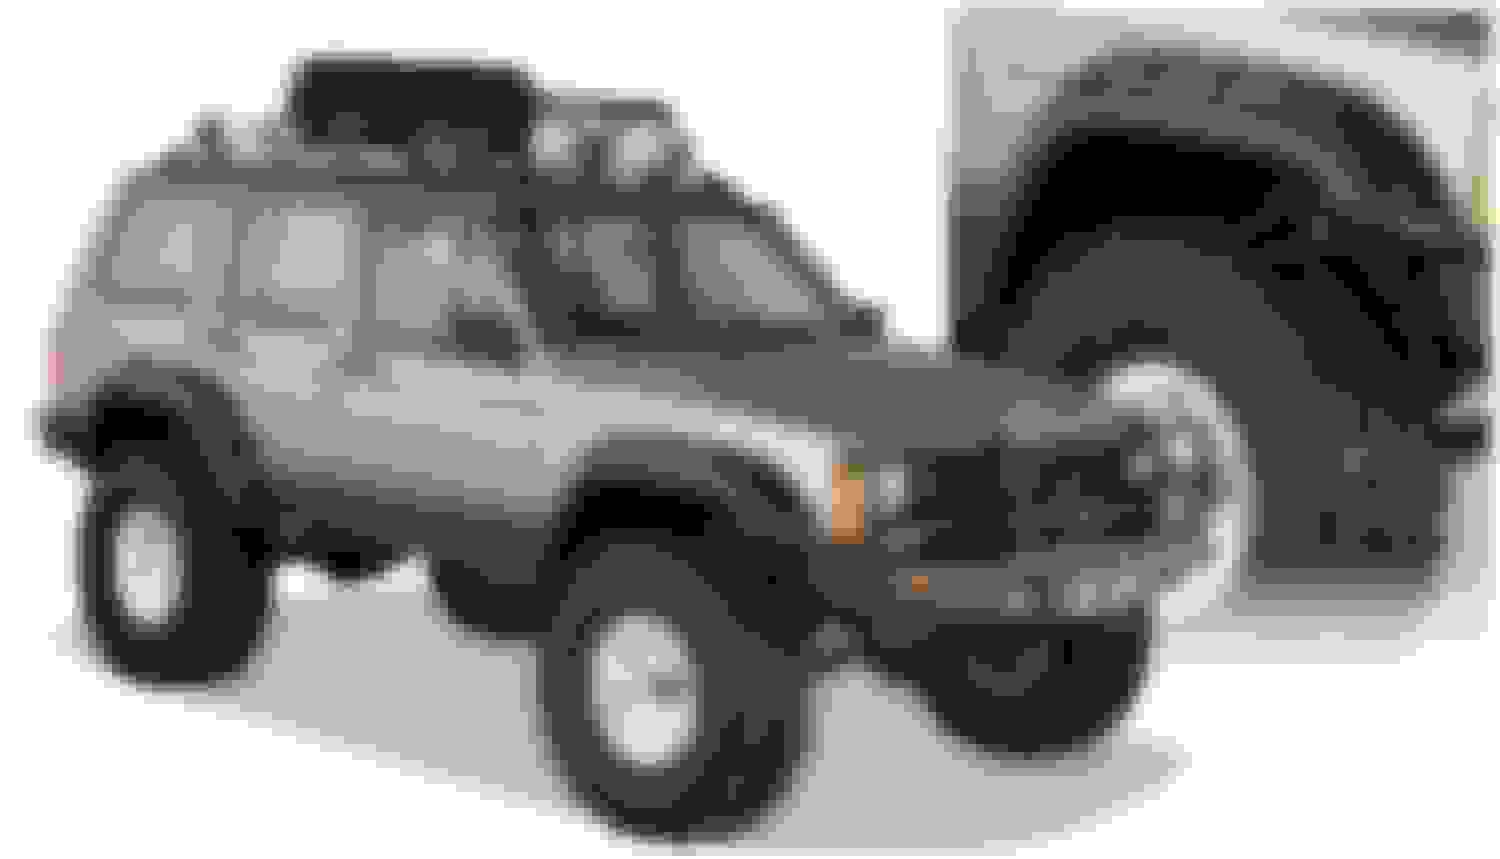
I've got the Bushwacker pocket flares..I know the flat flares are popular as well but I just like the look of pocket flares better... I've installed the flares on the rear drivers side for fitment and have taken them back off...And forgot to get a pic with them on..... But I'm working on the passenger side now and will be sure to get pics..The rear flare install seems way harder than I though it would be..
I'm a perfectionist and they need to be:
A} level.. I can't believe how many of these 4dr two piece pocket flares are installed crooked and misaligned from each other..
B}Symmetrical ... I've already transferred some reference lines from one side to the other to make sure they are exact from side to side..
After starting the installation I see some of the appeal of the flat flares might be they're easier to install..
I did look at them and they seem to be a popular choice as well.. If you look closely there's a difference in the shape between the two..I don't see anything wrong with using either brand...
On the rust treatment:
I did end up pulling the inner panels the same day I was welding and used Eastwoods platinum rust encapsulator on the new seams...The low heat setting I used on the Lincoln mig welder only took 1/8-1/4 inch of primer at the most from the backside..
And the reason I pulled the panel so soon ??? Mopar put a piece of foam sealed in plastic in the lower rear quarter for what I assume is noise reduction...I had a lingering smoke from the cutting process and knew there was something I missed in there..lol..
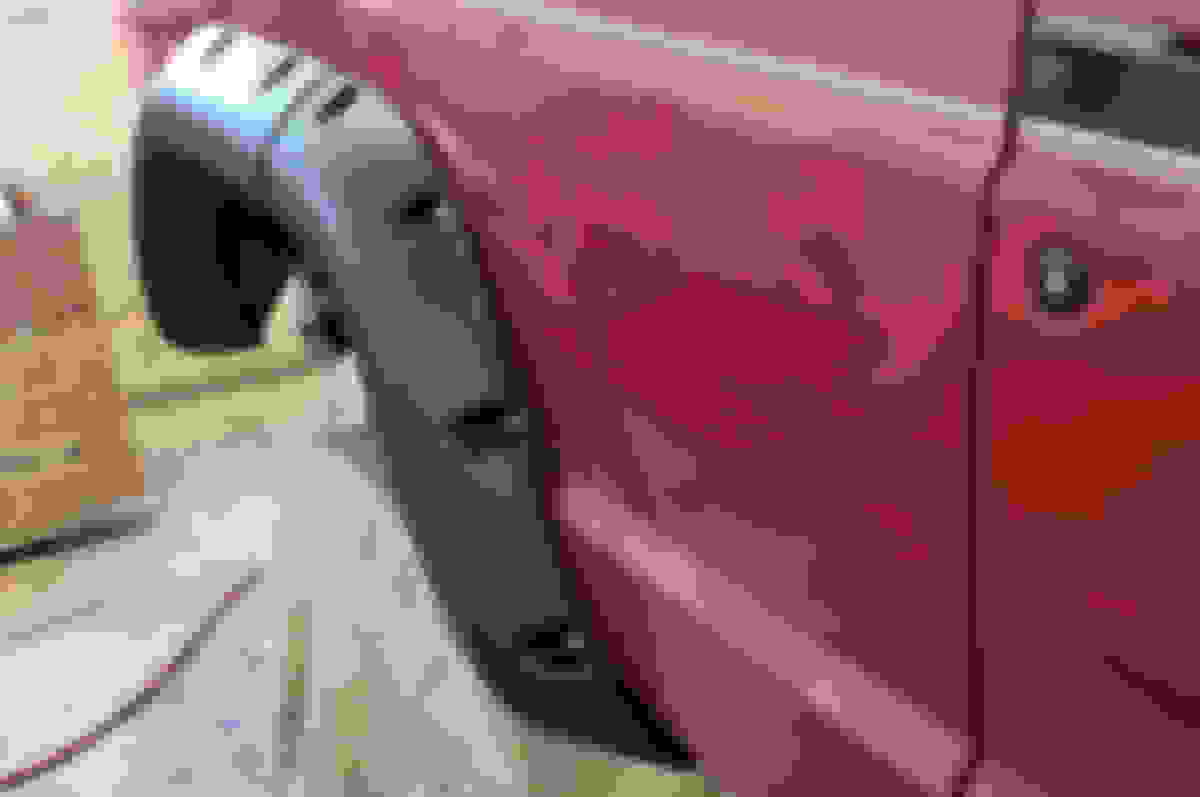
Here's the right rear fitted and installed..The instructions tell you to hold it up there and mark every hole in one shot.. Don't do it...To get them perfect you need to drill and install each bolt and snug it down because every one moves the flare.. You need to compensate to level out the flare with every bolt...
This stage of the fitting doesn't have the washers or the rubber weatherstrip and you can see each piece fits like a glove..I've had them on and off many times.. I needed to shape the profile of the mating surface on some to get that perfect fit and the directions state you may need to do that...
I've got all 4 flares fitting as good as they can being the plastic parts they are... I've trimmed the front bumper corner pieces to match the new opening and have an idea about adding something in that area.. More on that later.. In the meantime the front bumper came off for the final welding.. I used the bumper metal that got trimmed for the added supports.. With the openings reinforced the bumper is super strong again ...
Here's another shot of the D ring mount openings getting boxed..All areas are welded front and back...
I had time to finish up the extended lines for the lift kit and install the new brake hardware up front... Coated calipers, new bolts, and pads...Pads are Wagner severe duty front and back to handle the new, heavier wheels and tires.. As done with the rear disc pads I used abutment clips to take up the slack between the brake pad and the knuckle slider.. Then a light coating of brake grease on the slider before final install...
They come included with the better quality brake pad sets.. I've found them also at Rockauto with some individual caliper components.. Not only do they keep the pads from knocking/clicking during rotor rotation by taking up the free play,they also keep the pads from wearing that groove in the knuckle slider by spreading the load..
It's an old Lincoln mig pak 10 welder...110 volt...30 years old this year !! I use it for most all automotive project welding..The bigger/thicker stuff gets the 220v welder...
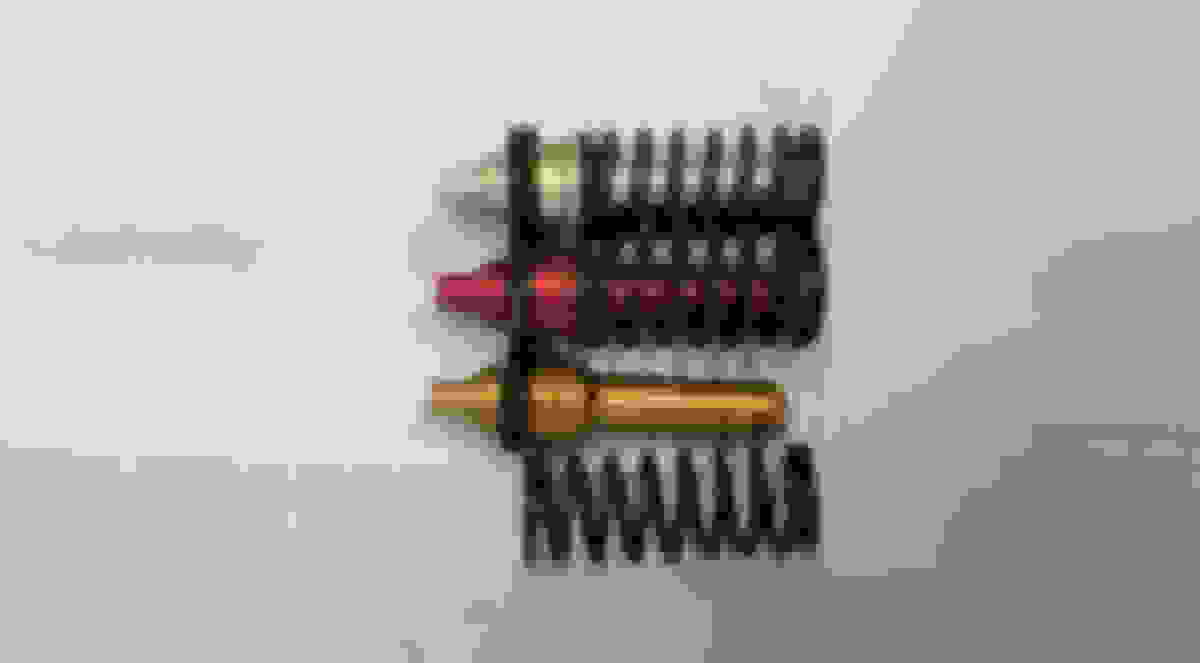
So the last phase of the brake system is the proportioning valve spring replacement for the ZJ rear disc conversion.. As others have found the spring is different{shorter}, the actual valve from the ZJ is different at the spring end {smaller diameter} and the ZJ proportioning valve cap would be needed if swapping the whole assembly... Because the cap's rubber sealing ring needs to be tight on the valve.I reused the XJ valve and simply changed the spring... In this pic the top two are ZJ boneyard pieces.. The bottom valve and spring are from the XJ
The spring install was easy with no surprises.. The brake bleeding ceremony was uneventful and actually easier than expected... I've got a nice, firm pedal after changing out all the fluid in the system..
Last edited by Corky; 05-05-2023 at 05:20 PM.
Reason: technical, correct explanation of the parts
With the brakes finished up it's time to move on...
Up next is the exhaust system...I decided to go with a cat back exhaust since the rest of the system is in such great shape.. I ended up going with Performance Curve's 2.5 inch mandrel bent tail pipe and a Magnaflow stainless muffler...I fully welded the adapter to the existing pipe and mocked up the system to see what I've got with all the aftermarket suspension parts I used.. The good news is the pipe fits great and there will be minimal work to get it right..Mostly cutting off bolts to make some room where I want it...Here's the components..

 06-30-2021 | 01:41 PM

 .. But I'm working on the passenger side now and will be sure to get pics..The rear flare install seems way harder than I though it would be..