
Diesel XJ Swap
 09-26-2012 | 04:11 PM
#1
Thread Starter
Junior Member
Joined: Jul 2012
Posts: 50
Likes: 0
From: White Bear Lake, MN
Year: 1997
Model: Cherokee
Engine: Diesel Swap
I'm new to XJs, but not new to Jeeps, and not new to diesel powered Jeeps. My last vehicle was a 1995 Wrangler. It came stock with the 2.5L gas engine, which ended up dying around 195k miles. After that I (with the help of some friends) swapped in a small 4-cylinder 2.3L Cummins turbocharged diesel engine. After daily driving this Wrangler for roughly ten years, the body has started to deteriorate, among other things on the Jeep as well. With that and the birth of my first child, my wife and I decided to upgrade from the Wrangler to an XJ (and to purchase a JK in the future, and do another diesel swap on that, but this won't happen for a couple years probably). With changing vehicles, the diesel which is in the Wrangler is going to be swapped into the Cherokee. This Cherokee will continue to be a daily driver, with possibly trips offroad, and maybe even Moab (the Wrangler was in Moab a couple times).
For a little background, here is the swap in the Wrangler. These pictures show the mounting of an AX15 to the engine, which didn't really need to be figured out for the Cherokee since it was already done for the Wrangler, so I'll use some old photos here.
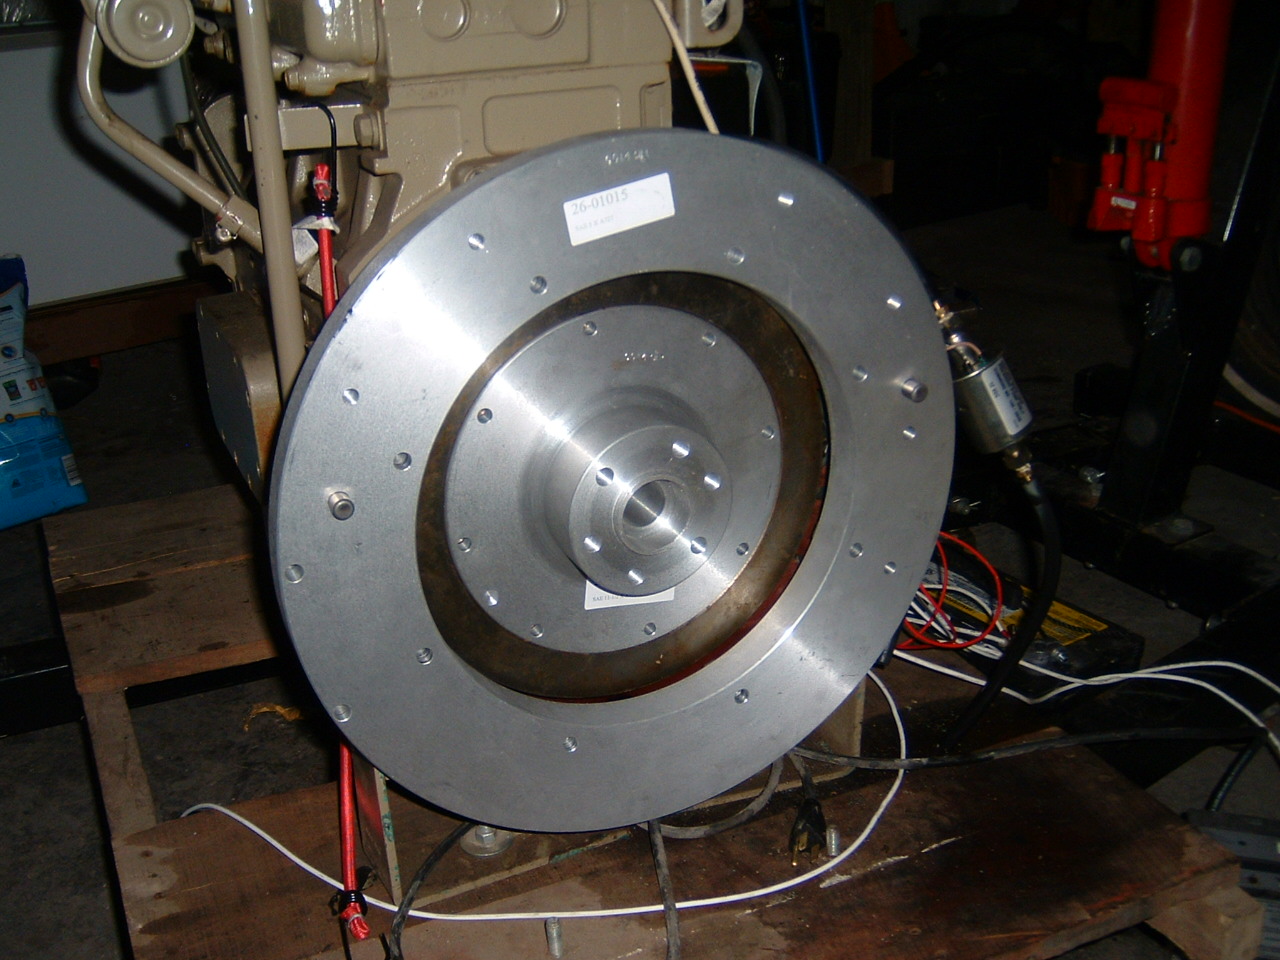
This is the engine on the pallet. It was a brand new engine when I purchased it. It an A-series Cummins engine, and ends up being a lot smaller than the more common B-series that everyone craves so much.

Bellhousing adapter (SAE#5 to Chrysler 727a), and flywheel adapter (SAE#7-1/2 to Chrysler 727a), both from Phoenix Castings:
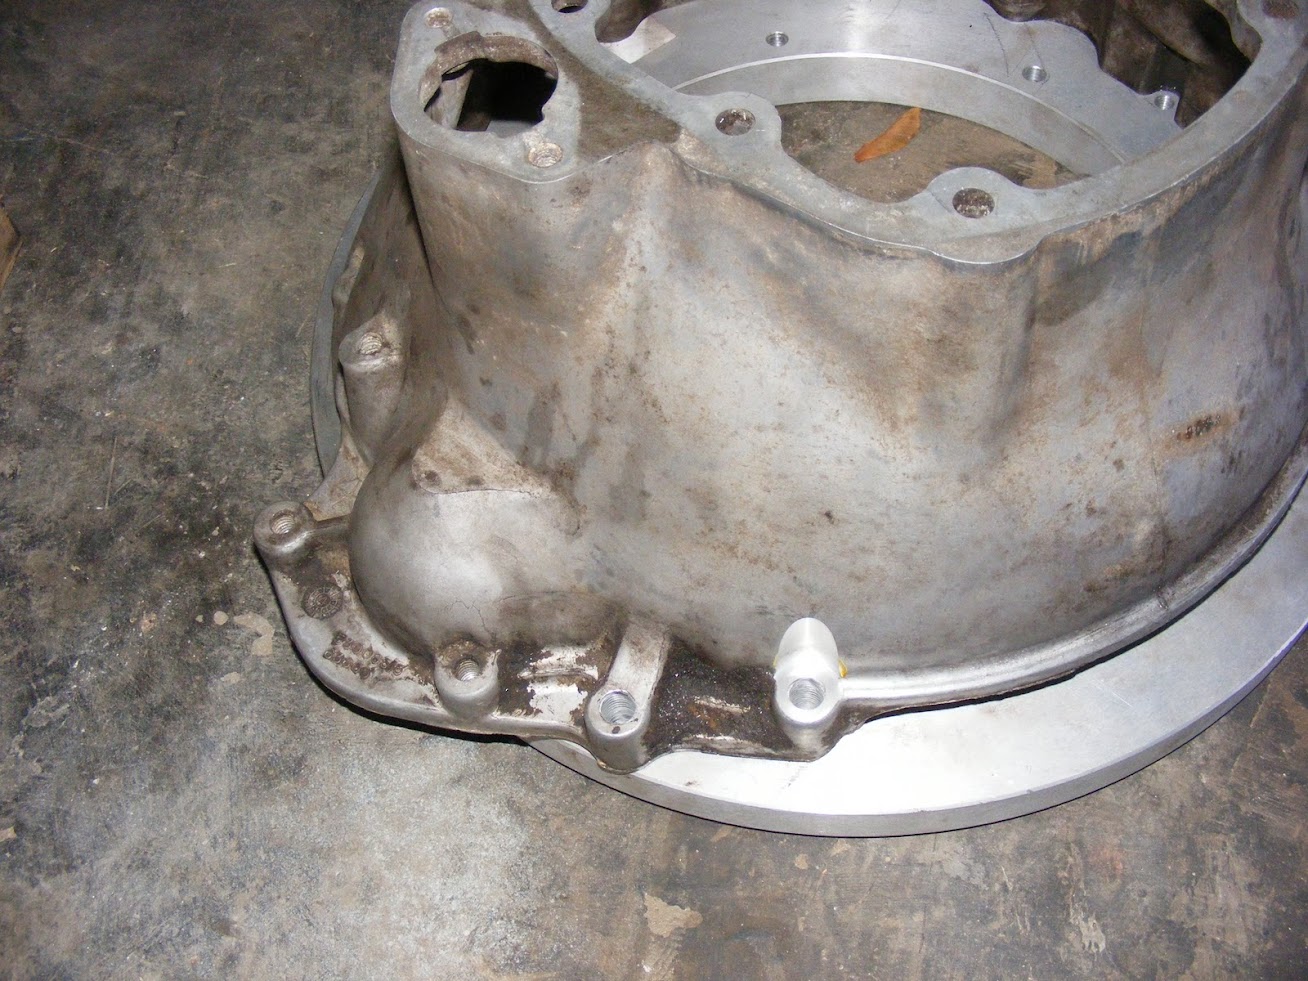
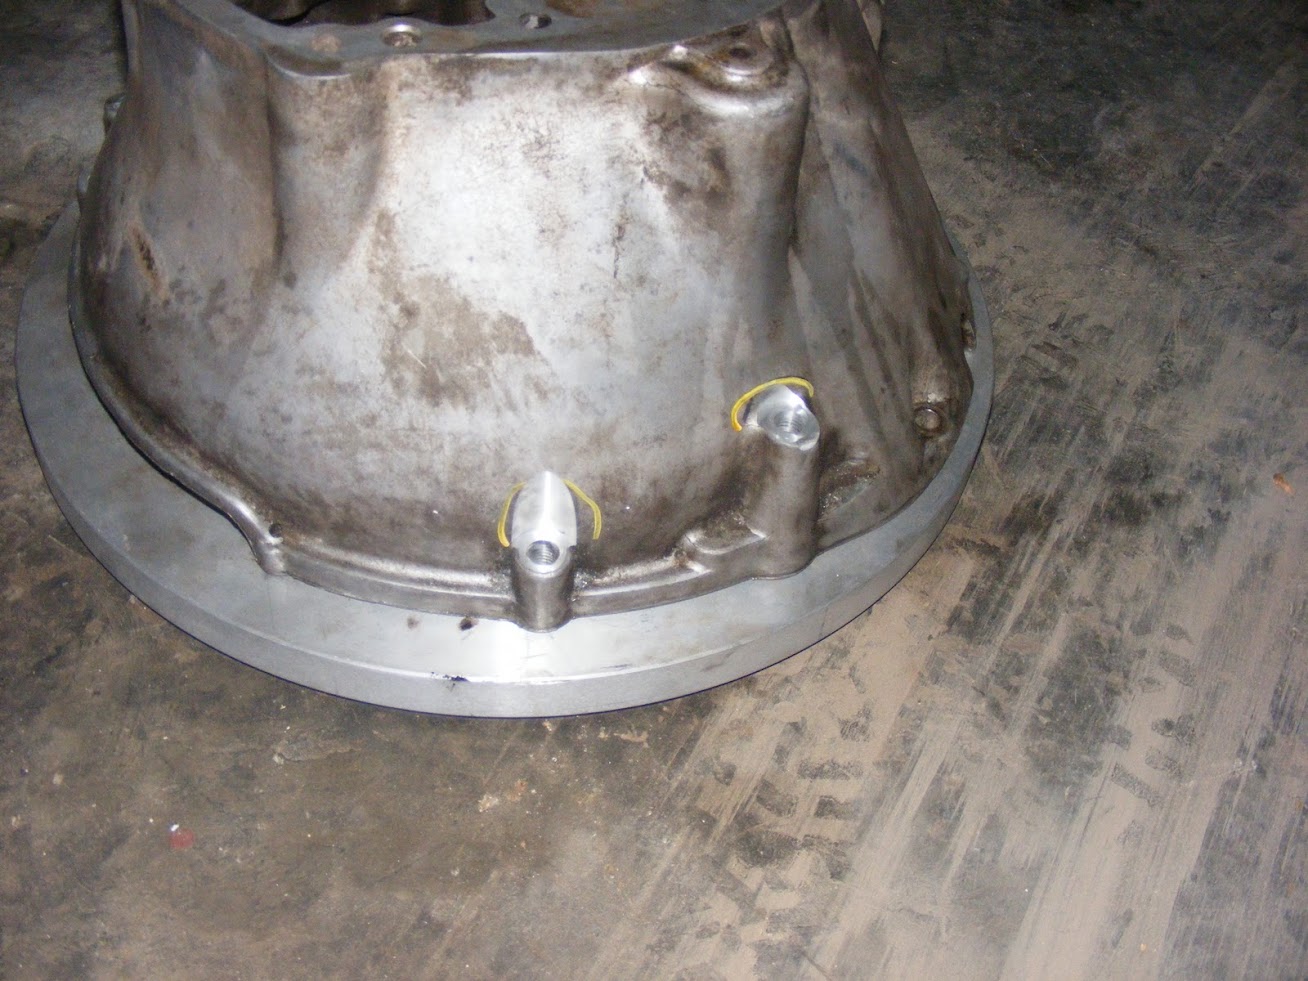
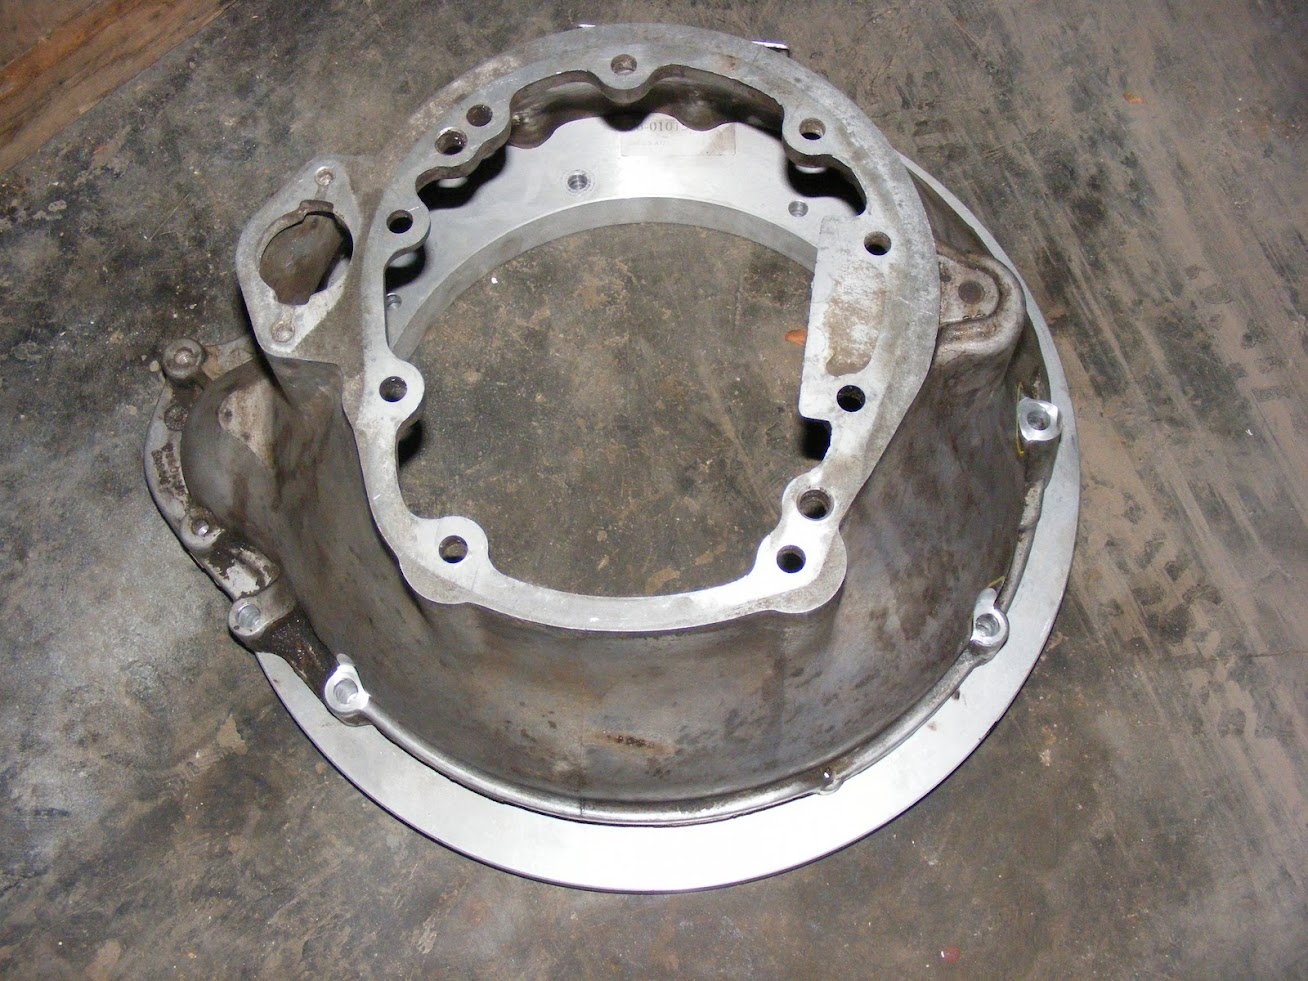
I'm using a Dodge Dakota V6 bellhousing, since they used a small block Chrysler mounting pattern, with an AX-15 transmission. With using this bellhousing on the adapter, I had a couple of the holes clearanced for bolt heads. The bolt holes are threaded on the adapter:
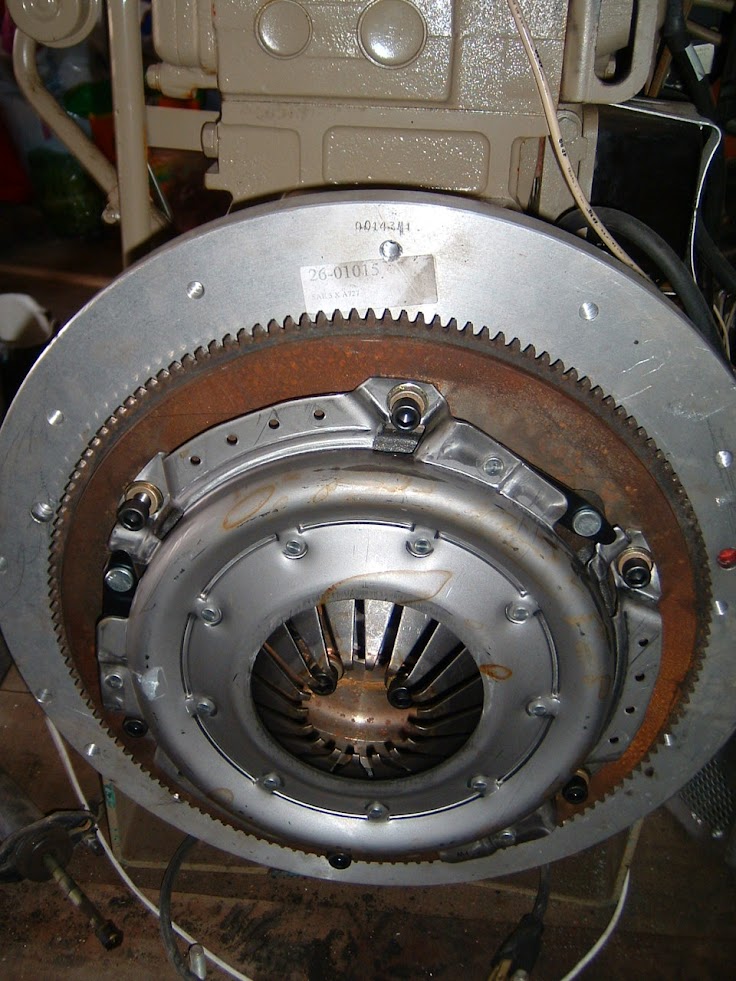
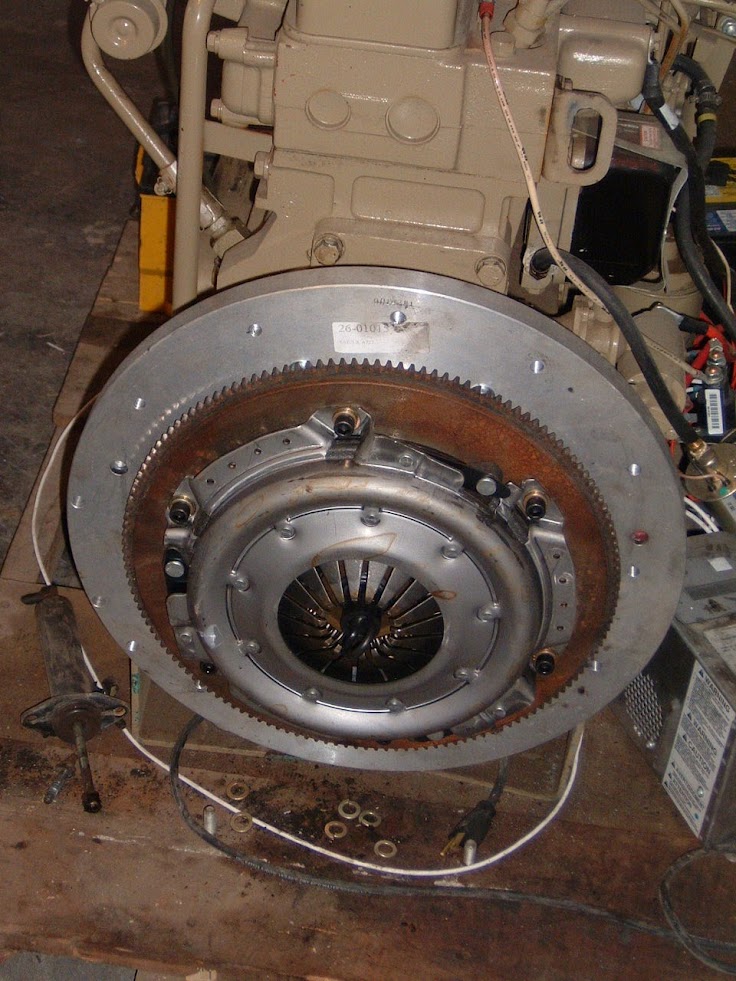
Below shows the stack of parts on the clutch. Starting on the engine side, there is a Cummins flywheel, the flywheel adapter (shown above), a 1996 Dodge Dakota 3.9L flywheel, and Dodge Dakota clutch kit.
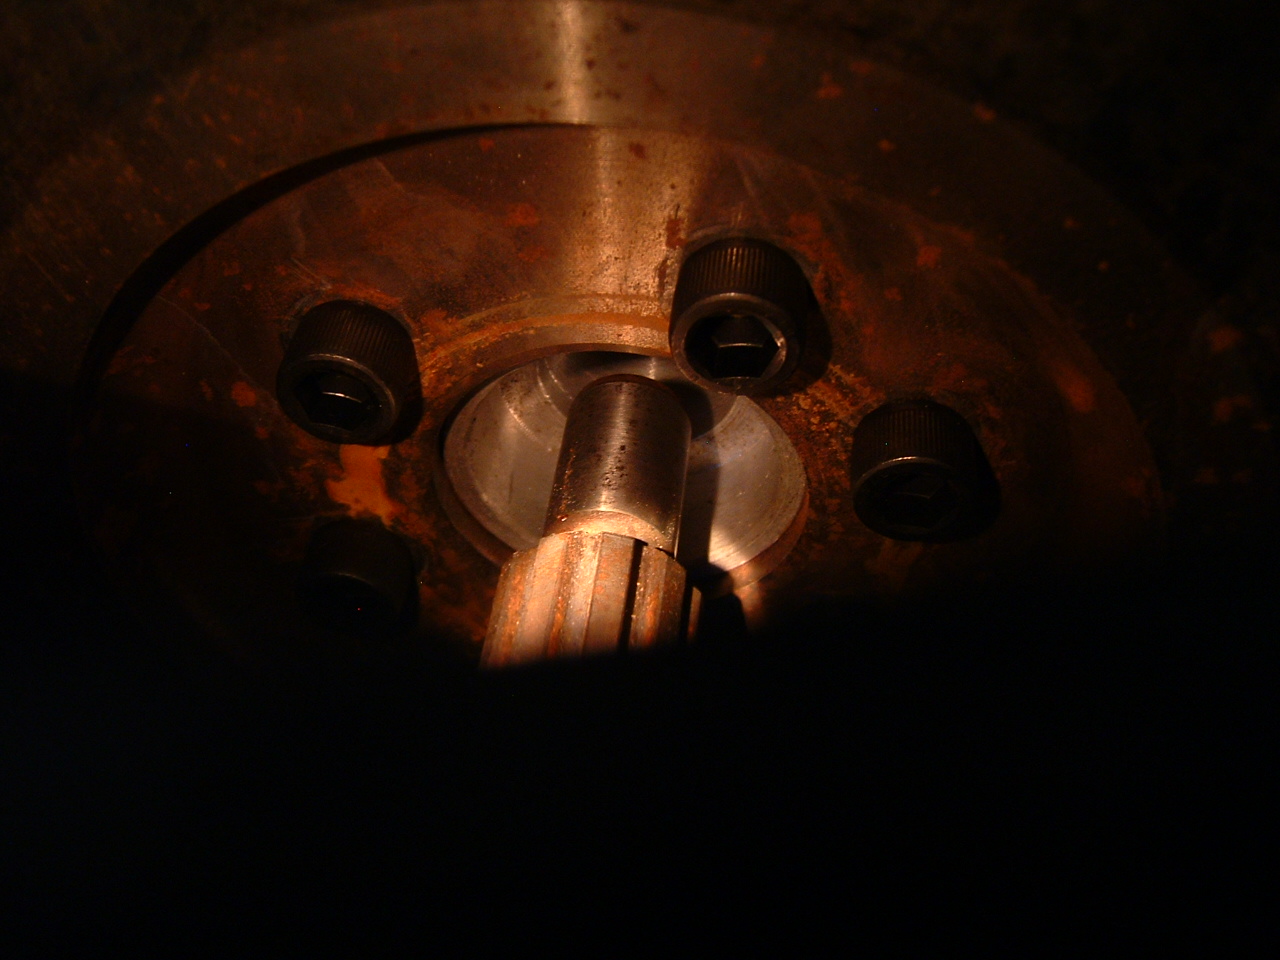
Input shaft at the Phoenix Castings adapter:
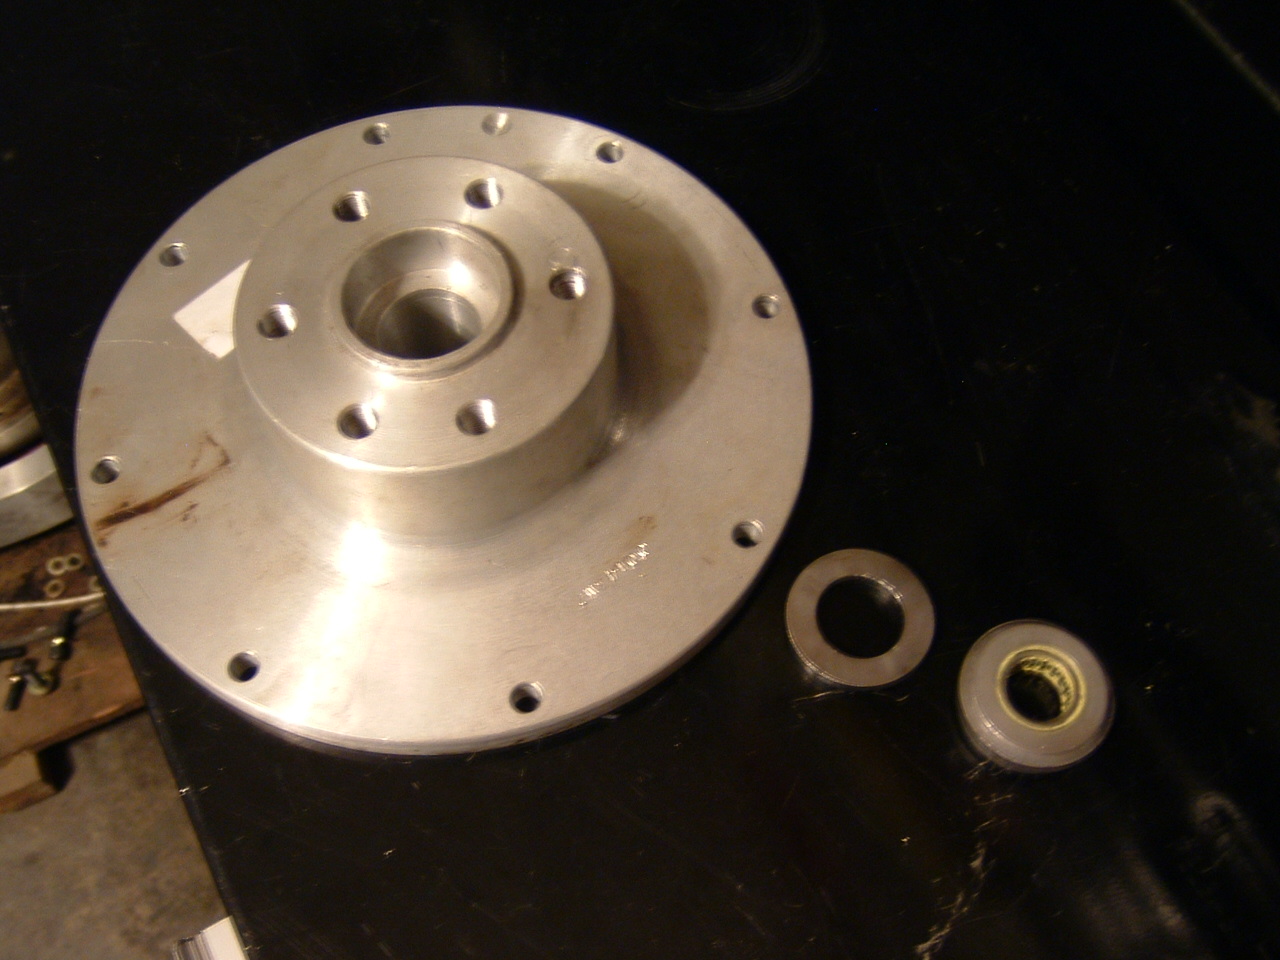
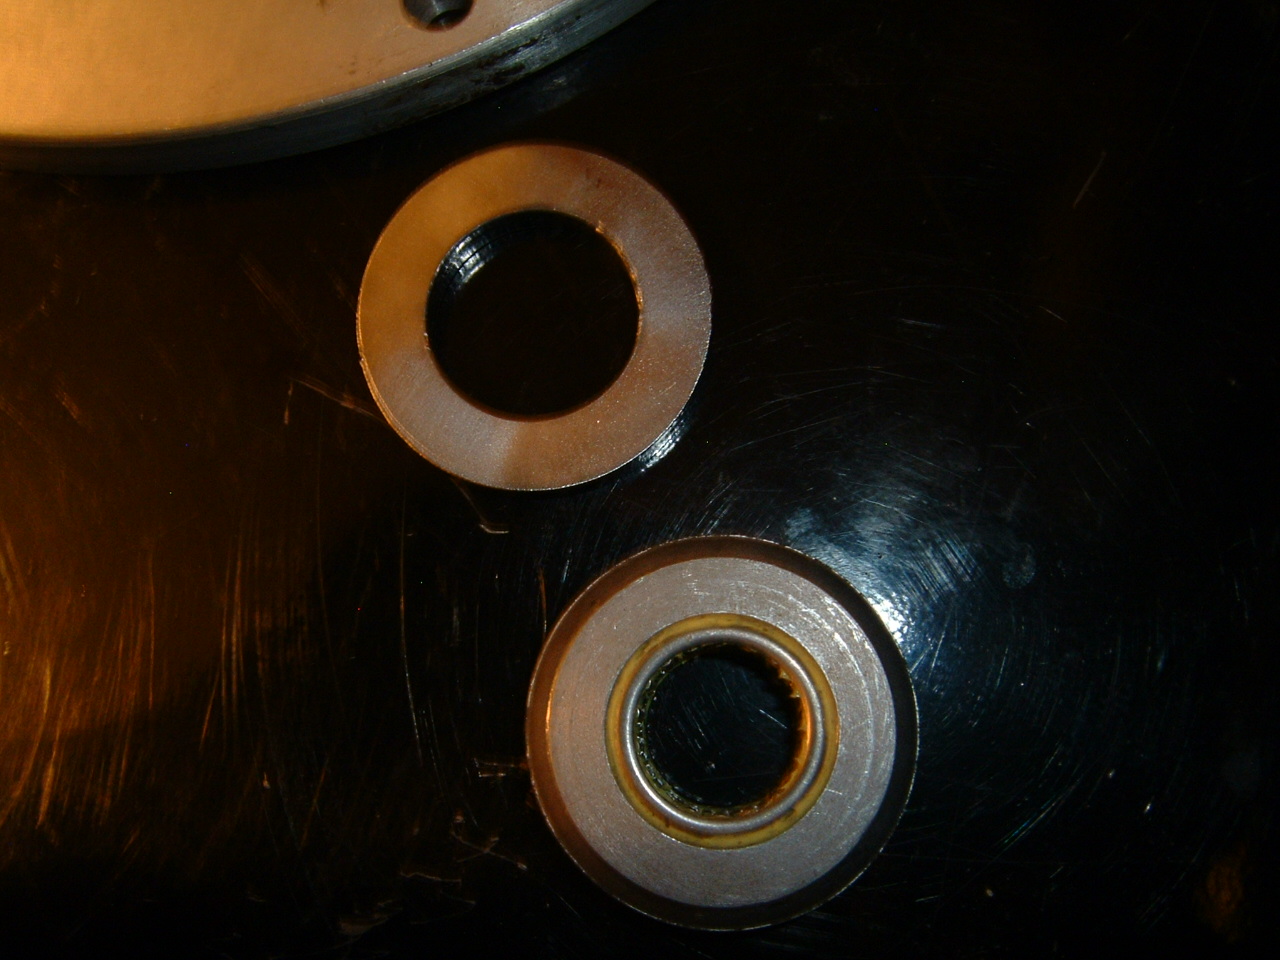
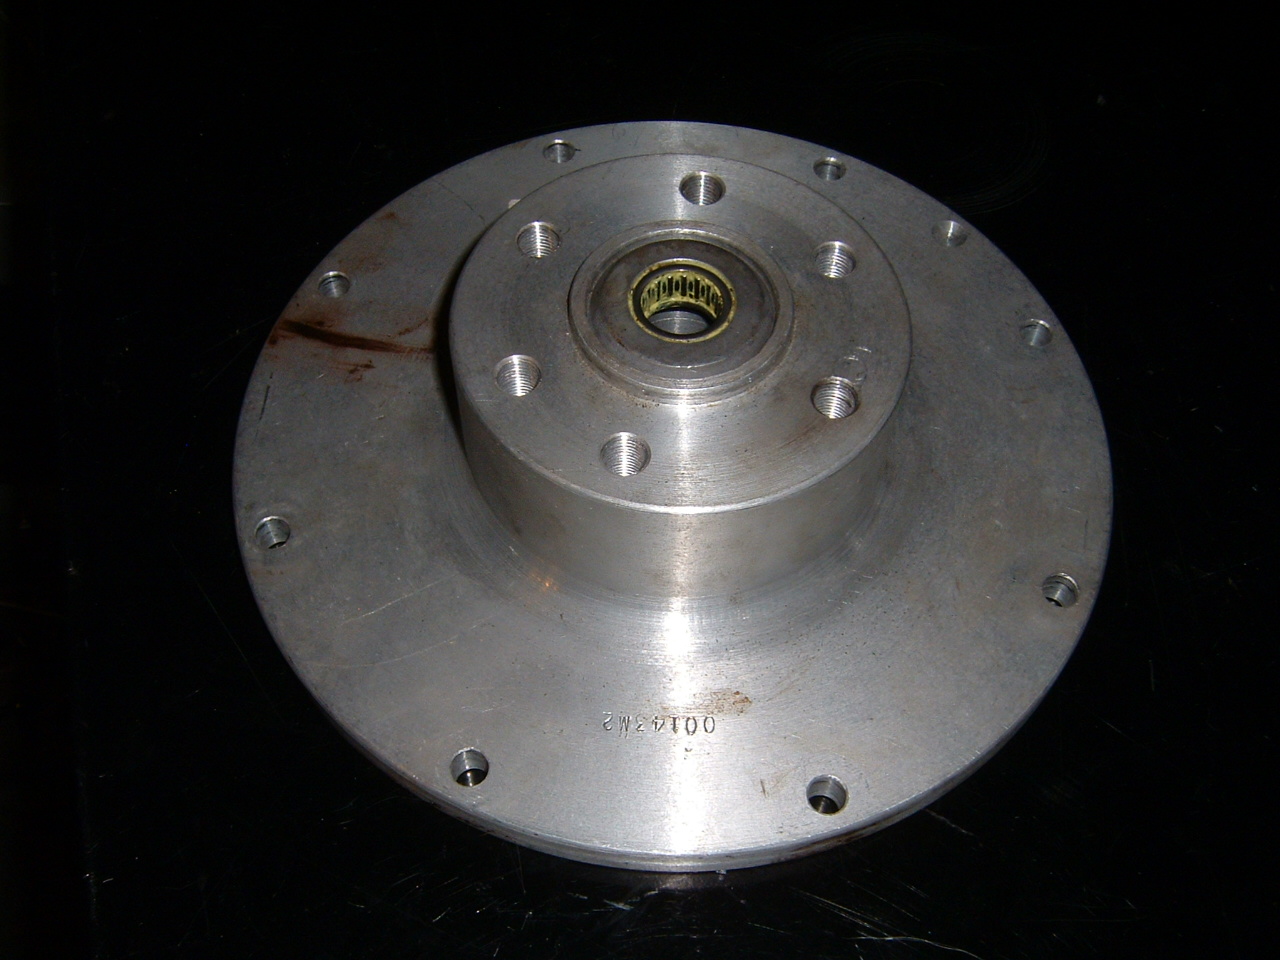
After checking the pilot bushing, I had a spacer laser cut to fit behind the pilot bearing to take up the 6.4mm of slop behind it when installed.
The reason for needing this is that the adapter is made for a chrysler a727 transmission, and the input shaft for it is very large and longer than on the manual trans I'm using. So when installing the pilot bearing there is room behind it.
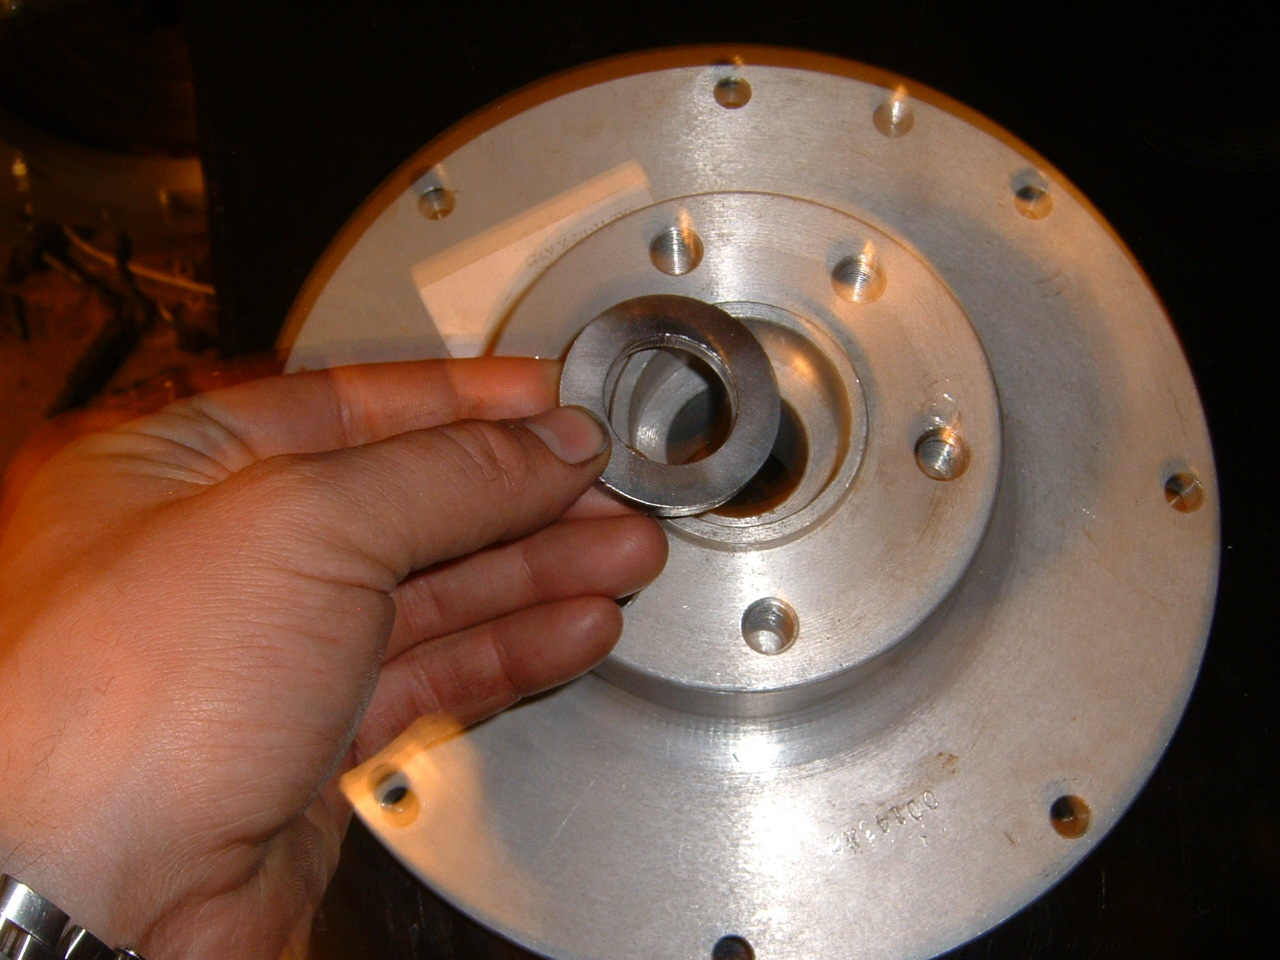
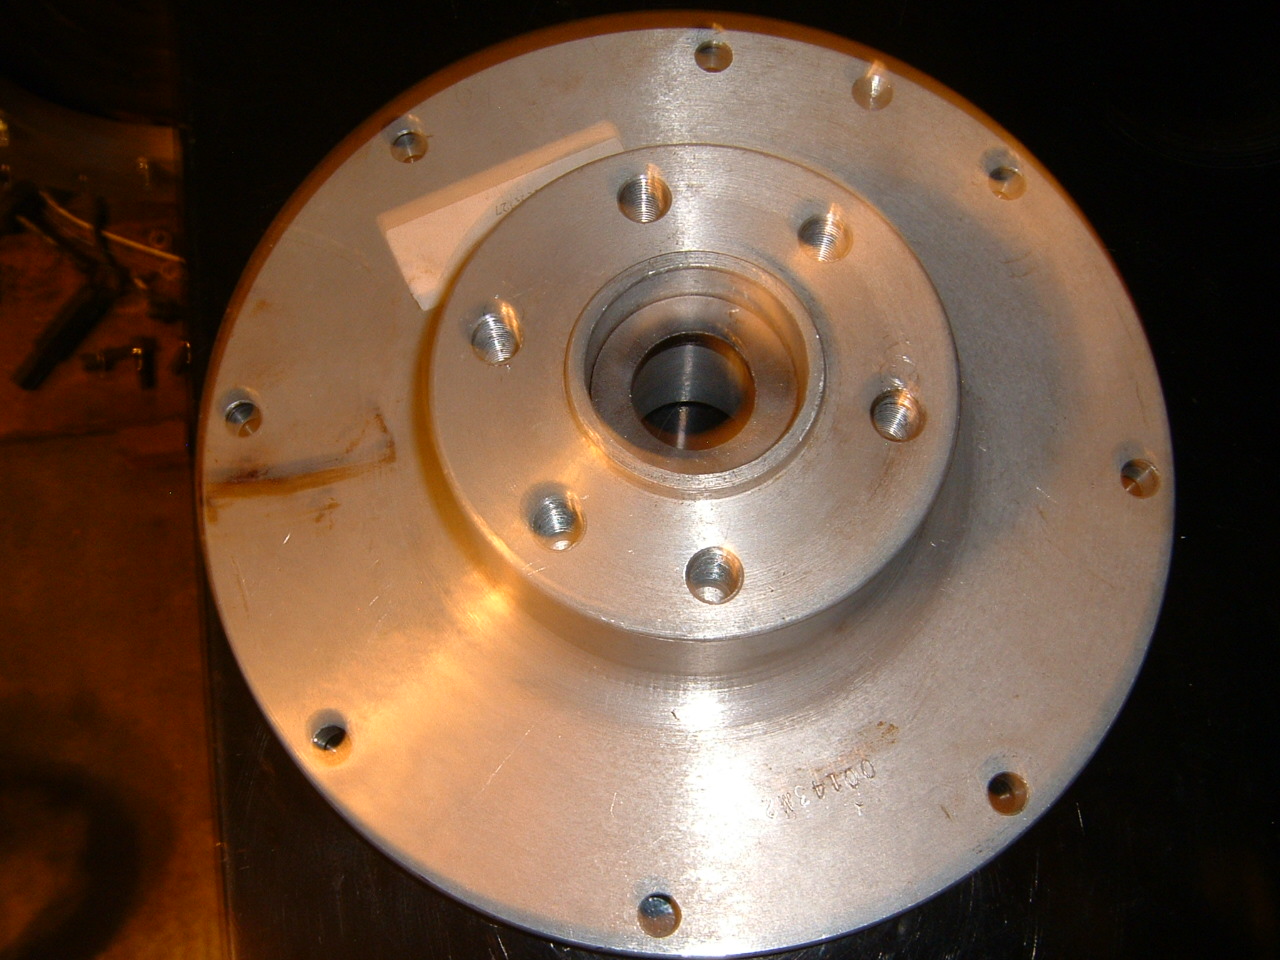
These pictures show the comparison between the pilot bearing and the new spacer, and then installed on the engine. This pilot bearing is from a 1996 Dodge Ram 5.9L engine application:
Clutch disc installed now that pilot bearing is correctly installed:
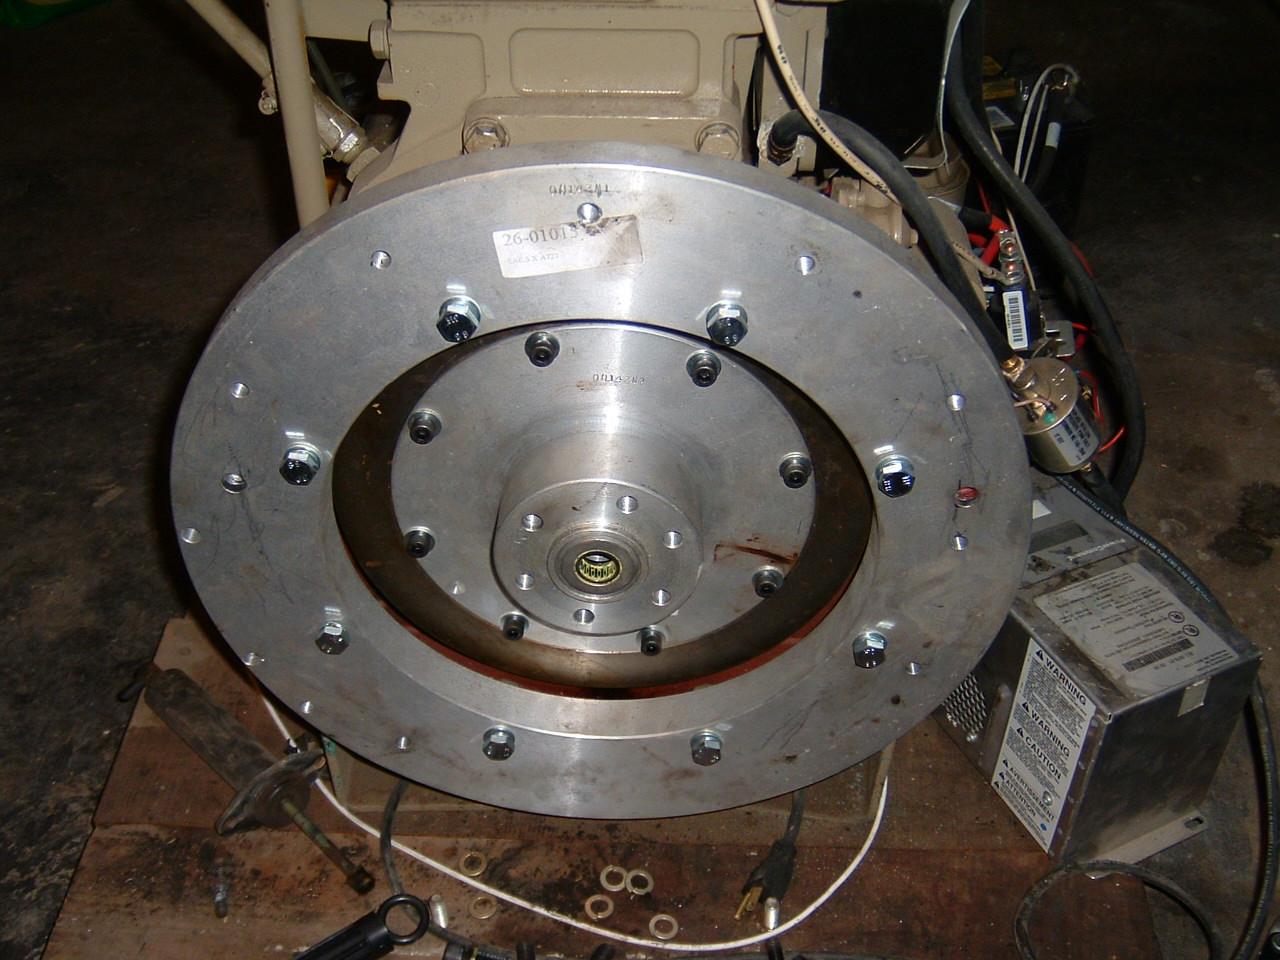
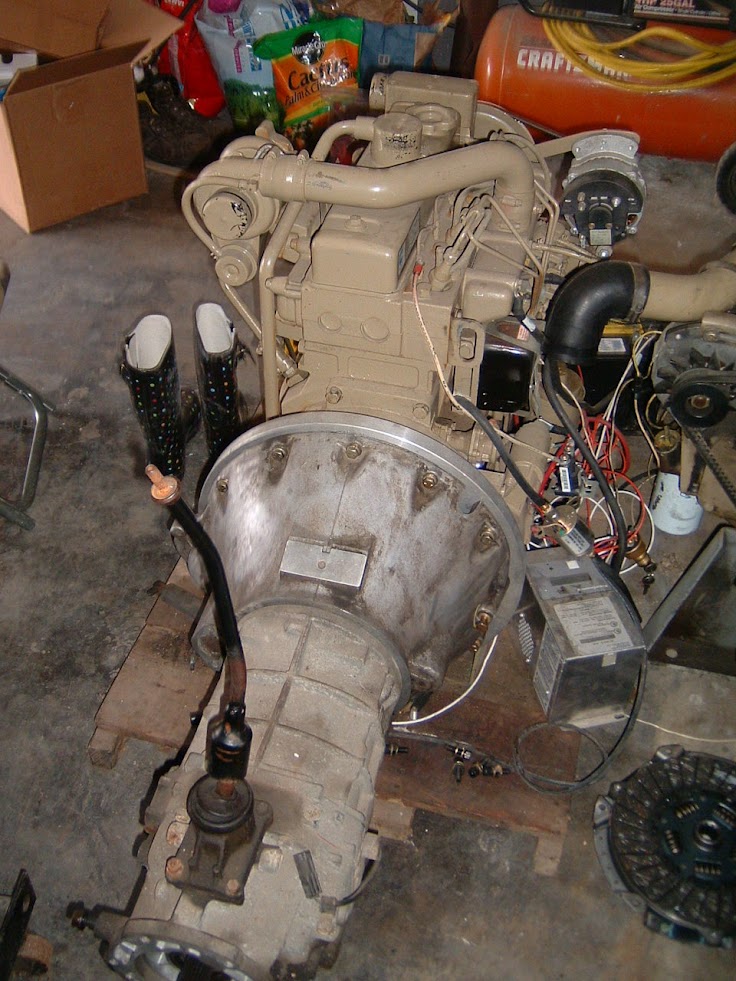
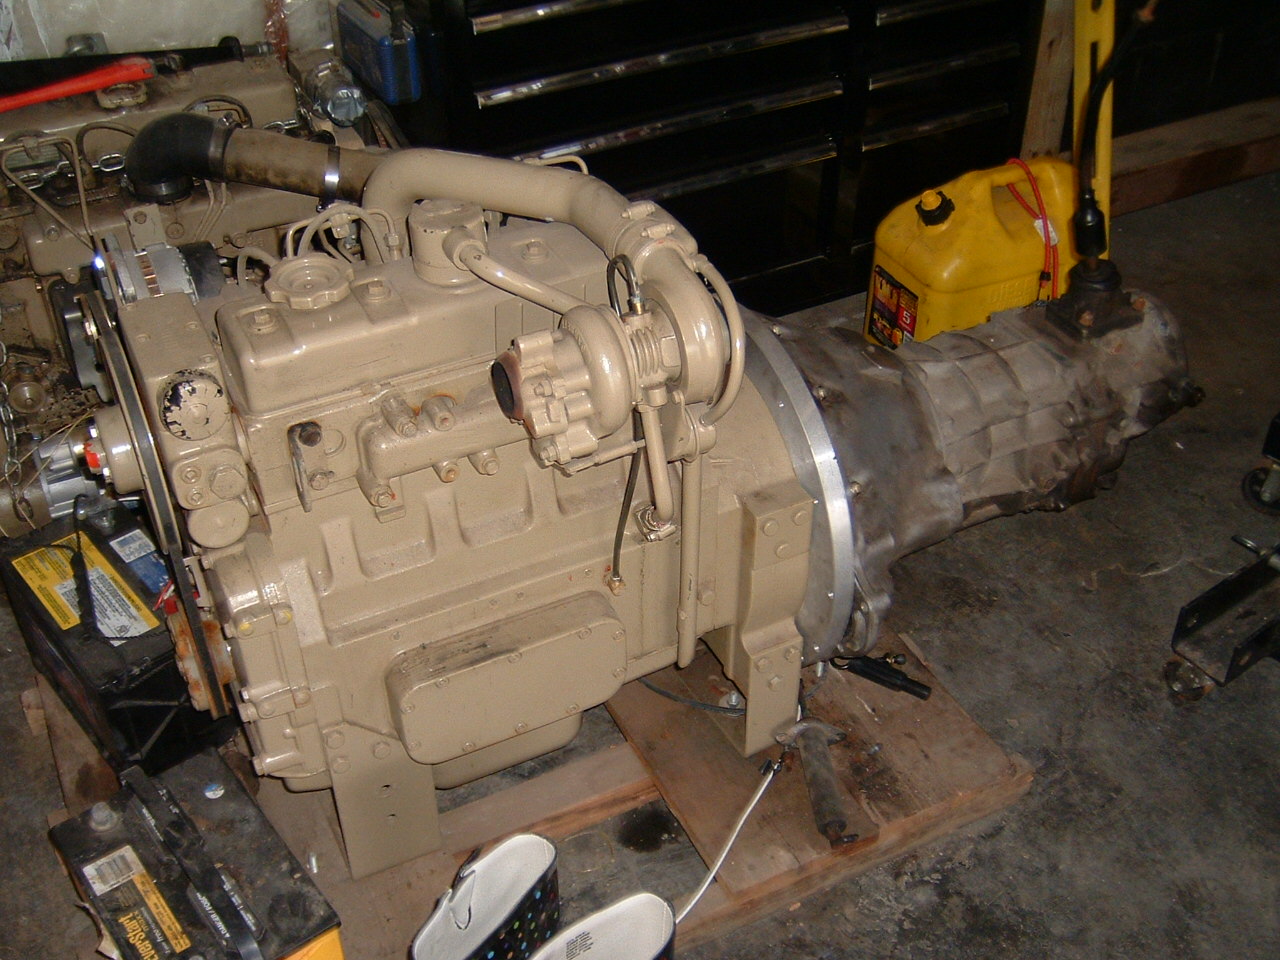
This shows the AX-15 mounted to the bellhousing:
Engine mounted in the Wrangler. Used Anchor hydraulic engine mounts (#8998):
Youtube video of engine running on a test stand (pallet):
Youtube video of engine running in Wrangler:
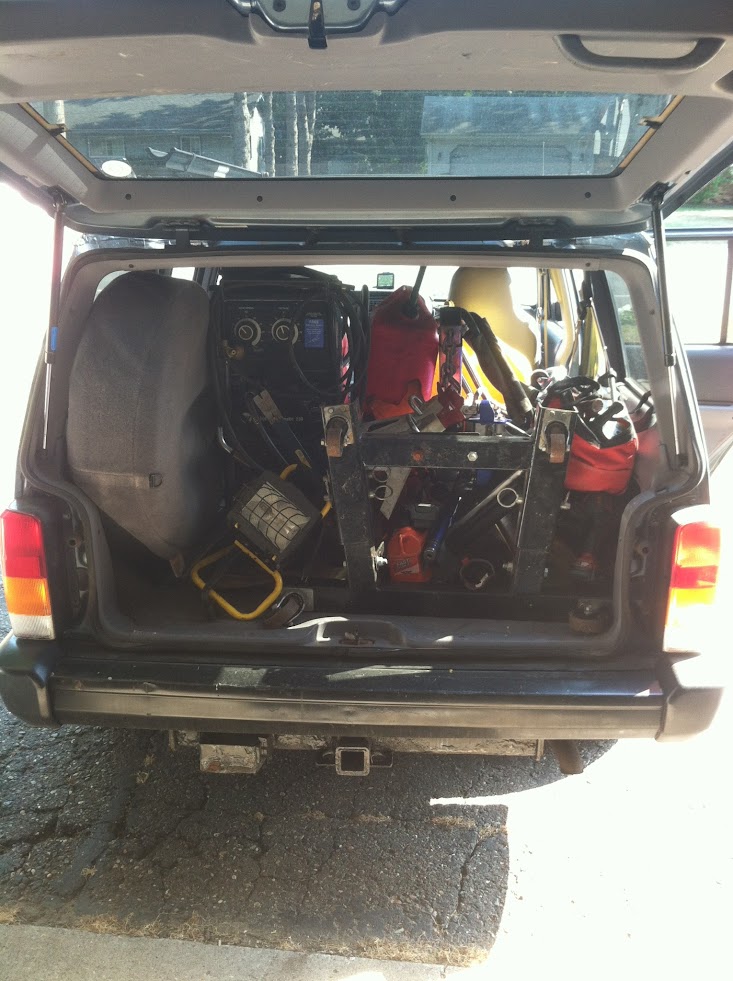
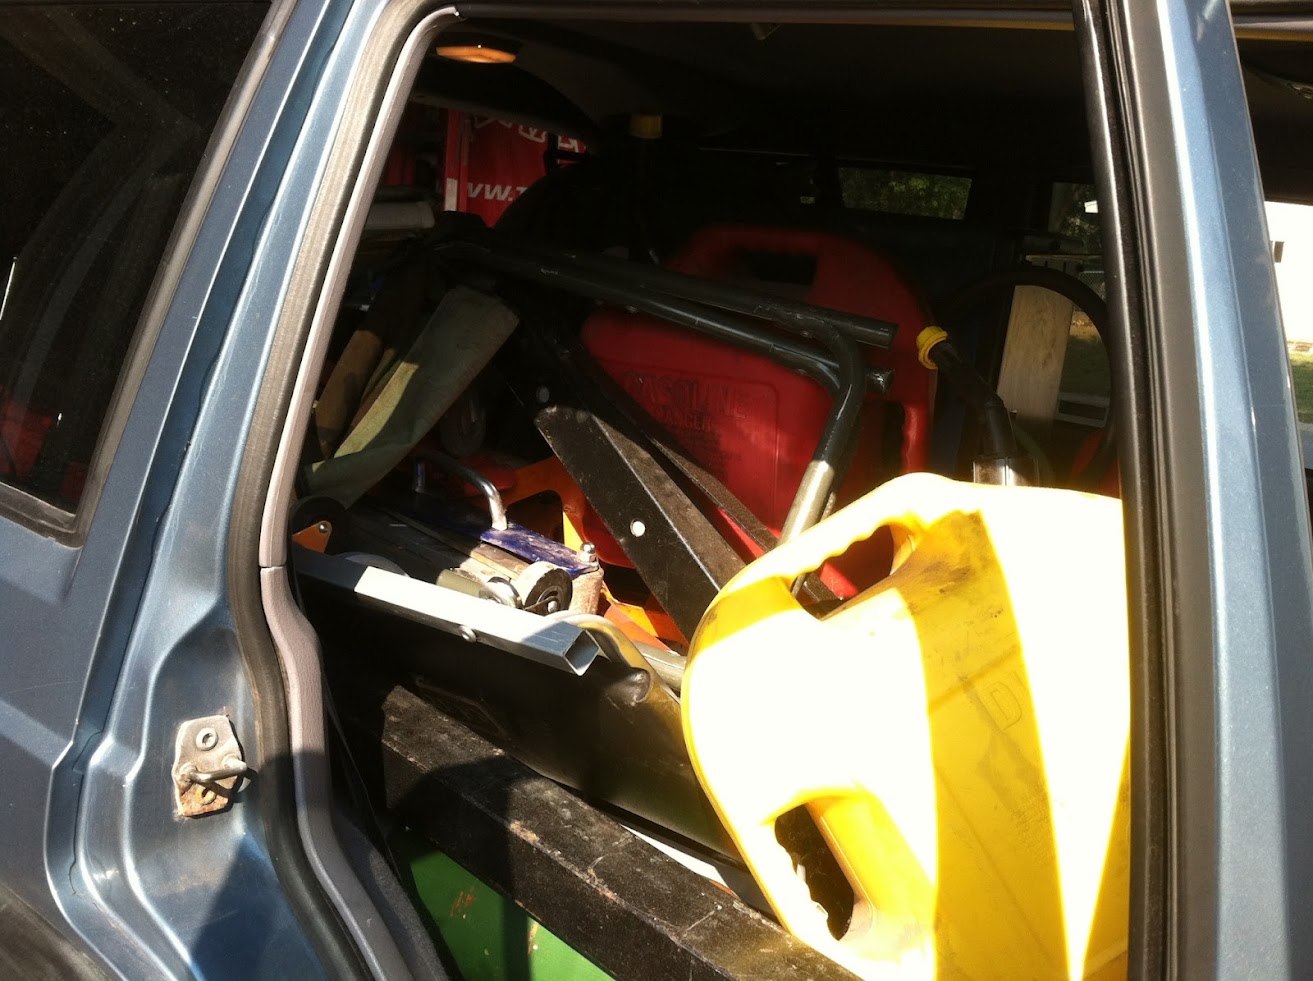
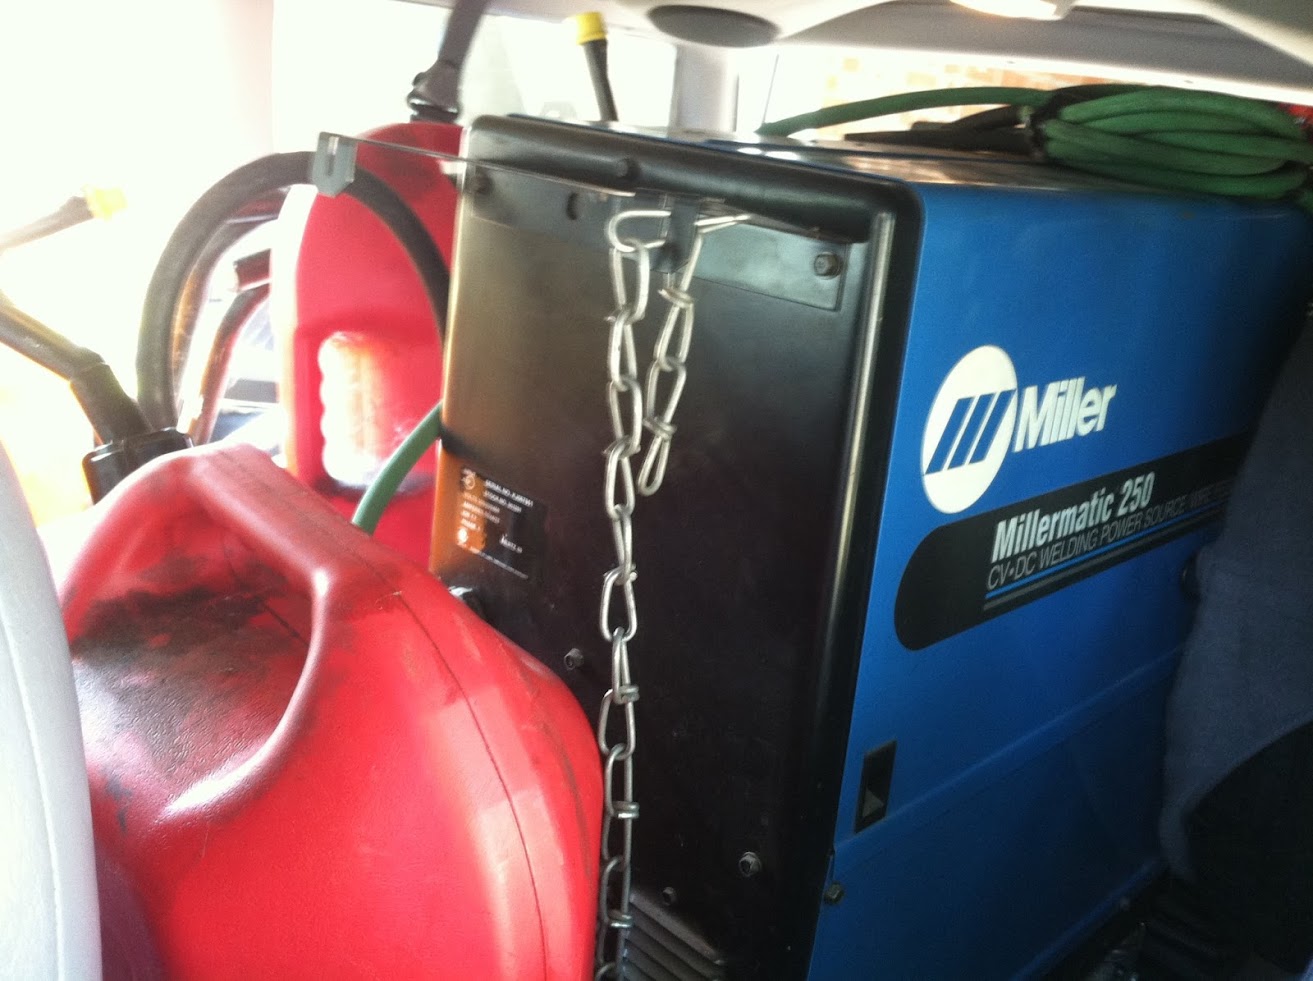
Now on to the removal of the engine from the Wrangler. I set up shop not at my own garage, but my inlaw's home. I was in the process of selling my home this summer, so kept the mess out of my garage due to that. Drove over there with the XJ filled to the brim with pretty much all the tools I thought I would need (welder, cherry picker, gas cans for emptying fuel, diesel can for filling fuel, jack stands, tools, etc etc):
Setup my tools all nice for ease of use:

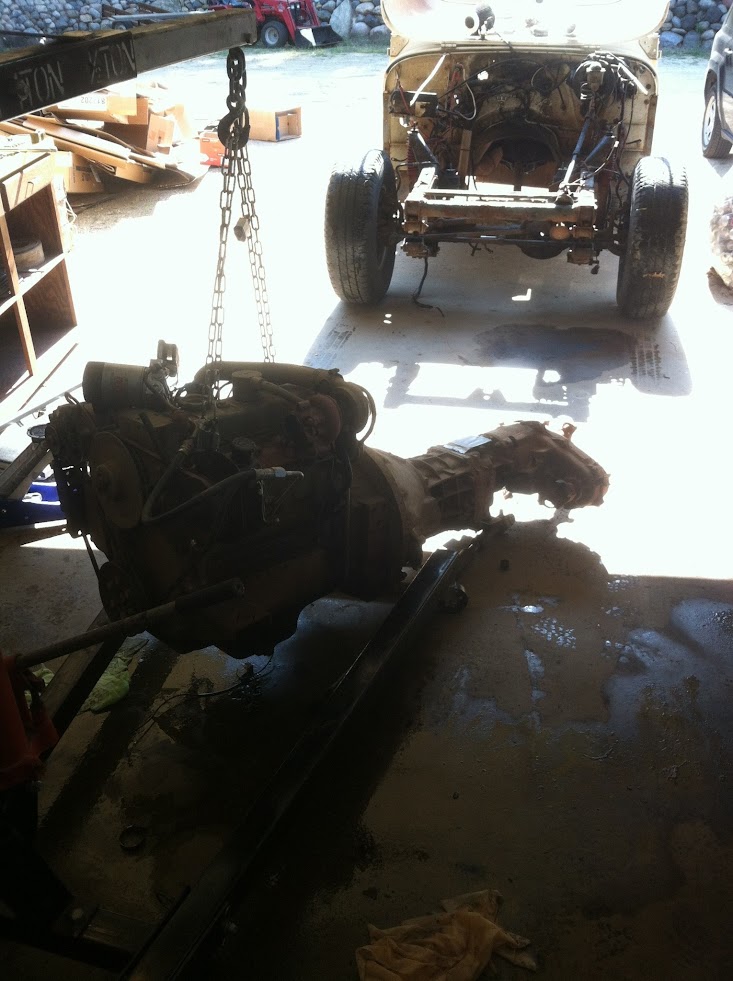
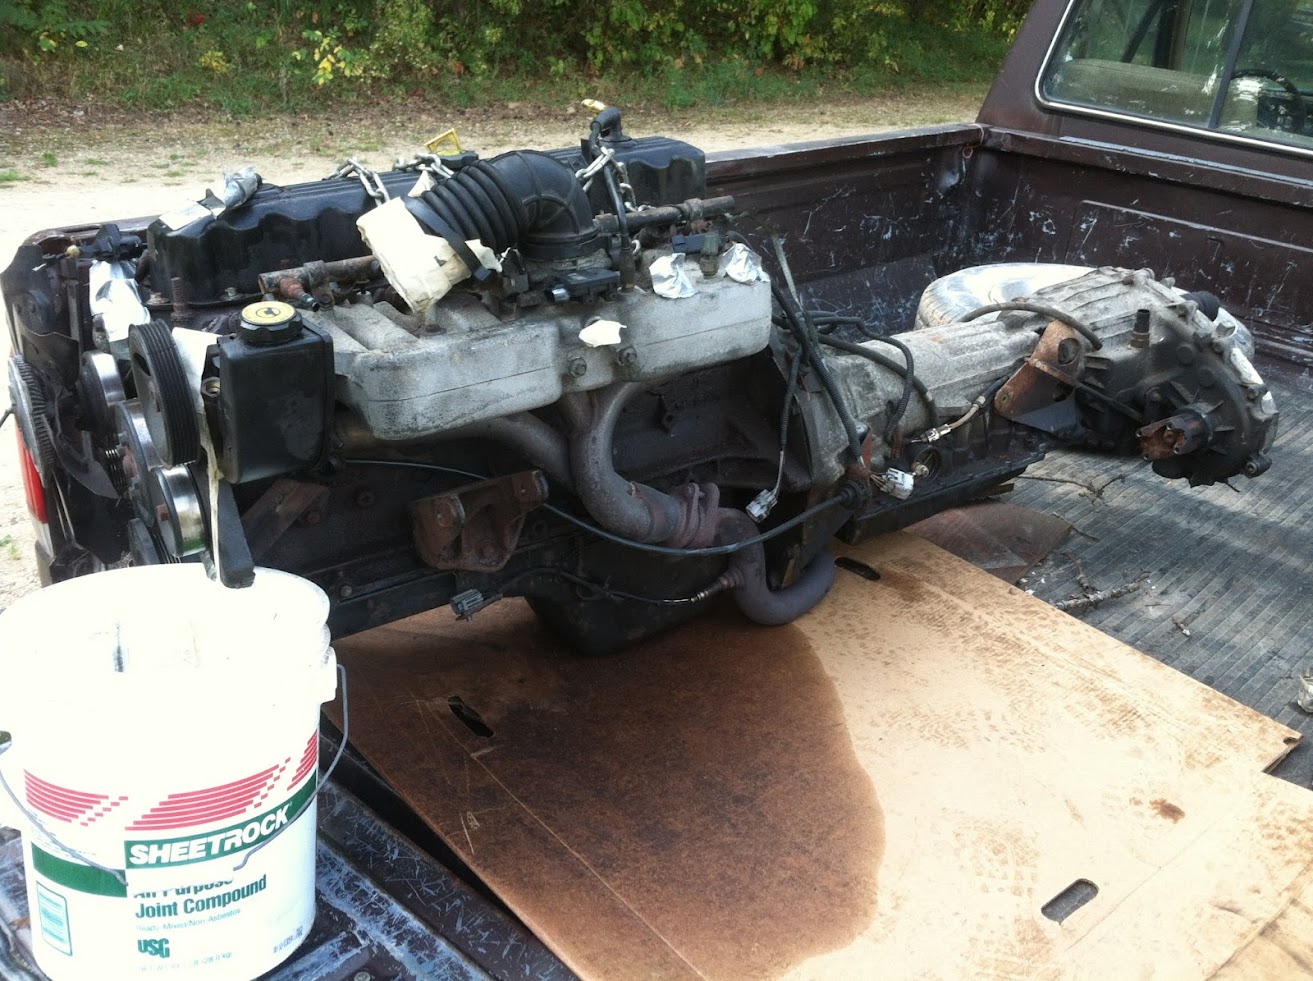
Pulled engine from the Wrangler:

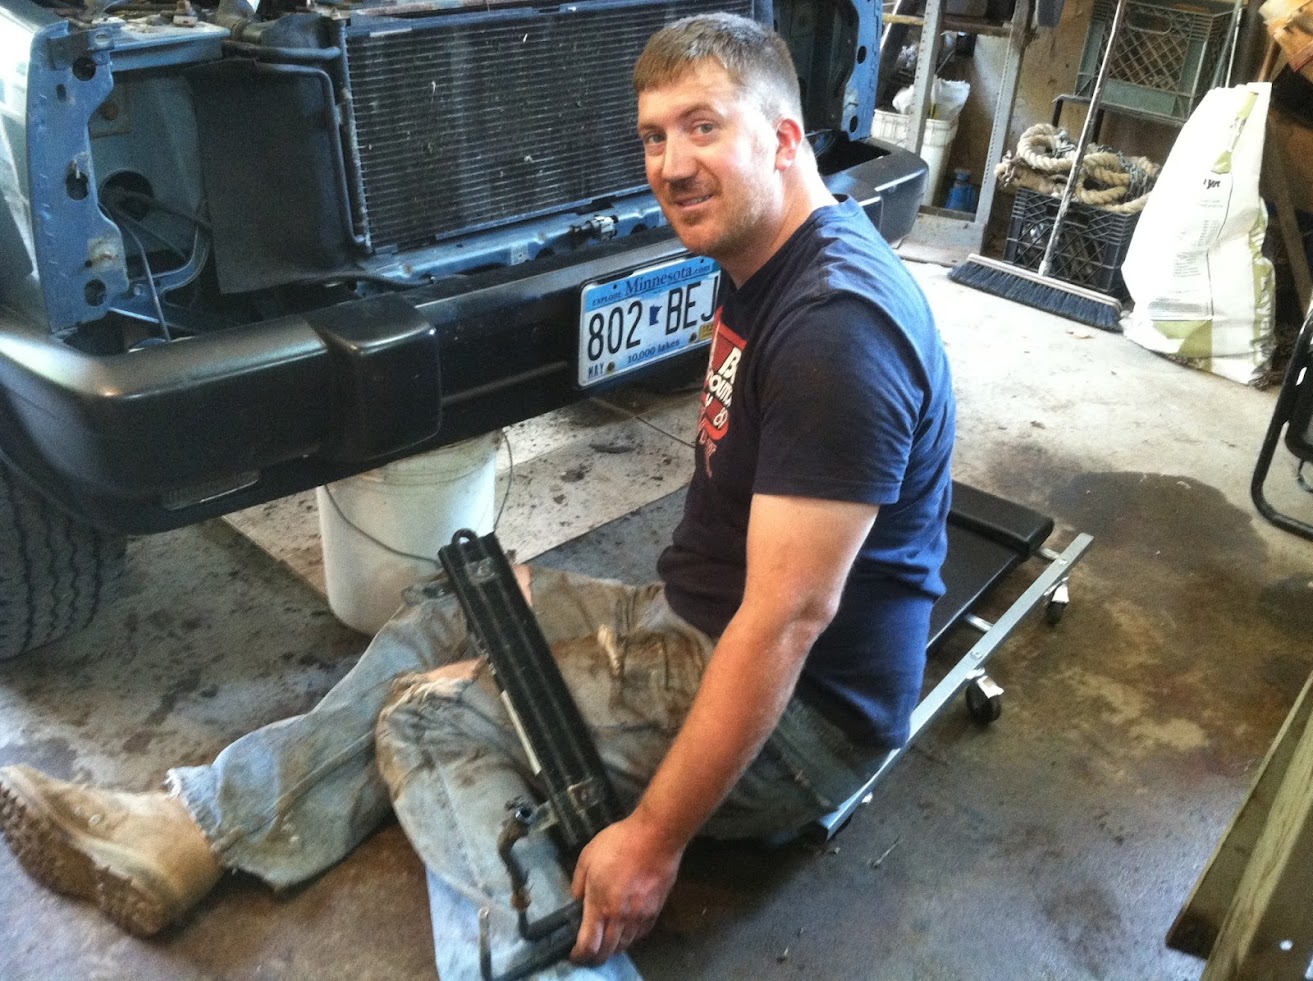
Removing the 4.0L and automatic transmission and t-case from the XJ:
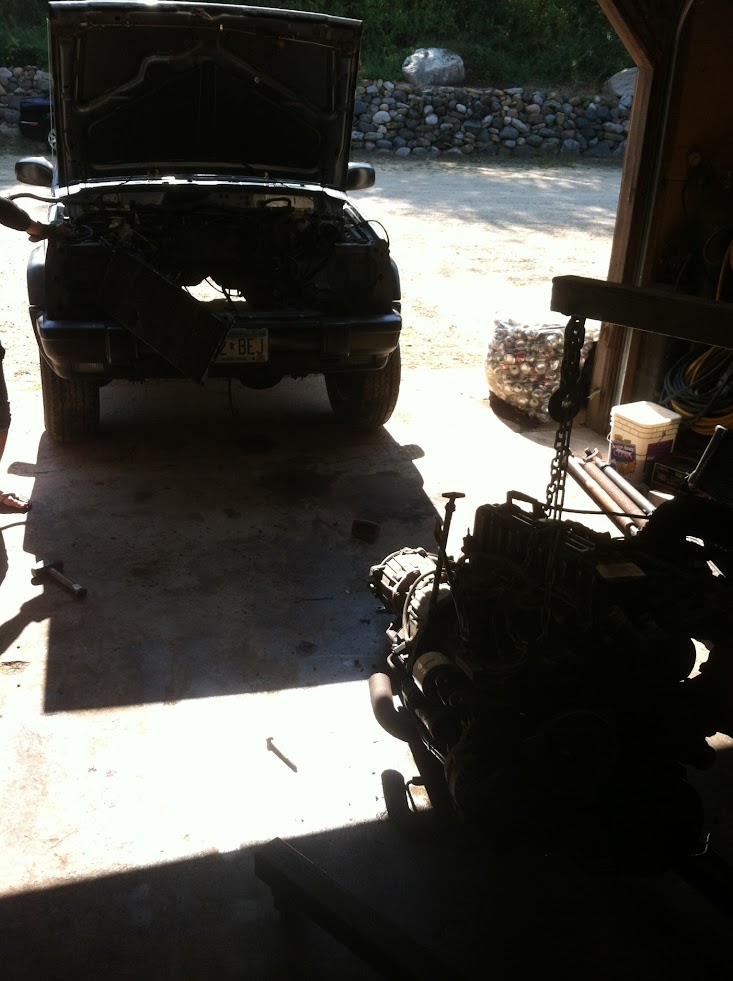
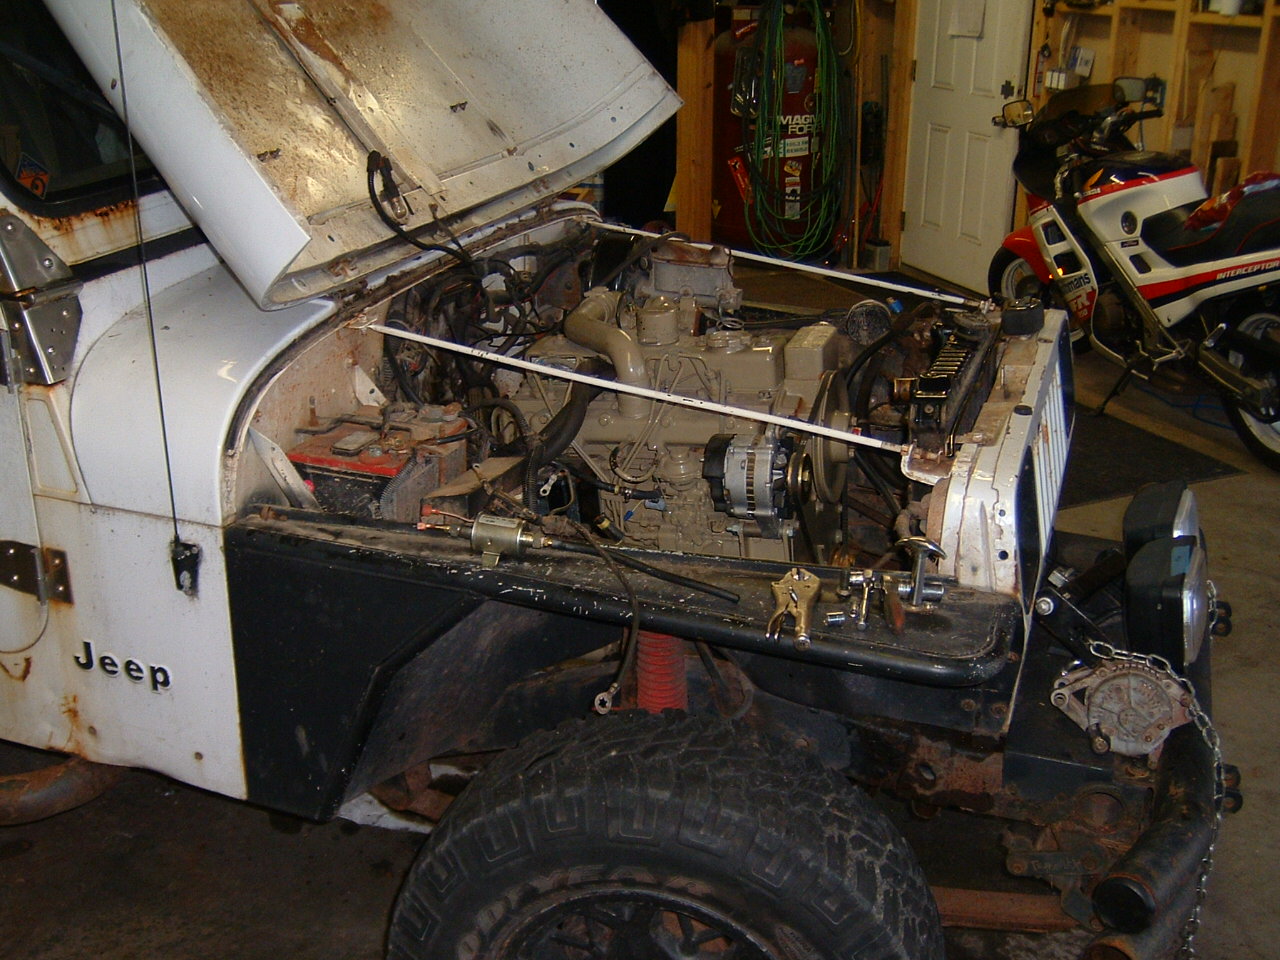
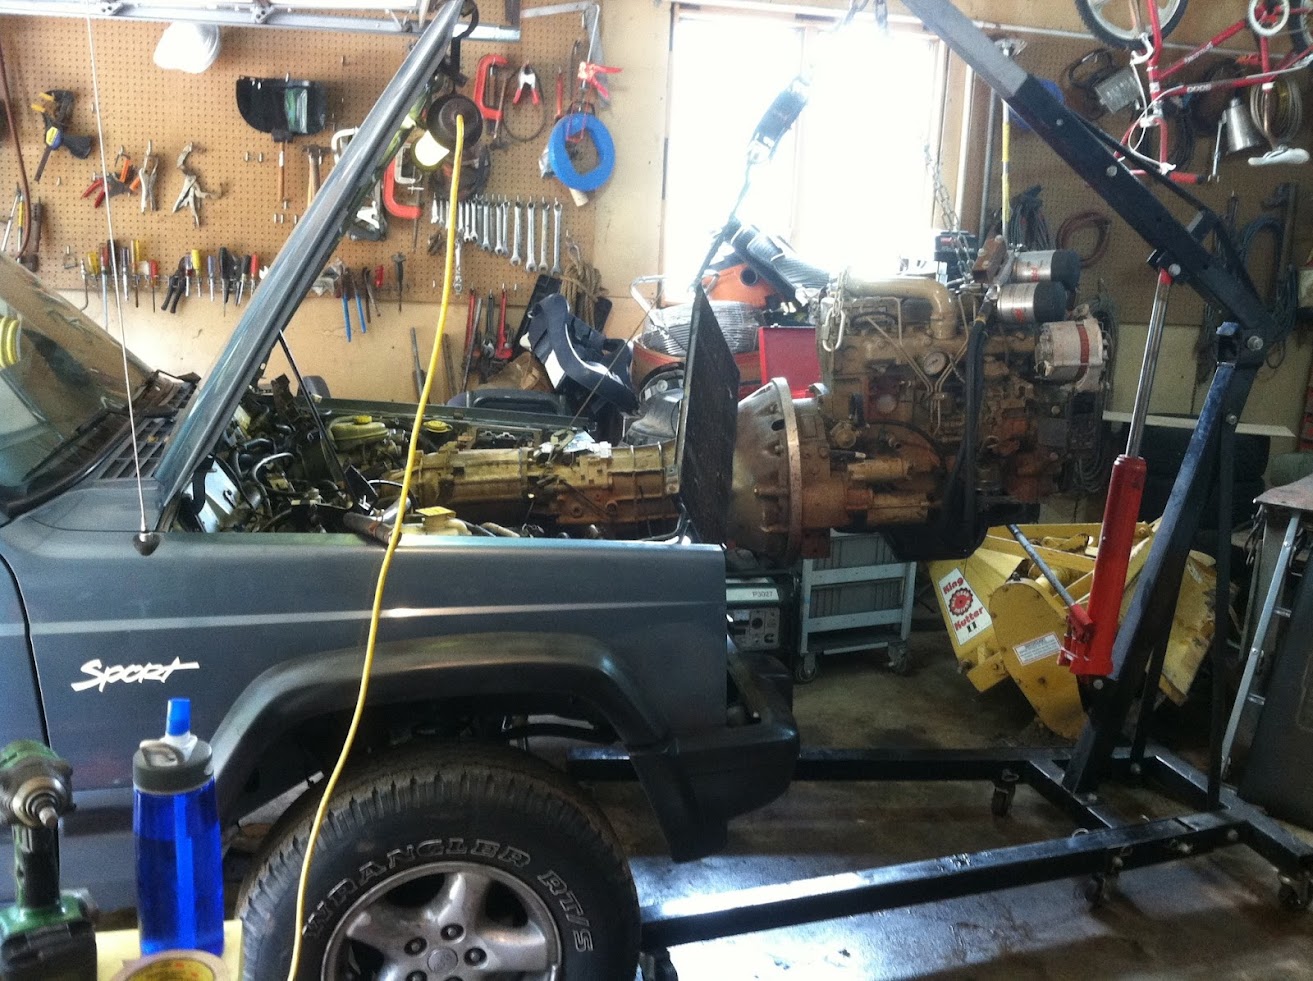
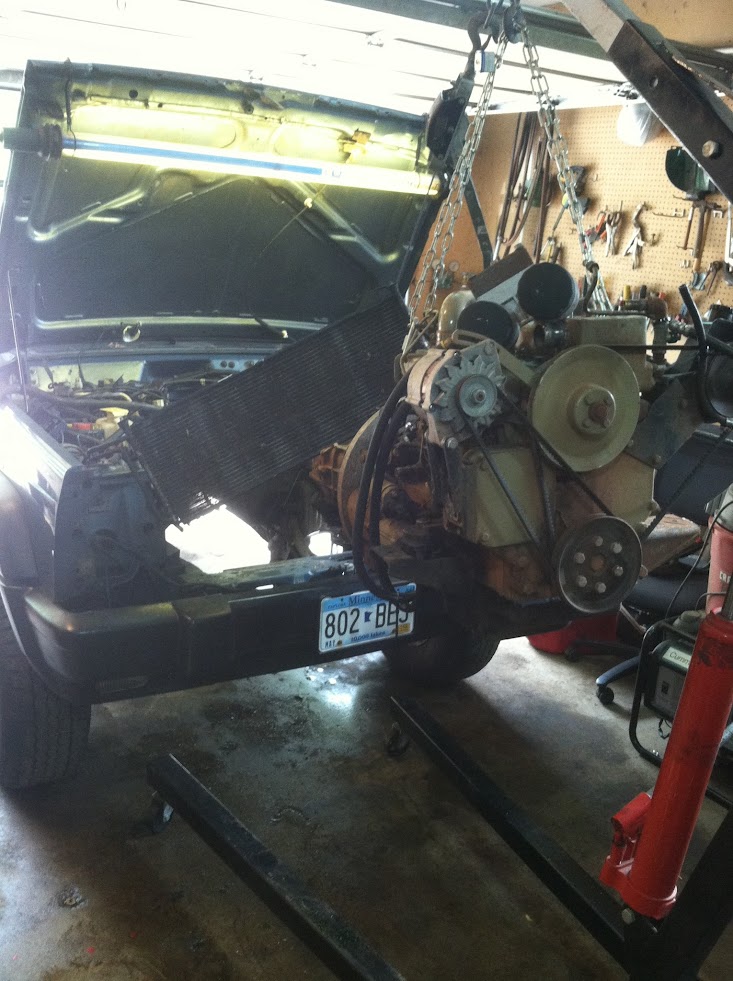
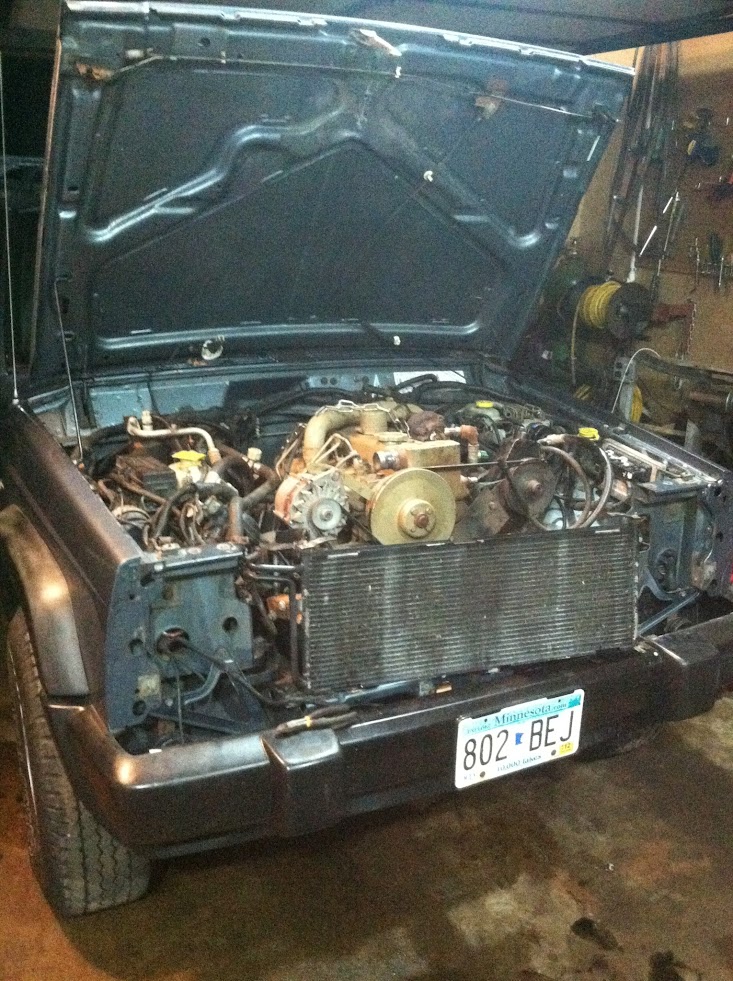
Moving the Cummins into the XJ engine bay for the first time. I left all the air conditioning equipment in place, so that was kinda fun to work around:
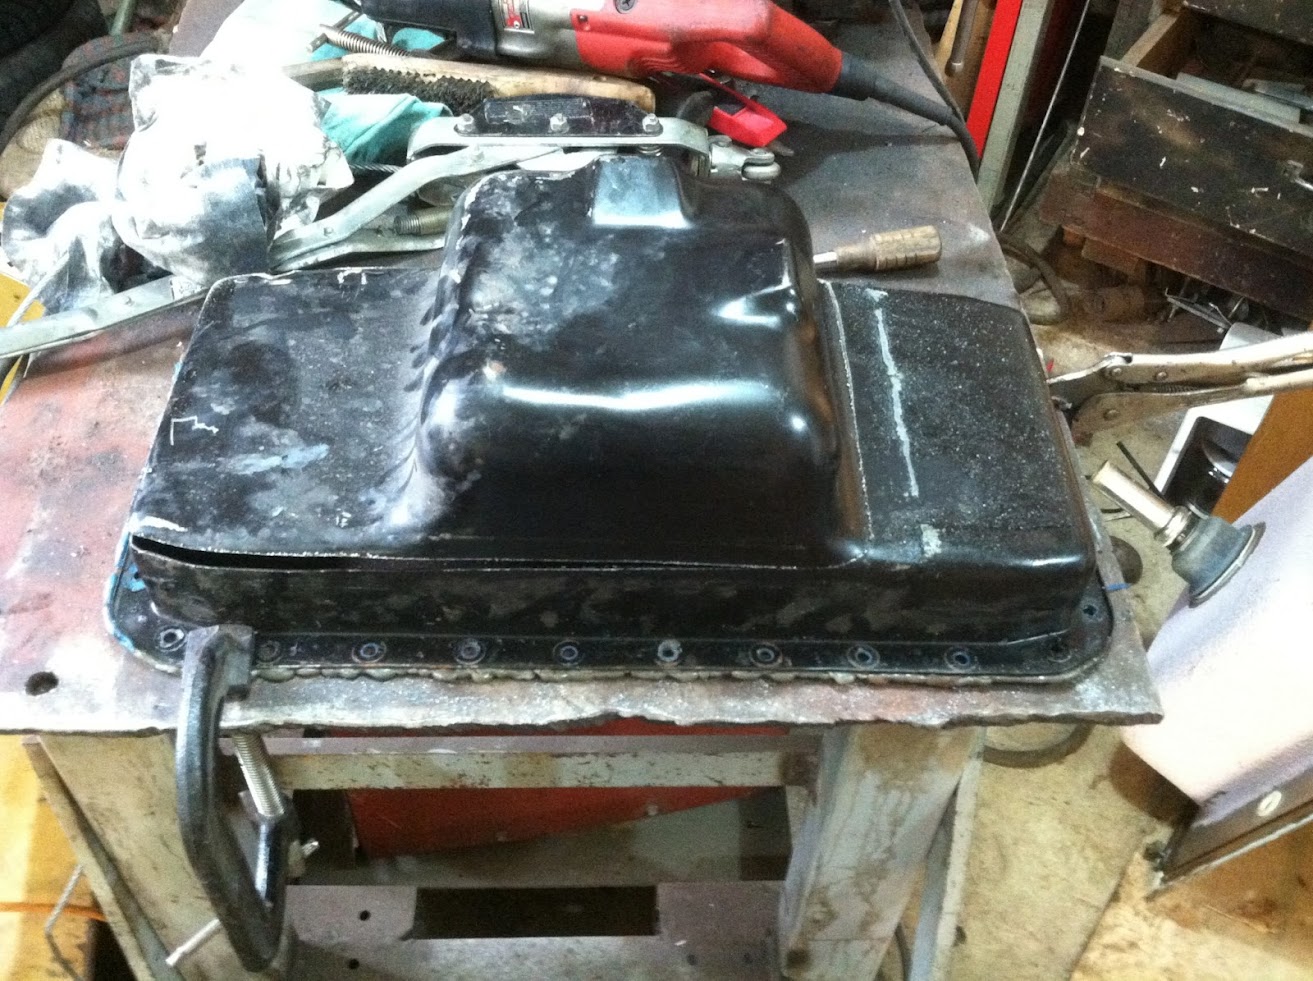
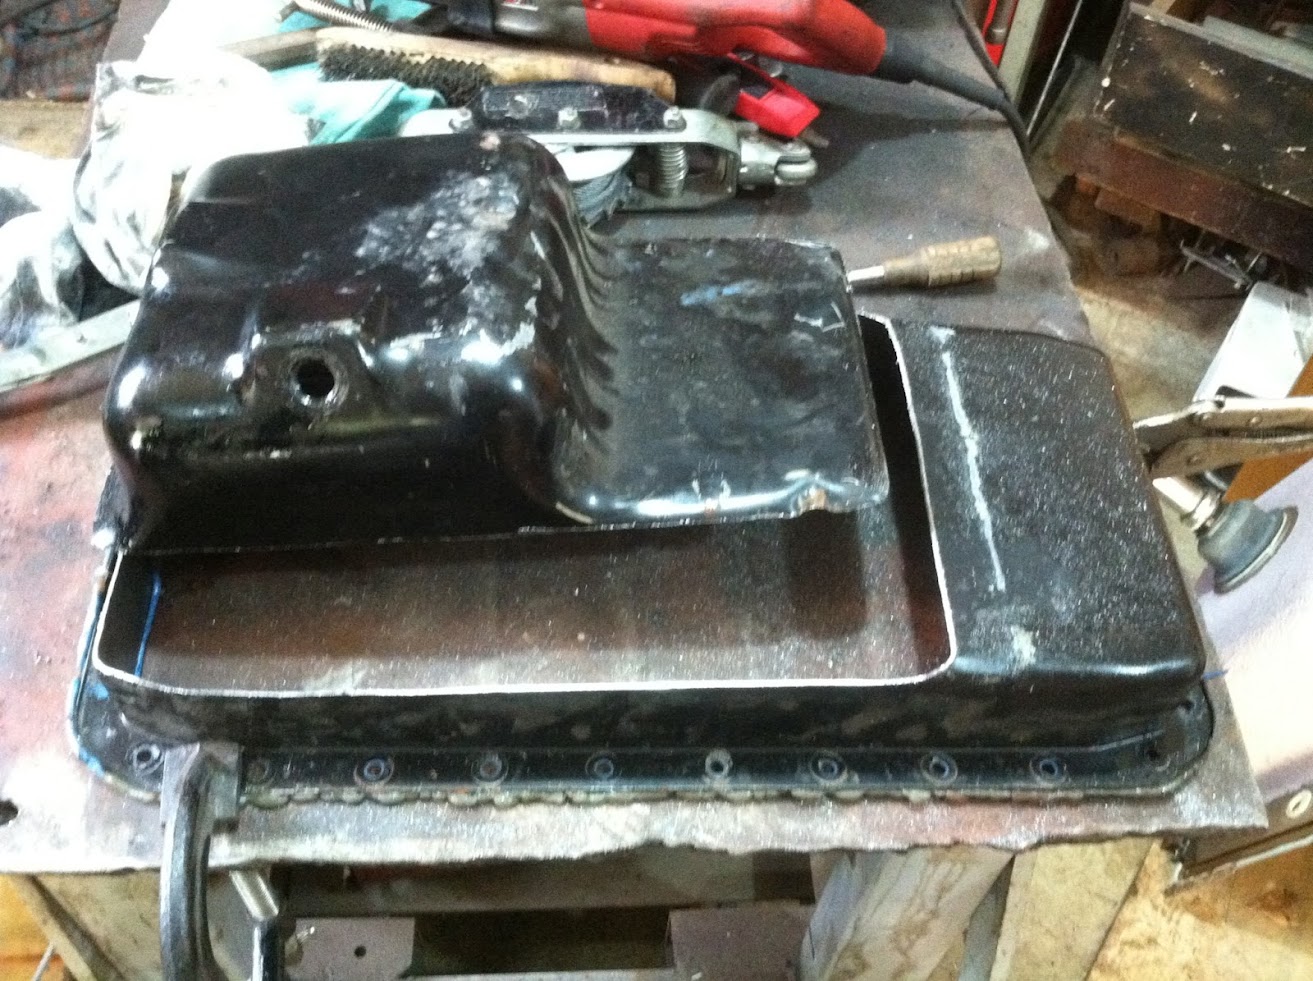
After getting the engine in, realized I will need to modify some things. The oil pan was orignally a center sump design, which worked on the Wrangler ok, but will need to be modified to rear sump for the XJ:

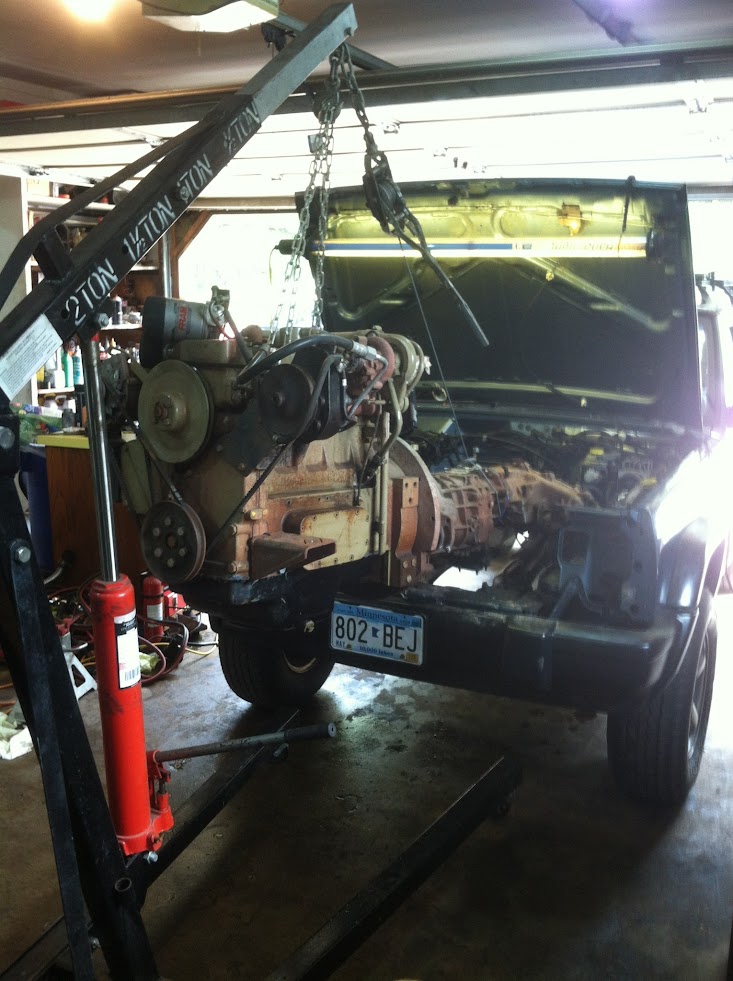
This is about where the swap sits at the moment. I have to fab the engine mounts (which will be the biggest hurdle), need to remove the t-case and clock it (since it is currently clocked according to a Wrangler, will need to re-drill the holes for the XJ), do some wiring which won't be the end of the world, and then driveshafts, and tie up any loose ends. Also need to finish the auto-to-manual swap as well.
This is with no engine mounts, and the engine needs to move rearward a couple inches yet. The hood doesn't quite close all the way at the moment, but moving rearward and putting in engine mounts should change that.
I'll update more in the next couple weeks when I get back to it. Will be gone this weekend in Chicago, as well as beginning to move from one house to another this fall. Planning on having this driving by the end of November, so bear with me on updates, but this thread will not die, I promise.
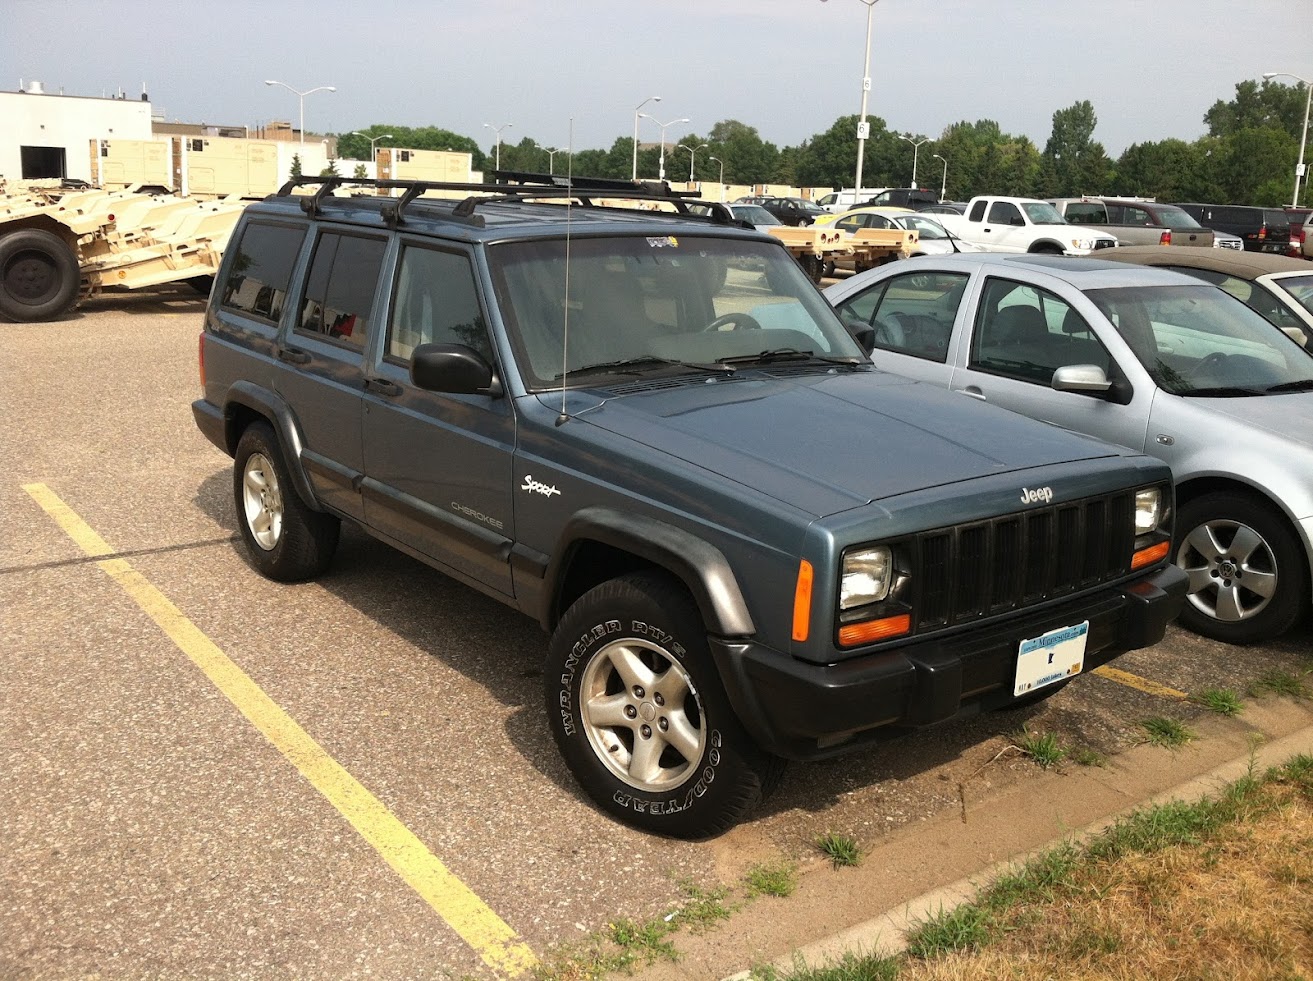
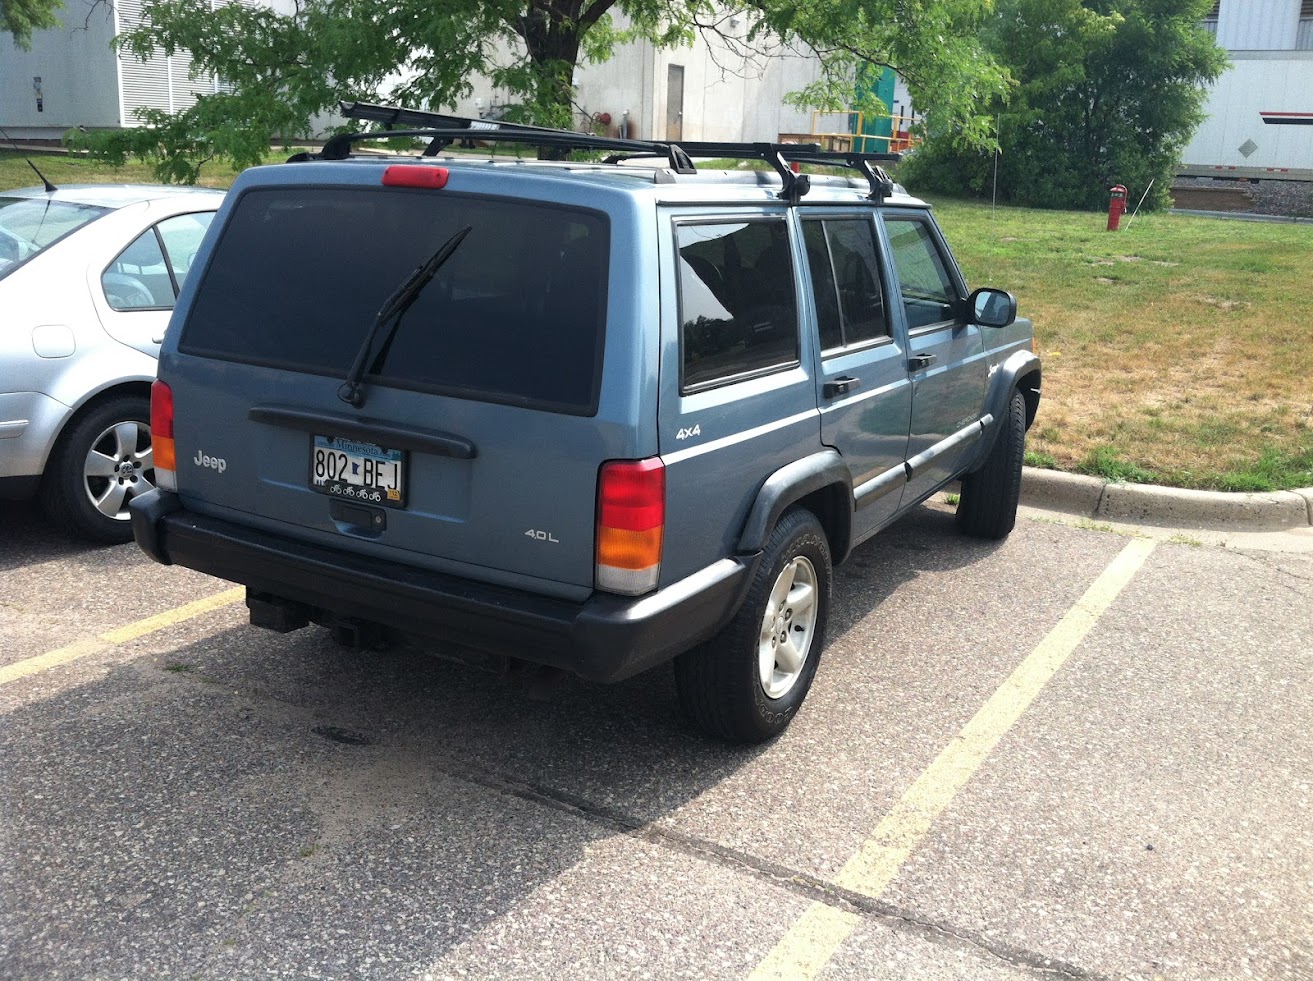
Edit: I drove the XJ around for a while to get some mileage numbers on gas. Here is what the Jeep looks like:
Here are gasoline mileage numbers for roughly a month:

This thread is copied on the 4btswap.com forum as well:
http://www.4btswaps.com/forum/showth...-Jeep-Cherokee
For a little background, here is the swap in the Wrangler. These pictures show the mounting of an AX15 to the engine, which didn't really need to be figured out for the Cherokee since it was already done for the Wrangler, so I'll use some old photos here.
This is the engine on the pallet. It was a brand new engine when I purchased it. It an A-series Cummins engine, and ends up being a lot smaller than the more common B-series that everyone craves so much.
Bellhousing adapter (SAE#5 to Chrysler 727a), and flywheel adapter (SAE#7-1/2 to Chrysler 727a), both from Phoenix Castings:
I'm using a Dodge Dakota V6 bellhousing, since they used a small block Chrysler mounting pattern, with an AX-15 transmission. With using this bellhousing on the adapter, I had a couple of the holes clearanced for bolt heads. The bolt holes are threaded on the adapter:
Below shows the stack of parts on the clutch. Starting on the engine side, there is a Cummins flywheel, the flywheel adapter (shown above), a 1996 Dodge Dakota 3.9L flywheel, and Dodge Dakota clutch kit.
Input shaft at the Phoenix Castings adapter:
After checking the pilot bushing, I had a spacer laser cut to fit behind the pilot bearing to take up the 6.4mm of slop behind it when installed.
The reason for needing this is that the adapter is made for a chrysler a727 transmission, and the input shaft for it is very large and longer than on the manual trans I'm using. So when installing the pilot bearing there is room behind it.
These pictures show the comparison between the pilot bearing and the new spacer, and then installed on the engine. This pilot bearing is from a 1996 Dodge Ram 5.9L engine application:
Clutch disc installed now that pilot bearing is correctly installed:
This shows the AX-15 mounted to the bellhousing:
Engine mounted in the Wrangler. Used Anchor hydraulic engine mounts (#8998):
Youtube video of engine running on a test stand (pallet):
Youtube video of engine running in Wrangler:
Now on to the removal of the engine from the Wrangler. I set up shop not at my own garage, but my inlaw's home. I was in the process of selling my home this summer, so kept the mess out of my garage due to that. Drove over there with the XJ filled to the brim with pretty much all the tools I thought I would need (welder, cherry picker, gas cans for emptying fuel, diesel can for filling fuel, jack stands, tools, etc etc):
Setup my tools all nice for ease of use:
Pulled engine from the Wrangler:
Removing the 4.0L and automatic transmission and t-case from the XJ:
Moving the Cummins into the XJ engine bay for the first time. I left all the air conditioning equipment in place, so that was kinda fun to work around:
After getting the engine in, realized I will need to modify some things. The oil pan was orignally a center sump design, which worked on the Wrangler ok, but will need to be modified to rear sump for the XJ:
This is about where the swap sits at the moment. I have to fab the engine mounts (which will be the biggest hurdle), need to remove the t-case and clock it (since it is currently clocked according to a Wrangler, will need to re-drill the holes for the XJ), do some wiring which won't be the end of the world, and then driveshafts, and tie up any loose ends. Also need to finish the auto-to-manual swap as well.
This is with no engine mounts, and the engine needs to move rearward a couple inches yet. The hood doesn't quite close all the way at the moment, but moving rearward and putting in engine mounts should change that.
I'll update more in the next couple weeks when I get back to it. Will be gone this weekend in Chicago, as well as beginning to move from one house to another this fall. Planning on having this driving by the end of November, so bear with me on updates, but this thread will not die, I promise.
Edit: I drove the XJ around for a while to get some mileage numbers on gas. Here is what the Jeep looks like:
Here are gasoline mileage numbers for roughly a month:
This thread is copied on the 4btswap.com forum as well:
http://www.4btswaps.com/forum/showth...-Jeep-Cherokee
Last edited by Kriesel; 09-27-2012 at 03:12 PM.

 09-26-2012 | 09:11 PM
#6
Thread Starter
Junior Member
Joined: Jul 2012
Posts: 50
Likes: 0
From: White Bear Lake, MN
Year: 1997
Model: Cherokee
Engine: Diesel Swap
I ordered parts from a diesel XJ in England, to be used on this swap. Parts were taken off of a 1996 Jeep Cherokee Diesel, somewhere in the UK.
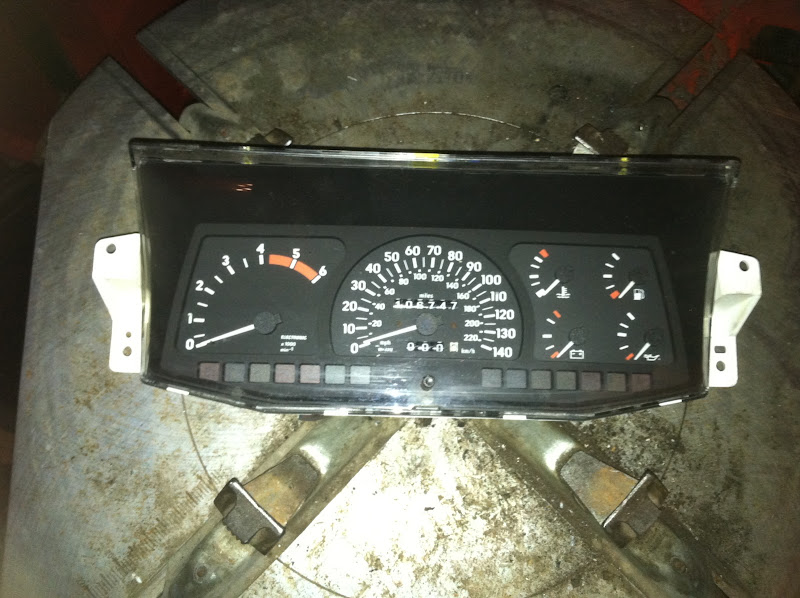
Will look to see if this guage pod works. It doesn't have the "Unleaded Fuel Only" written on it, and lower RPM on the tach I think, but not sure if it will fit in the dash or not. If not, it's getting sold.
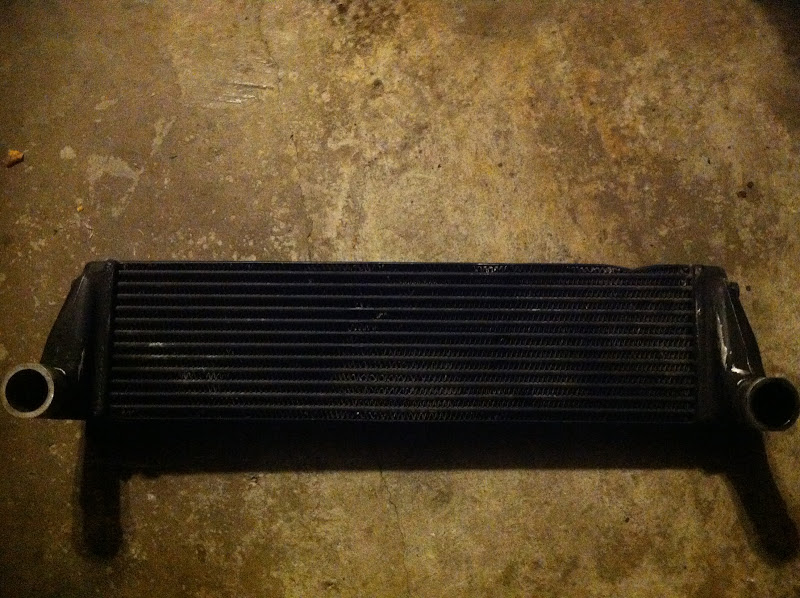
Diesel intercooler, and all plumbing (not pictured, and likely won't fit anyway). The intercooler will help with power. I think I read somewhere once that for every 20 degrees drop in intake manifold temp, the engine gains about 1hp... I will install the engine before installing this, and will measure intake temps before and after. This mounts below the radiator, and it came with hardware for install too.
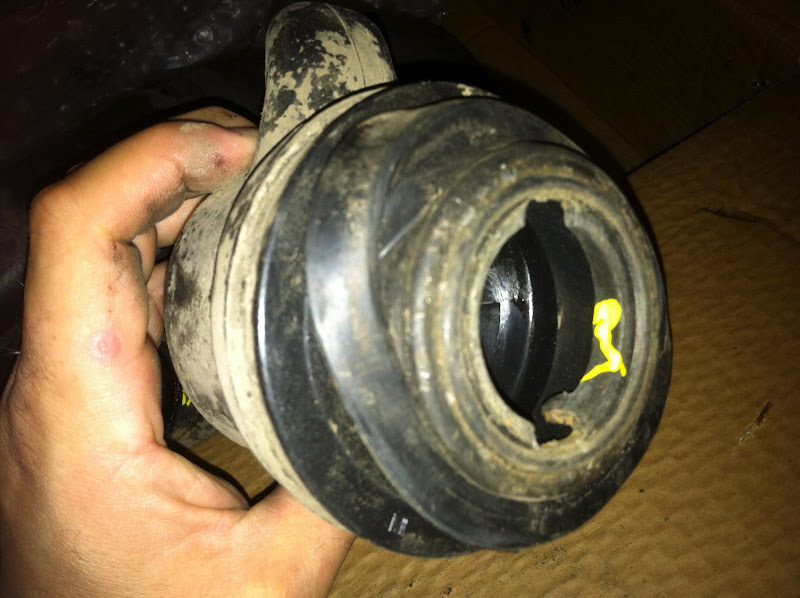
Diesel XJ fill neck. This will make the fill neck look stock, and I won't have to cut into the gasoline one to make the hole bigger.
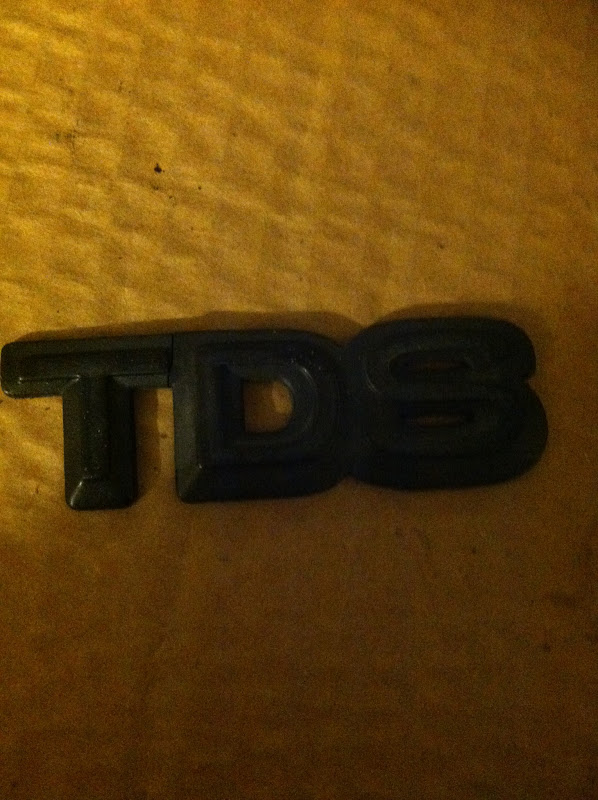
Diesel XJ "TDS" logo from the rear hatch... Just for fun. I don't have a true chrysler/peugot diesel, but the logo will make people wonder maybe...
Will look to see if this guage pod works. It doesn't have the "Unleaded Fuel Only" written on it, and lower RPM on the tach I think, but not sure if it will fit in the dash or not. If not, it's getting sold.
Diesel intercooler, and all plumbing (not pictured, and likely won't fit anyway). The intercooler will help with power. I think I read somewhere once that for every 20 degrees drop in intake manifold temp, the engine gains about 1hp... I will install the engine before installing this, and will measure intake temps before and after. This mounts below the radiator, and it came with hardware for install too.
Diesel XJ fill neck. This will make the fill neck look stock, and I won't have to cut into the gasoline one to make the hole bigger.
Diesel XJ "TDS" logo from the rear hatch... Just for fun. I don't have a true chrysler/peugot diesel, but the logo will make people wonder maybe...
Last edited by Kriesel; 09-26-2012 at 09:15 PM.

Trending Topics
 09-28-2012 | 09:09 AM
#11
Thread Starter
Junior Member
Joined: Jul 2012
Posts: 50
Likes: 0
From: White Bear Lake, MN
Year: 1997
Model: Cherokee
Engine: Diesel Swap
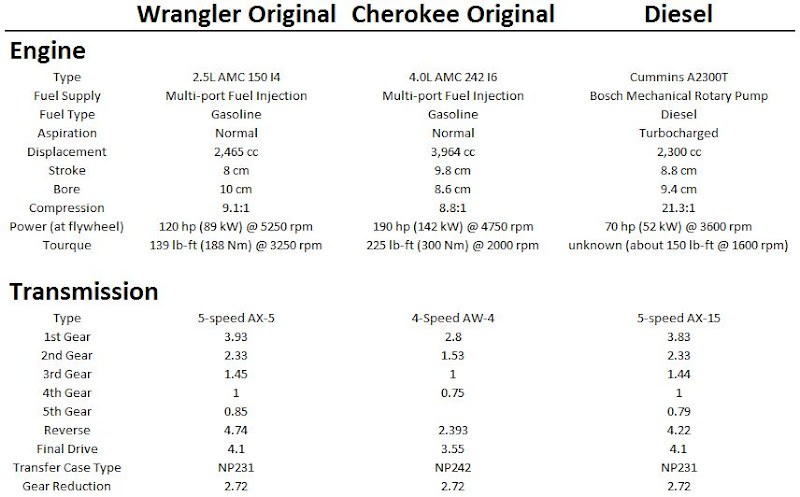
Showing the number comparisons on the engines. The diesel numbers are pretty modest I think, but this engine worked great in the Wrangler. With some little power upgrades it should have similar drive-ability in the Cherokee.
10-26-2012 | 09:47 AM
#13
Thread Starter
Junior Member
Joined: Jul 2012
Posts: 50
Likes: 0
From: White Bear Lake, MN
Year: 1997
Model: Cherokee
Engine: Diesel Swap
 10-26-2012 | 08:54 PM
#15

Member
Joined: Jan 2012
Posts: 156
Likes: 0
From: Medford OR
Year: 1990
Model: Cherokee
Engine: 4.0 6cyl
Ok I was just wondering. It just looks in pretty awesome condition so I thought maybe you bought a new one and I was gonna ask how much it was. I can get a john deere turbod 4 cylinder for pretty cheap but id need a adapter made