When you click on links to various merchants on this site and make a purchase, this can result in this site earning a commission. Affiliate programs and affiliations include, but are not limited to, the eBay Partner Network.
Hey guys, thought I'd do a write up about the handful of things I've done on my white 2001 Jeep Cherokee Sport 4.0L to help out some more noobs like myself
So to start off, I am NOT mechanically inclined and neither is my Dad, who does the most work on it with me, so I haven't done anything huge, or very involved yet. (It's still on the 20 year old stock suspension, I'm not proud of that)
This was my first car and I just fell in love with it and loved working on it and figuring things out. I try and do all the work on it that I can do myself, or figure out how.
It has been the best car, I use it as a daily driver to work and school, and as a climbing and camping Jeep, to get my brother and I through the dirt roads that lead up to a lot of the rock climbing crags and campsites here. I'm not huge into wheeling, and don't know what I'm doing, but I really enjoy it, and do frequent light wheeling to go climbing/camping ect.
I just graduated and have four months left until I leave on a church mission to Peru for two years, I'm really excited. My goal is to build up the jeep as much as I can so I can leave my brother (who just got his license) a pretty rad jeep to take climbing. So I've had a lot of free time lately and I'm waiting on some parts for a new project so I decided to do this write up. Feel free to ask questions or ask for dimensions or specs I can get those for you, I'd love to help!
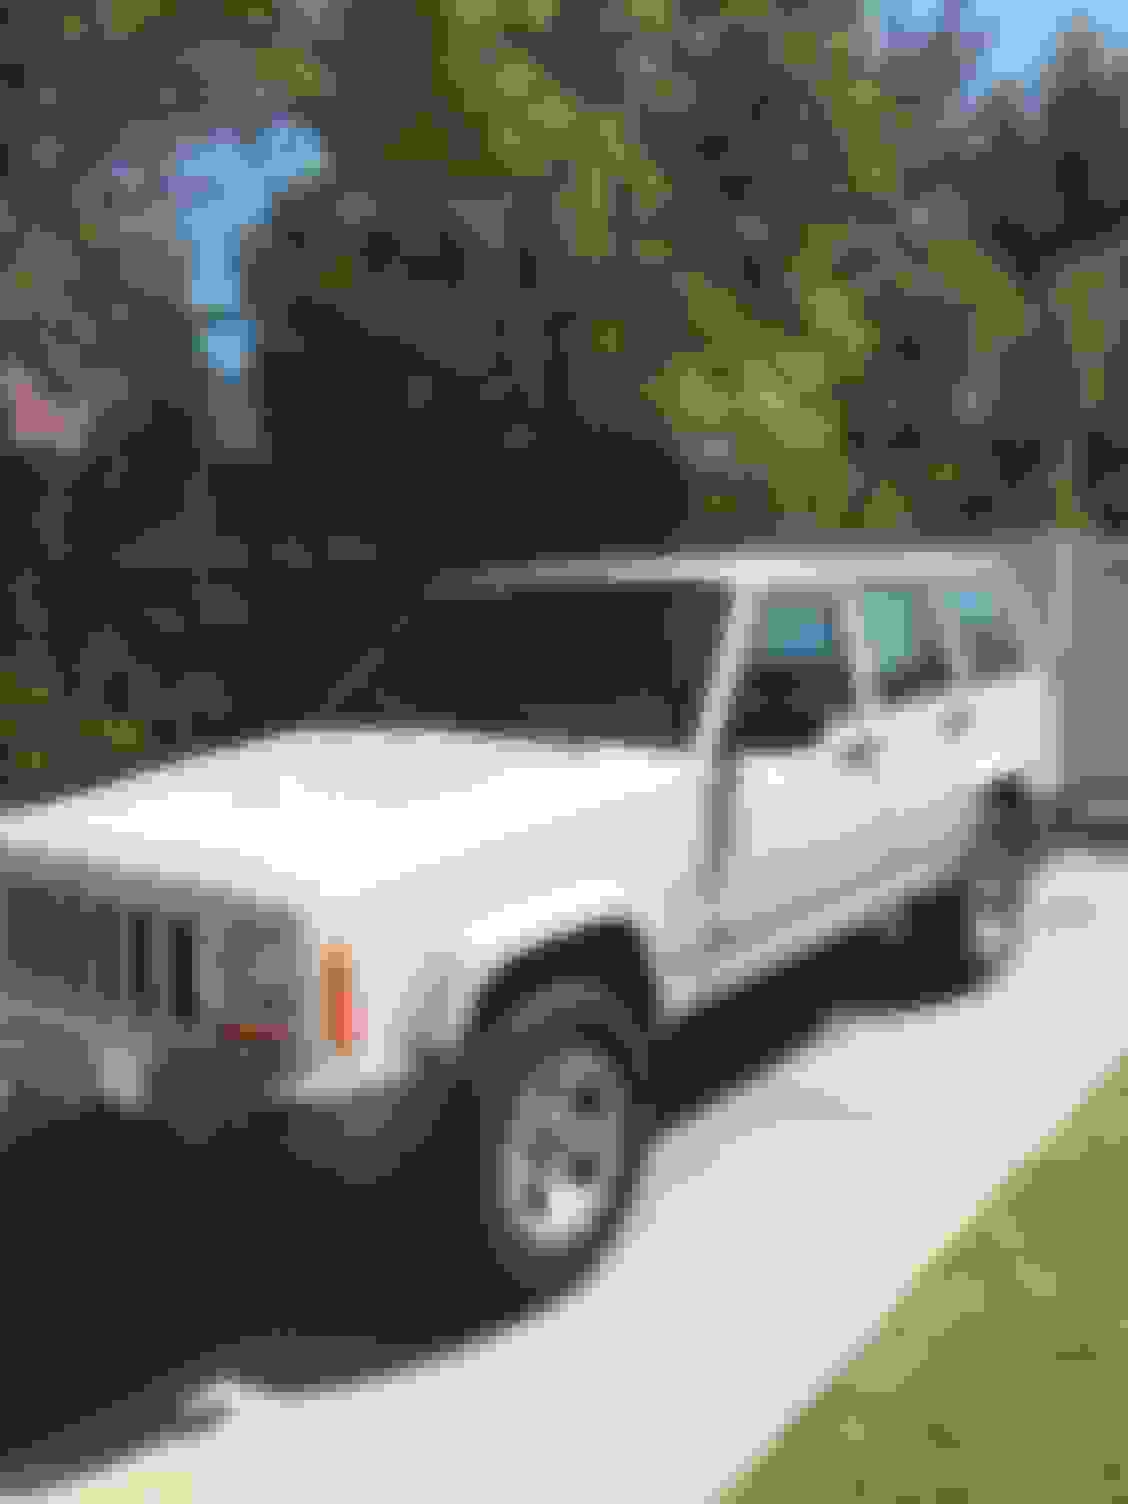
This was how it came to us at first, it was a victim of the common overheating/cracked engine head problem and barely ran when it was picked up. My cousin originally bought it and fixed the engine head and rewired the malfunctioning electric cooling fan.
Somewhere along the line I had to learn that its ok to get stuck most of the time haha, this was before I had mudders on it.
One of the first things was a new stereo head. I was planning on replacing the speakers too but after putting the stereo in it sounded significantly better already so put that off for another day.
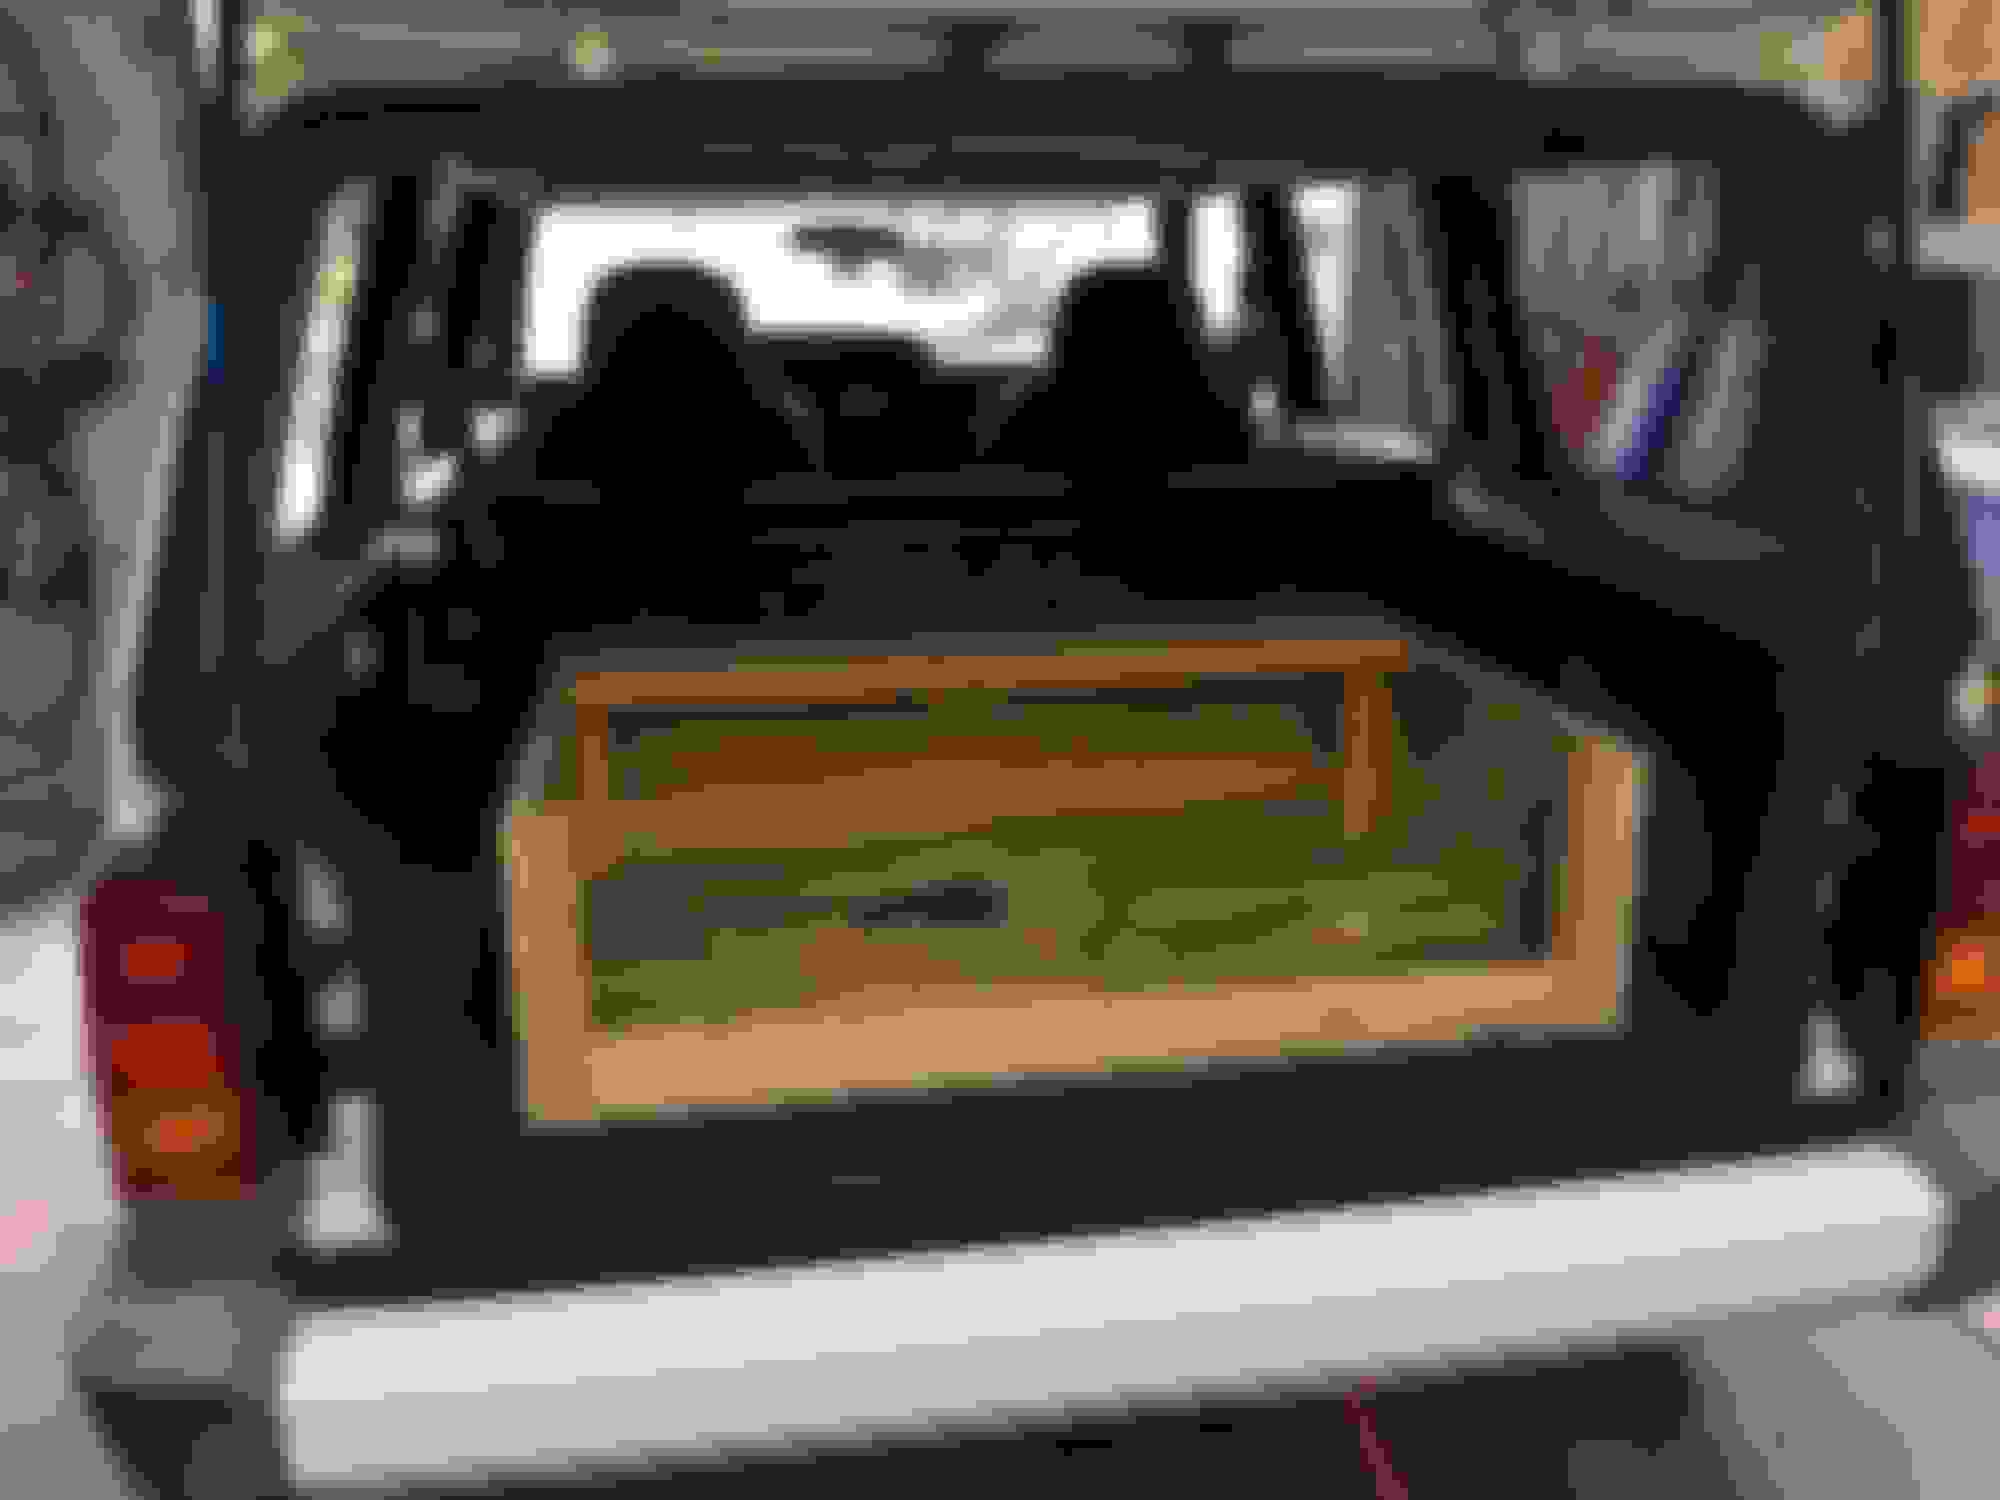
After reading forums like these, I really wanting to build a rear cargo box. I started doing the research and drawing specs and figuring out what I wanted. I decided on a two-lid design so even with cargo on top, I could push it to one side and still access the box. I wanted it to lock as well to store climbing gear (which can get expensive) out of sight, and as a good place to keep recovery/ a few camping items in the trunk full time. We used 2x2 for the side supports and .5 ish inch plywood for the walls and roof. It's a little over-built I'll admit, but it's solid. The box fits snugly up against the backseat and between the wheel wells. Flaps mounted on piano hinges to the lids extend out from the sides to cover the gap created by the wheel wells. They're supported by a 2x2 running next to the hinge and they'll hold enough weight for me not to be worried. its all carpeted with your basic grey outdoor carpet from Lowe's
I threw up a cargo net above the rear seats to stop cargo from flying into the back of people's heads. it mounts with velcro which seems like it wouldn't be solid but I was surprised, it's real nice.
I also mounted a climbing daisy chain from the tabs that come out under the edge of the headliner right next to the rear hatch to rack gear and hold the lids open. Found some nice lights to mount to the underside of the lids.
So my problem was when you put down the rear seats, there is this awkward hole between the edge of the box and the front seats. I also wanted the solution to collapse down hopefully inside the other box.
What I built was a collapsible base that bolts to a platform by hand with wing nuts. all collapsed, it gets down small enough. this is the base all set up the base set into the hole platform bolting locations when it's in it created this uniform platform great for car camping / dirtbag-ing it. notice the cut outs next to the seatbelts so the seat mounting locations and seatbelts fit. we added a lid to access the inside of the base to store sleeping bags, pads ect.
When it's all put together it creates this great flat platform.
On one climbing trip to Yosemite my brother and I realized that with the front seats pushed all the way forward, we both can sleep in the back of the jeep pretty comfortably. it doesn't look like it but we both can fit laying down back there, no more crammed than normal 2 man tents.
Somewhere along the line I got some real off road tires, bought some Yakima 1A rain gutter mount roof racks off craigslist to replace the janky factory racks(these are BOMBER for carrying kayaks crash pads, or anything really, they are solid) I also replaced the old dim halogen headlight with an LED pair from amazon, which were cheap and super bright. the headlight swap was one of the easiest and best things I've done. I also replaced the brake pads myself, along with the alternator. That's about the extent of my mechanical ability haha
The jeep all loaded up for a 4 person graduation/camping/climbing trip to Yosemite, this isn't the best picture but notice the really saggy old headliner.
That was the next project, replace the old headliner. My brother and I wanted to do something other than the boring grey that comes OEM, so we started looking and found this awesome plaid flannel material we decided to put up there. We pulled out the old headliner board, then pulled the old fabric off, scraped off the old foam glue, and glued in the flannel material. working around the speaker pod holes and the contours can be tricky, but nothing that can't be figured out.
we used up the extra fabric to make some pillow cases to match haha
My next project is going to be a roof cage with light bars facing in all four directions. I'm waiting on the cage to get here, I'll do a write up on all that as well.
I've got the big 52" up but not wired yet. I got the single row bars to keep it low key, and cause I liked the look better than the double.
I'd love to see pictures of what y'all have done similar or things you think I should do haha thanks
Dang dude, looking good so far. If you can replace headlights and an alternator, you're probably more capable than you think. Almost everything I do to my jeep is the first time I've done that task, just don't be afraid.

 08-23-2019 | 02:39 PM