
Project Do work - 2001 XJ Build (Pic intensive)
 08-25-2010, 09:50 PM
#241
Seasoned Member
Thread Starter
Join Date: May 2010
Location: Columbus, OH
Posts: 415
Likes: 0
Received 0 Likes
on
0 Posts
Year: 2001
Model: Cherokee
Engine: 4.0 I6
Got the XJ back from the shop tonight. Gears are installed! Stoked to have some power back. I'm still in the break-in period, so I've been taking it easy... driving a while, then letting it cool down, rinse, repeat, etc.
I can DEFINITELY tell a difference in the way the engine responds to throttle input. It's VERY peppy now. The engine also appears to be operating more into its power band at all speeds.
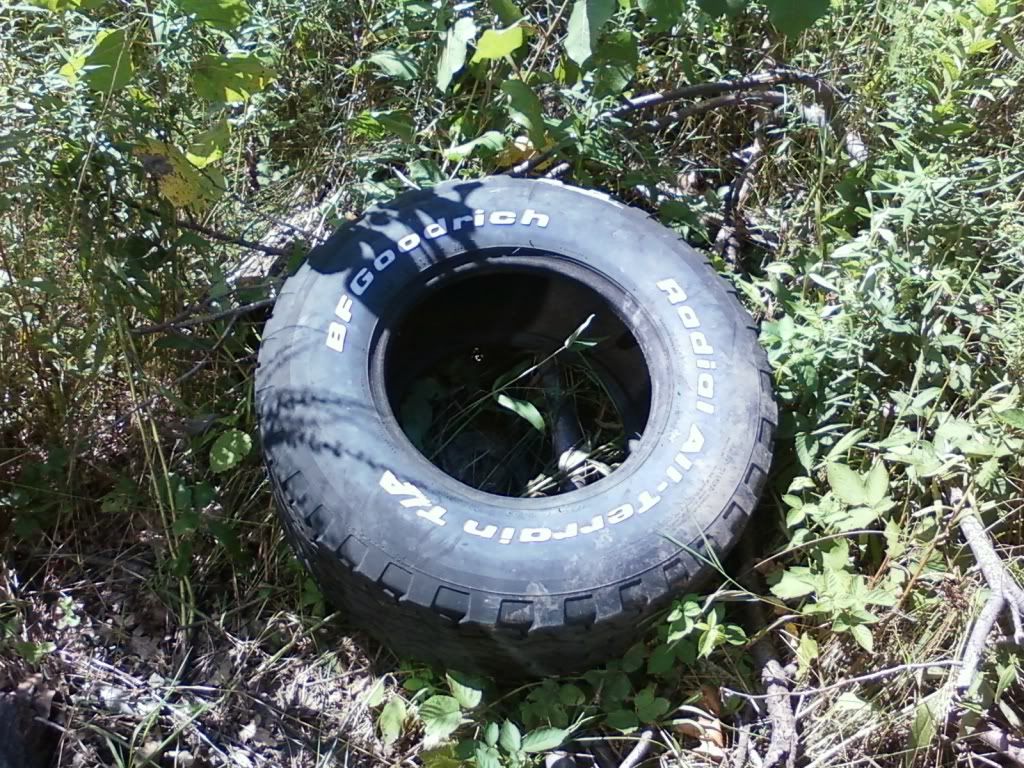
Also, got a little surprise... Decided to go ahead and toss one of these in:


Got traction?
No more one-wheel peels from the rear axle! I really had not planned on installing the locker just yet, but the shop offered to do it at no additional cost in labor and were giving me a pretty decent price on the locker, plus they had one on the shelf ready to go. I couldn't pass it up.
I wanted to do the install myself and do a little write-up for the forum, but figured since it was free.... why not let a professional do it. Technically it saves me a little money too since I won't have to buy any gear oil or gasket product.
As far as the driving impression goes pertaining to the Aussie Locker, let's just say it was a CLICKETY CLICK CLICK CLICK ride home, lol. No unusual handling characteristics were noted, but as I mentioned, I'm still in the break-in period so taking it really easy on accelerating and speed and whatnot. There's a definite click during low to moderate speed turns. I expected some clicking, so I'm not too worried right now. I will continue to update the process for everyone though.
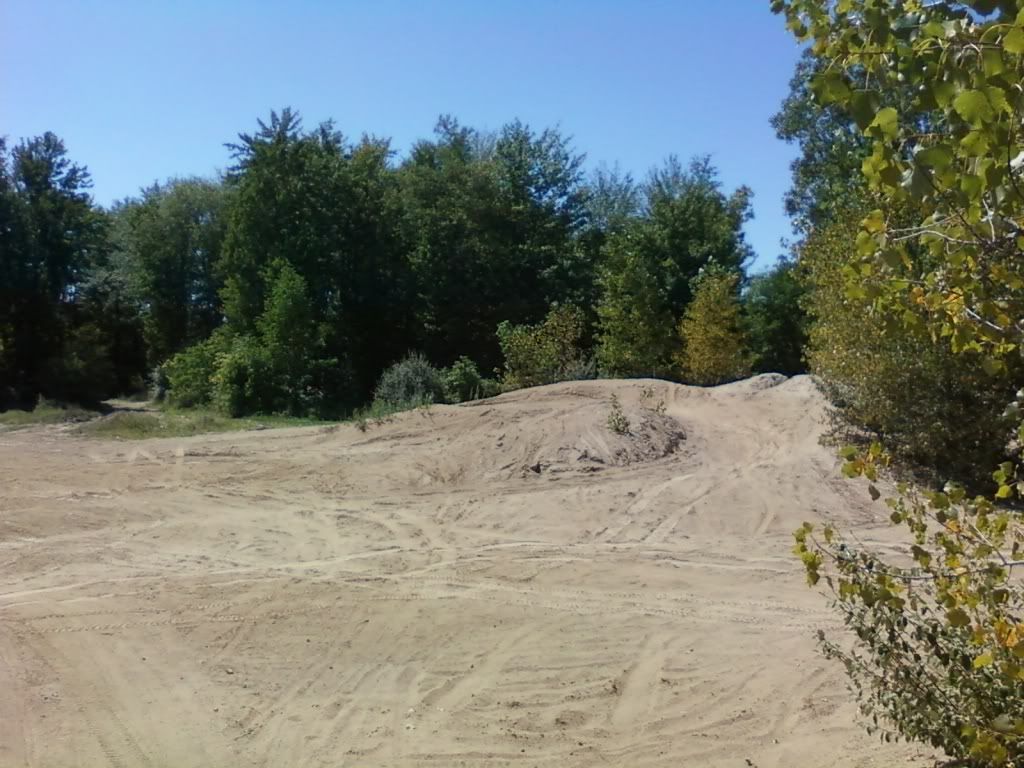
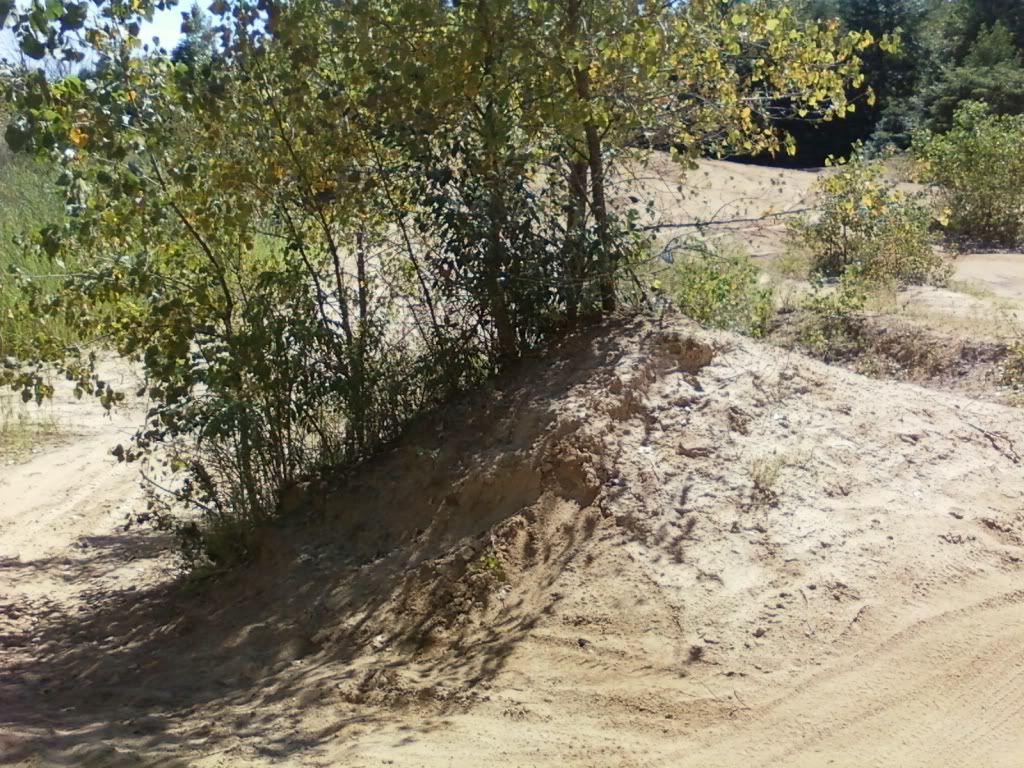
Anyway, I'm hoping to get these gears broken in as fast as humanly possible then go wheel this thing ASAP. I'm trying to put together a small trip to Bundy Hill Offroad park in the couple weeks. Work has been obliterating my time lately though... in fact, this whole summer has been work.
Some things I still need/want to do:
1. SYE and rear driveshaft - Thinking Rugged Ridge or Advance Adapters
2. Rocker guards/rock sliders - JCR, Rock Hard 4x4, etc.
3. Figure out what to do with my spare - Tire carrier or roof rack
4. Winch
5. Front locker - Selectable (way down the road though)
6. Manual locking hubs - (again, way down the road)
I can DEFINITELY tell a difference in the way the engine responds to throttle input. It's VERY peppy now. The engine also appears to be operating more into its power band at all speeds.
Also, got a little surprise... Decided to go ahead and toss one of these in:
Got traction?
No more one-wheel peels from the rear axle! I really had not planned on installing the locker just yet, but the shop offered to do it at no additional cost in labor and were giving me a pretty decent price on the locker, plus they had one on the shelf ready to go. I couldn't pass it up.
I wanted to do the install myself and do a little write-up for the forum, but figured since it was free.... why not let a professional do it. Technically it saves me a little money too since I won't have to buy any gear oil or gasket product.
As far as the driving impression goes pertaining to the Aussie Locker, let's just say it was a CLICKETY CLICK CLICK CLICK ride home, lol. No unusual handling characteristics were noted, but as I mentioned, I'm still in the break-in period so taking it really easy on accelerating and speed and whatnot. There's a definite click during low to moderate speed turns. I expected some clicking, so I'm not too worried right now. I will continue to update the process for everyone though.
Anyway, I'm hoping to get these gears broken in as fast as humanly possible then go wheel this thing ASAP. I'm trying to put together a small trip to Bundy Hill Offroad park in the couple weeks. Work has been obliterating my time lately though... in fact, this whole summer has been work.
Some things I still need/want to do:
1. SYE and rear driveshaft - Thinking Rugged Ridge or Advance Adapters
2. Rocker guards/rock sliders - JCR, Rock Hard 4x4, etc.
3. Figure out what to do with my spare - Tire carrier or roof rack
4. Winch
5. Front locker - Selectable (way down the road though)
6. Manual locking hubs - (again, way down the road)
 08-26-2010, 07:25 PM
#243
Seasoned Member
Thread Starter
Join Date: May 2010
Location: Columbus, OH
Posts: 415
Likes: 0
Received 0 Likes
on
0 Posts
Year: 2001
Model: Cherokee
Engine: 4.0 I6
08-26-2010, 07:55 PM
#244
Junior Member

Join Date: Jun 2009
Location: williamston mi
Posts: 90
Likes: 0
Received 0 Likes
on
0 Posts
Year: 2001
Model: Cherokee
Engine: 4.0
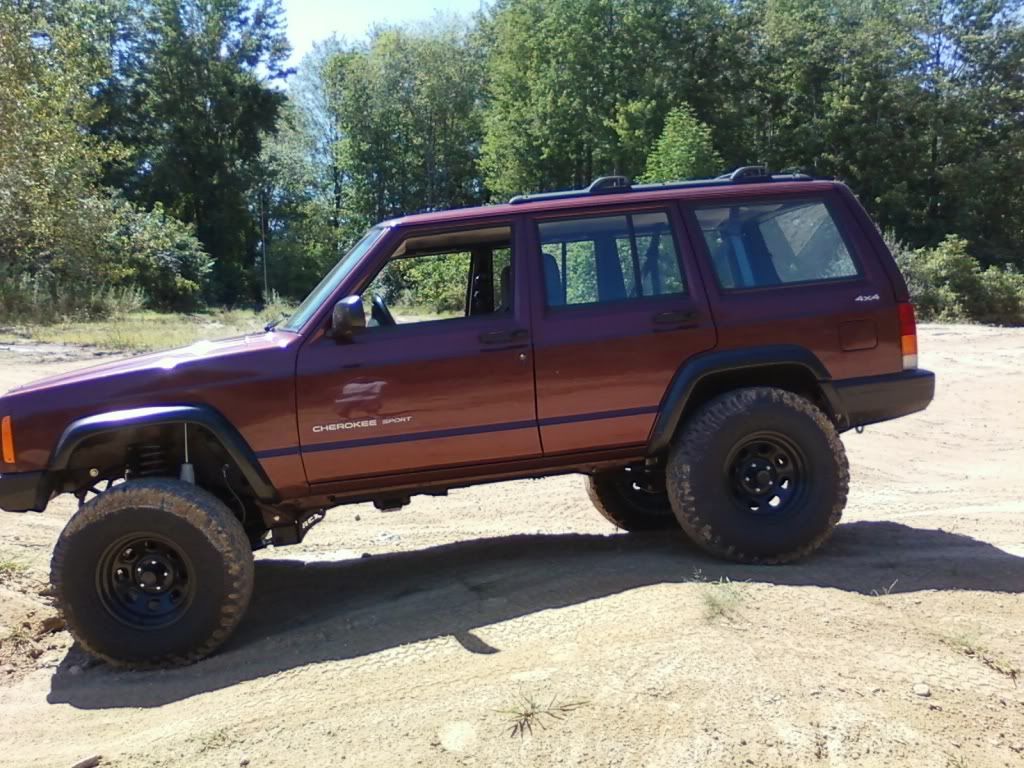
Been there 2 times. You will have a good time there. Probably the best place to go in SE michigan. Silver Lake is a good time too in the summer. Your jeep looks good.
08-26-2010, 09:21 PM
#245
Junior Member
Join Date: Jan 2010
Location: Monroe Michigan
Posts: 67
Likes: 0
Received 0 Likes
on
0 Posts
Model: Cherokee
Bundy is some pretty good times. Haven't had a chance to get my 97 out there yet...but my 89 did great.
You're doing a great job on the build. It's nice to see people that take the initiative to install and learn on their own. I do all my own work and can definitely appreciate the struggle sometimes.
Maybe I'll run into you at bundy sometime this year. Gotta get my *** in gear and start getting this one trail worthy.
08-26-2010, 11:25 PM
#246
Resident Zombie Hunter
Join Date: Aug 2010
Location: Virginia
Posts: 3,542
Likes: 0
Received 2 Likes
on
2 Posts
Year: 1997
Model: Cherokee
Engine: 4.0L
Man this makes me want to do a lift on my own! But I need to make sure I've got something else to drive during the time that it would take. thanks for the write up on everything you've done! I love the outcome and can't wait to see what else you are gonna do!
08-27-2010, 11:56 AM
#247
Seasoned Member
Thread Starter
Join Date: May 2010
Location: Columbus, OH
Posts: 415
Likes: 0
Received 0 Likes
on
0 Posts
Year: 2001
Model: Cherokee
Engine: 4.0 I6
Bundy is some pretty good times. Haven't had a chance to get my 97 out there yet...but my 89 did great.
You're doing a great job on the build. It's nice to see people that take the initiative to install and learn on their own. I do all my own work and can definitely appreciate the struggle sometimes.
Maybe I'll run into you at bundy sometime this year. Gotta get my *** in gear and start getting this one trail worthy.
You're doing a great job on the build. It's nice to see people that take the initiative to install and learn on their own. I do all my own work and can definitely appreciate the struggle sometimes.
Maybe I'll run into you at bundy sometime this year. Gotta get my *** in gear and start getting this one trail worthy.
Get out to the garage and get started then! It is nice to have another vehicle though, ESPECIALLY for parts running (often occurrence for me). Next thing on the list is the SYE and custom driveshaft.... stay tuned.
08-27-2010, 04:10 PM
#248
Resident Zombie Hunter
Join Date: Aug 2010
Location: Virginia
Posts: 3,542
Likes: 0
Received 2 Likes
on
2 Posts
Year: 1997
Model: Cherokee
Engine: 4.0L
Yeah I kniw I would definitely end up needing to run for parts/tools, but I also dint really have a place to work on it right now. But hopefully soon!
09-03-2010, 08:50 PM
#250
Seasoned Member
Thread Starter
Join Date: May 2010
Location: Columbus, OH
Posts: 415
Likes: 0
Received 0 Likes
on
0 Posts
Year: 2001
Model: Cherokee
Engine: 4.0 I6
Went shopping at Jeeperz Creeperz, picked up a Rugged Ridge SYE for the XJ. I'm going to get started on it tomorrow morning, just gonna do a little more research/preparation tonight before I tear open the transfer case. It's my first time opening the TC, but I've been reading as many write-ups on the project as possible, I feel prepared.
Check out the new stuff:

Also picked up a pair of lock ring pliers, a 1-1/8'' socket and a hex socket set which had a 10mm hex socket... I love adding to the tool collection.
The vibes have gotten a little worse since the gear/locker install. Nothing terrible, completely tolerable... just a little more prevalent since the regearing. The SYE needed to be done anyway, now just seems like a good time. I'll get started first thing in the morning and try to document each of my steps (read struggles).
Check out the new stuff:
Also picked up a pair of lock ring pliers, a 1-1/8'' socket and a hex socket set which had a 10mm hex socket... I love adding to the tool collection.
The vibes have gotten a little worse since the gear/locker install. Nothing terrible, completely tolerable... just a little more prevalent since the regearing. The SYE needed to be done anyway, now just seems like a good time. I'll get started first thing in the morning and try to document each of my steps (read struggles).
09-04-2010, 02:43 PM
#252
Junior Member
Join Date: Aug 2010
Location: Detroit Area
Posts: 71
Likes: 0
Received 0 Likes
on
0 Posts
Year: 1998
Model: Cherokee
Engine: 4.0

 09-05-2010, 12:35 PM
#253
Seasoned Member
Thread Starter
Join Date: May 2010
Location: Columbus, OH
Posts: 415
Likes: 0
Received 0 Likes
on
0 Posts
Year: 2001
Model: Cherokee
Engine: 4.0 I6
Slip yoke eliminator is installed. The process wasn't as difficult as it looked. I basically just followed the provdied instructions and referenced a few write-ups online. I decided to do the installation with the TC in the Jeep rather than removing it in an attempt to reduce the number of steps required.
Here's how I went about it:
First thing you gotta do is have a cup (or a couple) of coffee. Yeah, that's an OSU mug. Go Bucks!

After coffee, I started with draining the TC fluid. Make sure you can actually open the FILL plug before empyting the TC of it's fluid. Otherwise, if you empty it via the drain plug and can't get the fill plug open you're screwed when it's time to reassemble. Here I am cracking the fill plug.

And draining the fluid

While the TC drains, I began removing the rear driveshaft. I started by removing the rubber boot which protects the TC output shaft. It is secured in place by 2 metal bands. I used a flat head screw driver to release them.

Straps removed:

There are 4 bolts which fasten the yoke straps to the rear axle. Remove the hardware and put away for safe keeping.

Here's what it looks like after the hardware is removed

I just laid my hardware aside, some people recommend reinstalling it in the empty yoke for safe keeping. Up to you.

Now you can just give the DS a nice little wack with a rubber mallet to free it from the yoke. This didn't work out great for me, so I ended up just prying it a bit with a screwdriver. It didn't require any amount of strength though, it basically just fell right out.

Here it is free from the yoke and posing for all you viewers.

Now the DS can be pulled out from the TC. I expected it to be a lot heavier than it is, they're pretty light.

Goodbye stock DS

Here's what you're left with on the axle side

And what you got on the TC side after DS removal

Now it's time to turn our attention to the TC.
Here's how I went about it:
First thing you gotta do is have a cup (or a couple) of coffee. Yeah, that's an OSU mug. Go Bucks!
After coffee, I started with draining the TC fluid. Make sure you can actually open the FILL plug before empyting the TC of it's fluid. Otherwise, if you empty it via the drain plug and can't get the fill plug open you're screwed when it's time to reassemble. Here I am cracking the fill plug.
And draining the fluid
While the TC drains, I began removing the rear driveshaft. I started by removing the rubber boot which protects the TC output shaft. It is secured in place by 2 metal bands. I used a flat head screw driver to release them.
Straps removed:
There are 4 bolts which fasten the yoke straps to the rear axle. Remove the hardware and put away for safe keeping.
Here's what it looks like after the hardware is removed
I just laid my hardware aside, some people recommend reinstalling it in the empty yoke for safe keeping. Up to you.
Now you can just give the DS a nice little wack with a rubber mallet to free it from the yoke. This didn't work out great for me, so I ended up just prying it a bit with a screwdriver. It didn't require any amount of strength though, it basically just fell right out.
Here it is free from the yoke and posing for all you viewers.
Now the DS can be pulled out from the TC. I expected it to be a lot heavier than it is, they're pretty light.
Goodbye stock DS
Here's what you're left with on the axle side
And what you got on the TC side after DS removal
Now it's time to turn our attention to the TC.
09-05-2010, 01:14 PM
#254
Seasoned Member
Thread Starter
Join Date: May 2010
Location: Columbus, OH
Posts: 415
Likes: 0
Received 0 Likes
on
0 Posts
Year: 2001
Model: Cherokee
Engine: 4.0 I6
After removal of the rubber boot, DS and some fluid the TC should look something like this.

From all the reading I've done, it appears that the following step varies by NP231 model/year etc. Apparently there were some design differences over the years. For me, the first step in accessing the TC was to remove the oil slinger/shield. This piece was especially difficult for me to remove and I ended up using a gear puller which I rented from Autozone. I was able to coax it off but not without trashing the shield. Luckily, this part is not reused.
I hooked the gear puller up to the shield and started wrenching away.

You can see that it basically just bent it. I was getting concerned at this point because even though the shield was bending, it was not unseating from it's location. I decided to continue advancing the puller and it eventually started to move, huge sigh of relief on my part.

Here you can see how it finally started to move and how bent up it is.

Even though the shield had started to move, I decided to reposition the puller. You can see in the picture above that the shield has 2 smaller "ears". I grabbed a hold of those ears with the puller and forced it off the rest of the way. I also tried my best to reshape the shield with some pliers as I was wondering if the bent up shape was impeding removal.

It finally gave up and I did a little reshaping for its picture

With the shield removed, the TC output looks like this:

Now it's time to remove the output shaft seal. This wasn't too difficult, but I took my time. I used a flat head screw driver and worked my way around, tapping/crushing the seal by lightly hammering the screw driver. I tried to direct the force away from the housing but to be honest, who cares b/c it's getting replaced??? Haha... It eventually popped loose.

Popping out

Removed

From all the reading I've done, it appears that the following step varies by NP231 model/year etc. Apparently there were some design differences over the years. For me, the first step in accessing the TC was to remove the oil slinger/shield. This piece was especially difficult for me to remove and I ended up using a gear puller which I rented from Autozone. I was able to coax it off but not without trashing the shield. Luckily, this part is not reused.
I hooked the gear puller up to the shield and started wrenching away.
You can see that it basically just bent it. I was getting concerned at this point because even though the shield was bending, it was not unseating from it's location. I decided to continue advancing the puller and it eventually started to move, huge sigh of relief on my part.
Here you can see how it finally started to move and how bent up it is.
Even though the shield had started to move, I decided to reposition the puller. You can see in the picture above that the shield has 2 smaller "ears". I grabbed a hold of those ears with the puller and forced it off the rest of the way. I also tried my best to reshape the shield with some pliers as I was wondering if the bent up shape was impeding removal.
It finally gave up and I did a little reshaping for its picture
With the shield removed, the TC output looks like this:
Now it's time to remove the output shaft seal. This wasn't too difficult, but I took my time. I used a flat head screw driver and worked my way around, tapping/crushing the seal by lightly hammering the screw driver. I tried to direct the force away from the housing but to be honest, who cares b/c it's getting replaced??? Haha... It eventually popped loose.
Popping out
Removed
09-05-2010, 01:29 PM
#255
Seasoned Member
Thread Starter
Join Date: May 2010
Location: Columbus, OH
Posts: 415
Likes: 0
Received 0 Likes
on
0 Posts
Year: 2001
Model: Cherokee
Engine: 4.0 I6
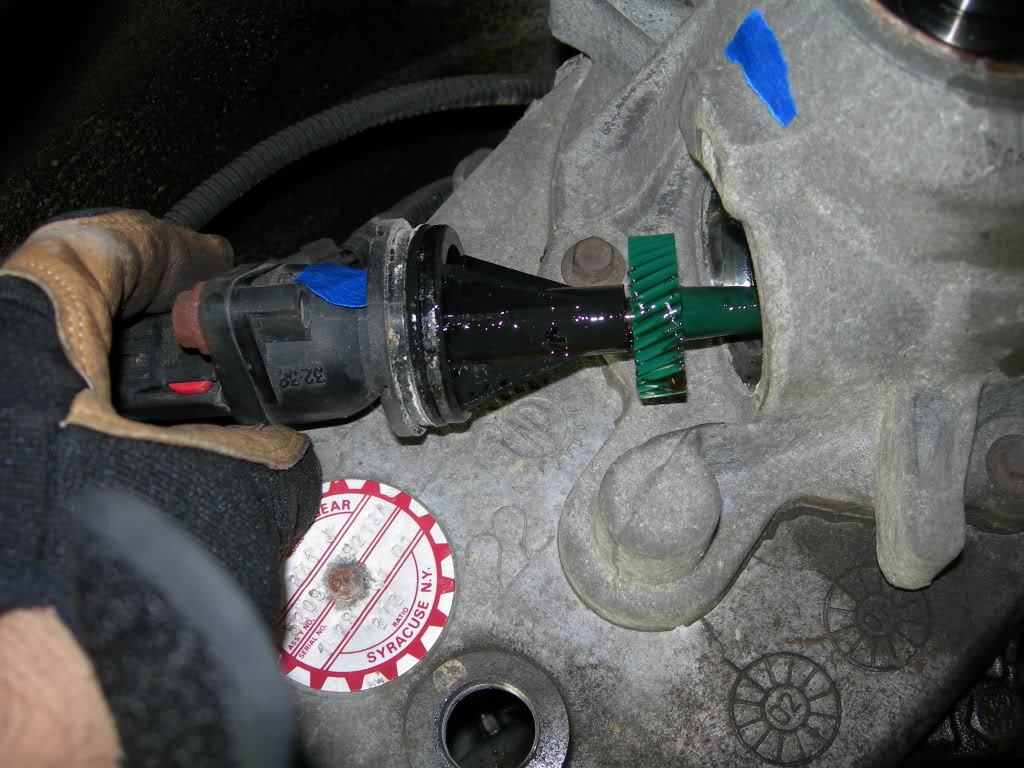
Working further with the tailshaft output housing, I removed the speedometer gear. I left it connected to the wiring harness and just draped it out of the way. It's fastened to the output shaft housing by a 1/2'' bolt and bracket, remove that and pull the gear out.

Removing bolt

Removing gear
I gotta go get some quality time in with the fiancee, but will finish up the write-up later today.
Removing bolt
Removing gear
I gotta go get some quality time in with the fiancee, but will finish up the write-up later today.