
Project Do work - 2001 XJ Build (Pic intensive)

 05-05-2011, 07:07 AM
#437
Seasoned Member
Thread Starter
Join Date: May 2010
Location: Columbus, OH
Posts: 415
Likes: 0
Received 0 Likes
on
0 Posts
Year: 2001
Model: Cherokee
Engine: 4.0 I6
Man... Thieves suck... My 95 Cherokee was stolen and wasn't recovered for almost 4 months. The kid got caught but was only charged with receiving stolen property 
I have a security/keyless entry on mine. Not that it is thief proof I'm hoping they just leave it alone and move on to an easier target...
I have a security/keyless entry on mine. Not that it is thief proof I'm hoping they just leave it alone and move on to an easier target...
Thanks for the comments! I'm still not complete, I wanna clean it up a bit more and dress it up a little so it looks a little more finished. I still haven't removed the tape yet. I went out and bought an angle grinder and a wire cup brush yesterday so that I can clean up some of the rough edges and remove the chipping paint. Plus, I wanna prepare the freshly cut surface and fender well for some type of undercoating or truck bed liner. I also have some automotive trim laying around that I might apply to the newly formed rolled lip. Still deciding on how I want to do it.
Anybody have some recommendations?
05-05-2011, 09:35 PM
#438
Newbie

Join Date: Apr 2011
Posts: 5
Likes: 0
Received 0 Likes
on
0 Posts
Model: Cherokee
Great thread! I just read throught the whole thing took 2 days of my freetime lol but was well worth it! I'm currently 15 going to be 16 and get my permit  in june and hopefully going to get a Cherokee soon after that. Can't wait this thread is basically an overview on how to do everything for a jeep will defiantly refer back to here when i do get it. Great work cant wait to see more!
in june and hopefully going to get a Cherokee soon after that. Can't wait this thread is basically an overview on how to do everything for a jeep will defiantly refer back to here when i do get it. Great work cant wait to see more!


 05-15-2011, 10:56 AM
#440
Great build thread. I spent over an hour last night reading through and looking at all the pics. Gives me great motivation to do close to the same stuff. Keep it up.
05-28-2011, 10:27 AM
#445
Member
Join Date: Apr 2011
Location: South east Michigan. (For now)
Posts: 110
Likes: 0
Received 0 Likes
on
0 Posts
Year: 2001
Model: Cherokee
Engine: 4.0l
Vary nice thread man!
You have basically built the rig I have planed out in my head! LOL
now I just need to sell my car so I can buy my jeep and copy you! LOL
You have basically built the rig I have planed out in my head! LOL
now I just need to sell my car so I can buy my jeep and copy you! LOL
05-28-2011, 05:51 PM
#446
Seasoned Member
Thread Starter
Join Date: May 2010
Location: Columbus, OH
Posts: 415
Likes: 0
Received 0 Likes
on
0 Posts
Year: 2001
Model: Cherokee
Engine: 4.0 I6
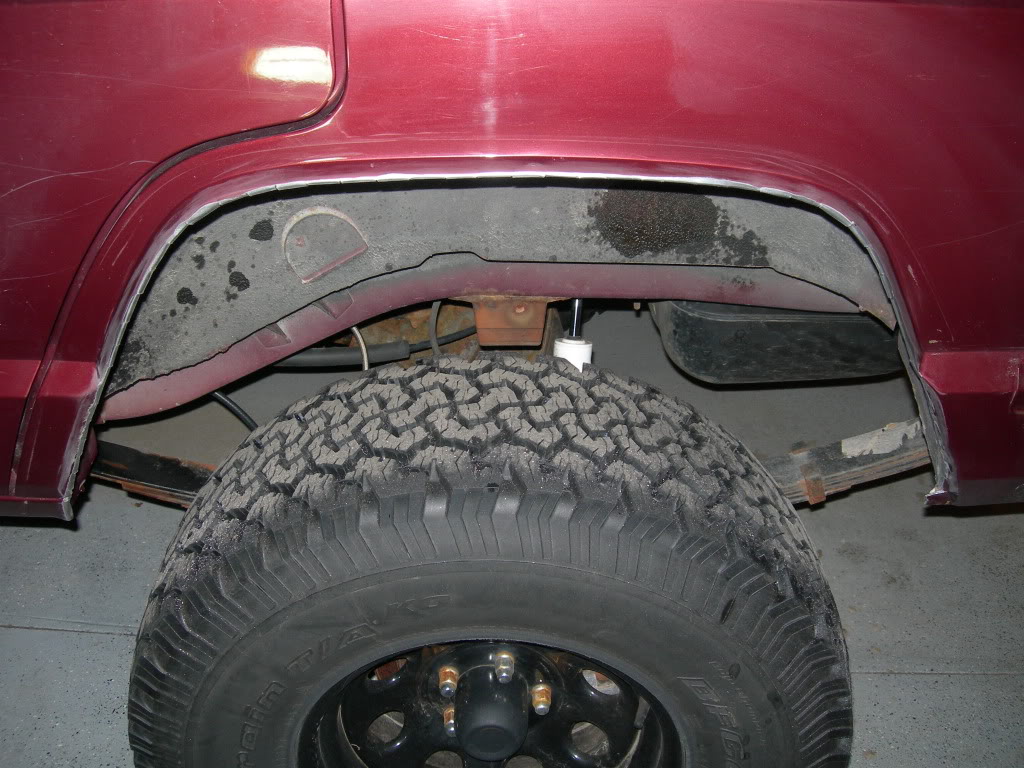
It's still a work in progress of course. I have some fun stuff planned for this summer, so the build will continue...I actually had a little time to work on it tonight. I used an angle grinder and steel wire brush to smooth out the rough edges of the fender wells from all the cutting and pounding. Plus, it helped to deburr the metal so that it's not sharp and also remove a lot of the chipped paint that resulted from bending the tabs back. I also removed the blue painter's tape.

For the most part, the tabs were taken down to bare metal. I'm basically preparing the surface for some type of coating.
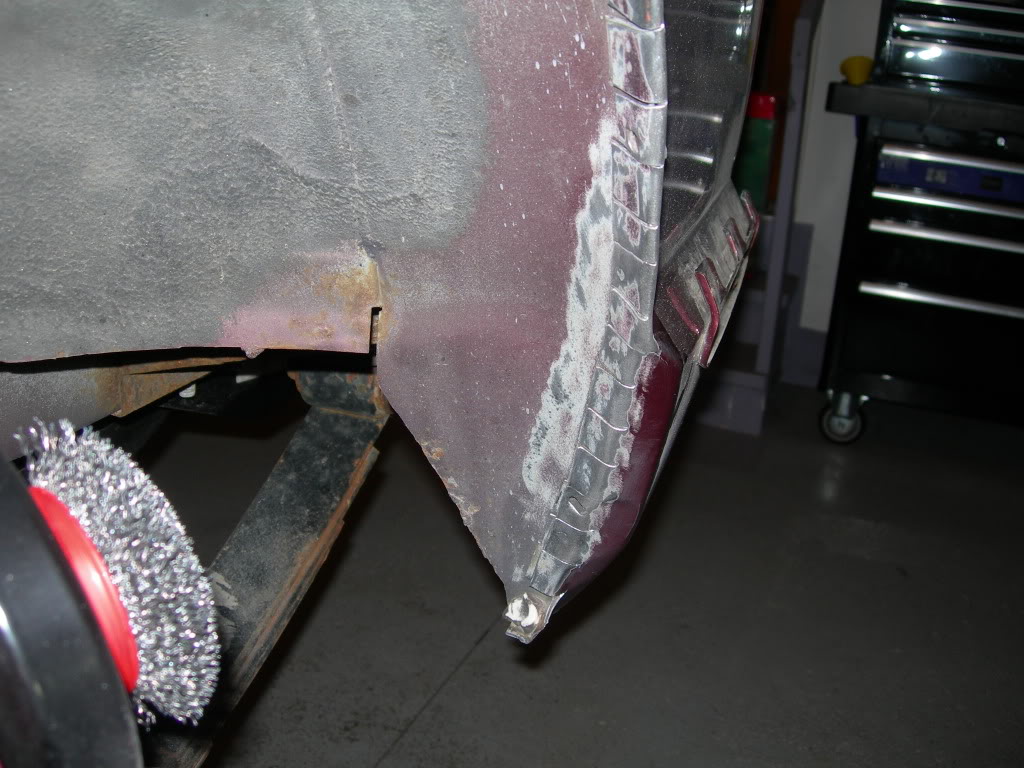

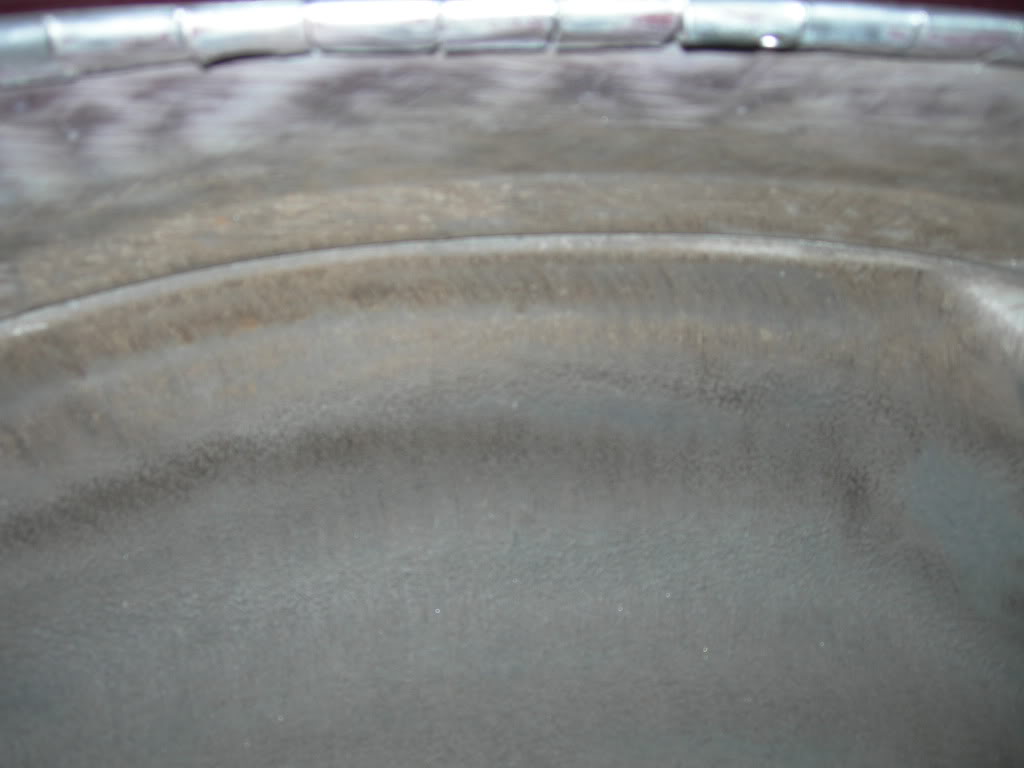
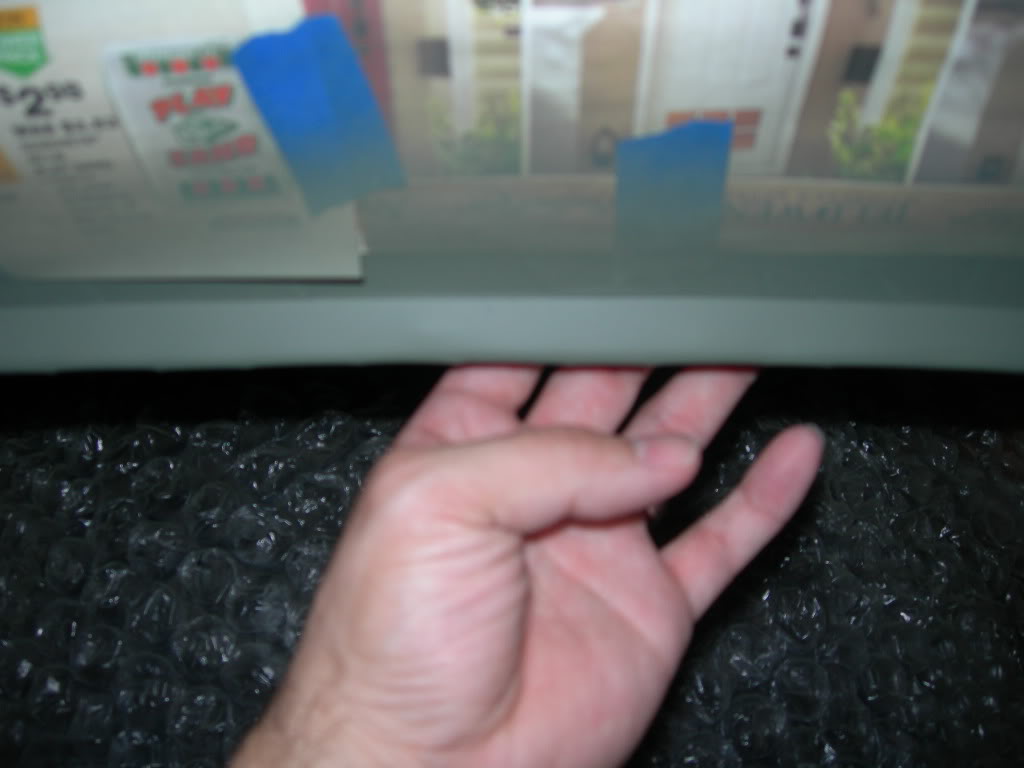
I also took some 320 grit and smoothed out the edge where the paint ends and the bare metal begins.... I might go over it again with some more course sand paper to further rough up the surface though.

I had to put my hand there because the stupid camera kept focusing on the wheel behind the fender well lip.
05-29-2011, 09:50 AM
#447
Newbie
Join Date: May 2011
Location: London
Posts: 3
Likes: 0
Received 0 Likes
on
0 Posts
Year: 1994
Model: Cherokee
Engine: 4L
Ive just finished reading your thread after being told about it. Great truck and great write up. Leant alot after reading this many thanks.
Ive only just started off roading after joining the jeepclub over here in the UK. Looks like that Rough Country gear gets everywhere LoL. Got a small 1.5" kit for for mine as not going to keep this jeep for long will go for it with the new one when it arrives.
Adam
and great write up. Leant alot after reading this many thanks.Ive only just started off roading after joining the jeepclub over here in the UK. Looks like that Rough Country gear gets everywhere LoL. Got a small 1.5" kit for for mine as not going to keep this jeep for long will go for it with the new one when it arrives.
Adam
05-30-2011, 10:14 PM
#448
Seasoned Member
Thread Starter
Join Date: May 2010
Location: Columbus, OH
Posts: 415
Likes: 0
Received 0 Likes
on
0 Posts
Year: 2001
Model: Cherokee
Engine: 4.0 I6
Ive just finished reading your thread after being told about it. Great truck and great write up. Leant alot after reading this many thanks.
Ive only just started off roading after joining the jeepclub over here in the UK. Looks like that Rough Country gear gets everywhere LoL. Got a small 1.5" kit for for mine as not going to keep this jeep for long will go for it with the new one when it arrives.
Adam
and great write up. Leant alot after reading this many thanks.Ive only just started off roading after joining the jeepclub over here in the UK. Looks like that Rough Country gear gets everywhere LoL. Got a small 1.5" kit for for mine as not going to keep this jeep for long will go for it with the new one when it arrives.
Adam
Had some time to work on the XJ tonight. I've kind of been deciding on how I wanted to handle dressing/finishing the newly trimmed fenders. There's lots of options, from automotive trim to rhinoliner and etc., but I finally decided to just go with a rubberized undercoating for now. I considered Herculiner, even bought the 1 gallon kit, but decided that it wasn't worth opening the whole can just to use a little bit of it for the fender wells so I went with something a little cheaper/more practical and easier to apply. Perhaps I'll save the Herculiner for the interior floor pan. So, I picked up a can of 3M Rubberized Undercoating. I'm going to do the entire wheel well and fender lip together.
I wanted to clean up and debride the wheel well surface a little more so I hit it with a rust and paint stripper wheel attachment for my electric drill. It actually worked pretty good considering my drill isn't overly powerful:

After some stripping:

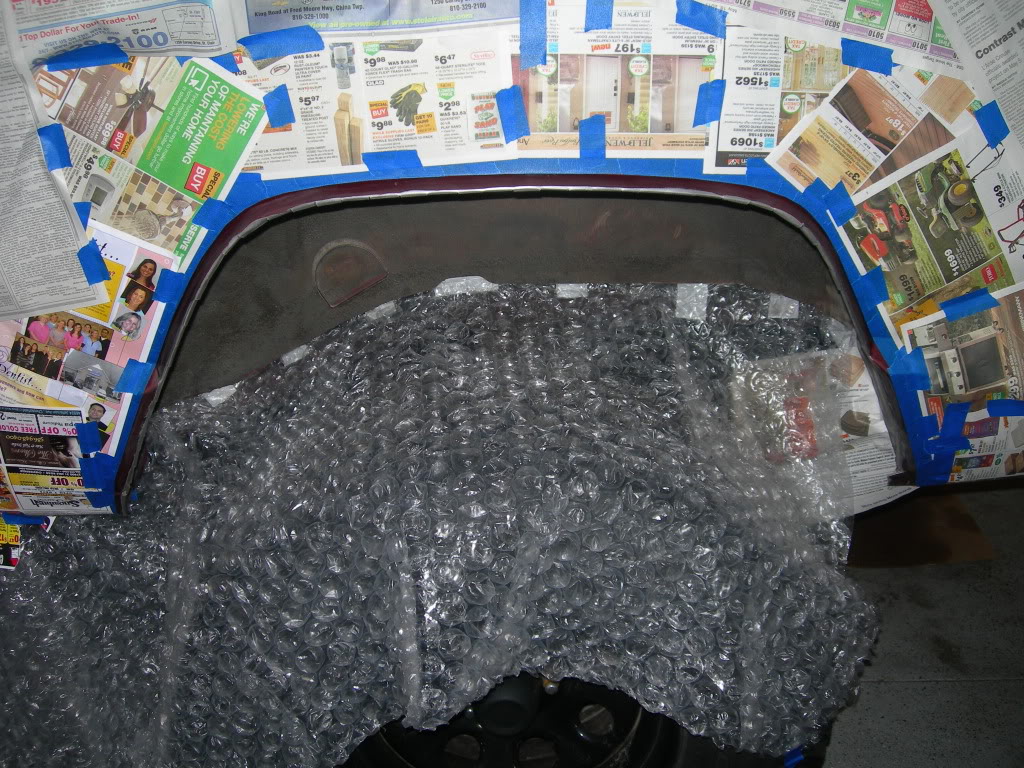
After I was happy with stripping it down, I wiped the area down with a dry rag, blew out some of the crevices with some compressed air and did a final wipe down with an acetone soaked rag. Then I taped off the area.
Here's the products I used. Don't make fun of my "air compressor" and "automotive grade" acetone.
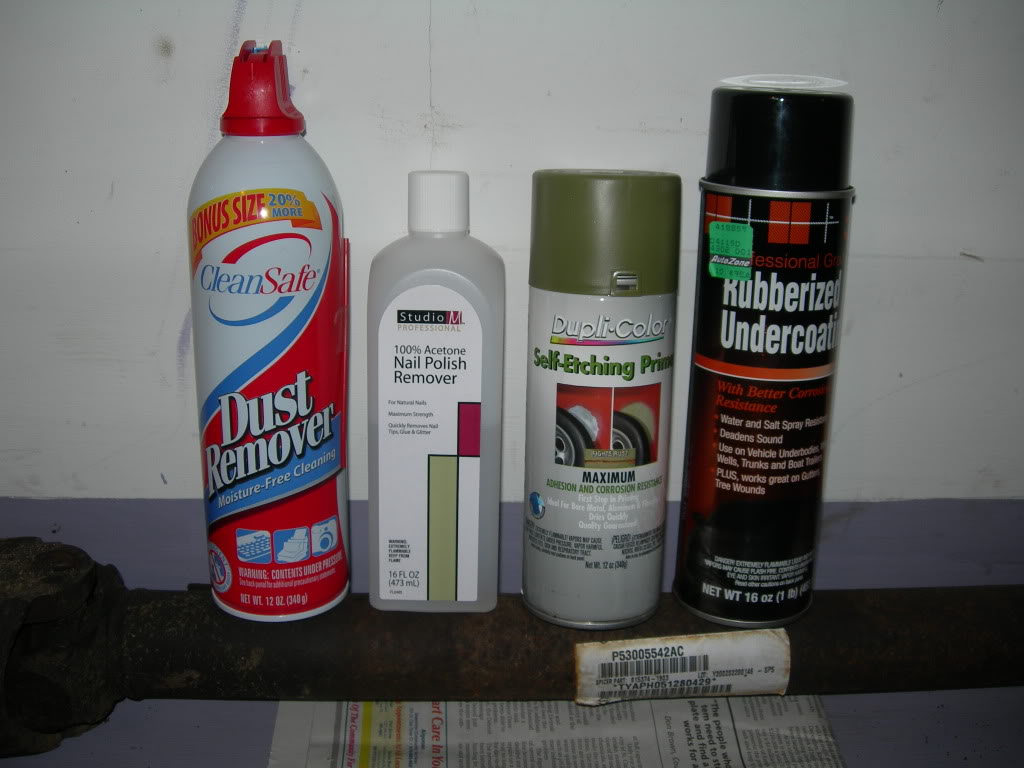
The rubberized undercoating recommended a primer for bare metal surfaces so I picked up some self-etching primer and laid down a couple coats:
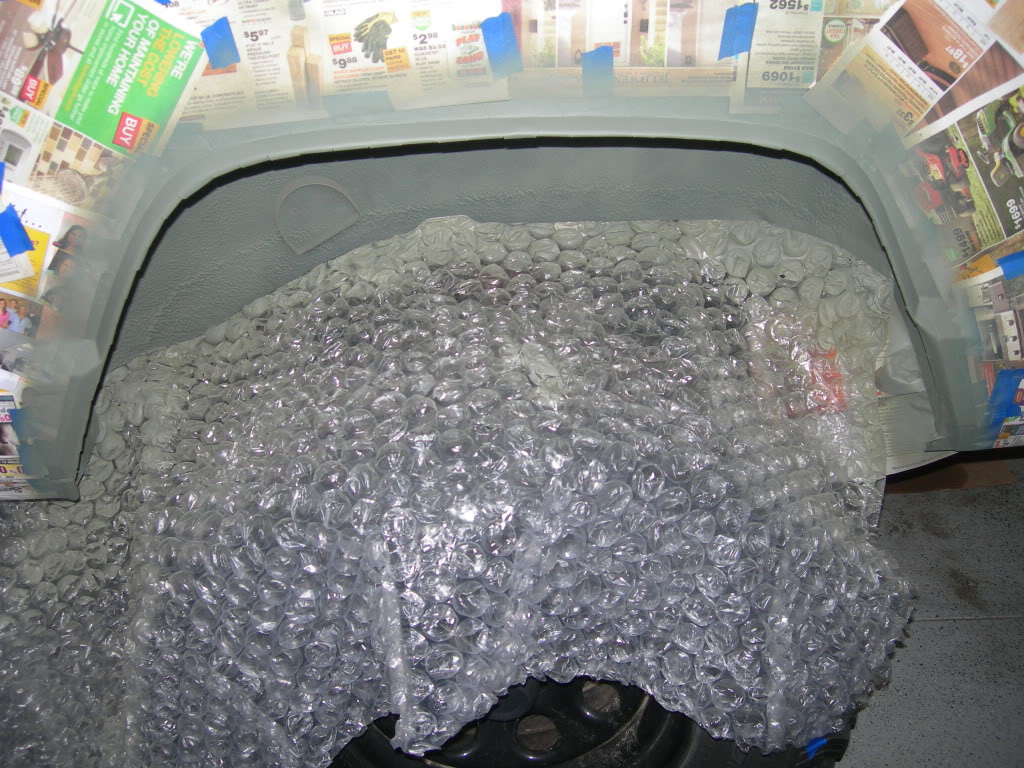

It's currently drying and I'm hoping to apply some of the undercoating tomorrow. As always, will keep you posted.
05-31-2011, 05:36 AM
#449
Seasoned Member
Join Date: Sep 2010
Location: Camp Casey South Korea
Posts: 413
Likes: 0
Received 0 Likes
on
0 Posts
Year: 1993
Model: Cherokee
Engine: 4.0
Thanks bud and good luck with your build! Make sure to start a build page so we can all follow along.
Had some time to work on the XJ tonight. I've kind of been deciding on how I wanted to handle dressing/finishing the newly trimmed fenders. There's lots of options, from automotive trim to rhinoliner and etc., but I finally decided to just go with a rubberized undercoating for now. I considered Herculiner, even bought the 1 gallon kit, but decided that it wasn't worth opening the whole can just to use a little bit of it for the fender wells so I went with something a little cheaper/more practical and easier to apply. Perhaps I'll save the Herculiner for the interior floor pan. So, I picked up a can of 3M Rubberized Undercoating. I'm going to do the entire wheel well and fender lip together.
I wanted to clean up and debride the wheel well surface a little more so I hit it with a rust and paint stripper wheel attachment for my electric drill. It actually worked pretty good considering my drill isn't overly powerful:

After some stripping:


After I was happy with stripping it down, I wiped the area down with a dry rag, blew out some of the crevices with some compressed air and did a final wipe down with an acetone soaked rag. Then I taped off the area.

Here's the products I used. Don't make fun of my "air compressor" and "automotive grade" acetone.

The rubberized undercoating recommended a primer for bare metal surfaces so I picked up some self-etching primer and laid down a couple coats:


It's currently drying and I'm hoping to apply some of the undercoating tomorrow. As always, will keep you posted.
Had some time to work on the XJ tonight. I've kind of been deciding on how I wanted to handle dressing/finishing the newly trimmed fenders. There's lots of options, from automotive trim to rhinoliner and etc., but I finally decided to just go with a rubberized undercoating for now. I considered Herculiner, even bought the 1 gallon kit, but decided that it wasn't worth opening the whole can just to use a little bit of it for the fender wells so I went with something a little cheaper/more practical and easier to apply. Perhaps I'll save the Herculiner for the interior floor pan. So, I picked up a can of 3M Rubberized Undercoating. I'm going to do the entire wheel well and fender lip together.
I wanted to clean up and debride the wheel well surface a little more so I hit it with a rust and paint stripper wheel attachment for my electric drill. It actually worked pretty good considering my drill isn't overly powerful:
After some stripping:
After I was happy with stripping it down, I wiped the area down with a dry rag, blew out some of the crevices with some compressed air and did a final wipe down with an acetone soaked rag. Then I taped off the area.
Here's the products I used. Don't make fun of my "air compressor" and "automotive grade" acetone.
The rubberized undercoating recommended a primer for bare metal surfaces so I picked up some self-etching primer and laid down a couple coats:
It's currently drying and I'm hoping to apply some of the undercoating tomorrow. As always, will keep you posted.
06-01-2011, 09:45 PM
#450
Seasoned Member
Thread Starter
Join Date: May 2010
Location: Columbus, OH
Posts: 415
Likes: 0
Received 0 Likes
on
0 Posts
Year: 2001
Model: Cherokee
Engine: 4.0 I6
Sprayed the rubberized undercoating in the fender well and over the newly formed fender lip tonight.... here's how she turned out:


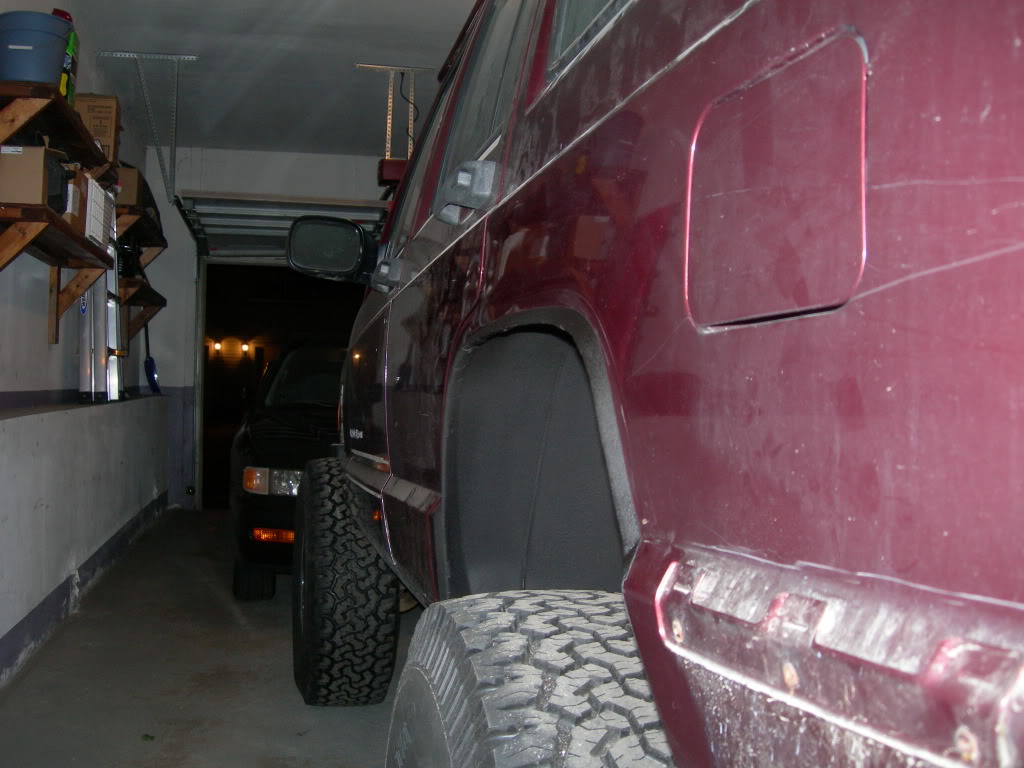
I couldn't really get much further away from the XJ for picture-taking purposes as my garage is very narrow.... so a lot of the pics are kind of up close.
The fender well looks very clean now:
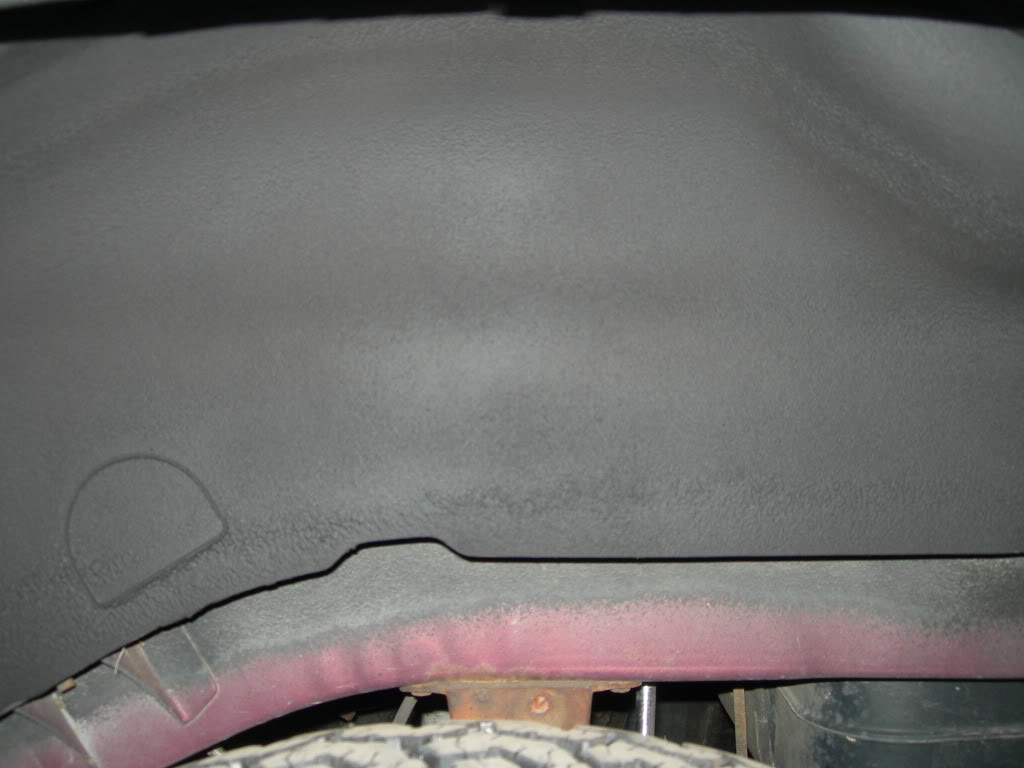
You can still see the tabs but they aren't nearly as noticeable with the undercoating. It's even less noticeable in person.
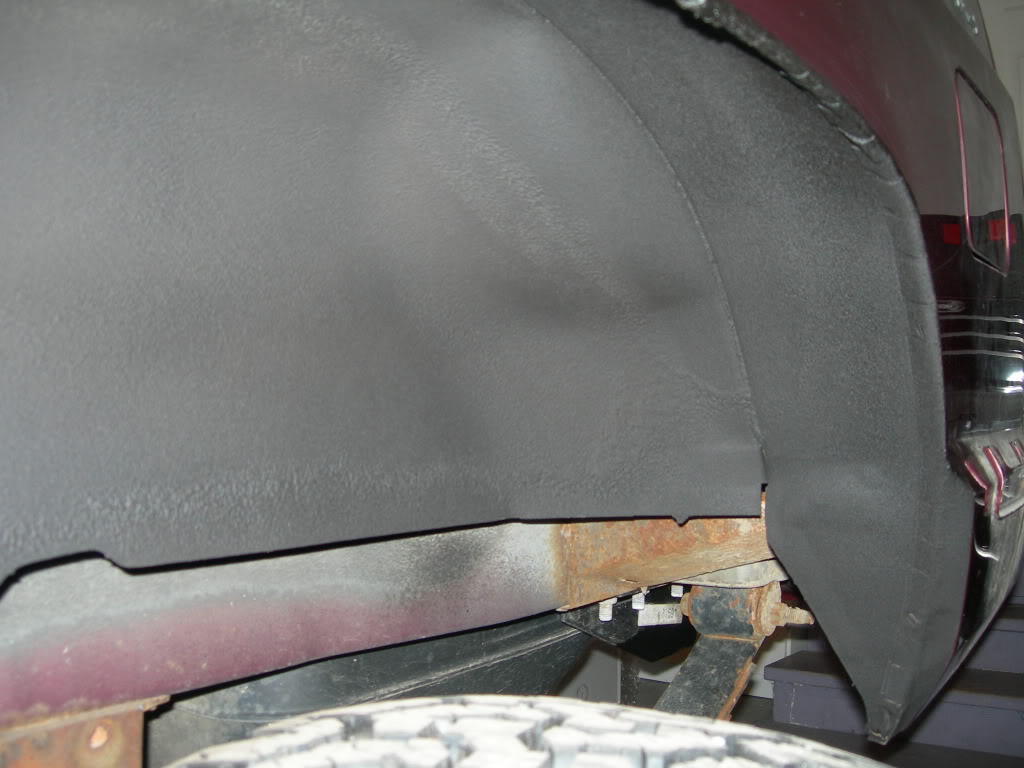

I tried to take a couple shots to show the texture of the finish:


I'm no painter and the 3M Rubberized Undercoating was a little tricky to apply, it sprays out with quite a bit of force. Nothing like spray paint. It's very easy to over-apply and it lays down in a nice thick coat. I learned to keep a fair distance between the can and surface to be painted. It's been drying for a while and is still very tacky so I'll have to update you all at a later time on how it finally sets up/holds up, etc.
Once I get everything all cleaned up I'll get some better pics of the overall/total package so we can see what it looks like. I still gotta do the passenger side, but it oughta go a little better now that I have the learning curve out of the way. In fact, the passenger side trimming turned out quite a bit better too.
What do you guys think?
I couldn't really get much further away from the XJ for picture-taking purposes as my garage is very narrow.... so a lot of the pics are kind of up close.
The fender well looks very clean now:
You can still see the tabs but they aren't nearly as noticeable with the undercoating. It's even less noticeable in person.
I tried to take a couple shots to show the texture of the finish:
I'm no painter and the 3M Rubberized Undercoating was a little tricky to apply, it sprays out with quite a bit of force. Nothing like spray paint. It's very easy to over-apply and it lays down in a nice thick coat. I learned to keep a fair distance between the can and surface to be painted. It's been drying for a while and is still very tacky so I'll have to update you all at a later time on how it finally sets up/holds up, etc.
Once I get everything all cleaned up I'll get some better pics of the overall/total package so we can see what it looks like. I still gotta do the passenger side, but it oughta go a little better now that I have the learning curve out of the way. In fact, the passenger side trimming turned out quite a bit better too.
What do you guys think?