
Project Do work - 2001 XJ Build (Pic intensive)


 07-01-2011, 07:10 PM
#497
Seasoned Member
Thread Starter
Join Date: May 2010
Location: Columbus, OH
Posts: 415
Likes: 0
Received 0 Likes
on
0 Posts
Year: 2001
Model: Cherokee
Engine: 4.0 I6
Yeah, as long as it's functional that's all that really matters if you are reinstalling the end caps. Most importnat thing is to curb the spread of the cancer so that it doesn't invade neighboring body panels/unibody, etc. You did a good job! I've never really done much bodywork myself. Luckily, most of my rust is of the surface-rust type.
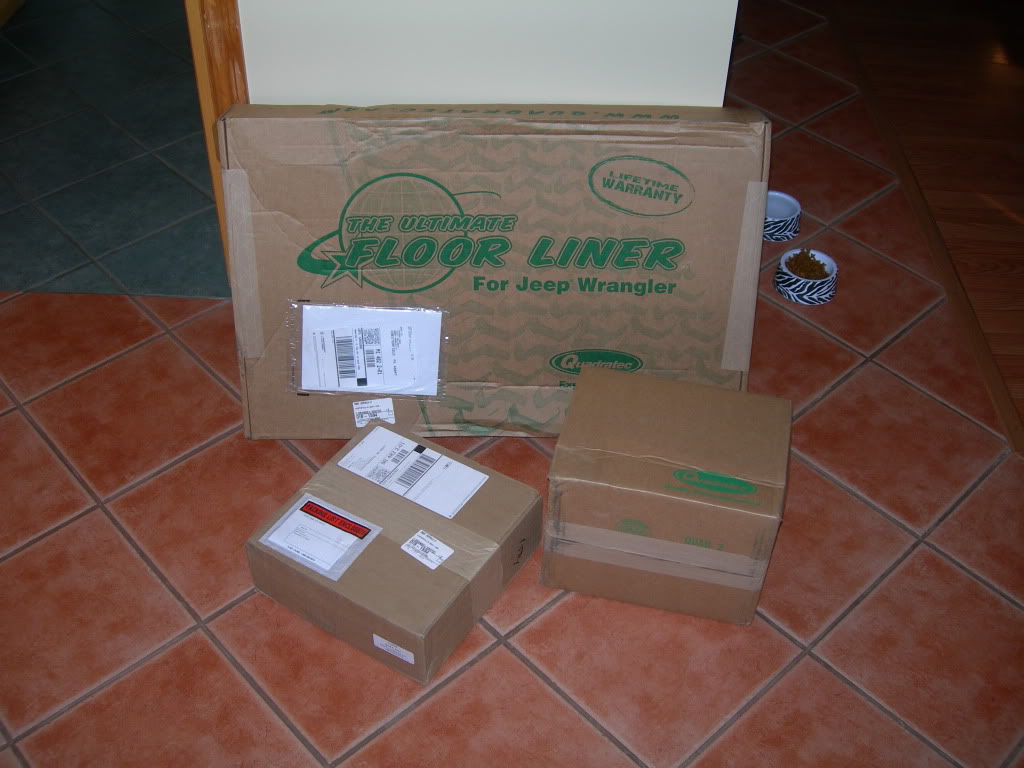
Some more stuff showed up on the doorstep.... nothing super exciting.
Some more stuff showed up on the doorstep.... nothing super exciting.
07-01-2011, 07:30 PM
#498
Seasoned Member
Thread Starter
Join Date: May 2010
Location: Columbus, OH
Posts: 415
Likes: 0
Received 0 Likes
on
0 Posts
Year: 2001
Model: Cherokee
Engine: 4.0 I6

Got some floor liners to keep control of the mud (summer) and snow (winter). Should help keep the floors dry, nothing worse than musty old carpet stench. I like the idea of being able to just spray them off. Probably could've picked up a cheap set from Wal-Mart, but I'm a sucker for an "engineered" solution.... since they are form-fitting to the contours of the XJ's floor.
Also decided to do something about my seeping rear differential cover. The factory cover seeps rear-end fluid through the fill plug. Since I'm locked and geared, figured I better make sure things stay properly lubricated. Aftermarket covers can also increase the oil capacity of the differential which is helpful for some of us with increased pinion angles. It was a good excuse to upgrade the cover, adding a little strenghth/protection and of course aesthetics. Solid Axle cover's are very affordable, so I'm sure it'll be a worthwhile upgrade.

I've never used a lubelocker gasket before, but heard good things. Plus, I really hate messing with RTV sealant/gasket maker. RTV can be hard to remove and often makes removing the diff cover difficult. Supposedly, the lubelocker can be re-used multiple times.... We'll see how she seals up.
07-02-2011, 09:32 AM
#501
Seasoned Member
Join Date: Aug 2010
Location: Grand Junction, CO
Posts: 330
Likes: 0
Received 0 Likes
on
0 Posts
Year: 1999
Model: Cherokee
Engine: 4.0L I-6
So...just out of curiosity sanchezcruz, do you have a running tally of your upgrades thus far? I cringe when I think of how much I've done...and cringe even more when I consider how much more I want to do! 
Last edited by eggdashure; 07-02-2011 at 10:06 AM.
07-02-2011, 10:29 AM
#502
Seasoned Member
Thread Starter
Join Date: May 2010
Location: Columbus, OH
Posts: 415
Likes: 0
Received 0 Likes
on
0 Posts
Year: 2001
Model: Cherokee
Engine: 4.0 I6
 I actually wondered if they sent me the wrong mats when I read the word "Wrongler".
I still have lots of plans so I'm sure the receipts will continue to pile up. However, I really ENJOY working on this project. It's a hobby. So, there's a certain "entertainment" value to it. I've had plenty of toys over the years and owning a Jeep has been by far the most fun.
Last edited by sanchezcruz_20; 07-02-2011 at 10:31 AM.
07-02-2011, 11:45 AM
#503
Senior Member
Join Date: Jul 2010
Location: Japan
Posts: 913
Likes: 0
Received 6 Likes
on
6 Posts
Year: 2001
Model: Cherokee
Engine: 4.0 L I6
I still have lots of plans so I'm sure the receipts will continue to pile up. However, I really ENJOY working on this project. It's a hobby. So, there's a certain "entertainment" value to it. I've had plenty of toys over the years and owning a Jeep has been by far the most fun.
Last edited by gvns8; 07-02-2011 at 01:31 PM.
07-02-2011, 07:08 PM
#505
Seasoned Member
Join Date: Aug 2010
Location: Grand Junction, CO
Posts: 330
Likes: 0
Received 0 Likes
on
0 Posts
Year: 1999
Model: Cherokee
Engine: 4.0L I-6
that would be dangerous information to have lying around for the wife to find.

I had to laugh at that, we (the family) are Jeeping around Moab this past weekend and my wife goes...
"So...is this why you are always begging for Jeep parts and spending money on your Jeep?"
"Yea, been waiting a long time to do this."
"I see...this is actually really fun...(long pause) thank you!"
I teared up a bit.

 07-04-2011, 09:44 PM
#508
Seasoned Member
Thread Starter
Join Date: May 2010
Location: Columbus, OH
Posts: 415
Likes: 0
Received 0 Likes
on
0 Posts
Year: 2001
Model: Cherokee
Engine: 4.0 I6
So far no complaints, but I've only had it installed a few hours as of today so I'll let you know if I run into any troubles with it. The fit and finish was excellent and it bolted up perfectly.
Very very true. I see it the same exact way. If I were you I wouldn't add up the numbers. I added up all my receipts the other day for the last year... and I have spent about $6500 including maintenance and upgrades....haha. It's an expensive hobby but you are right definitely a fun one. Plus its educational in that I could probably fix anything on a car now.
I had to laugh at that, we (the family) are Jeeping around Moab this past weekend and my wife goes...
"So...is this why you are always begging for Jeep parts and spending money on your Jeep?"
"Yea, been waiting a long time to do this."
"I see...this is actually really fun...(long pause) thank you!"
I teared up a bit.
Thank you, sir.
07-04-2011, 09:56 PM
#509
Seasoned Member
Thread Starter
Join Date: May 2010
Location: Columbus, OH
Posts: 415
Likes: 0
Received 0 Likes
on
0 Posts
Year: 2001
Model: Cherokee
Engine: 4.0 I6
Spent some of my holiday out in the garage today. Got the rear BPE's installed.
Removed the shocks which were fastened by the bar pins:
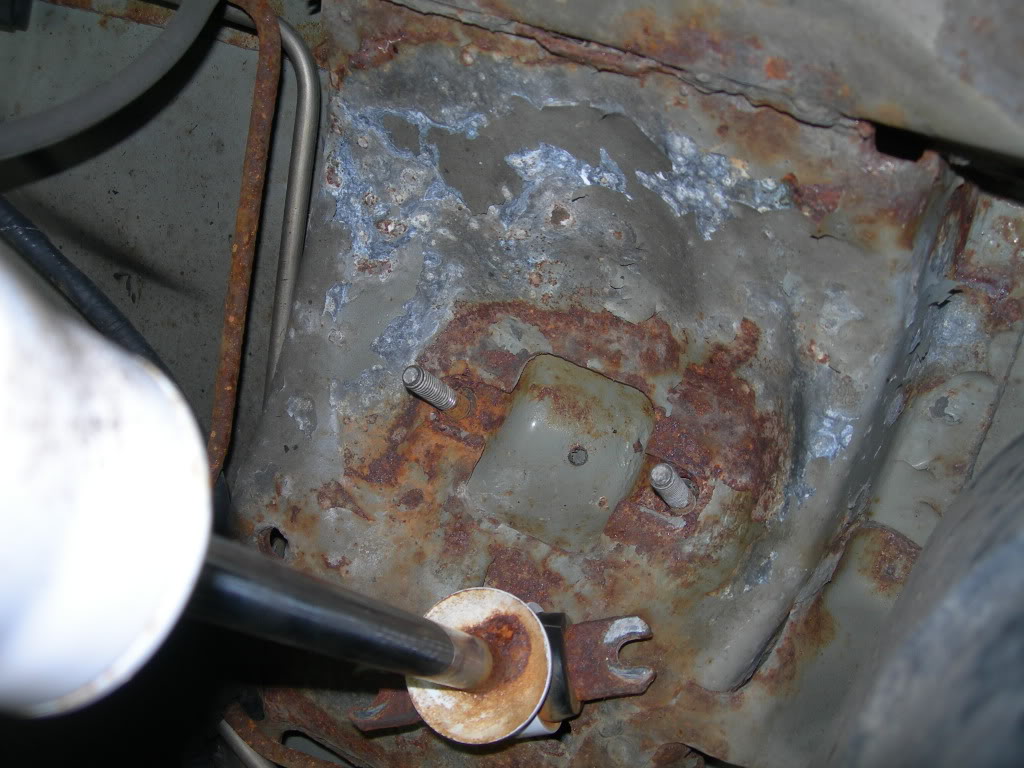
Then, I fished some new bolts that were a bit shorter into the holes in the unibody. I had to use shorter bolts to allow for some clearance for the bolt that passes through the eye of the shock. Even though I've become pretty good at fishing bolts on the XJ, I'm looking forward to never doing it again!

In order to remove the bar pins from the shocks, I drenched them in silicone lubricant and grabbed a hold of them with some channel locks. A little twisting and pulling and they came out. Now they are ready for reinstallation:
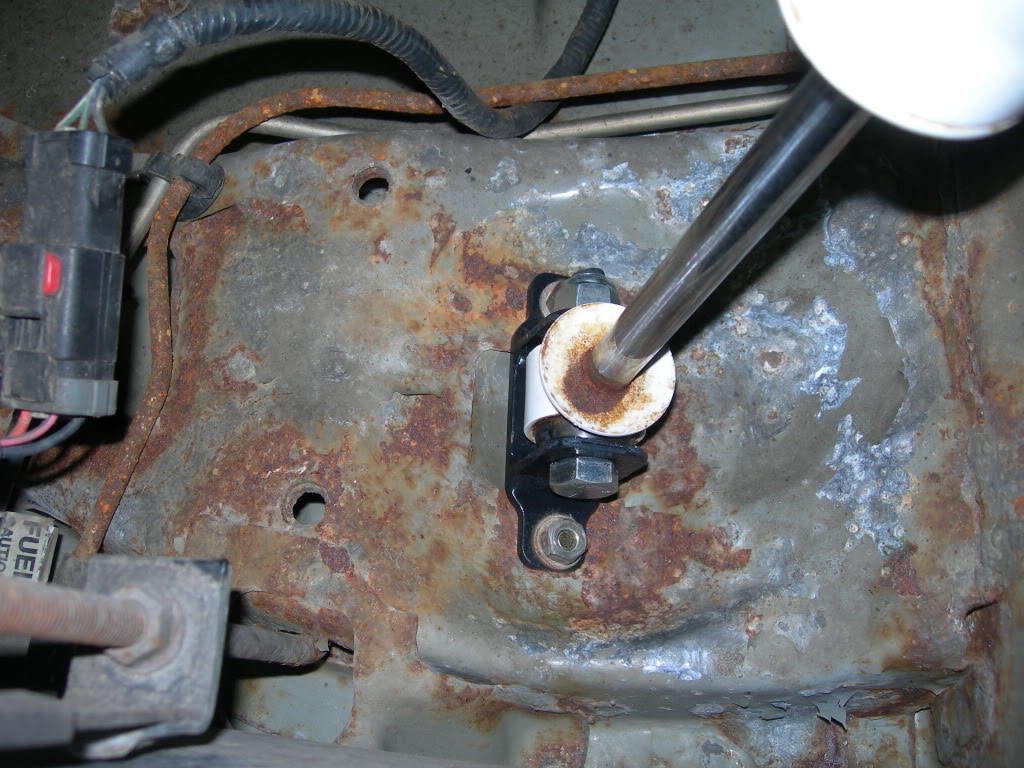


I used a little bit of lithium grease to help slide everything into place and bolted them down.
Removed the shocks which were fastened by the bar pins:
Then, I fished some new bolts that were a bit shorter into the holes in the unibody. I had to use shorter bolts to allow for some clearance for the bolt that passes through the eye of the shock. Even though I've become pretty good at fishing bolts on the XJ, I'm looking forward to never doing it again!
In order to remove the bar pins from the shocks, I drenched them in silicone lubricant and grabbed a hold of them with some channel locks. A little twisting and pulling and they came out. Now they are ready for reinstallation:
I used a little bit of lithium grease to help slide everything into place and bolted them down.
07-04-2011, 10:05 PM
#510
Seasoned Member
Thread Starter
Join Date: May 2010
Location: Columbus, OH
Posts: 415
Likes: 0
Received 0 Likes
on
0 Posts
Year: 2001
Model: Cherokee
Engine: 4.0 I6
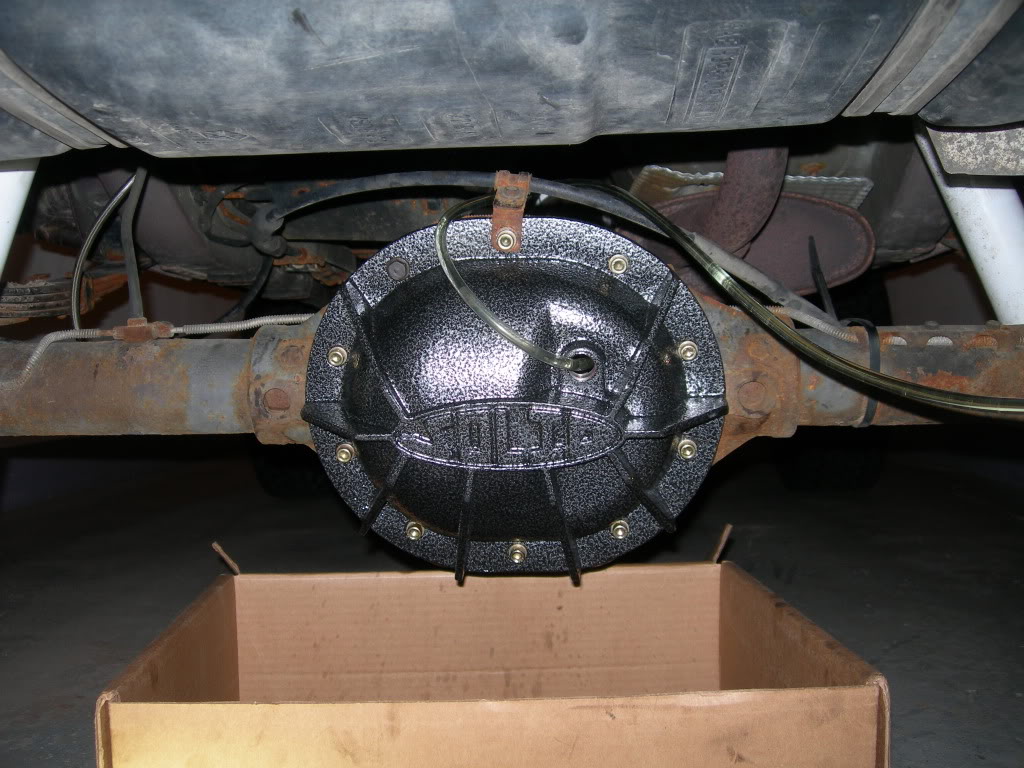
Removed the factory cover and sprayed the differential down with some brake parts cleaner to remove the old gear lube. Removed the old gasket material and cleaned up the mating surfaces:

The Solid Axle cover came with all new hardware and I purchased the lube locker separately:

There's a special torque sequence to follow for the Lubelocker gasket which is provided in the packaging.
Now, I wasn't sure how much gear lube I would need. I knew it would be more than factory capacity since the fill plug is now located a bit higher. I ended up buying 3 quarts which turned out to be insufficient. And of course, by the time I realized I would need more the auto parts store had closed. So, I will finish filling the differential tomorrow. But in the meantime, here's how she looks:
The Solid Axle cover came with all new hardware and I purchased the lube locker separately:
There's a special torque sequence to follow for the Lubelocker gasket which is provided in the packaging.
Now, I wasn't sure how much gear lube I would need. I knew it would be more than factory capacity since the fill plug is now located a bit higher. I ended up buying 3 quarts which turned out to be insufficient. And of course, by the time I realized I would need more the auto parts store had closed. So, I will finish filling the differential tomorrow. But in the meantime, here's how she looks: