Project Do work - 2001 XJ Build (Pic intensive)

 07-05-2011, 10:54 PM
#512
Newbie

Join Date: Jun 2011
Posts: 5
Likes: 0
Received 0 Likes
on
0 Posts
Model: Cherokee
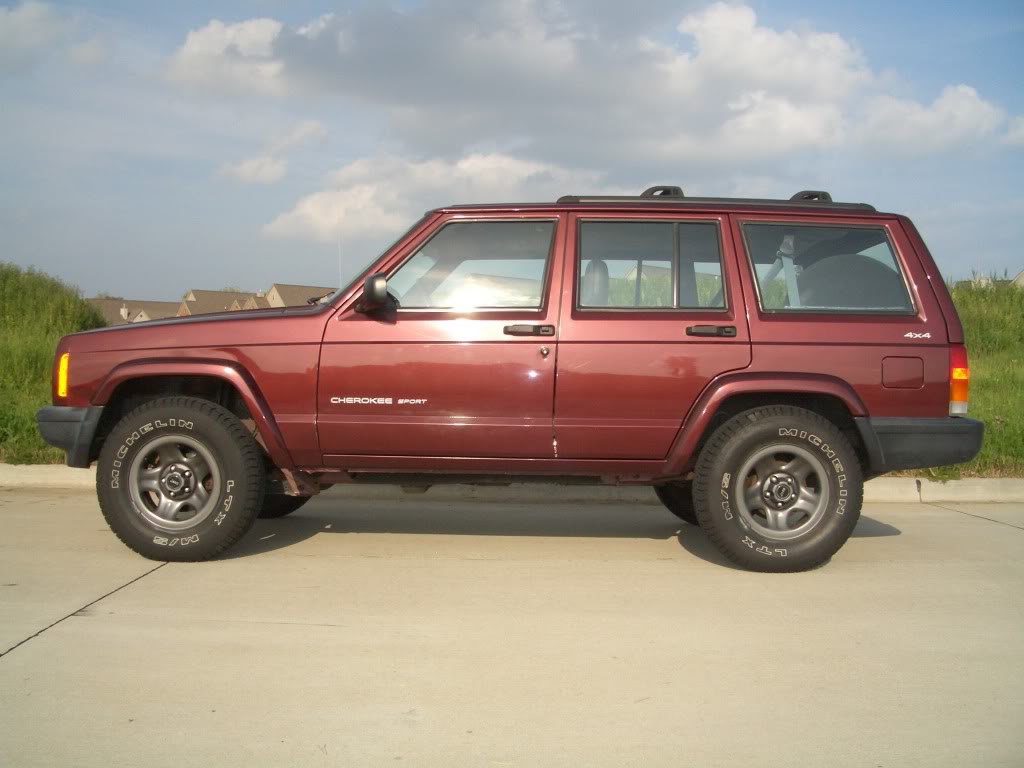
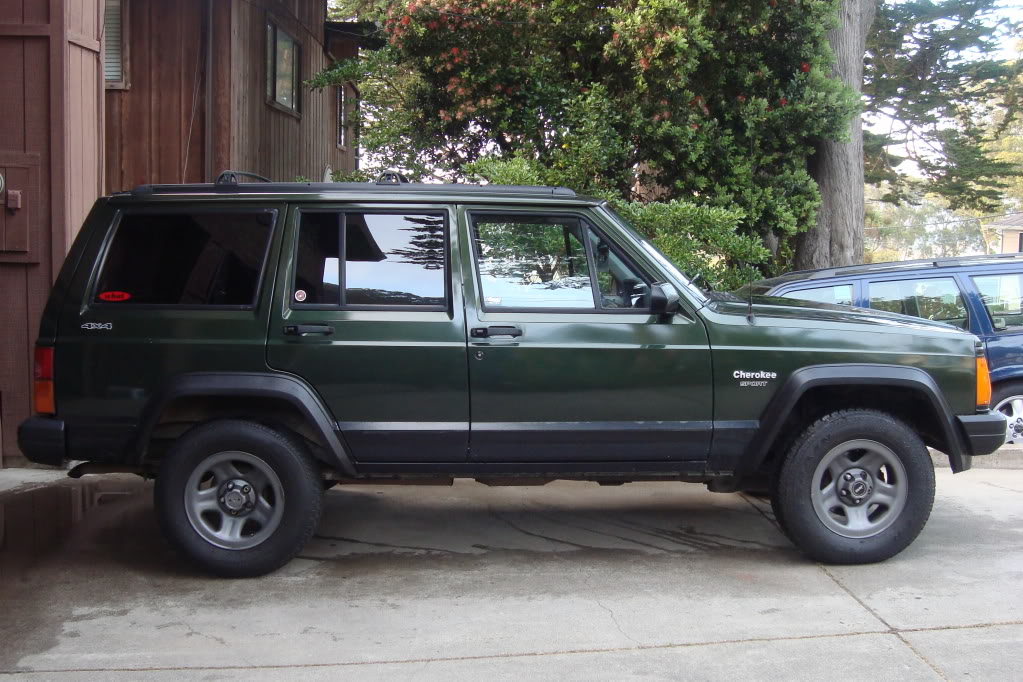
[QUOTE=sanchezcruz_20;575771]First things first, side molding has got to go. I really think the removal of the molding makes for a nice clean look and shows the nice style lines of the doors. A little elbow grease, WD-40, a heat gun and some patience help in pulling these things off.

Our masterpieces:


WOO! Heres mine!! =)


Our masterpieces:
WOO! Heres mine!! =)
Last edited by Jsnsrfr714; 07-07-2011 at 01:37 AM.
07-05-2011, 11:01 PM
#513
Seasoned Member
Thread Starter
Join Date: May 2010
Location: Columbus, OH
Posts: 415
Likes: 0
Received 0 Likes
on
0 Posts
Year: 2001
Model: Cherokee
Engine: 4.0 I6
Topped off the diff with fluid and got her all buttoned up..


Took it out for a test drive, mostly just to redistribute the gear oil... wasn't really expecting much since all I really did was replace the cover but I was surprised to hear how much quieter the locker is now. I have an Aussie locker in the rear which clicks fairly loudly while turning, it's very noticeable. I had always thought it was a small price to pay considering the cost and performance of the lunchbox unit. But there is certainly a TREMENDOUS difference in sound deadening. Some common sense would indicate that the heavier duty cover and additional gear lube are likely the cause for the decrease in sound. Either way, it was a welcome surprise.
It's still early, but the lubelocker gasket appears to be sealing appropriately. I'll keep an eye on it. It was so nice not to have to bust out the RTV during reassembly.
07-05-2011, 11:05 PM
#514
Seasoned Member
Thread Starter
Join Date: May 2010
Location: Columbus, OH
Posts: 415
Likes: 0
Received 0 Likes
on
0 Posts
Year: 2001
Model: Cherokee
Engine: 4.0 I6
07-12-2011, 10:24 PM
#516
CF Veteran
Join Date: Oct 2010
Location: York PA/State College PA
Posts: 2,412
Likes: 0
Received 1 Like
on
1 Post
Year: 2001
Model: Cherokee
Engine: 4.0L I6
Hey man, 2 things:
1. Beautiful jeep!!
2. Thank you so much for the awesome write up of the lift kit you installed, I just read the whole thing cuz I will be installing a 4.5 inch lift on my jeep soon and your write up helped more then you know. I am a novice mechanic and your walk through really built my confidence. Good luck with future mods. Thanks
07-15-2011, 08:55 PM
#517
Junior Member
Join Date: Jun 2011
Location: Taranaki, New Zealand
Posts: 55
Likes: 0
Received 0 Likes
on
0 Posts
Year: 1996
Model: Cherokee
Engine: 40L HO
Very clean truck and all that you have done is done well. I have to say I'm not a fan of the "NO FLARES" look but it is practical, Where I live you have to have your tyres fully covered to the edge of the tread so you have no choice. Thanks for all the detailed pics and descritions very helpful as I start my XJ build, hopefully next month. I have a 96XJ which I got a few months back and have hardly driven yet but will make a hardcore Trail/DD out of. Cheers Leon (NZ)
07-16-2011, 12:55 PM
#518
Seasoned Member
Thread Starter
Join Date: May 2010
Location: Columbus, OH
Posts: 415
Likes: 0
Received 0 Likes
on
0 Posts
Year: 2001
Model: Cherokee
Engine: 4.0 I6
I took a look at it, there doesn't appear to be anything rubbing either so I'm not sure what's going on. Thanks for bringing it to my attention, I'll keep an eye on it to make sure it doesn't become a probem.
Good looking out!

Hey man, 2 things:
1. Beautiful jeep!!
2. Thank you so much for the awesome write up of the lift kit you installed, I just read the whole thing cuz I will be installing a 4.5 inch lift on my jeep soon and your write up helped more then you know. I am a novice mechanic and your walk through really built my confidence. Good luck with future mods. Thanks
1. Beautiful jeep!!
2. Thank you so much for the awesome write up of the lift kit you installed, I just read the whole thing cuz I will be installing a 4.5 inch lift on my jeep soon and your write up helped more then you know. I am a novice mechanic and your walk through really built my confidence. Good luck with future mods. Thanks
2. You're very welcome. I consider myself a novice mechanic too. Before I tackle a project or modification I spend a lot of time researching write-ups and information. For me, a good write-up, lots of pictures and detailed descriptions can really make or break a project. So, when it comes time to work on my XJ I make sure to share it so others can benefit. I enjoy documenting my Jeeps progress.
This is my first Jeep and everything you see in the build thread is the first time I've done it myself so I'm literally learning as I go.
IMHO, nothing I'm doing here is really that unique or extreme. I don't have super cool stuff like full width axles or axle swaps, built cages, motor swaps, custom fabrication or anything of the sort. It's really just a basic rig and certainly not anything special.
Very clean truck and all that you have done is done well. I have to say I'm not a fan of the "NO FLARES" look but it is practical, Where I live you have to have your tyres fully covered to the edge of the tread so you have no choice. Thanks for all the detailed pics and descritions very helpful as I start my XJ build, hopefully next month. I have a 96XJ which I got a few months back and have hardly driven yet but will make a hardcore Trail/DD out of. Cheers Leon (NZ)
Most of the modificaions I have performed have been completed under the mindset of FUNCTION over form. Because honestly, I prefer the look of flares too. Unfortunately, they become restrictive in the offroad setting. Even the nice aftermarket flares usually require some proper bumpstopping with large tires and even moderate flexing. In some ways, my rig looks somewhat "plain Jane" by appearance compared to some of the heavily modified XJ's.
Good luck with your build and don't forget to share it with the forum!
07-16-2011, 06:58 PM
#519
CF Veteran
Join Date: Oct 2010
Location: York PA/State College PA
Posts: 2,412
Likes: 0
Received 1 Like
on
1 Post
Year: 2001
Model: Cherokee
Engine: 4.0L I6
1. Thank you
2. You're very welcome. I consider myself a novice mechanic too. Before I tackle a project or modification I spend a lot of time researching write-ups and information. For me, a good write-up, lots of pictures and detailed descriptions can really make or break a project. So, when it comes time to work on my XJ I make sure to share it so others can benefit. I enjoy documenting my Jeeps progress.
This is my first Jeep and everything you see in the build thread is the first time I've done it myself so I'm literally learning as I go.
IMHO, nothing I'm doing here is really that unique or extreme. I don't have super cool stuff like full width axles or axle swaps, built cages, motor swaps, custom fabrication or anything of the sort. It's really just a basic rig and certainly not anything special.
07-20-2011, 11:33 PM
#520
Member
Join Date: Nov 2010
Location: Lumberton, NC
Posts: 113
Likes: 0
Received 0 Likes
on
0 Posts
Year: 2000
Model: Cherokee
Engine: 4.0
Hey man, sick XJ! I envy you and your tire carrier! haha I want one but, i'm on a high school budget..like get payed, get gas, repeat..lol but, I have a little fab skills so I plan to make my own version of Detours tailbone...I think i'mma call it "Nance's Butt Cheeks"..lol jk but, looks good man! 
07-21-2011, 03:27 PM
#521
Member
Join Date: Jun 2011
Location: Salamanca NY
Posts: 165
Likes: 0
Received 0 Likes
on
0 Posts
Year: 2000
Model: Cherokee
Engine: 4.0 IL6
I have to say, I am new to the Jeep world, but I have done my fare share of work (88 camaro) Im very very impressed with the detail in which you put into every project, and the pictures that go along with it.
I am getting ready to do a head swap soon and will be doing almost the same thing. Not as detailed I am sure but pictures and info to help the next guy do his.
I am getting ready to do a head swap soon and will be doing almost the same thing. Not as detailed I am sure but pictures and info to help the next guy do his.
07-24-2011, 02:33 PM
#522
Seasoned Member
Thread Starter
Join Date: May 2010
Location: Columbus, OH
Posts: 415
Likes: 0
Received 0 Likes
on
0 Posts
Year: 2001
Model: Cherokee
Engine: 4.0 I6
Hey man, sick XJ! I envy you and your tire carrier! haha I want one but, i'm on a high school budget..like get payed, get gas, repeat..lol but, I have a little fab skills so I plan to make my own version of Detours tailbone...I think i'mma call it "Nance's Butt Cheeks"..lol jk but, looks good man!
I have to say, I am new to the Jeep world, but I have done my fare share of work (88 camaro) Im very very impressed with the detail in which you put into every project, and the pictures that go along with it.
I am getting ready to do a head swap soon and will be doing almost the same thing. Not as detailed I am sure but pictures and info to help the next guy do his.
I am getting ready to do a head swap soon and will be doing almost the same thing. Not as detailed I am sure but pictures and info to help the next guy do his.
07-24-2011, 02:49 PM
#523
Seasoned Member
Thread Starter
Join Date: May 2010
Location: Columbus, OH
Posts: 415
Likes: 0
Received 0 Likes
on
0 Posts
Year: 2001
Model: Cherokee
Engine: 4.0 I6
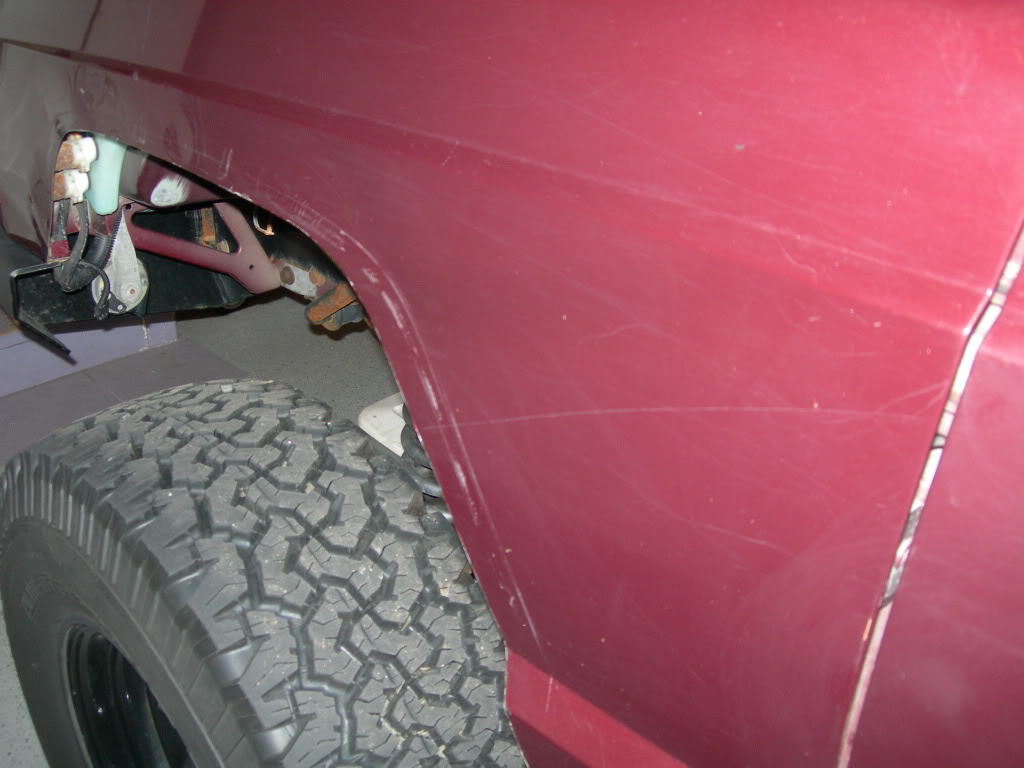
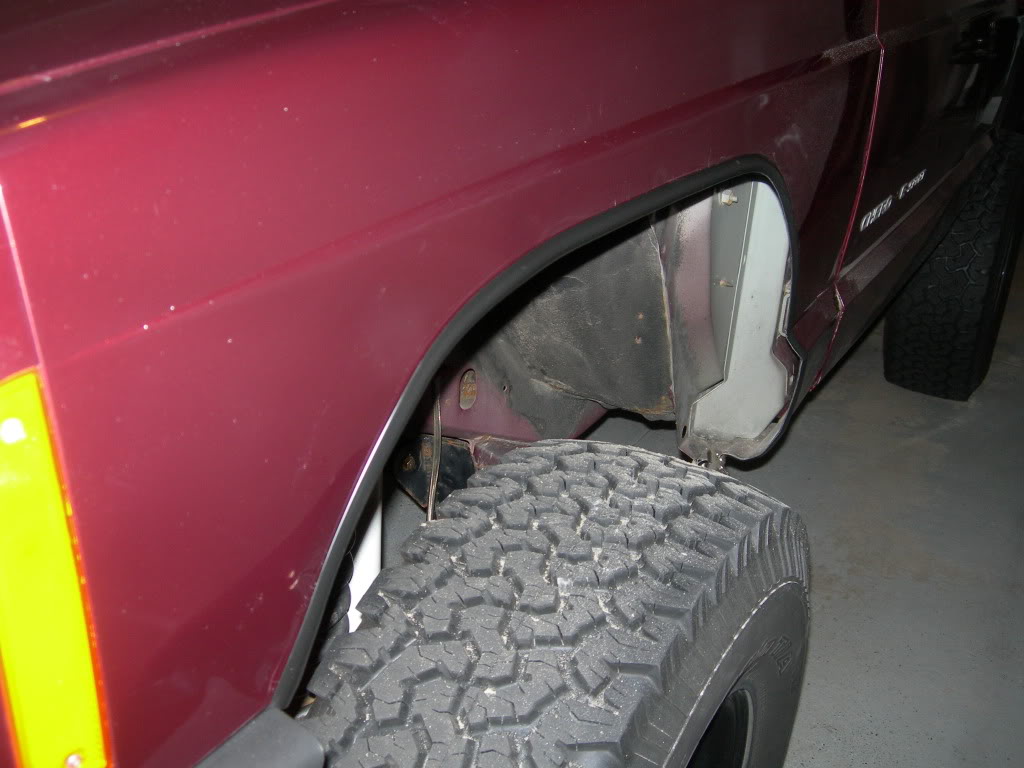
Alright, sometime during the winter my front fender trim became non-functioning. I think what happened was the cold weather reduced the flexibility of the trim, making it hard and non-pliable. It likely also contracted/shrunk a bit in the cold and coupled with the lack of an adhesive backing led to it's eventual fail/falling off.
I decided to try a new product:
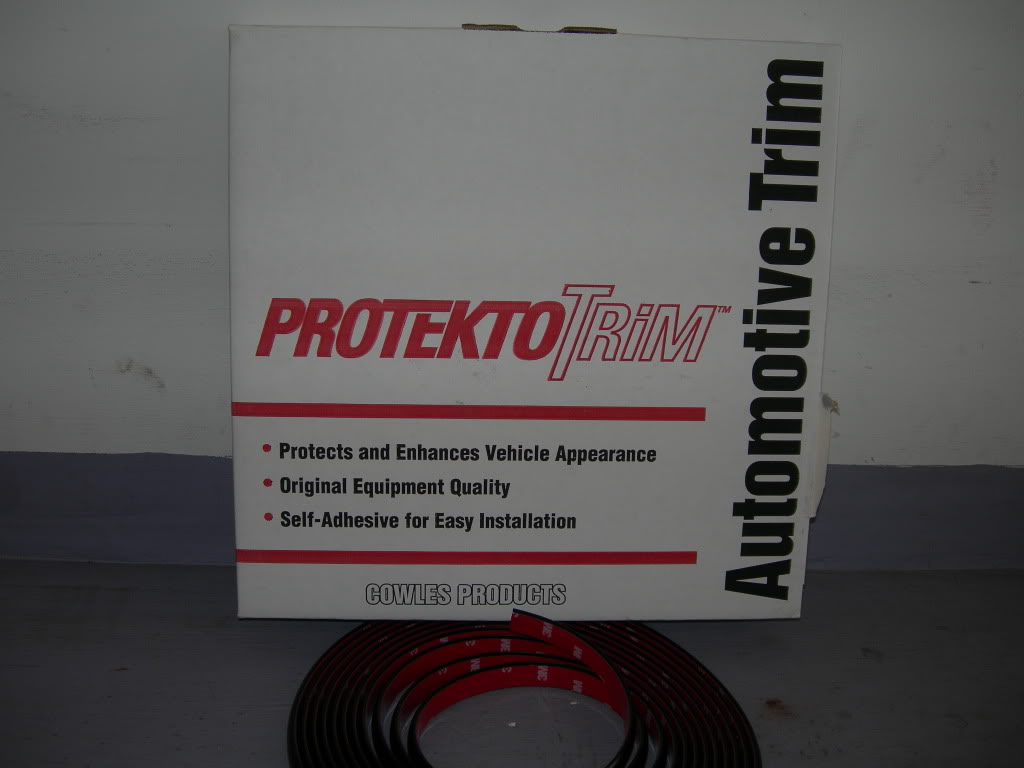
I had seen a couple other people use it on various other rigs. It's much more pliable, with a strong 3M adhesive backing.
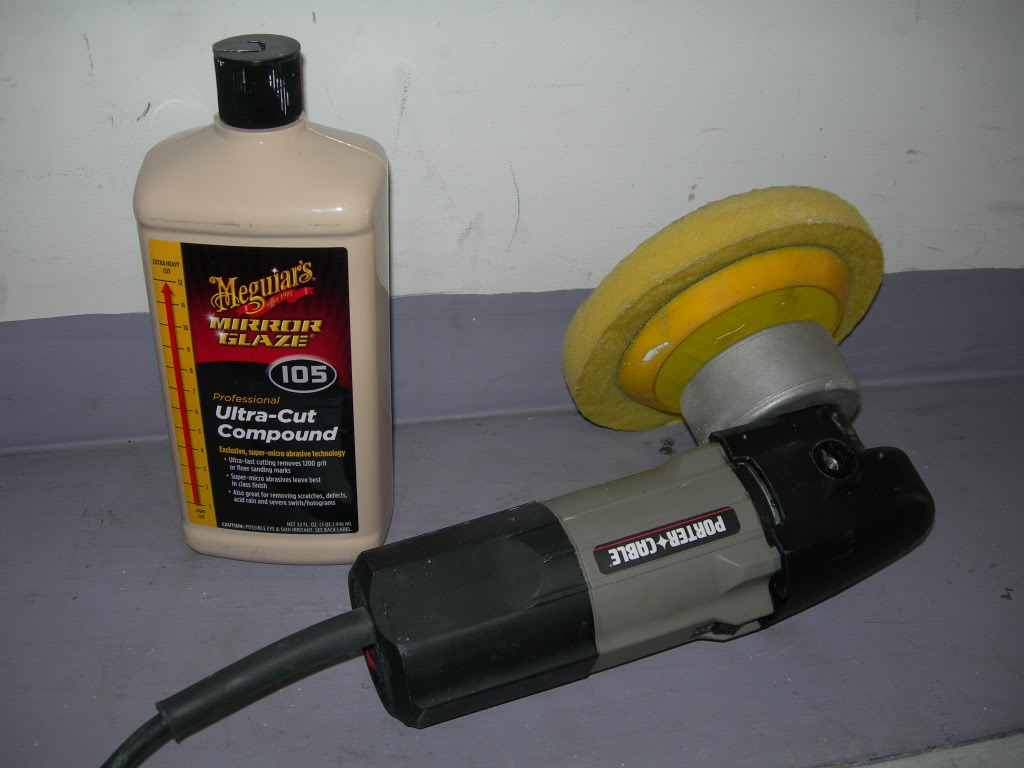
Before applying the new trim, I decided I should probably clean up some of the paint a little and make sure the surface was nice and clean for the new adhesive trim. I hadn't realized how bad the paint had become after countless bouts with trees/bushes/branches/forestry, etc. from trail riding until today when I finally took a look at it.
I started to remember how nice the paint USED to look, haha. So, I busted out the old trusty Porter Cable Polisher and took a couple passes with some compounding product:
I decided to try a new product:
I had seen a couple other people use it on various other rigs. It's much more pliable, with a strong 3M adhesive backing.
Before applying the new trim, I decided I should probably clean up some of the paint a little and make sure the surface was nice and clean for the new adhesive trim. I hadn't realized how bad the paint had become after countless bouts with trees/bushes/branches/forestry, etc. from trail riding until today when I finally took a look at it.
I started to remember how nice the paint USED to look, haha. So, I busted out the old trusty Porter Cable Polisher and took a couple passes with some compounding product:
07-24-2011, 02:57 PM
#524
Seasoned Member
Thread Starter
Join Date: May 2010
Location: Columbus, OH
Posts: 415
Likes: 0
Received 0 Likes
on
0 Posts
Year: 2001
Model: Cherokee
Engine: 4.0 I6
Here is the condition of the front fenders, before the compounding step with the Porter Cable polisher. These are pictures after basic hand washing!:


After a few passes withe Porter Cable and application of the new trim:

Went ahead and did the doors too, a little before and after action:
Before:

After:

Remember, this is only the COMPOUNDING step.... which is bascially just a surface preparation process for the polishing step. The polishing step is where the true shine, depth and reflection will come through. That'll be another days project though, no more time today.
After a few passes withe Porter Cable and application of the new trim:
Went ahead and did the doors too, a little before and after action:
Before:
After:
Remember, this is only the COMPOUNDING step.... which is bascially just a surface preparation process for the polishing step. The polishing step is where the true shine, depth and reflection will come through. That'll be another days project though, no more time today.
07-24-2011, 03:05 PM
#525
Seasoned Member
Thread Starter
Join Date: May 2010
Location: Columbus, OH
Posts: 415
Likes: 0
Received 0 Likes
on
0 Posts
Year: 2001
Model: Cherokee
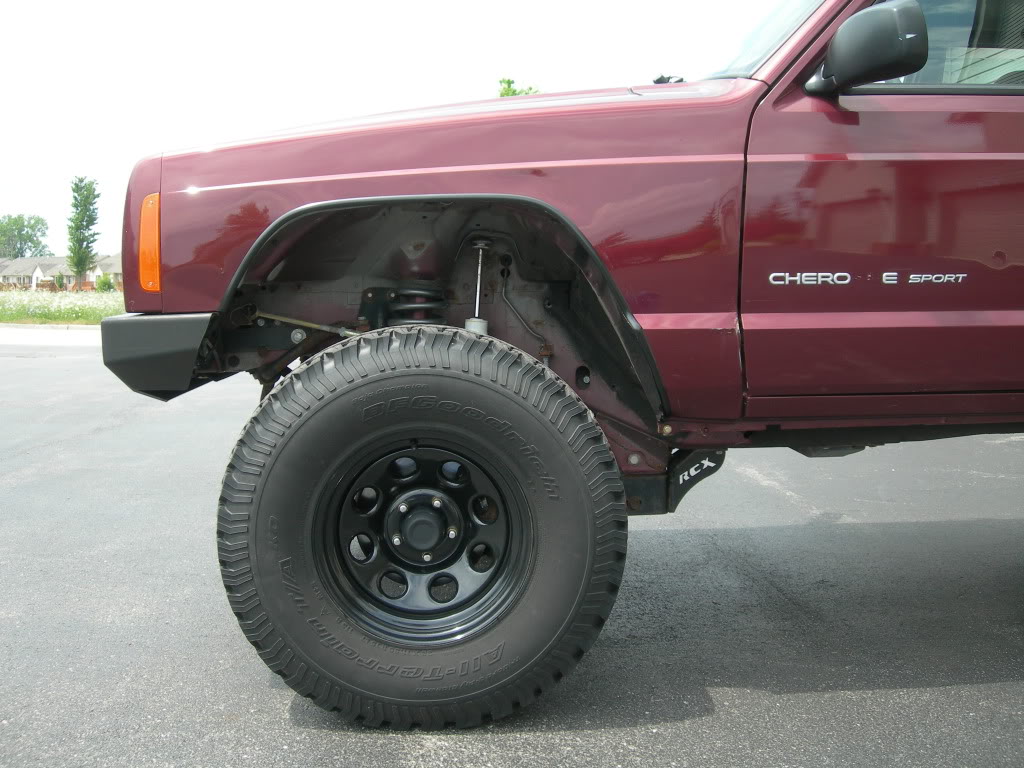
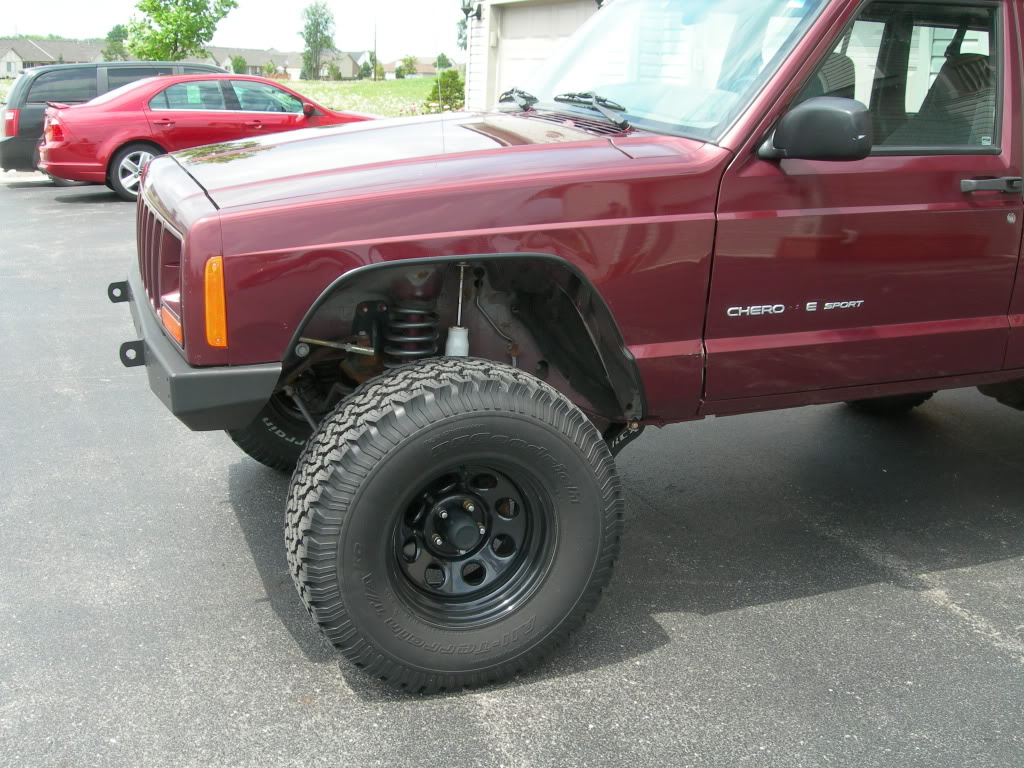
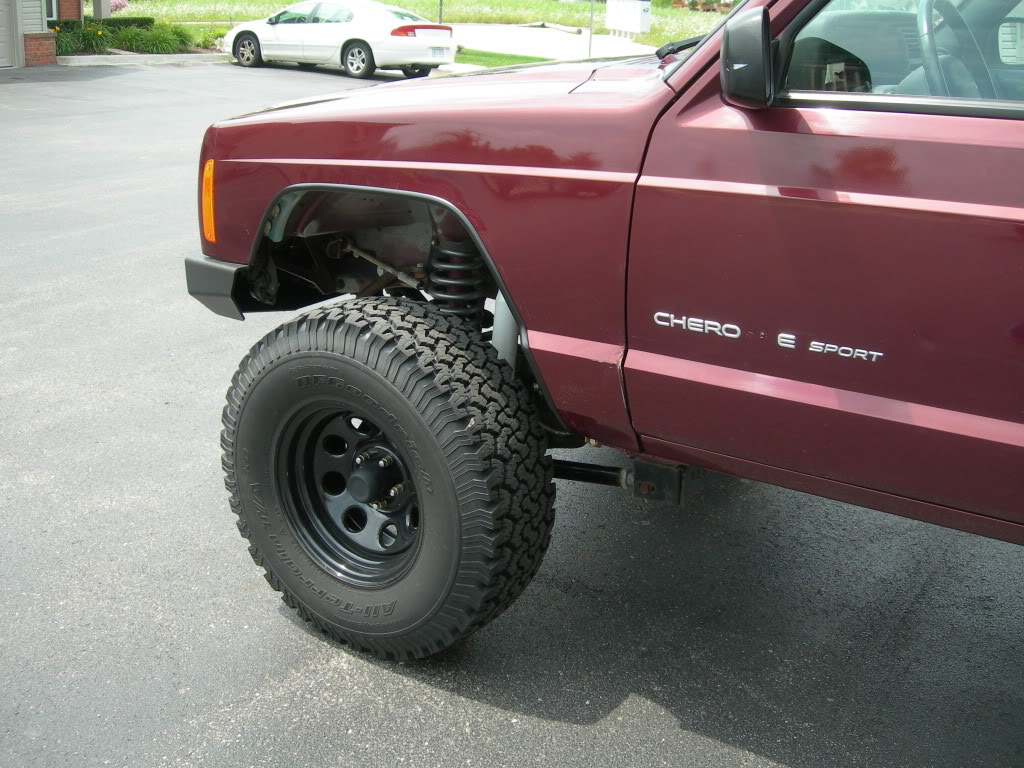
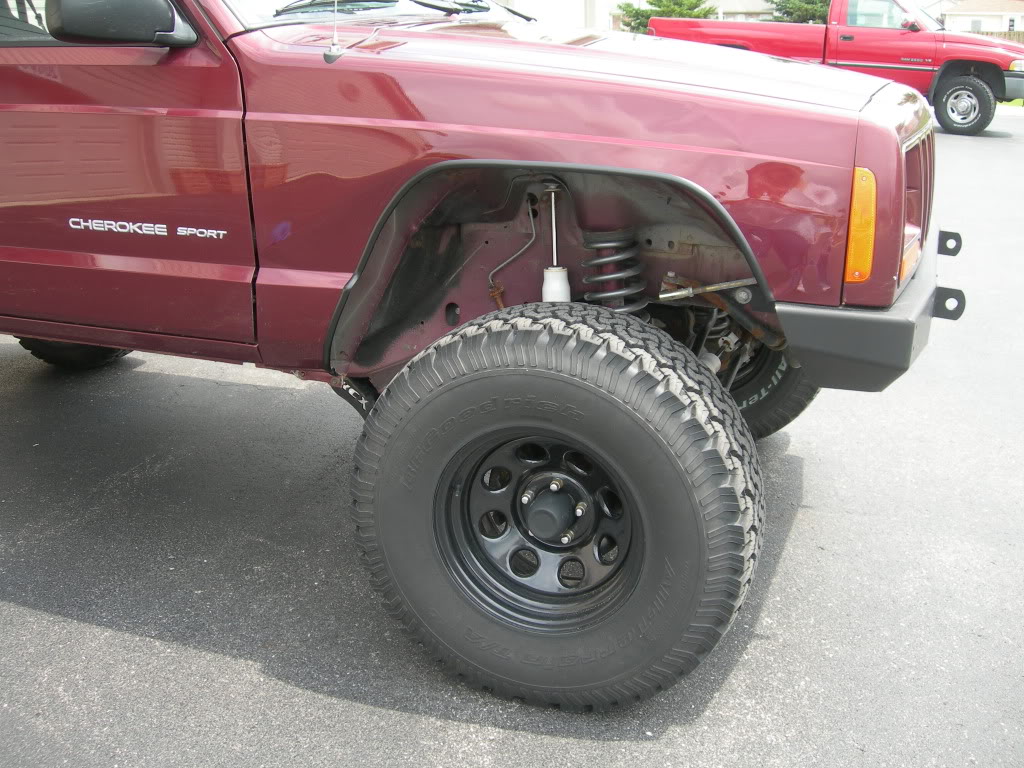
Engine: 4.0 I6
A little photoshoot to get an idea of where the XJ's at.... trim looks better than before, I think. It's a bit thicker, has a better profile than the previous stuff and has better symmetry with the rear: