
Project Do work - 2001 XJ Build (Pic intensive)
 08-07-2011, 11:54 AM
#571
Seasoned Member
Thread Starter
Join Date: May 2010
Location: Columbus, OH
Posts: 415
Likes: 0
Received 0 Likes
on
0 Posts
Year: 2001
Model: Cherokee
Engine: 4.0 I6
I used the same coat hanger technique as I used on the door. The wire runs down behind the HVAC controls towards the floorboard and behind the carpet and pedals around to the kick panel. I secrued it with a couple zip ties to keep it in place. You can't really see any of the wiring, for the most part it's pretty clean.
 08-08-2011, 09:03 PM
#574
Seasoned Member
Thread Starter
Join Date: May 2010
Location: Columbus, OH
Posts: 415
Likes: 0
Received 0 Likes
on
0 Posts
Year: 2001
Model: Cherokee
Engine: 4.0 I6
 08-09-2011, 08:47 PM
#575
Member
Join Date: Aug 2011
Location: Capital Region, NY
Posts: 210
Likes: 0
Received 1 Like
on
1 Post
Year: 2000
Model: Cherokee
Engine: 4.0L
Yeah, I just need basic tunes.
I used the same coat hanger technique as I used on the door. The wire runs down behind the HVAC controls towards the floorboard and behind the carpet and pedals around to the kick panel. I secrued it with a couple zip ties to keep it in place. You can't really see any of the wiring, for the most part it's pretty clean.
I used the same coat hanger technique as I used on the door. The wire runs down behind the HVAC controls towards the floorboard and behind the carpet and pedals around to the kick panel. I secrued it with a couple zip ties to keep it in place. You can't really see any of the wiring, for the most part it's pretty clean.
08-10-2011, 11:34 PM
#579
Seasoned Member
Thread Starter
Join Date: May 2010
Location: Columbus, OH
Posts: 415
Likes: 0
Received 0 Likes
on
0 Posts
Year: 2001
Model: Cherokee
Engine: 4.0 I6

 ?
?I do eventually plan to install a winch and plate, just haven't gotten to that part of my list.

Once you start, there's no turning back. Thanks for checking out the build.
 08-11-2011, 10:28 PM
#581
Seasoned Member
Join Date: Jan 2011
Location: Round Rock, TX
Posts: 349
Likes: 0
Received 0 Likes
on
0 Posts
Year: 1999
Model: Cherokee
Engine: 4.0L
Man I am loving the thread. I just read the whole thing, and was very impressed with the detail and amount of pics. Love the rig man keep it up.
 08-12-2011, 08:31 AM
#583
Seasoned Member
Thread Starter
Join Date: May 2010
Location: Columbus, OH
Posts: 415
Likes: 0
Received 0 Likes
on
0 Posts
Year: 2001
Model: Cherokee
Engine: 4.0 I6
Oh, I see. Yeah, I need to learn how to use one of those.
 I should have some more updates by this weekend. Been real busy with work this week...
Thanks for the comments everyone!
Yeah, eventually I'm going to be putting some spacers up front to level out the suspension. Just haven't gotten around to deciding how much I'm going to need. Plus, I figured I'd let the suspension settle out a bit in case it affects the size of spacer required.
I should have some more updates by this weekend. Been real busy with work this week...Thanks for the comments everyone!
Yeah, eventually I'm going to be putting some spacers up front to level out the suspension. Just haven't gotten around to deciding how much I'm going to need. Plus, I figured I'd let the suspension settle out a bit in case it affects the size of spacer required.
08-12-2011, 02:25 PM
#584
Junior Member
Join Date: Aug 2011
Location: Montreal, Quebec
Posts: 81
Likes: 0
Received 0 Likes
on
0 Posts
Model: Cherokee
Originally Posted by ivantheigor
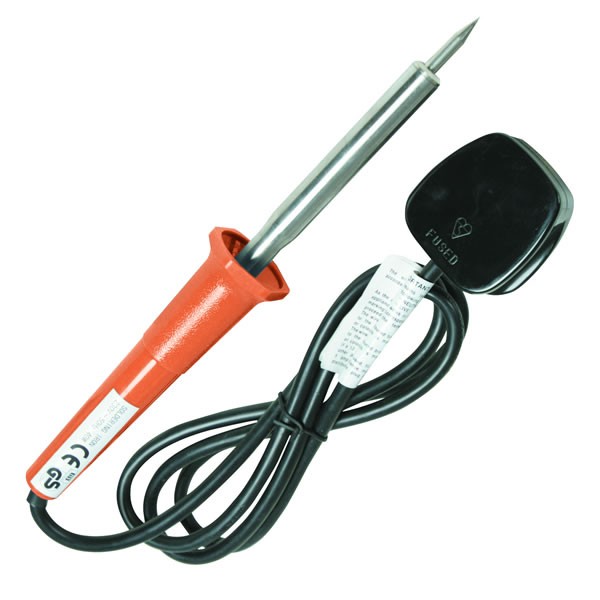
A soldering gun instead of a wimpy iron.
Wimpy wimpy wimpy
Hefty hefty hefty
Wimpy wimpy wimpy
Hefty hefty hefty
08-16-2011, 10:11 AM
#585
Seasoned Member
Thread Starter
Join Date: May 2010
Location: Columbus, OH
Posts: 415
Likes: 0
Received 0 Likes
on
0 Posts
Year: 2001
Model: Cherokee
Engine: 4.0 I6
Well, I decided to have a little fun with the XJ this weekend. Since I've been doing some work on the sound system, it occurred to me that even basic tunes require a little "low-end fill". The XJ's cabin is rather big for a couple little 5.25'' speakers all by themselves. And even though there was a night and day difference between the stock set-up, it was still sounding a bit "tinny".
I liked the idea of a subwoofer but didn't want to lose the cargo space of a box or give anyone another reason to break into my Jeep AGAIN. The XJ-pod is ok, it preserves some cargo space but is a little expensive and looks kind of cheap. Additionally, 8'' subs are less readily available than 10''. Also, I like the concept of a factory look. I searched around and stumbled upon a write-up on jeepforum. Pretty sneaky idea.
I started with the typical, useless, wasted space known as the "cubby hole":

I removed the cubby hole panel by removing several screws and lifting it out of the way.

I unseated the wiring harnesses from their locations to make them more mobile.

Then I busted out the cardboard and got to making a template for the speaker to mount too. I trimmed it to fit and even ran a couple screws through it to mark the bolt holes for drilling:


Template complete:

In the picture below, I marked all the bolt holes with blue tape. I had not drilled anything yet as I wanted to use as many factory holes for bolting locations as possible to reduce the amount of drilling I would have to do. The only one that required drilling was the upper-left hole.

I liked the idea of a subwoofer but didn't want to lose the cargo space of a box or give anyone another reason to break into my Jeep AGAIN. The XJ-pod is ok, it preserves some cargo space but is a little expensive and looks kind of cheap. Additionally, 8'' subs are less readily available than 10''. Also, I like the concept of a factory look. I searched around and stumbled upon a write-up on jeepforum. Pretty sneaky idea.
I started with the typical, useless, wasted space known as the "cubby hole":
I removed the cubby hole panel by removing several screws and lifting it out of the way.
I unseated the wiring harnesses from their locations to make them more mobile.
Then I busted out the cardboard and got to making a template for the speaker to mount too. I trimmed it to fit and even ran a couple screws through it to mark the bolt holes for drilling:
Template complete:
In the picture below, I marked all the bolt holes with blue tape. I had not drilled anything yet as I wanted to use as many factory holes for bolting locations as possible to reduce the amount of drilling I would have to do. The only one that required drilling was the upper-left hole.