When you click on links to various merchants on this site and make a purchase, this can result in this site earning a commission. Affiliate programs and affiliations include, but are not limited to, the eBay Partner Network.
E-fan wiring has been pretty trick. Over-ride switch works with no check engine light and the fan kicks on when the PCM tells it to. I was messaging BlueRidgeMark about the circuit. I asked if two relays are needed or if one relay could be used. He stated that this can be done with a single relay and back feeding voltage to the PCM is not a concern because the PCM switches ground rather than switching hot (can confirm from my FSM). We arrived at that conclusion after I had already setup my circuit with two relays. So, I can confirm my way works but there might be a more efficient way only using the single factory e-fan relay.
One thing about messing around in your PDC, be super duper ultra careful with the small clips/tabs that you need to unlock to get the terminals out. Some of them want to break just looking at them. I pulled 3 or 4 PDC's from junkyard rigs and stripped them all bare. I found that on some PDC's I broke more tabs than I didn't and on others they were relatively pliable. I messed with the one in my Jeep last (after getting some practice on the scrap ones) and was able to do everything I did to it only breaking 1 tab.
Yeah I pulled a junkyard PDC and I've broken a couple of the little tabs. I've gotten pretty good at it now I feel I could pull the one in my Jeep without too much fuss. Worst case scenario I buy some epoxy like bleepin Jeep used and glue a couple in.
Been pokin' away at some stuff. Next big project that is getting started is this sweet new BadDad Fab hidden winch mount!
Over the past week or so I've been moving my winch solenoid under the hood. I purchased the Boostwerks solenoid relocation bracket which mounts next to the PDC in place of the coolant reservoir.
I couldn't find any information on the Boostwerks mount. There are no pictures of it on the internet and the only mention of it is the page on Boostwerks' website. Its a pretty straight forward part and I couldn't go wrong for $20 but I wasn't even sure what the bracket looked like till I got it. It fits well. I did need to open up the mounting holes because the screws didn't fit into the slots. I'm happy with this setup.
I decided to increase the size of the wires between the solenoid and winch from 2 awg to 1 awg. I bought 15' of it on amazon which was the perfect length. Look at how beefy these are!
I was crimping lugs on with a cheap crimper I got on amazon. I don't like it very much because all of the anvil sizes are metric and do not correlate to AWG sizes very well. This is the result of the crimps on the largest size. You can see it still pinched part of the lug. Regardless, I couldn't pull the terminal off so I figured they're strong enough.
From there, I started wiring in-cab winch controls. Awhile back I had ran a CAT7 cable through my firewall with intentions to use it for projects like this. I spent the better part of an hour trying to strip and crimp the 24 awg wires before getting frustrated and giving up. Working with those wires was damn near impossible. My wire strippers don't go down small enough and trying to strip the insulation other ways usually resulted in just cutting the wire. I ended up removing the cable. I will run new wires for the winch controls.
So today I began the process of installing the bumper. I got a slow late start because my head was pounding and my stomach was not pleased with my actions from last night but I did what I could. To get the bumper on I needed to remove my sway bar. The sway bar is mounted with four bolts that go into captive nuts inside the unibody rail, one of which has been broken off for years. Every time I've needed to remove my sway bar over the past few years its been an absolute nightmare because getting to the nut inside the rail is a PITA. Need to hold a wrench way up in there with needle nose pliers.
So I drilled the hole out larger and welded a new nut up in there.
Not super pretty but now I can screw a bolt up in there to mount my sway bar. Nice!
After redoing my entire audio system I'm not happy with the results. The factory system in my dinky little Nissan has much better mid-bass response. The Jeep's system just sounds hollow. I was reading about how install conditions have a large effect on mid-bass response. The speakers were mounted with Boom Mat speaker baffles which are foam backers that close in the speakers from the back. After reading about other people's experiences with the speaker baffles, I cut the back of the baffles out to allow the speakers to breathe into the doors/speaker bar.
Now my speakers are just gasketed rather than having the whole baffle behind each one.
I demoed the system after, hoping for a big difference, but didn't notice much. I did notice my speakers were clipping/distorting on some songs so I reduced the amplifier's gang. Still found distortion, so I turned the amp gains down completely and STILL got distortion at max volume. Wtf, right?! Then, I saw my amp's "low resistance" light was on, but only at high volume. There was a distinct point with volume where the amp would go into protection mode. Not really sure what's going on with the system. Gonna need to do more research.
Been real busy with this. I removed my fender supports to clear the winch mount. I could not figure out how to get the top bolt on the fender support without removing the whole header panel to get the top bolt. I wasn't about to tear all of that out so I instead drilled an access hole through the header panel behind the turn signal light which made life easy.
Got em off and relocated my horns to another hole in the neighborhood.
Then the big moment: cutting the cross-member! I was joking that my Jeep is gonna be so fast after I cut off every good piece of steel left on it.
I was then able to start test fitting the winch and mount. I had some difficulty getting it into place by myself...
But it all seemed to be going fairly well. I had to go on and off with the setup a few times to clearance the cross-member but ended up fitting like a glove.
I began loosely installing hardware to make sure everything lined up and had a bit of an issue with the fit. I could not get the mount to lay flat against my unibody rail on the passenger side.
I did everything I could to ensure there were no high spots or anything the mount was getting hung up on and could not find anything. I ended up determining my unibody rail had a big of a bulge in it whereas the mount has a flat plate to lay against that area. My driver's side fit well so I'm assuming this is specific to my Jeep. I did what any of us would have done to fix this issue: I beat my junk with a sledge hammer under it fit.
(Guess I don't have a picture of it after but it was better. Not perfect, my arm got tired).
Another issue I found was my steering box bolts were too short after adding my front stiffeners and the winch mount.
I ordered some 4.25" long bolts from McMaster to solve that.
Another issue I had were the washers supplied with the winch mount. They were too small to cover the width of the slots. Also notice the other bolts in this picture were too short. That was unique to my setup because I incorporated the Ares Fab bumper wings which used the same mounting location.
I replaced the bolts with longer ones and the washers with larger ones (longer bolts not shown).
The last issue I dealt with was also the largest. The steering box brace just didn't seem to fit. The brace is designed with a shim pack to accommodate differences between XJ's. I found that even with all of the shims supplied I still have about a 3/16" gap that needs to be filled.
No biggie there, I can make a shim easy enough. The bigger issue is the clamp side that goes around the steering box. Much too short. I don't see how the clamp could be long enough, even without shims installed.
I'm not crazy about the exhaust clamp setup anyway. I'm gonna ask Baddad if he's dealt with this before. Looks like my XJ is just a bit more tweaked than some others. I'm planning on making a different piece to use on the clamp.
All in all the install went pretty well and I'm happy with the quality and fit of the winch mount. Would definitely recommend to others.
Tangent; At this point I took a break to make my parent's a Christmas gift. Check out what I came up with!
Bit of a funny store to this. I had been working on a different project for a couple weeks. I was attempting to turn a family photo into an engraving. I put probably 15 hours into the project, struggling through some graphic design challenges that were over my head, and eventually hit a wall because Solidworks just could not handle the 2D sketch with ~100,000 elements in it. I threw in the towel on a Friday night, 5 days before Christmas with no plan B. Saturday morning I woke up and had this idea and got to work. I made this out of all old tools and scrap metal I had laying around. Took me about 4 hours. I'm pretty proud of how it turned out. My parent's loved it (naturally), but it got a lot more attention than I thought. I think I'm gonna start making more things like this and maybe even trying to sell them because this was fun.
Back on topic:
Next had to get the winch wired up. Ran those phat **** wires down from the solenoid to the winch.
Had to make sure I had enough clearance over the winch to get the wires over the studs. I really wish I had installed the wires on the winch before raising the mount to the Jeep because getting the bottom wire on was a PITA.
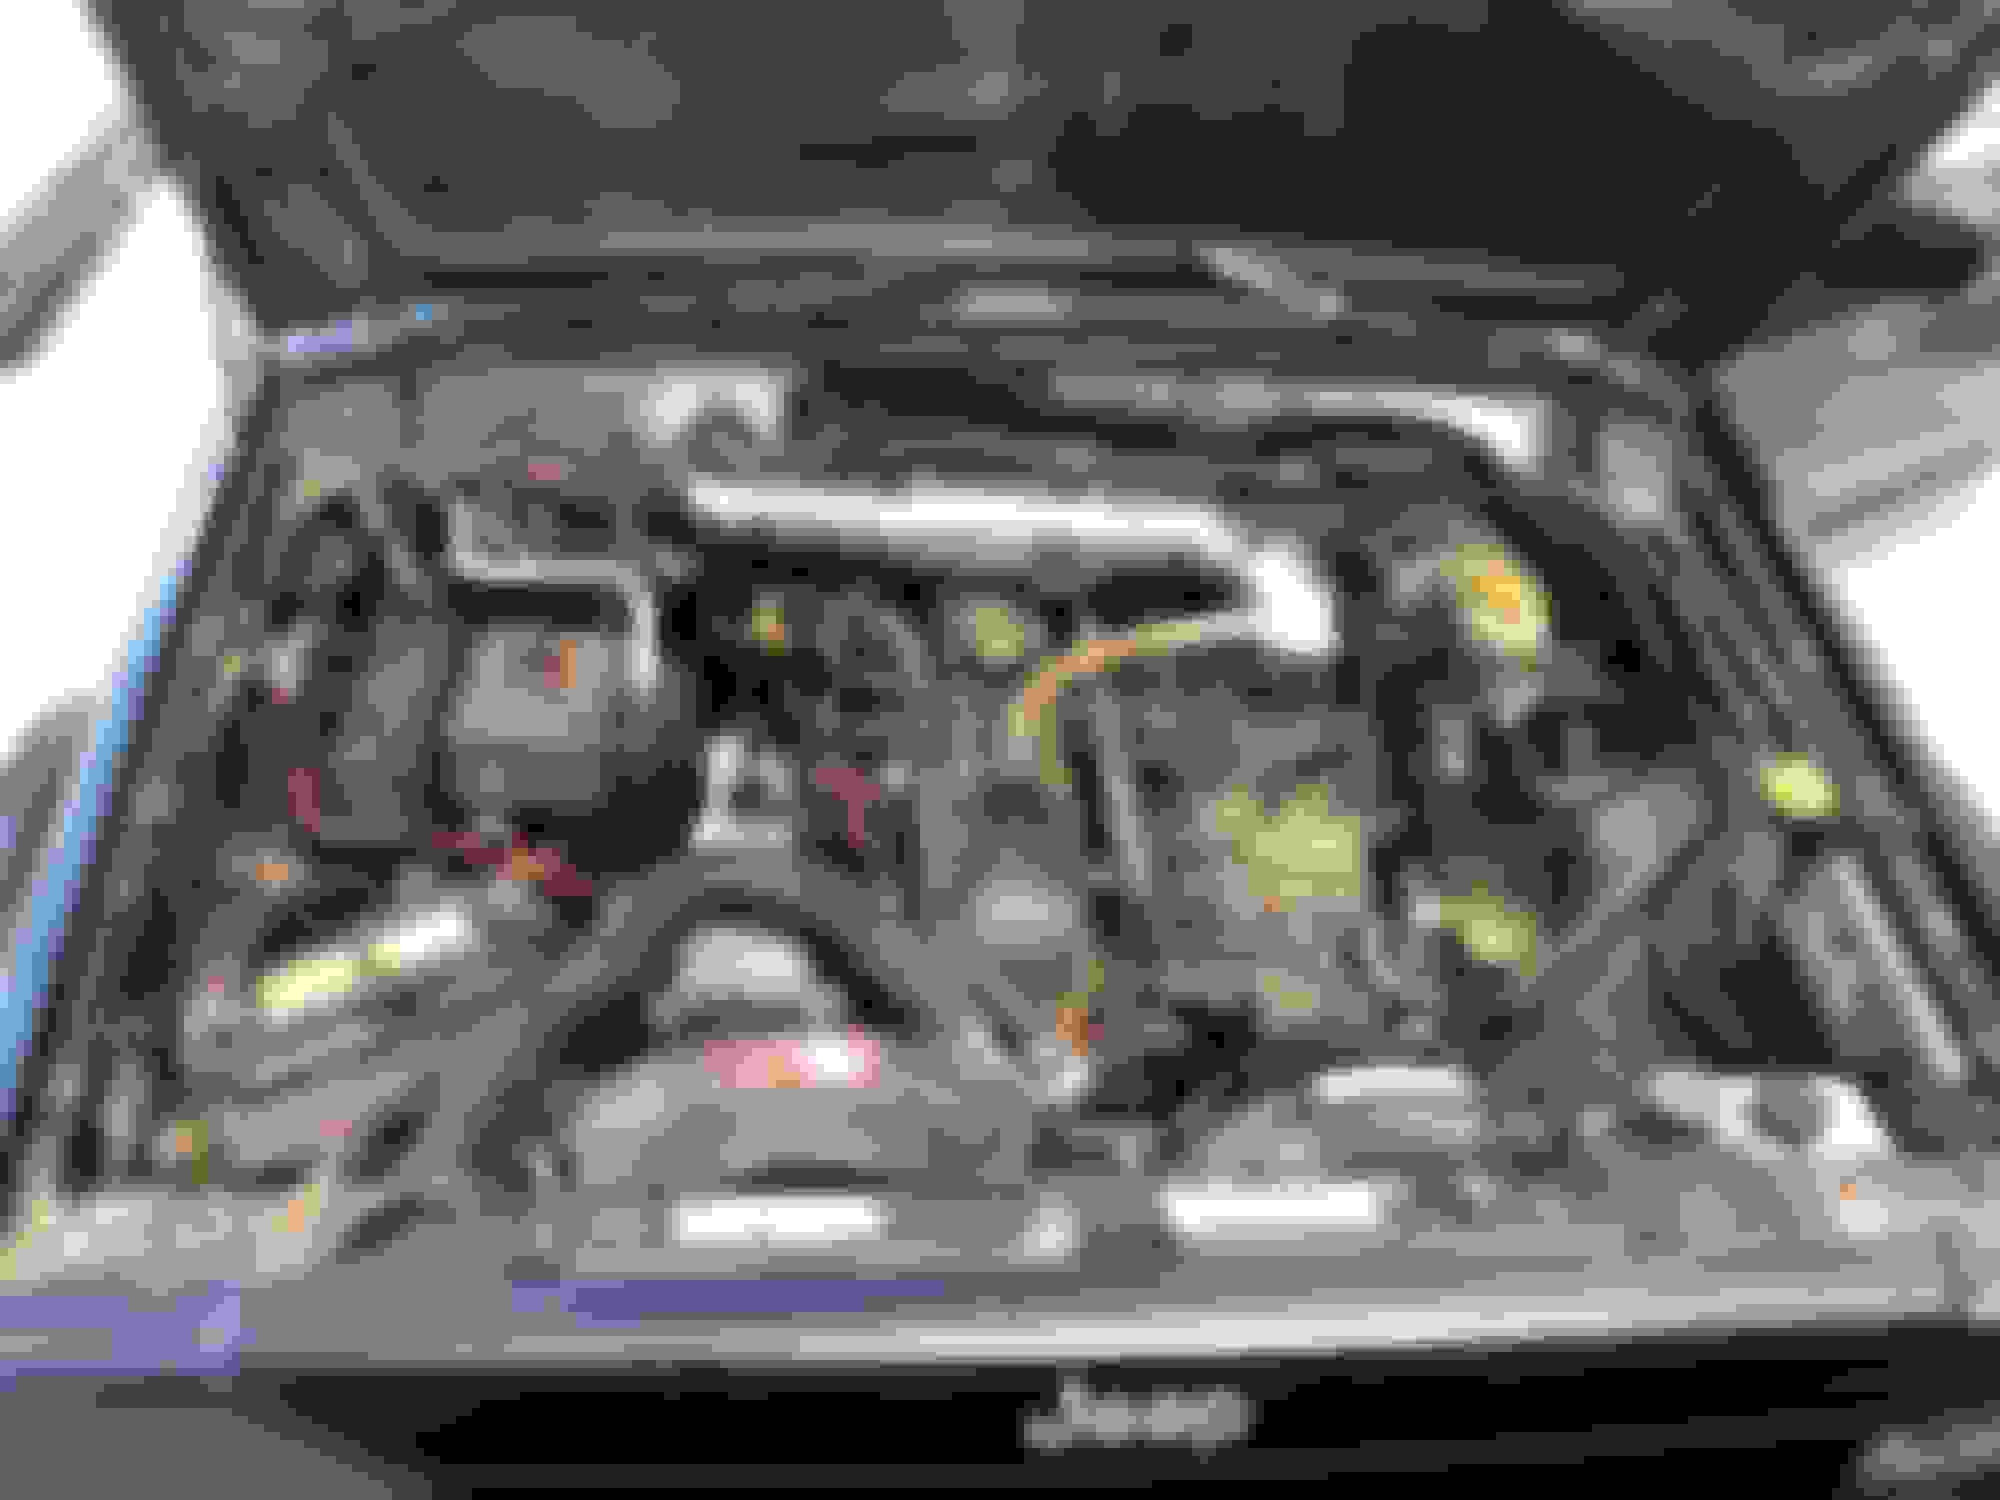
I wanted to wire up in-cab winch controls, so I ran some wires from the solenoid into the cab, taking the power lead from the PDC by adding in a new 5 amp mini fuse. I also took the opportunity to run an additional 6 wires from the PDC area to under the dash for future use. I've been doing my due diligence to keep things clean with my wiring, so I've been trying to keep everything looking like this:
I took this opportunity to address a long time issue; the wires that pass through my firewall did not go through a grommet, its just been sharp sheet metal. Looked like this:
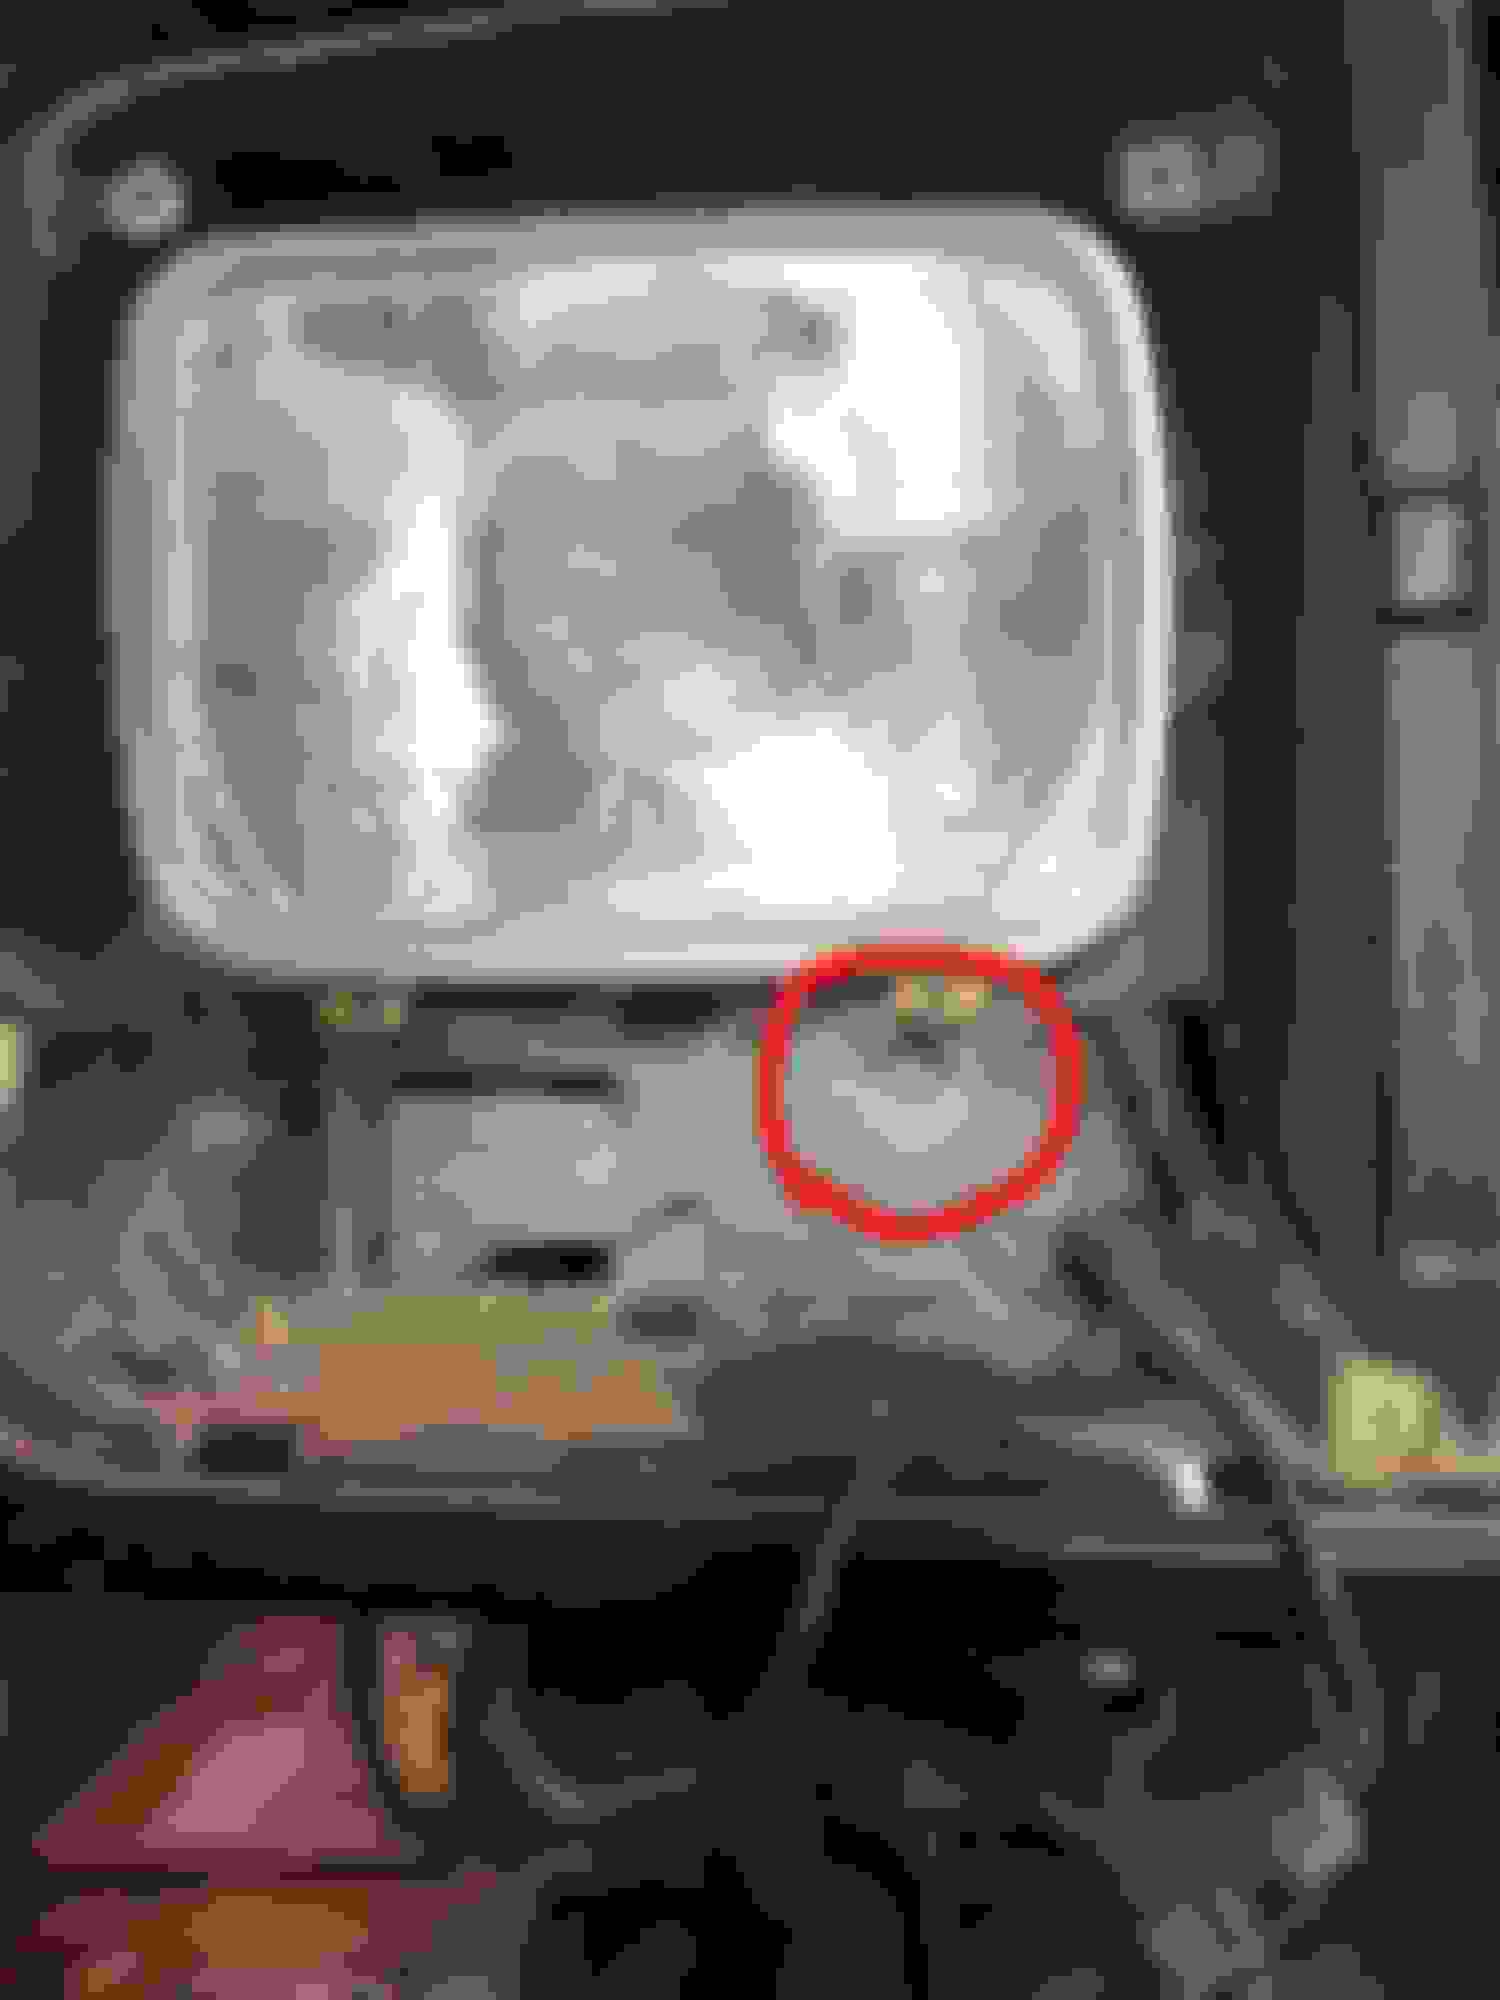
So I added a new hole and put grommets on both the old one and the new one.
Much mo bettah.
Also addressed another thing that's been bugging me for awhile. The upper hose on my transmission cooler has been sagging a few inches ever since I installed it. Bugged me because it was visible behind my grill. I already had transmission fluid all over the place because I had to move my transmission filter when installing the mount so I cut a few inches off the line to better hide it.
Got the in-cab controls finished up. Added an "arm" switch with a indicator light. Feels pretty cool having switches with safety covers. What do they do? No one knows (ejecto seato cuz!).
Then FINALLY got everything buttoned up and rolled the pig outside to get some good pictures. Look at this thing!
Love this setup. Perfect example of form follows function. Looks sexy because it just makes so much sense. Love the approach angle, love the access to the winch, love how it ties everything together. I'm not crazy about how open it looks, but there is plenty of room to add things. I'm going to make some brackets to put my yellow fog lights in there somewhere.
I'm also thinking of moving the winch controller plug to the bumper so you don't need to go under the hood to access it.
So, you might notice there is no cable on the winch. Well, when I got the Jeep outside I laid the cable out to spool it in but when I hit the button to spool in the winch I got nothing. Shoot! Winch controller plugged into the solenoid does nothing, switch in the cab makes a click from the solenoid (in both directions). So, something is up with the wiring. Gonna have to do some diagnosis to figure out what I did wrong.
Before I moved the Jeep outside I also checked all of my fluids and greased all the grease points. I noticed I need an axle u-joint, a driveshaft u-joint, and I'm leaking almost every fluid. This thing needs some love. I'll be doing some maintenance here shortly. Ever since our trip last year every square inch of everything under the hood is covered in silt, and also grease, oil, dirt, just absolutely disgusting. Its really been bothering me every time I work under the hood.
Once the weather gets warm I'm gonna spend like a weekend detailing the engine bay and underside of this thing because lord knows she needs it.
It never ends, does it! That's half the fun of it.
Nice Christmas gift 👍.
First time I�ve seen that large of a gap on the steering brace! Must be something a bit tweaked 🤔.
I�ll send you some more/thicker shims and a longer u-bolt.
Very nice! That wing kit looks like it was made for that winch setup. I'm currently in the middle of installing my boostwerks brace (didn't get the winch mount version) and I can't wait to drive it. How big of a difference did the brace make for you?
Very nice! That wing kit looks like it was made for that winch setup. I'm currently in the middle of installing my boostwerks brace (didn't get the winch mount version) and I can't wait to drive it. How big of a difference did the brace make for you?
I can't comment much on the difference in road feel because I only ran a few minutes up the road and back after getting it on, and also did not have the steering box brace bolted on. I'm very interested to get some seat time after getting it all together with the brace. I'm also excited to see how my front suspension does with the extra weight up front. The RE 3.5" coils have always been super stiff so I'm hoping the extra weight will help throw them around a bit. Hopefully the shocks won't be affected too poorly.
I can't comment much on the difference in road feel because I only ran a few minutes up the road and back after getting it on, and also did not have the steering box brace bolted on. I'm very interested to get some seat time after getting it all together with the brace. I'm also excited to see how my front suspension does with the extra weight up front. The RE 3.5" coils have always been super stiff so I'm hoping the extra weight will help throw them around a bit. Hopefully the shocks won't be affected too poorly.
I used to run those coils and with no winch but sitffeners, 2x6s, 3/16" sheeted bumper and all they still rode stiff. My turning point to getting rid of them was chasing them down the trails from over flexing and ripping the stock retainers out the axle. I'm happy I made the switch to the cheap superlift 550 4" lift coils with 170lb spring rates. I was originally going to get some metalcloaks but I figured for $70 I would test these out with the good reviews they had.
I used to run those coils and with no winch but sitffeners, 2x6s, 3/16" sheeted bumper and all they still rode stiff. My turning point to getting rid of them was chasing them down the trails from over flexing and ripping the stock retainers out the axle. I'm happy I made the switch to the cheap superlift 550 4" lift coils with 170lb spring rates. I was originally going to get some metalcloaks but I figured for $70 I would test these out with the good reviews they had.
I have a feeling I'll be replacing mine at some point for similar reasons. If I ever get the thing out of my driveway/garage and actually wheel it. I'm hoping for some good trail time this year.

 11-18-2019, 09:13 AM