When you click on links to various merchants on this site and make a purchase, this can result in this site earning a commission. Affiliate programs and affiliations include, but are not limited to, the eBay Partner Network.
My wife and I took a week-long trip and on a steep and rough switchback, my steering broke the passenger sway bar mount.
It looks like I need to either tune my suspension some more to prevent the contact or change the steering linkage. I've been eyeing JCR 1-ton UTK steering for a while so that may be in my future. Although, I'm still not quite satisfied with the flex parameters I currently have. I've got OEM upper bump stops with RE 3-inch lower stops (which gives a 2-inch gap between the two) and at full flex the tire still tears up the wheel well and fender. I may look into some progressive stops. I've also come across the JKS Flex Connect sway bar link which is intriguing.
I temporarily welded the sway bar link bracket back on until it can be further addressed and I haven't done anything with the bump stop issue yet as I've had plans to put some long arms on. Well, IRO had a nice sale over Labor Day weekend so I ordered the Rocklink 3-link from them along with the transfer case skid plate.
Here were my lower control arm angles that I was attempting to fix without drop brackets that can get hung up.
I had measured an 11� angle on those things. After the long arms were installed, I measured 6.5� with the bolt centers.
I've noticed an improvement in ride quality both on and off road so I call this one a success. I finally now have a transfer case skid plate installed, too!
Replacing the TNT Customs belly pan and Ironman 4x4 control arms with the IRO kit put 16.75 lbs on the XJ.
I liked the design of the Barnes 4WD inner-C gussets better than any of the others as they don't create any clearance problems.
They don't create any clearance problems...or so I thought. Some time last year I noticed an intermittent problem of the brake pedal going to the floor and then back to normal pressure after a couple of pumps. It seemed to have only occurred while going slowly...and usually on dirt. No fluid leaks. Sounded like a master cylinder leaking internally so that got replaced and the problem remained. Then I began noticing that it's after I make a hard left turn. After months of chasing the issue, I finally noticed a contact mark on the inner-c gusset on the front left. At full left, the caliper was contacting the gusset which then pushed the caliper piston in and the pedal would go to the floor to reposition the caliper/pad. A little clearancing with the angle grinder and some paint and the issue is resolved.
Just a word of caution for anyone else looking to use these gussets. Interestingly, the right caliper is nowhere near the gusset at full lock.
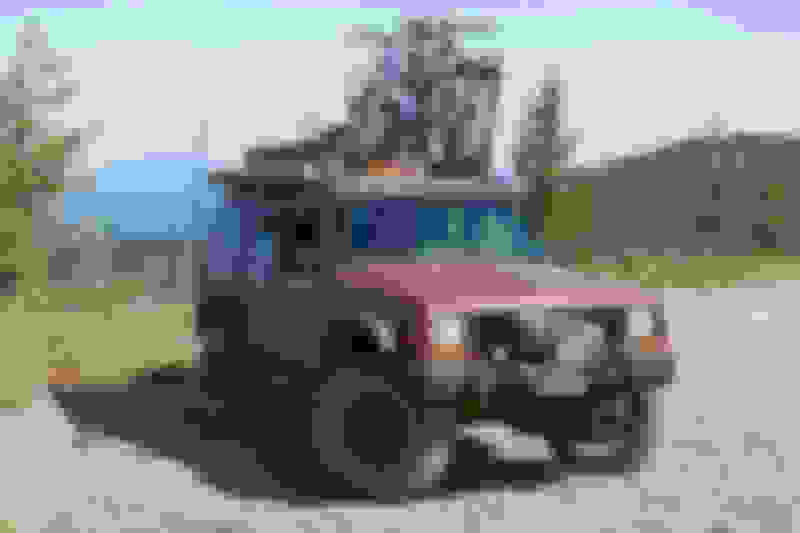
I needed to reduce some drag when not carrying anything up top, but also have provisions for carrying a couple of bicycles. I figured the JCR Adventure Rack oughta do it provided I get/modify the right brackets for my needs.
The biggest challenge was making provisions for the bike rack. I opted for the uber-expensive Front Runner racks because they seemed to have been the only rack on the market that can handle offroad use without falling apart. The problem was they are designed for a Front Runner rack which has different cross bar spacing and larger mounting hardware. So, I made some adapter plates.
I used Prinsu mounts for the traction boards. The ARB awning was moved from the old rack to the new, but I used the Prinsu awning brackets with some modifications to make them work with the JCR rack.
Since I previously had flood lights on the back of the old rack and found I rarely used them, I opted for JCR's side lights to use my existing wiring. I also liked their grab handles.
I was impressed by the hidden winch mount offerings from Baddad and placed an order for his version that hides behind the factory bumper. The Detours mount has worked well for many years, but I want more walking room in the garage and more airflow for the radiator. I also switched to synthetic rope during this project.
After some cutting of the crossmember, it was time for a test fit.
Every modification with this build has the goal of keeping the vehicle looking stock. So, after a trial fit of the bumper end caps, I saw an issue in the design of this mount for my application -- the clevises were completely hidden by the end caps! So, off they go and new ones welded in.
A gusset was then added to the bumper to better support the fairlead.
Several hidden winches make it so you cannot see nor access the winch rope on the drum. So, I cut an opening which will later be filled with an access hatch.
The solenoid control box needed to be relocated. After looking at several options, I chose to mount it to the bumper where the vacuum canister was at (it's been relocated under the hood).
However, I also wanted to relocate the plug to a more accessible location so after removing the plug, a cap was made.
One thing that I've wanted for quite a while is a dual-rate torsion bar. The JKS quick disconnects work fine, but they disconnect the sway bar completely which may still inhibit best traction. I had my eye on the Teraflex ST dual-rate sway bar for a number of years and had plans to get their TJ kit to retrofit for the XJ once I had some money. Unfortunately, they quit making the kits once the money showed up so I ended up picking up an ORO SwayLOC (on sale) about the same time the winch mount showed up because I knew there may be some possible incompatibilities with the two products and making them fit before paint would be best. The biggest issue was they both utilize the factory sway bar mounting holes and the winch mount hangs lower than the SwayLOC mounting brackets would allow. So, I had to make my own brackets.
My brother-in-law informed me of SendCutSend which made it convenient to make my own brackets since I don't own fancy machines to cut metal with from a CAD file so I designed the bracket in Fusion 360.
Then after placing the order through SendCutSend and waiting a few days, the pieces arrived ready for weld.
They were designed to use the nylon sleeves/bushings from the ORO brackets.
Next, I mounted the ORO brackets without the winch mount to get the fore/aft alignment for the torsion bar. After all, ORO figured out the right distance for their arms, so I may had well utilize their engineering.
The brackets came down, the winch mount went in place, and I lined up the new brackets with the laser. Once I was happy with their placement, the winch mount was marked where new holes were to be drilled, the holes got drilled, and nuts welded on to accept the bolts.
Then I followed the ORO installation instructions.
Because I installed taller sway bar link axle mounts (undocumented) to avoid the steering linkage from making contact, the links were as short as could be and the SwayLOC arms were at about 15� (which is the JKS recommended maximum angle). On road the performance is nice. I'll need to test the softer rate out on a trail soon...
While the 3D printer was being used for some parts for the winch relocation project, I thought I'd see how well printed awning brackets would hold up. The modified Prinsu brackets left a pretty big gap between the rack and the awning for rain to get through (which we have experienced).
Based on the Prinsu bracket, I designed new brackets that would mount the awning about an inch closer to the rack and raise it up about an inch to clear the side light (and a bit more head room).
Hey, they were even over a pound lighter! I use three brackets...
We will see how well these hold up, but the distance is much better.
Rain deflectors were also made to close up the remaining gap.
I really like all the work you have done to this XJ. Did you install the Derale fan and oil cooler yet? A stroker motor would not fair well here in Phoenix, AZ based on the info you have gathered. I put an external cooler on my trans and it seems to be working very well. I don't have a gauge so no idea on how low my temps are.
Thanks. I have not installed the remote oil cooler — I never have found room for it. But, after talking with a guy who’s raced with an XJ, he recommended the Taurus fan swap and the Davies Craig electric water pump. This person had good results with it. I’m considering them, but likely won’t get done until after this summer.
The SwayLOC got tested out and articulation seemed quite good along with the traction benefits it provides by applying pressure to both wheels. It sure was nice not dealing with the greasy disconnects.

 07-25-2022 | 09:09 AM