When you click on links to various merchants on this site and make a purchase, this can result in this site earning a commission. Affiliate programs and affiliations include, but are not limited to, the eBay Partner Network.
Stock Grand Cherokee Tech. All ZJ/WJ/WK Non-modified/stock questions go here!ZJ (93-98), WJ (99-04), WK (05+)
All ZJ/WJ/WK specific tech questions asked here!
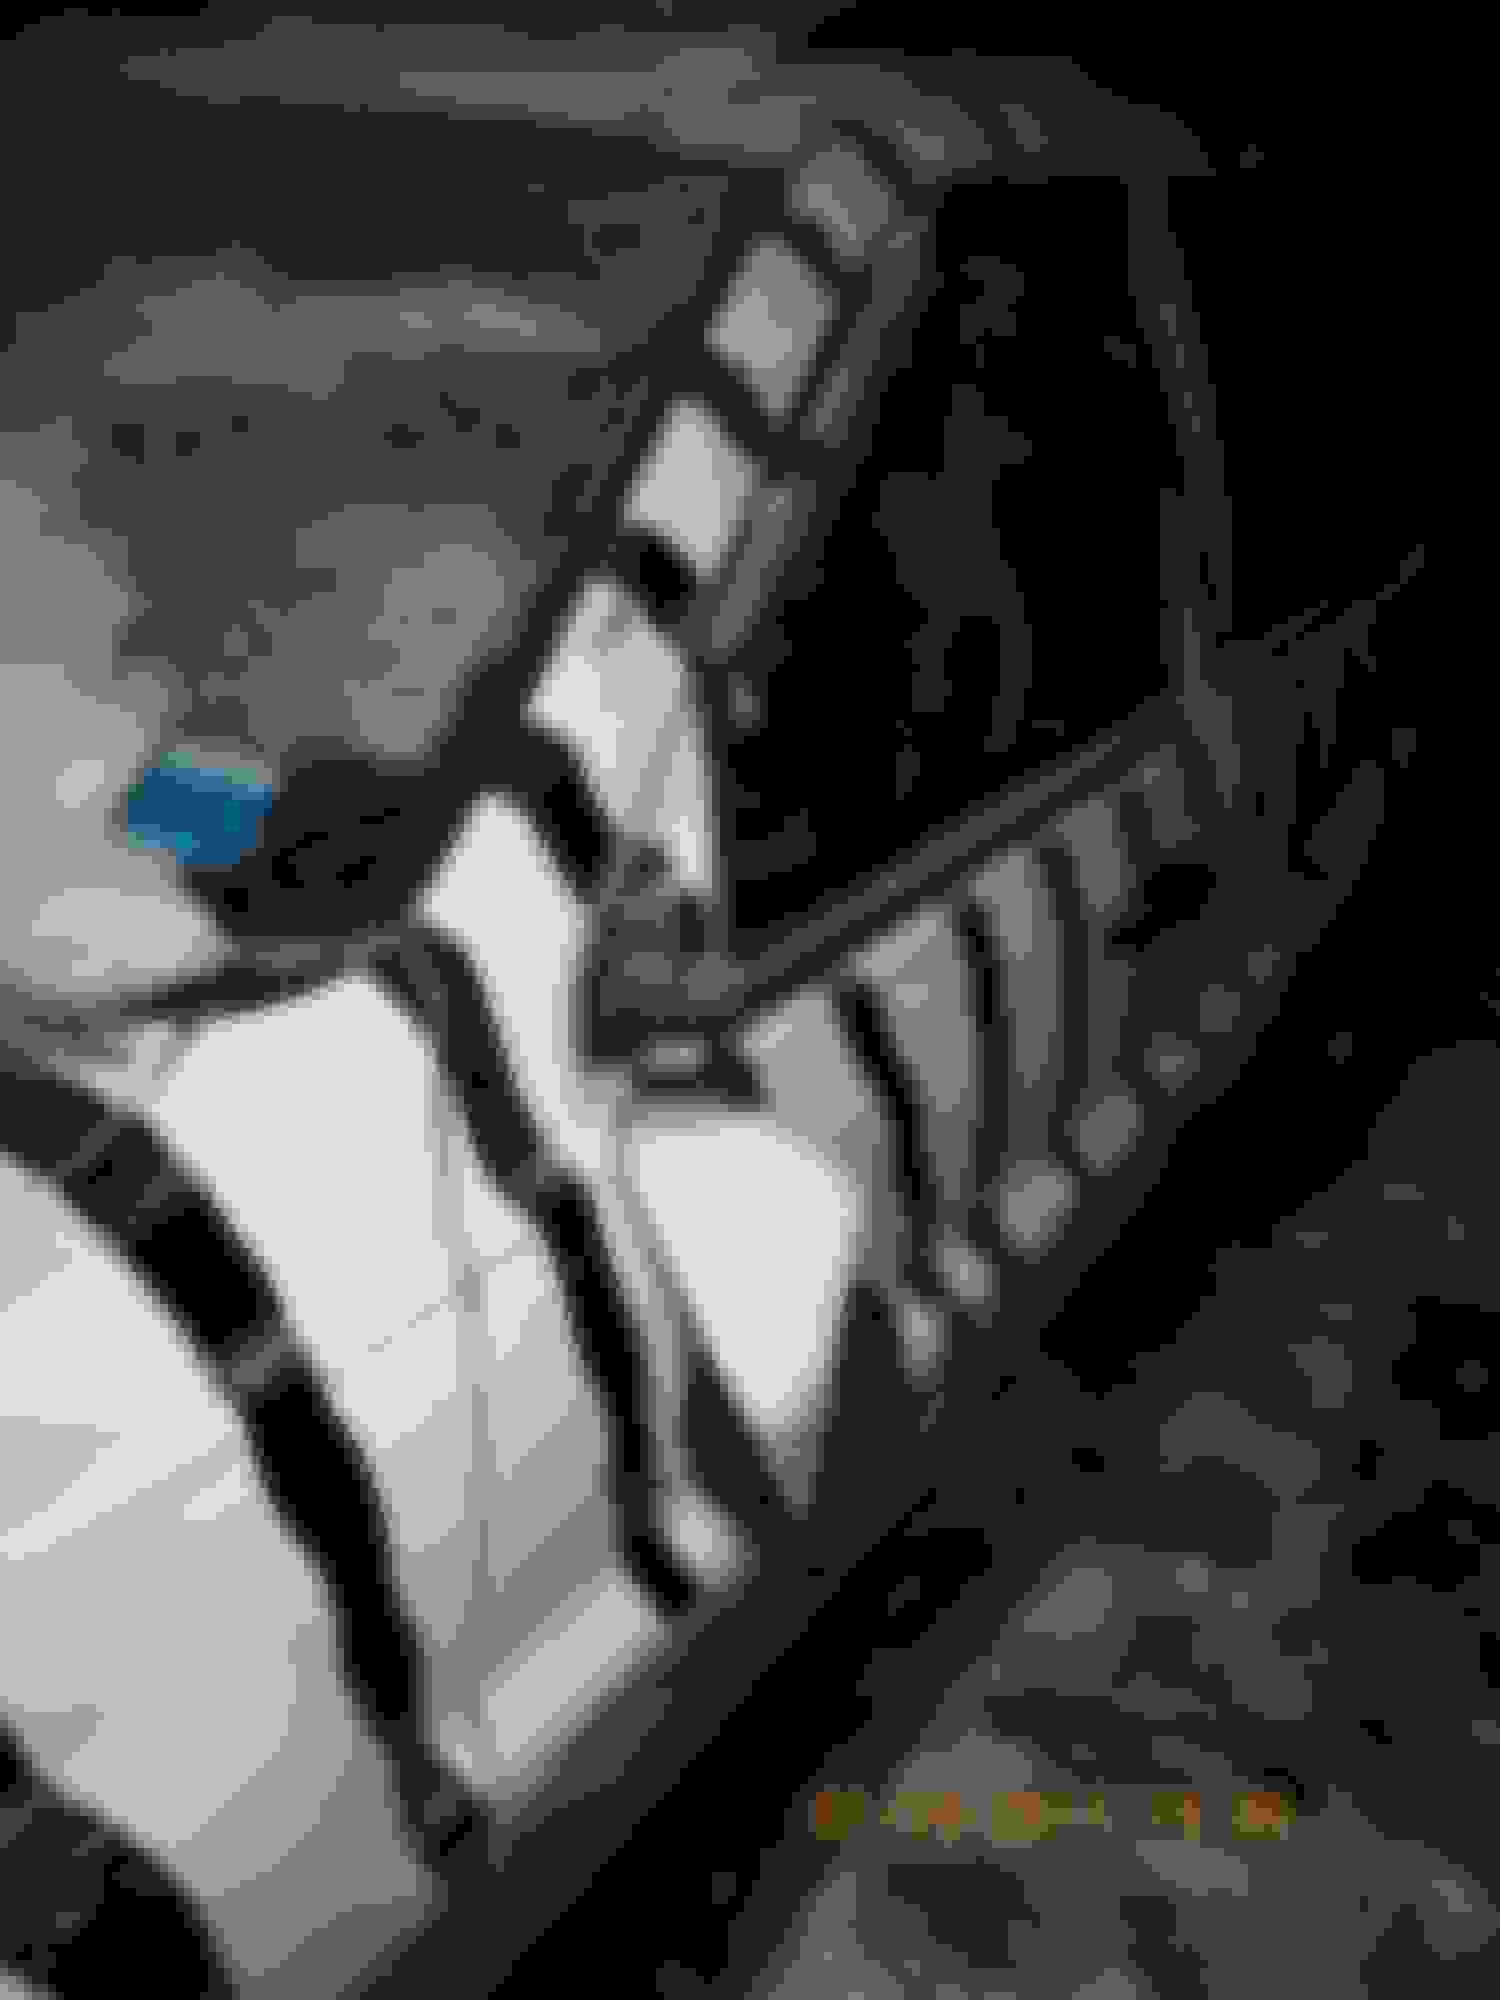
I have a 2000 Grand Cherokee that was struck by a drunk driver a while back (see pic). He didn't so much as crash into me but blew through a red light running from another incident and sheared off the left front corner of the vehicle (he proceeded to travel through 4 large yards taking out a few small trees before crashing into someone's dining room, 561 feet to be exact). The drunks insurance company totaled it and I cashed out on it minus the salvage cost. Aside from the lights and the washer fluid reservoir in the extreme left front corner, all damage was sheet metal. I've kept it running and it drives just as strong and straight as before but it hasn't seen pavement since.
I have just recently purchased another GC the same year and paint color as a donor (280K miles, bad motor and slipping trans.). It should be a simple "bolt off, bolt on" process with maybe some interior sheet metal to replace in the process - that's what I'm hoping at least. And the bumper support will be it's own little project.
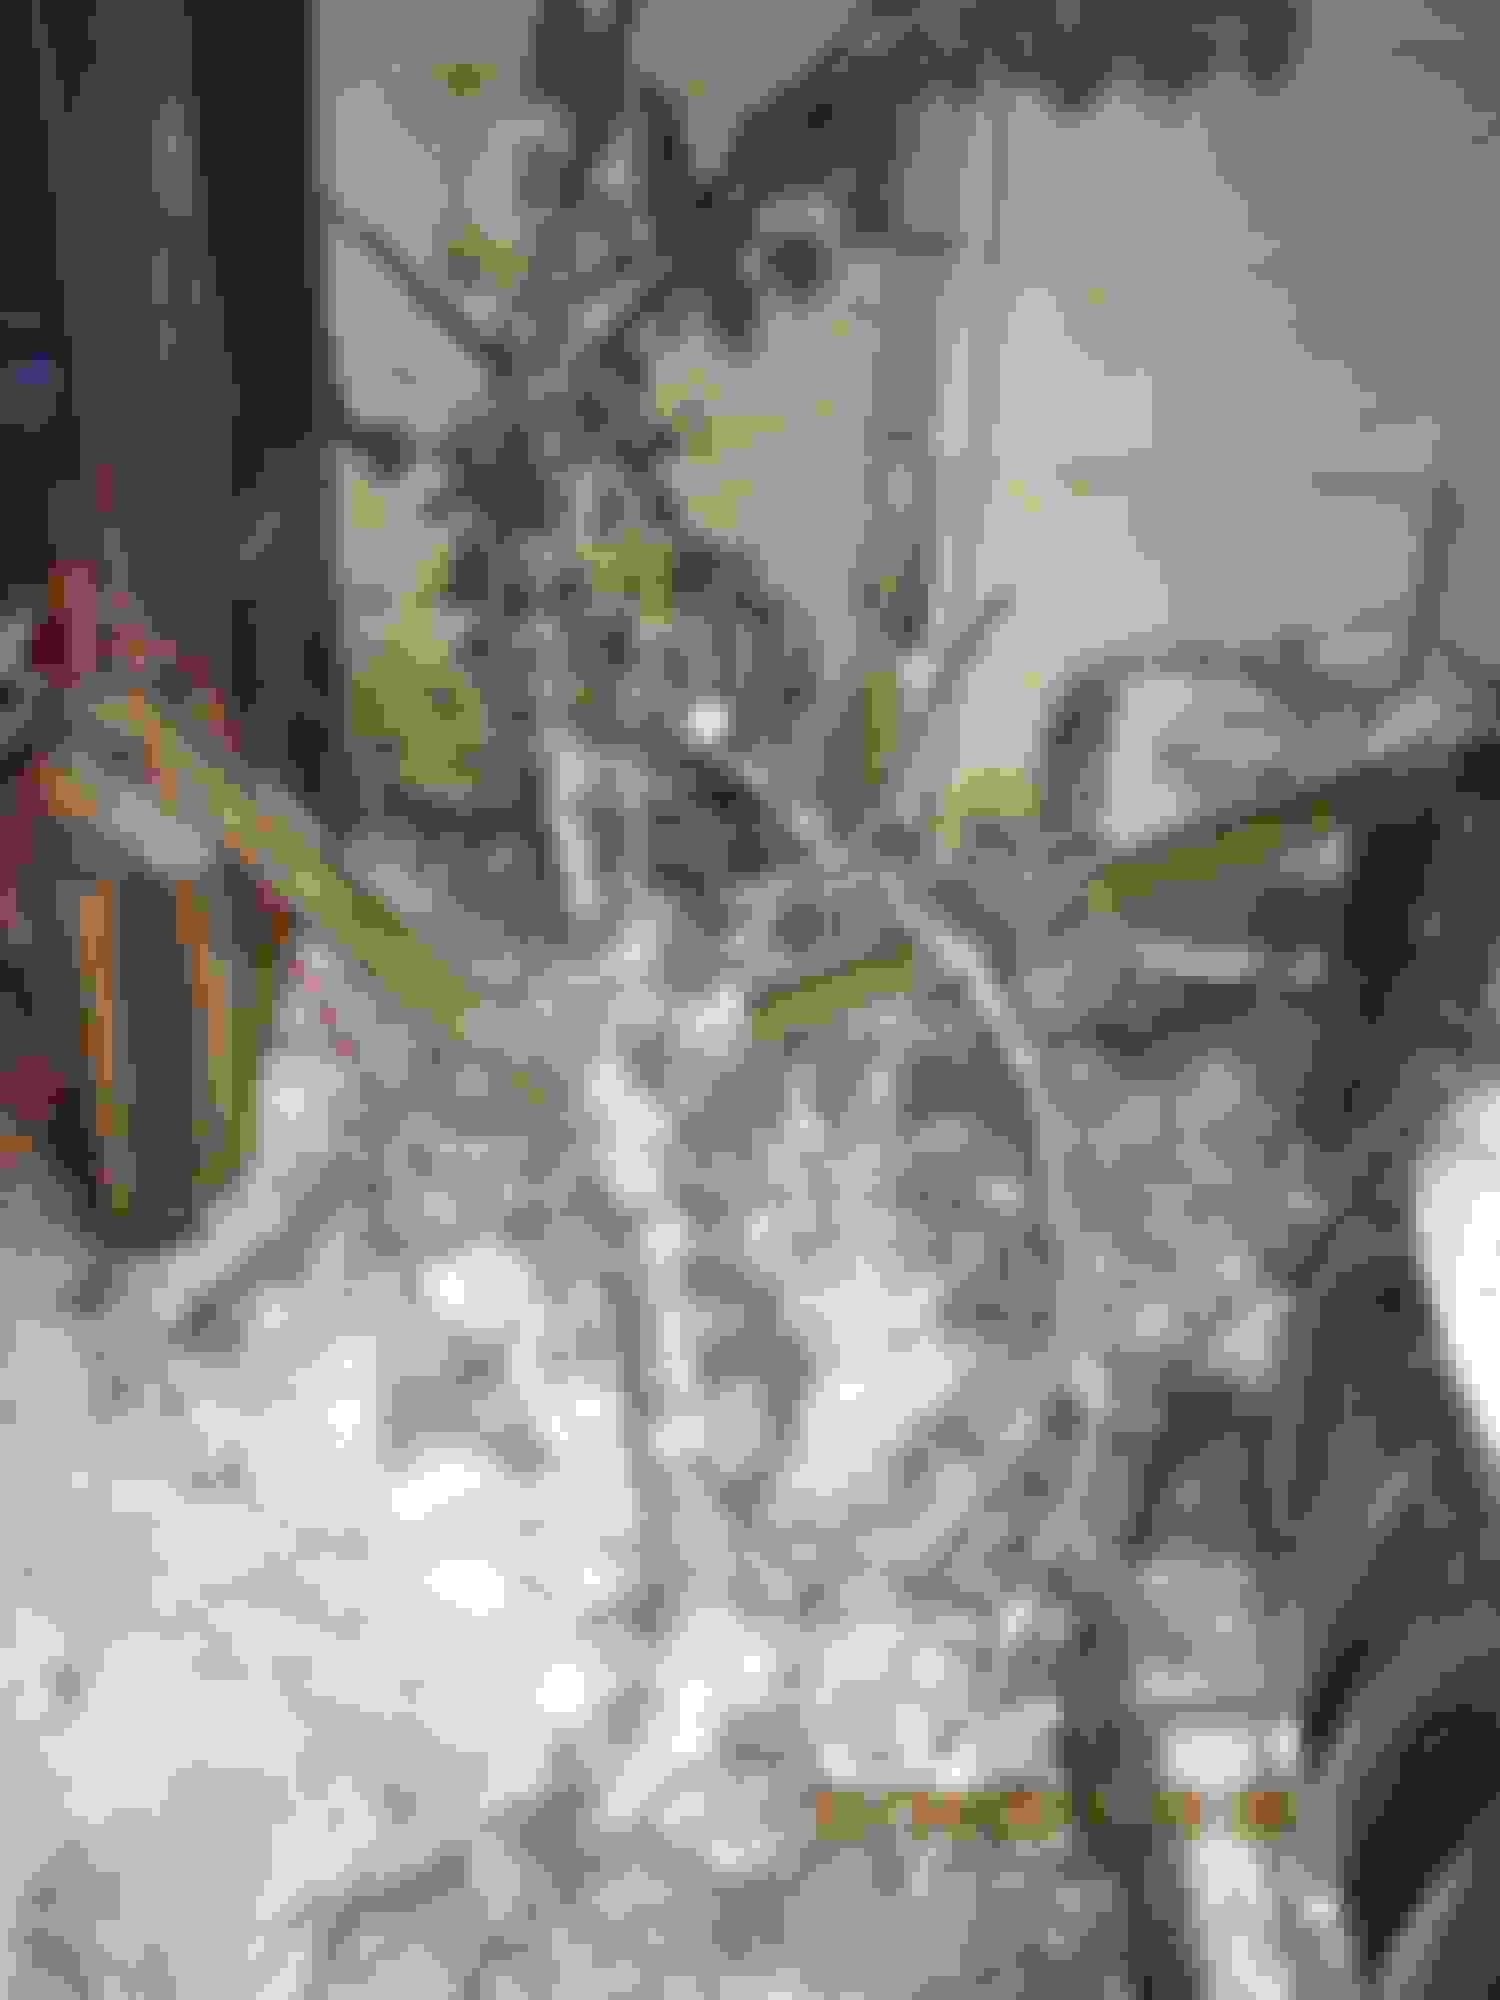
Anyone have any words of wisdom, advice or experience they'd care to share? I'll also be parting out the donor later (see pic) in a later thread (good GC except for drive train and mileage).
The only thing I can tell you is that inner fender support is a structural member that holds the upper mount for the spring, motor mount, and the steering box. It's imperative that it be welded in correctly to maintain the integrity of the unit body. You are fortunate that the front control arms are leading link so they weren't effected by the crash. You may be in better shape to swap the drive train into the donor instead, provided they are the same type. JMHO however.
2000 WJs are only worth around $1000 in perfect condition and before you're done getting to welded and re-assembled, you may be close to that.
Thanks for the words of wisdom, Dave. I just went out to look in the area you mentioned and that area was not touched in the incident, not even remotely.
As a frame of reference, I was in the middle of making a left hand turn East bound when he blew through the light from the North just glancing the corner of the vehicle, at a high rate of speed, at about a 45 degree angle and ripping the front fender off. You can seen the rubber mark on what's left of the bumper. That and the fact that the tire/wheel was not hit should give you a better idea of what I'm dealing with damage wise.
The only reason it's even on a tow truck is that the first thing I noticed when I got out was water spilling from the corner, thinking he got the radiator or maybe a hose. A storm was fast approaching and it starting raining and then storming only seconds after the incident (spent a considerable amount of time in the back seat of a Good Samaritan's SUV along with the Police Officer). The water I saw was just from the washer fluid reservoir. Had it not stormed like it did, I probably would have driven it home.
Sorry, from the photo, it looks like the inner panel just behind the radiator support isn't there. I guess the best way to tell is to see how everything lines up when you bolt on the fender. The airbag didn't go off, did it?
I just had a tree branch fall on my windshield, smashing it and denting the pillar and door just slightly, breaking off the mirror and knocking the door glass out of the track. That cost me $1500 before I was done, comprehensive insurance job.
No need for apologies, it looks worse than it is. It hasn't seen pavement since the accident but I've frequently had it up to 30-35 MPH in pastureland and it drives as straight, strong and smooth as before.
My main concern is replacing any of the inner metal where the header, fender and bumper needs to bolt up in the area. The great thing about having a donor is I have all the parts plus hardware I'll need to make this happen.
No, the airbag didn't go off.
Sorry about your branch troubles.
I think I'll start dis-assembling the donor soon, taking pictures and notes for my own benefit as well as anyone else that may benefit from it.
[Started disassembling the donor vehicle this afternoon and thought I'd document the steps I took for myself and anyone else who may find themselves in a similar situation at some point.]
Step #1: Remove Grill
This looked like an easy deal. Four Philips head screws on top, three in the front. Turns out there's more to it than that. What would we do without Google?
The bumper cover (see 1a) extends up behind the grill (in a similar form as the grill) and the grill is affixed to the bumper cover not only by the seven screws but also by plastic "posts" in each corner top and bottom.
The two top posts (see 1b) extend from the grill through the bumper cover and are affixed with metal washers that hold the materials together. These washers are thin (and obviously more than just washers) and are slit so they are pretty easy to remove. My Google search suggested using a flat blade screwdriver but I wound up using needle nose vice-grips to distort each washer at the slit and then pry them loose and pull them off from there. Should be able to reuse them on re-install.
My Google search suggested that the two bottom posts just needed to be "snapped off". That worked for me (see 1c) using the needle nose vice-grips.
This looked like an easy deal, too, and it was. Also found it a pretty common topic on the web.
A - Remove screw (9/32 socket) (see 2a).
B - Pry headlight assembly out. I started with a flat blade screwdriver wedging the pieces apart at the hole exposed by the screw (see 2b) and used my fingers from there. Both came out pretty easy for me.
C - Mark wires and remove each from assembly. I did this for my own benefit just "for the record" should I need to refer back later or use any wiring from the donor especially on the driver side.
I marked mine:
INSIDE HL
OUTSIDE HL
TURN SIGNAL
RUN LIGHT (Inside)
RUN LIGHT (Outside)
[Prior to this step, I removed the front wheels and secured the vehicle safely on jack-stands with blocks as safety nets. I also spent time looking for my lost reading glasses (found them) and repairing a ratchet that I damaged (fixed it) using a cheater bar on the lug nuts].
I didn't find anything of use either in the repair manual or online so I just dove in on this one. Turned out to be a pretty simple step.
A - Remove four rivets (see 3a) connecting the bumper cover to the fender liner; three easily visible and one further in and better accessible after those three are removed. The three are what I assume are the factory rivets with flat .675 plastic heads (not shown). I used a flat blade screwdriver and needle nose pliers to remove on one side and switched to a box cutter on the other side. The one further in is similar but larger and I used a box cutter to cut both of them. Each of these come off pretty easy.
B - Remove two nuts on fog light assembly (see 3b, nuts already removed) and remove assembly from bumper cover.
C - Remove connection from assembly (see 3c). Once separated, I marked the driver side fog light assembly DS and the passenger side PS.
A - Remove 1 rivet each side near head light area (see 4a). I used a hacksaw blade to cut these as that was the one thing I had that would reach easily. I also kept (as I've done with all hardware) and photographed the remains for future reference.
B - Remove 1 bolt each side attaching bumper cover to fender (see 4b).
C - Remove 3 rivets along bottom (see 4c). I first thought these were bolts but it turned out they're some sort of plastic rivets that may be re-usable (see 4d) that I removed using needle-nose vice grips.
Now that everything up front has been stripped off, the header is ready to be removed. I ultimately had to disconnect/detach some wiring after removing the mounting screws, but one can be done before removing header.
A - Detach wiring assembly and connector (not sure what this is for) from passenger side of header (see 5a). There's a screw visible from the backside and a simple pop-in cable tie that needs to be popped out.
B - Remove six mounting screws from the header.
I started with the 2 on top (see 5b). In my case, the passenger side bolt was in place but the plastic mounting flange (or whatever it's called) was broken and the bolt and the flange on the driver side were missing. Obviously someone has been into this area of the vehicle before. Before starting the disassembly I noticed that the driver side headlight seemed to be loose at some point in the system - this would explain the loose feeling. I don't recall checking the passenger side headlight (damage I'm repairing is on the drivers side) but I probably would have felt the same thing there. I'll need to rig something to neutralize this problem on rebuild.
Remove remaining 4 bolts, 2 in center and 1 on each end.
C - Pull away header and disconnect headlight wiring at the now exposed wire harness connections on either side. (Before removing the header I thought I'd have to enlarge the hole (see 5c) where the wiring feeds through on either side.) To disconnect, dislodge and then remove the red tab (see 5d) and then use a small flat edge screwdriver to pry up black retaining tab and pull apart. (While the wiring remains intact on the wrecked vehicle, having this ready to plug in headlight wiring complete with bulbs, etc. will make the rebuild easier.)
Four rivets holding the fender liner in place had been removed during step #3 to access the fog lights. At this point there were only five more left (making 9 total). I first thought there were 4 but found 1 more near the bottom towards the front attaching it close to the inner sheet metal. Each of these remaining ones were the flat plastic 1 inch disk type (see 6a). I'm sure I'll learn more about these on rebuild when I'm trying to replace them.
I started out by only loosening the fender bolts at first until I knew where they all were. I also started out using the 6-point star bit in a interchangeable screw driver for the top bolts then switched to the 10mm socket.
A - Loosen top bolts 3 places (see 7a).
B - Loosen 2 side bolts at front (see 7b).
C - Remove skirt (or whatever it's called) from lower fender; 2 screws, 2 push/retaining tabs and double-sided tape (see 7c).
D - Remove inner foam where fender meets door (see 7d).
E - Remove long bottom skirt (1 screw behind front wheel, 1 in front of rear wheel and 9 retaining tabs in between) to gain access to 2 bottom bolts (see 7e).
F - Loosen 2 bolts at bottom of fender (no pic).
G - Remove 2 inside bolts near door hinges (see 7g). These were odd bolts but used the same 10mm deep well socket as the rest.
H - Remove top bolt (1 of 3) underneath the hood hinge (see 7h). I had to carefully remove the 2 hood hinge bolts adjacent to this bolt and hold the hood steady with my shoulder while I removed the fender bolt then replace the hood hinge bolts. The fender flange is designed to slip in or out with the hood hinge in place.
I - Remove two side bolts (see 7b), remove 2 bottom bolts (see step 7f, no pic), remove 2 remaining top bolts (see pic 7a).
These units have 2 hoses that fit into and are encased by the plastic case of the reservoir. Mark the hoses that these hoses connect to under the hood prior to disconnect. I marked mine "Front" and "Rear".
B - Disconnect electrical connections on back of unit 2 places (see 8b).
C - Remove 2 bolts inside fender well (see 8c).
D - Remove 3rd bolt under hood near neck of bottle (see 8d).
E - Maneuver plastic flange out of metal slot (see 8e) and pull unit down to expose final electrical connection.
F - Disconnect 3rd and final electrical connection from front of unit (see 8f).
G - Work entire unit downwards and remove (work plastic flange beneath base of metal and twist unit while pulling down.)
Detach electrical chassis connectors 4 places (see 9) and secure wiring out of the way. The donor vehicle is now prepped and ready for cutting out metal needed for other vehicle.
IDK if this helps you or not, but when I bought my WJ, it had these things on the headlights. I found out from talking to bodyshop guys that it's a fix for shaky headlights. After a while the ball sockets on the back of the headlight housings get a little worn and the headlights tend to shake a bit. This fixes that problem.

 06-12-2017, 01:50 PM

 The airbag didn't go off, did it?