
WARR-WAGON/ tow rig
 05-24-2009, 11:14 PM
#1
Senior Member
Thread Starter

(from the beginning)
ok so i been gone for quite a while so here is my new contribution.
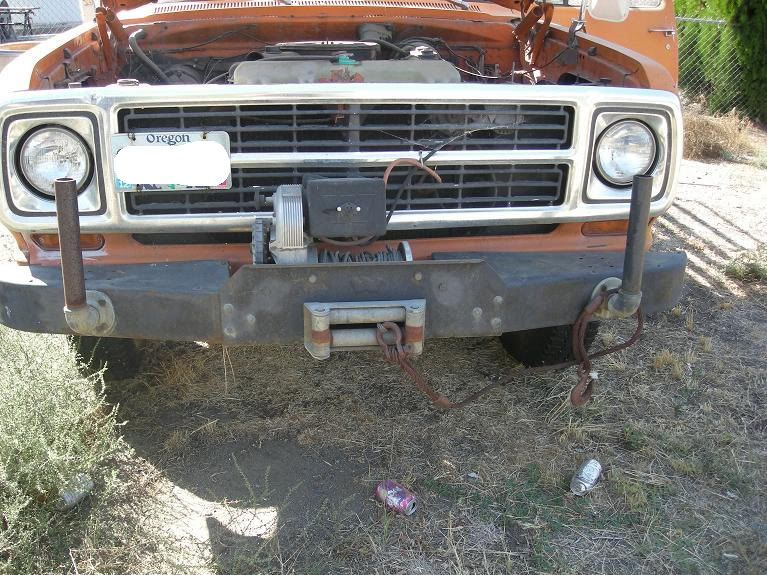
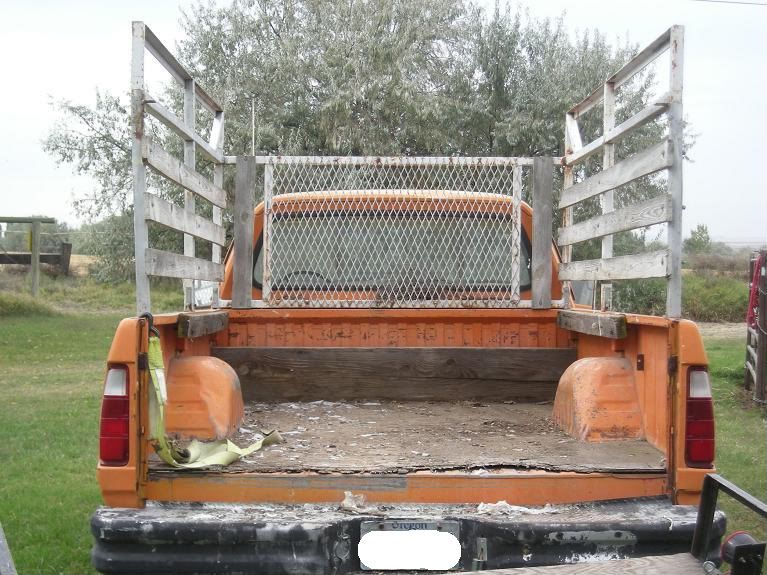
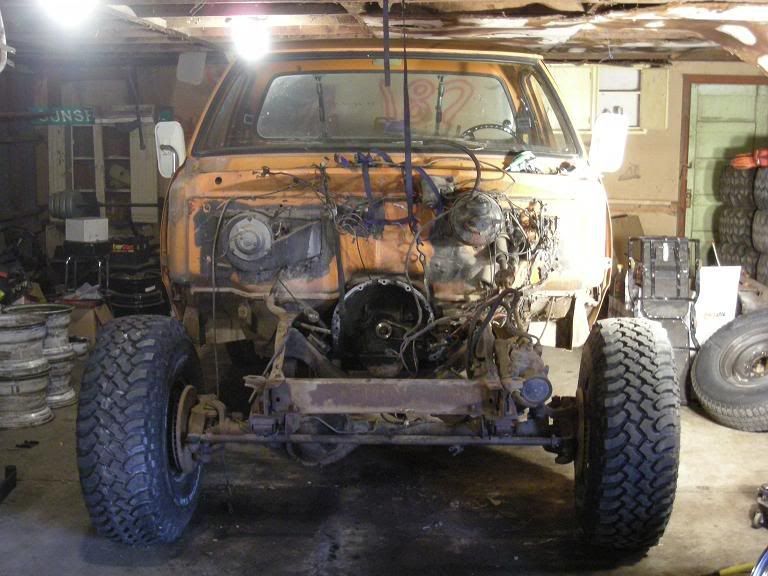
i bought this (or am buying) from an old co-worker. its a 1980 dodge W200 4x4, the last of the powerwagons. 360 (runs) 4speed 205 transfercase, HD44 front, 60 rear, warn 8274 winch, it used to be a DOT truck.
plans:
crate motor
lift
rear winch
tool box
canopy
lights
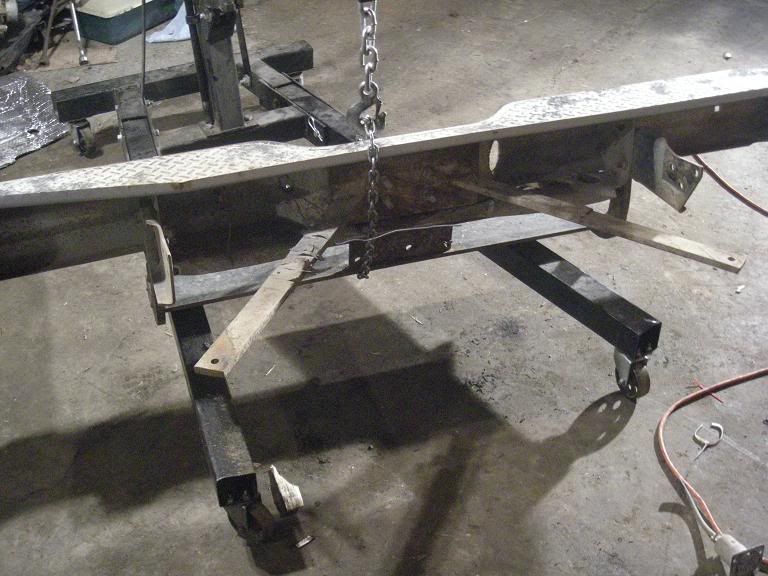
rear bumper (with swing out tire carrier)
dual batteries
new seat
extra rack over canopy
inner airlock double beadlocks
OBA (york)
onto the pics:
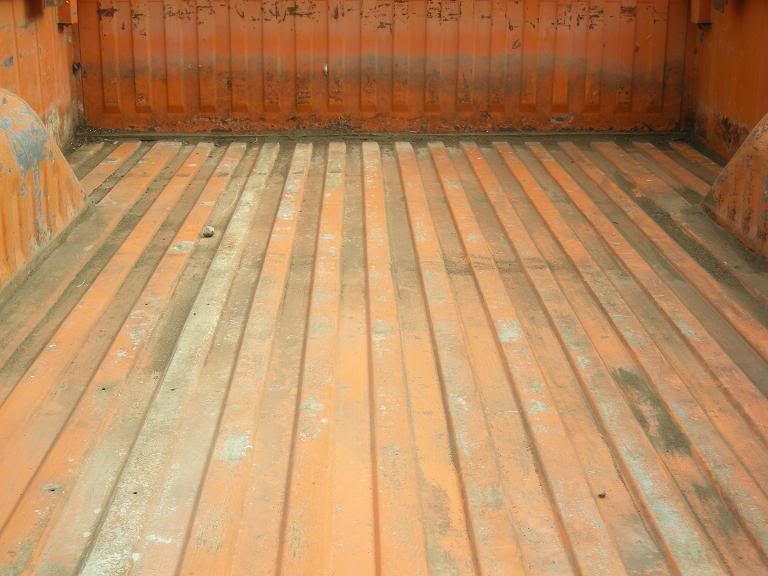
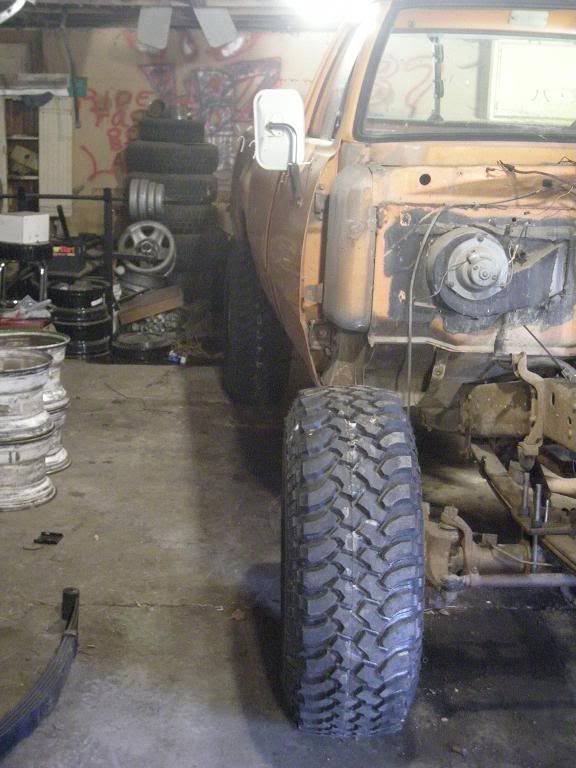
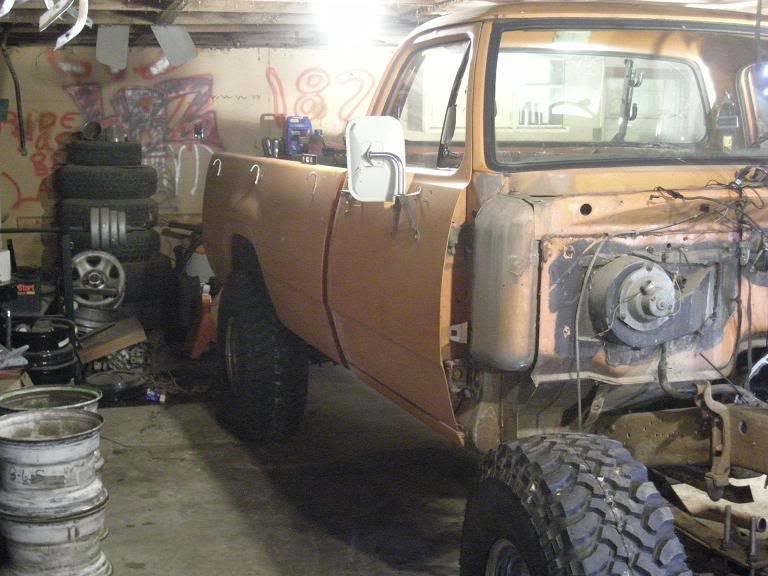
when i brought it home
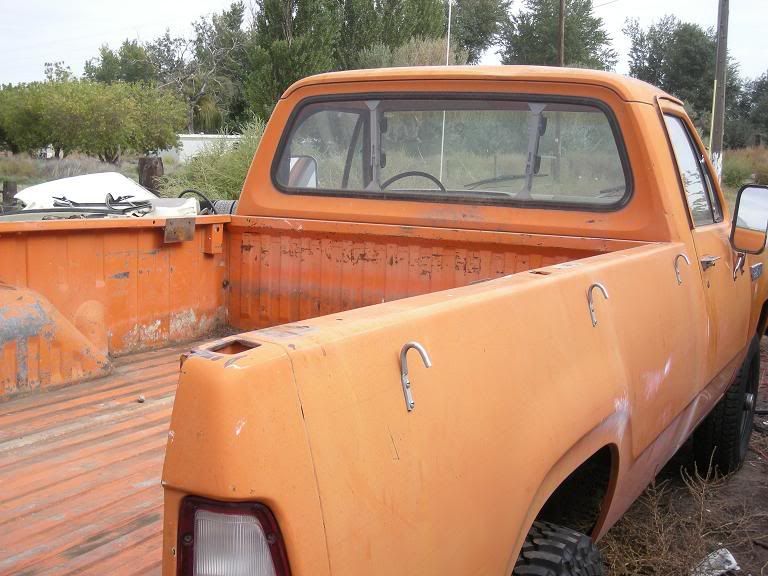
put a set of 35"s on the rear but they wouldnt mount up on the front cause they are 15" rims and it takes 16" rims to clear the calipers. but this can be worked around.

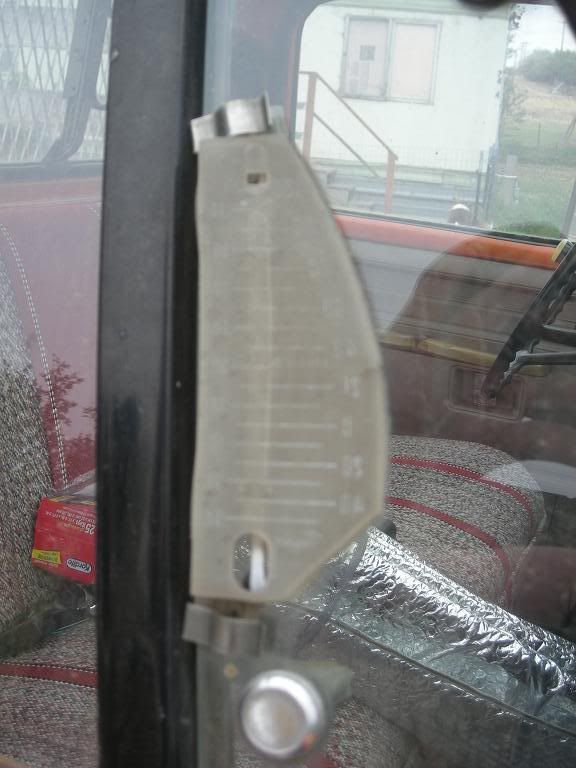
old skool outside temp guage
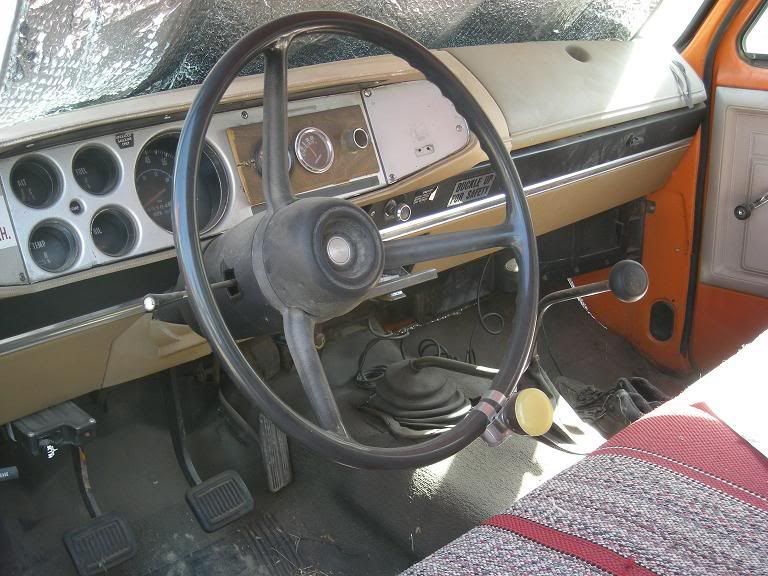
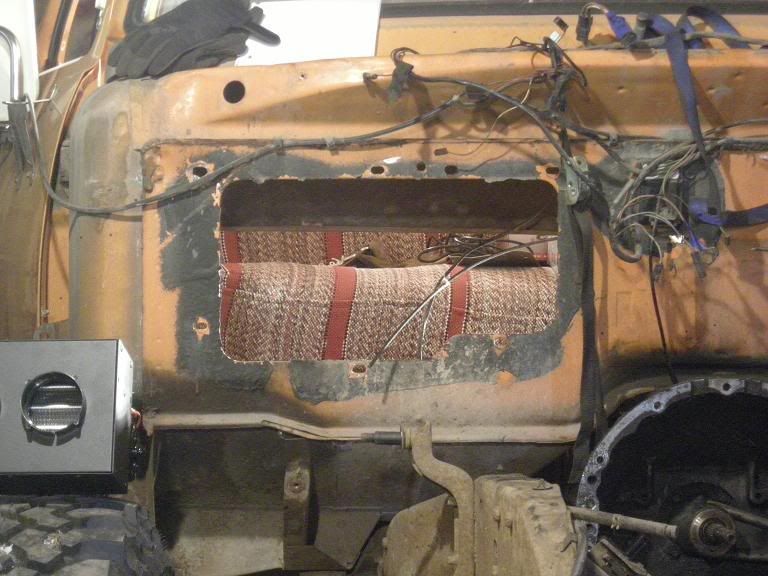
the PO told me there was some rust in the driver side floor board but he took care of the rust and fiberglassed it. yah his fiber glass was a piece of plastic shower wall screwed down.
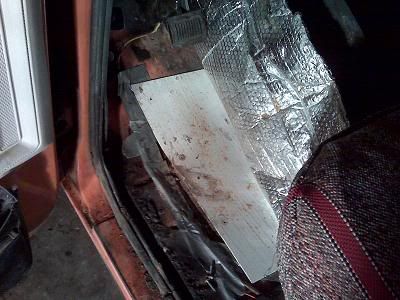
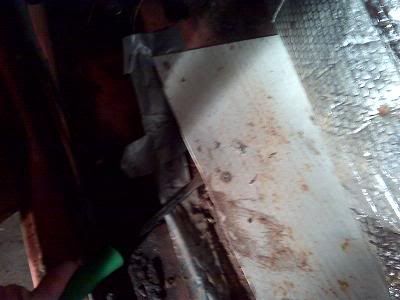
so i fixed it the other night
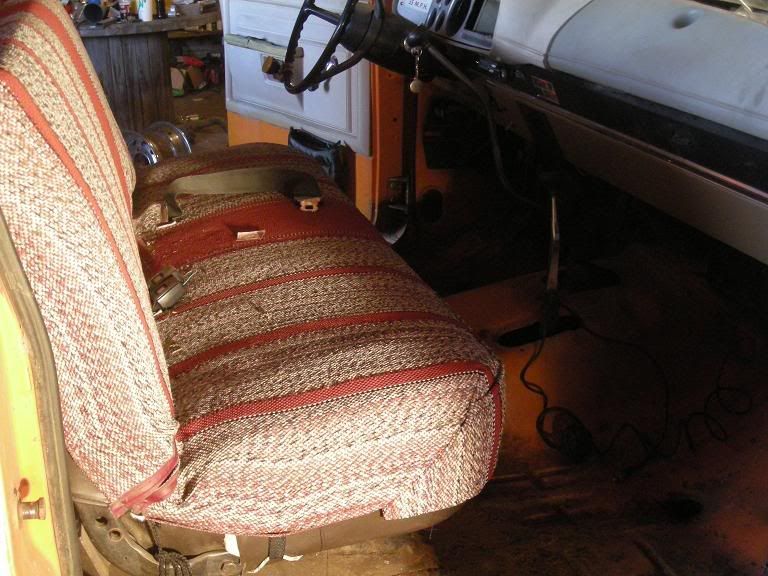
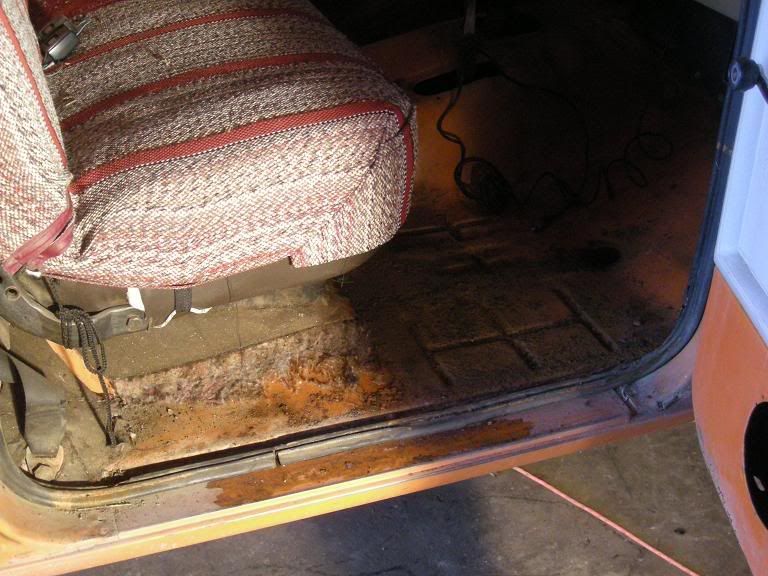
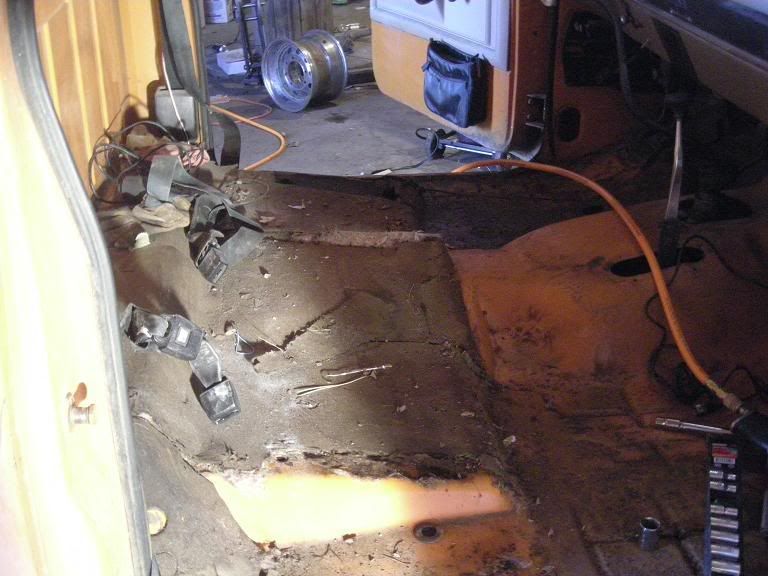

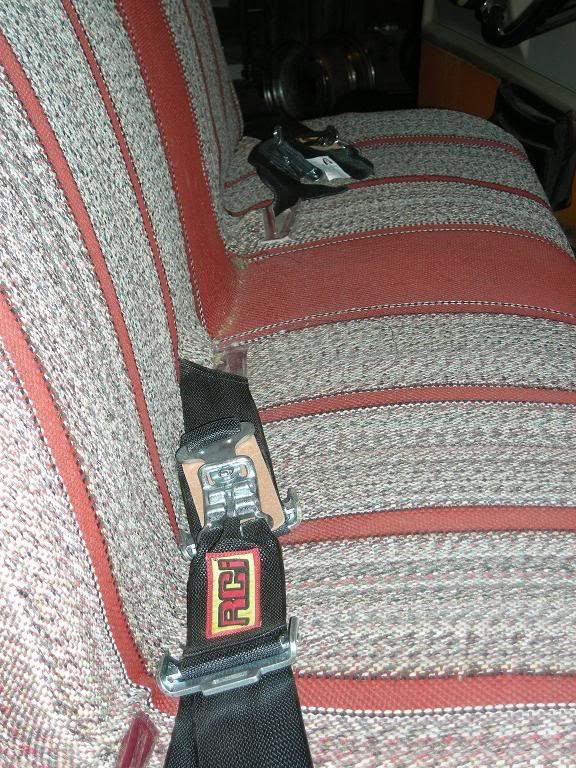
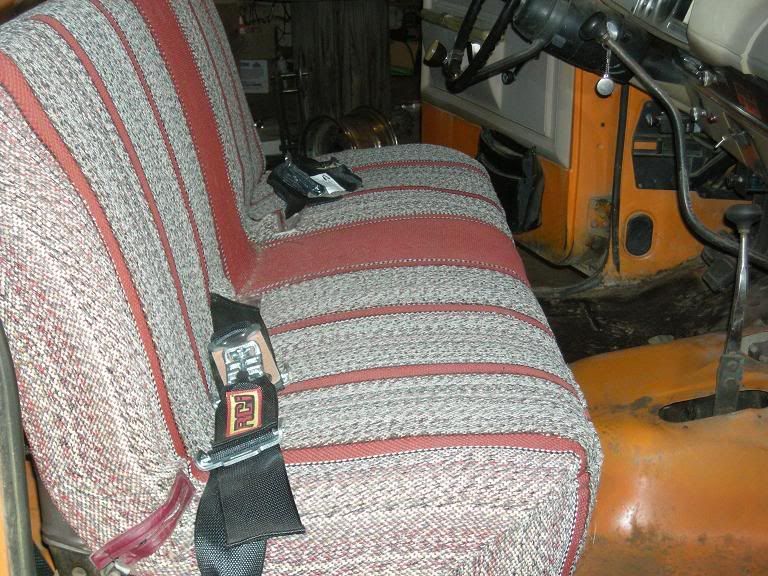
the seat belts were broke so i threw in some spares till i get the new seat
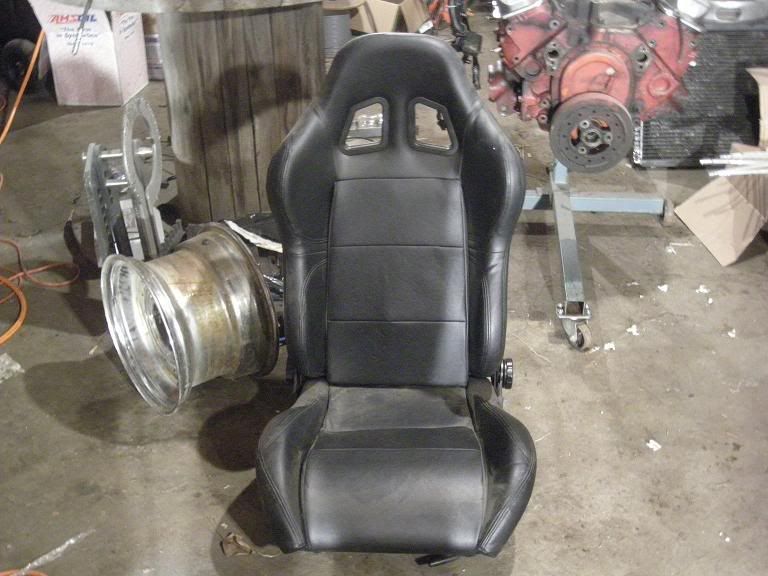
i thought about putting a set of these in since i have them but they arent the easiest to ride in all the way to the coast.
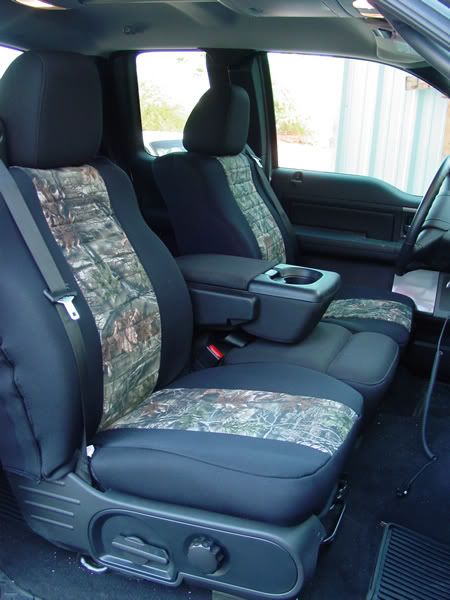
id like to put something like this in, 40/20/40 with flip down center console and built in seat belts.
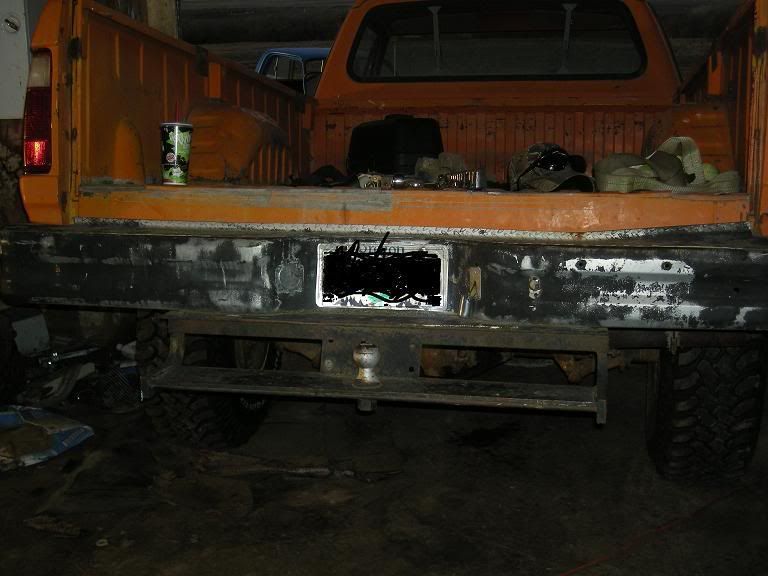
yesterday i started on the rear bumper, but i have a cold so i only worked for like 10 minutes.
ok so i been gone for quite a while so here is my new contribution.
i bought this (or am buying) from an old co-worker. its a 1980 dodge W200 4x4, the last of the powerwagons. 360 (runs) 4speed 205 transfercase, HD44 front, 60 rear, warn 8274 winch, it used to be a DOT truck.
plans:
crate motor
lift
rear winch
tool box
canopy
lights
rear bumper (with swing out tire carrier)
dual batteries
new seat
extra rack over canopy
inner airlock double beadlocks
OBA (york)
onto the pics:
when i brought it home
put a set of 35"s on the rear but they wouldnt mount up on the front cause they are 15" rims and it takes 16" rims to clear the calipers. but this can be worked around.
old skool outside temp guage
the PO told me there was some rust in the driver side floor board but he took care of the rust and fiberglassed it. yah his fiber glass was a piece of plastic shower wall screwed down.
so i fixed it the other night
the seat belts were broke so i threw in some spares till i get the new seat
i thought about putting a set of these in since i have them but they arent the easiest to ride in all the way to the coast.
id like to put something like this in, 40/20/40 with flip down center console and built in seat belts.
yesterday i started on the rear bumper, but i have a cold so i only worked for like 10 minutes.
 05-24-2009, 11:16 PM
#2
Senior Member
Thread Starter
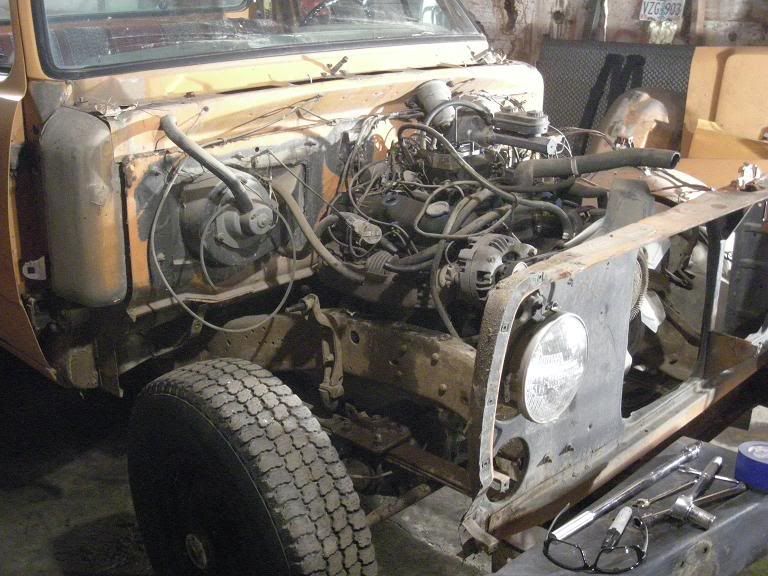
ok got the truck into the shop this afternoon. pulled the hood, grill, and pipes off the bumper and my camera batteries died. then i painted the grill, pulled the radiator reservoir, fan shroud and drained the radiator. when i pulled the pipes off the bumper there was rust and crap behind them, luckily only surface rust.


did some more work on the truck today, pulled the radiator, winch, fenders. my damn camera runs through batteries like crazy so i ended up using my camera phone.


apparently they used this spot for storage lol


did some more work on the truck today, pulled the radiator, winch, fenders. my damn camera runs through batteries like crazy so i ended up using my camera phone.
apparently they used this spot for storage lol
05-24-2009, 11:17 PM
#3
Senior Member
Thread Starter
got the wiring labeled out and took pics of where things are connected, unbolted the exhaust manifolds and its a good thing i am getting a crate motor cause when i broke loose the manifold water poured out of the no 7 cylinder. finished pulling the inner fender on the drivers side and just getting things ready.
the grill painted (needs another coat)


the grill painted (needs another coat)
05-24-2009, 11:19 PM
#4
Senior Member
Thread Starter
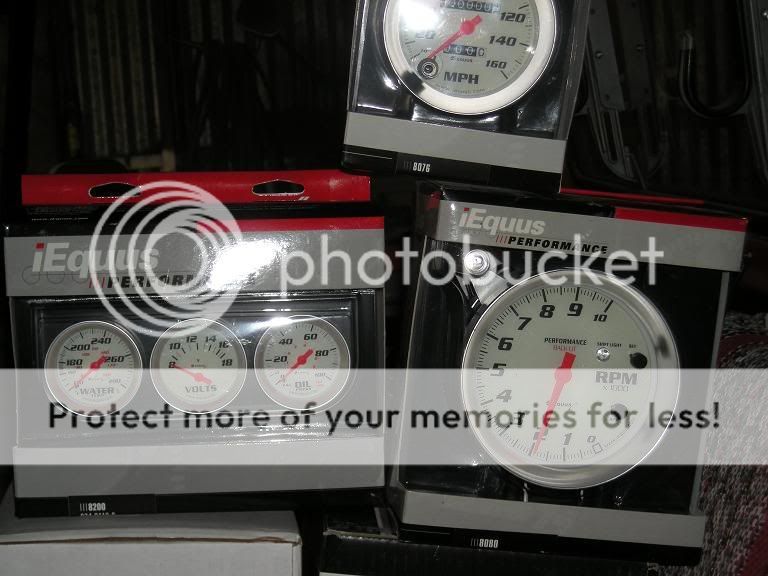
i picked up my parts, took some pics of some of the goodies but my camera batteries died so they re recharging right now.
oh yah
thats sexy right there (with rev limiter)
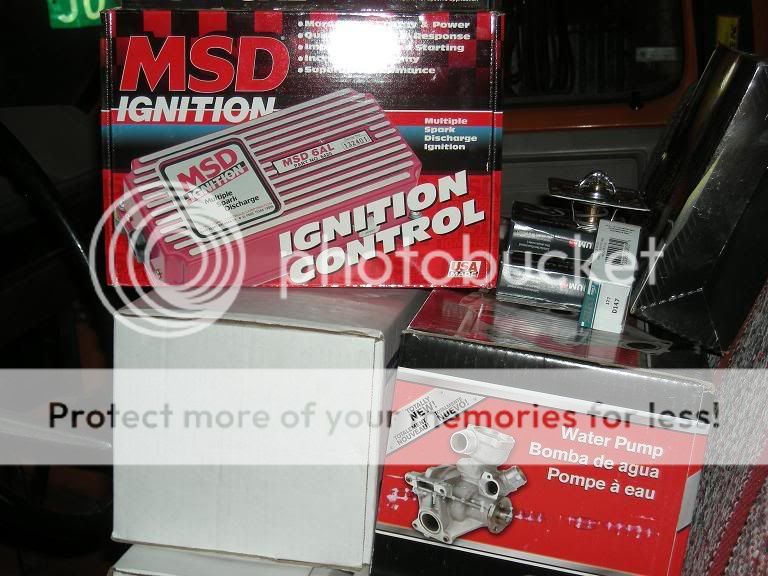
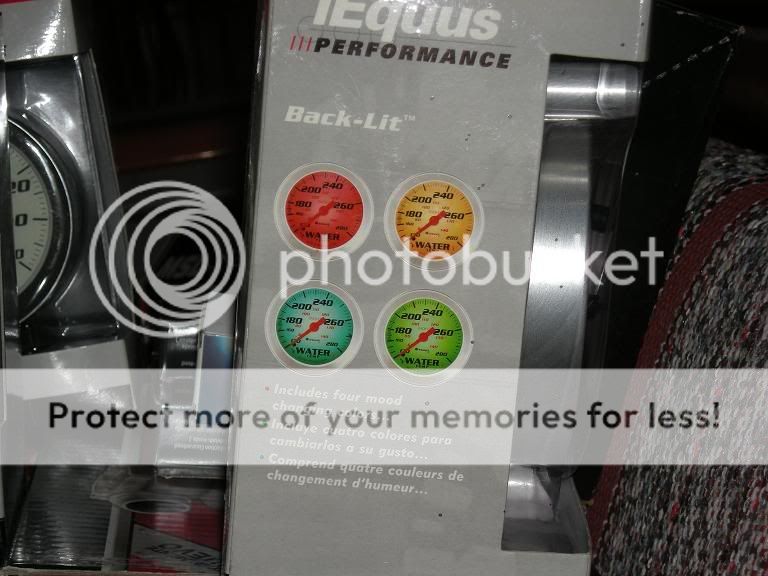
color changing
they had just got freight in when i was there so i couldnt get my engine (it was blocked in). so i went back in the afternoon and got it and my new 3 core radiator. now the fun will begin. i will have to get a comparison picture of the 60 amp alt. and the 100 amp alt, lol its almost comical lol.
heres is a pic of the stock alt compared to the 100 amp alt.

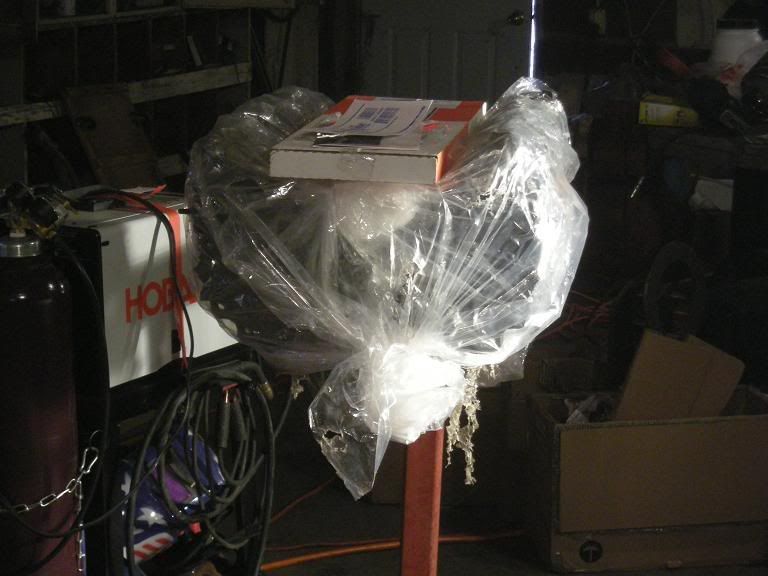
spent today building a new welding cart to hold the welder and my new plasma. :wings:

carts still not done yet, i was test fitting everything
oh yah
thats sexy right there (with rev limiter)
color changing
they had just got freight in when i was there so i couldnt get my engine (it was blocked in). so i went back in the afternoon and got it and my new 3 core radiator. now the fun will begin. i will have to get a comparison picture of the 60 amp alt. and the 100 amp alt, lol its almost comical lol.
heres is a pic of the stock alt compared to the 100 amp alt.
spent today building a new welding cart to hold the welder and my new plasma. :wings:
carts still not done yet, i was test fitting everything
05-24-2009, 11:21 PM
#5
Senior Member
Thread Starter
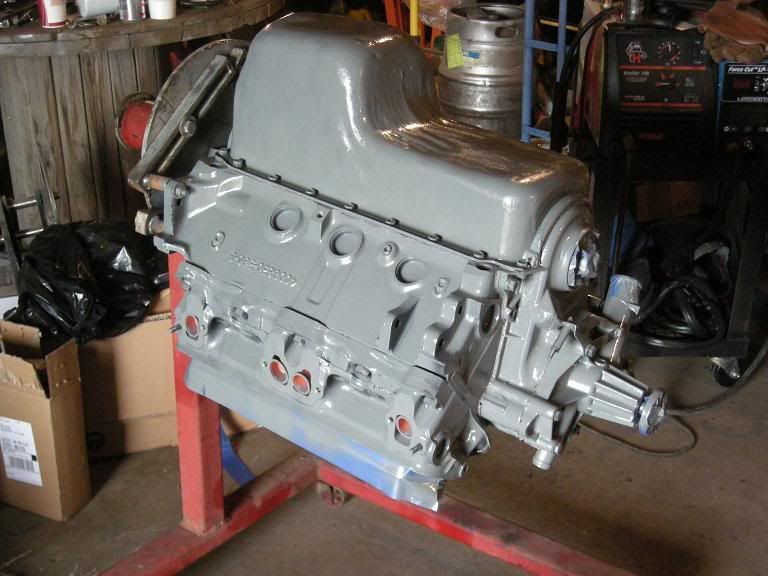
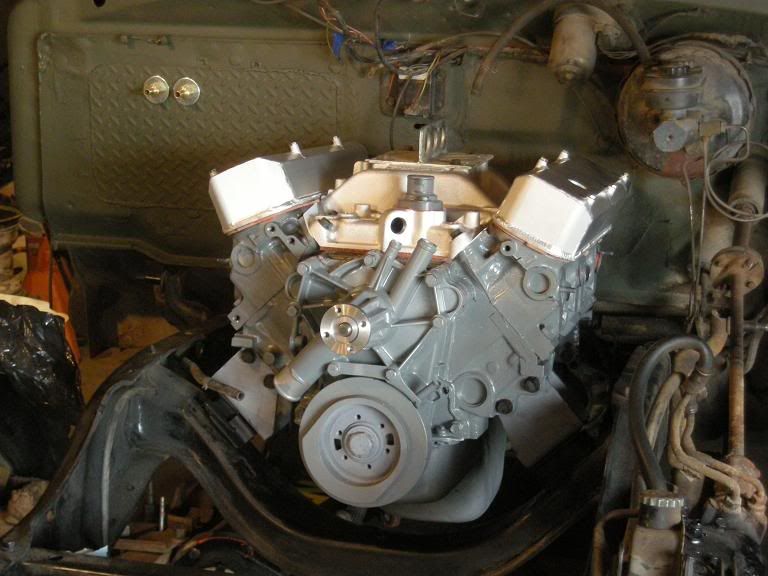
new engine still wrapped up till i get the sheetmetal all cleaned up and ready to put on.
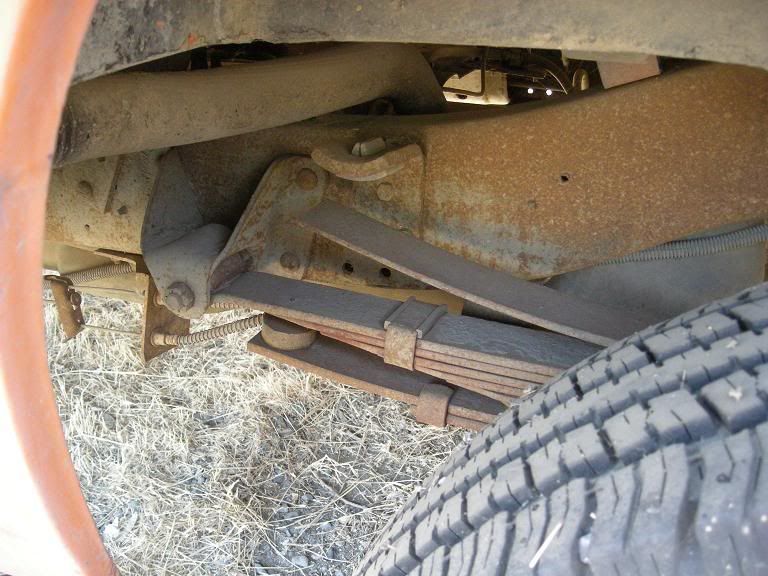
here you can see how flat the old springs were
and with the helper spring

not sure why all these holes were drilled in the frame but i am going to weld them up

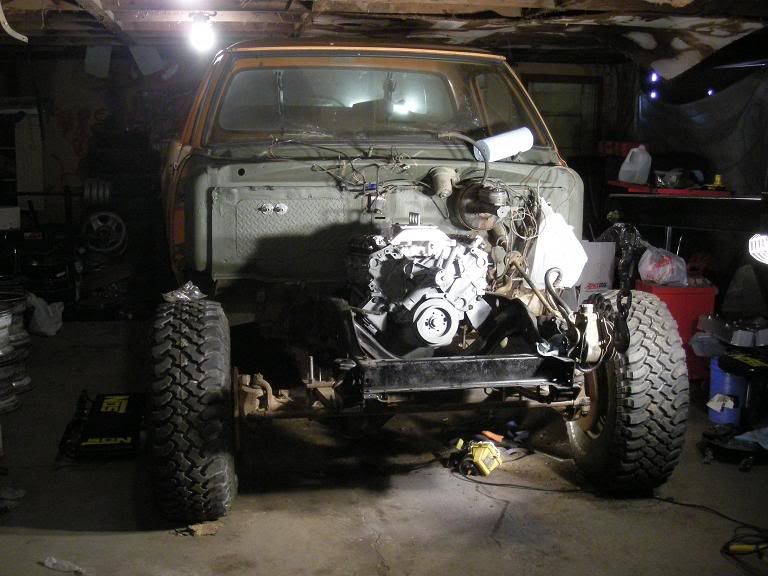
got my BFG's mounted on a different set of wheels with less back spacing, mounted them on the truck and without the engine in its almost level on the bed.
got the old heater core out, didnt come out as simple as i had planned, im going to weld in a piece of sheetmetal to fill the hole. then i have a summit brand mojeve heater to mount inside.
it sits at 23 3/4" t the pinch seam.
here you can see how flat the old springs were
and with the helper spring
not sure why all these holes were drilled in the frame but i am going to weld them up
got my BFG's mounted on a different set of wheels with less back spacing, mounted them on the truck and without the engine in its almost level on the bed.
got the old heater core out, didnt come out as simple as i had planned, im going to weld in a piece of sheetmetal to fill the hole. then i have a summit brand mojeve heater to mount inside.
it sits at 23 3/4" t the pinch seam.
05-24-2009, 11:23 PM
#6
Senior Member
Thread Starter
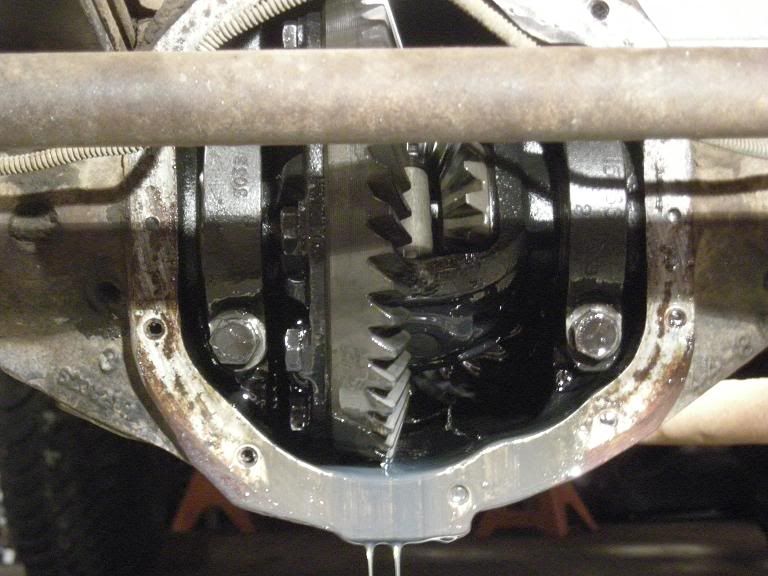
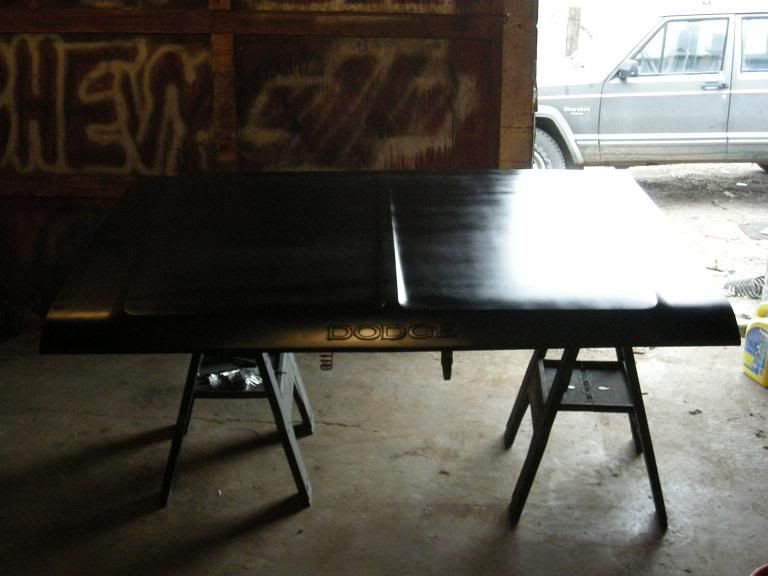
went out today for a few hours after i got off work, doesnt really feel like i did much cause i kinda just bounced around. i pulled the motor mounts off the cross member, the driver side was fun. painted some of the front frame section. pulled the front diff cover and cleaned it up and painted it, inside the diff didnt look bad, a ittle bit of metal grind in there but no chunks or anything like that and the fluid looked fairly new. also started to sand the hood down, i dont know about anyone else but MOPAR to me just screams blacked out hood ;D
thats a 2 foot pipe wrench and a 3 foot pipe on my half inch drive
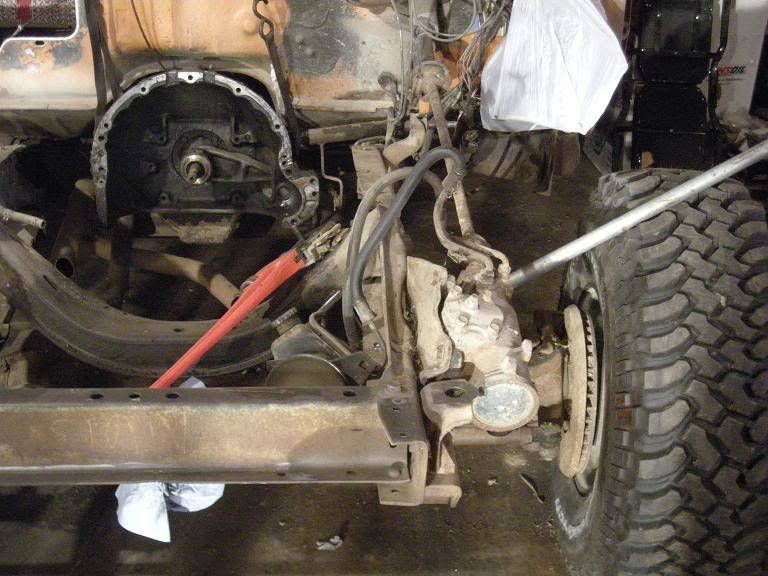
installed the front diff cover today
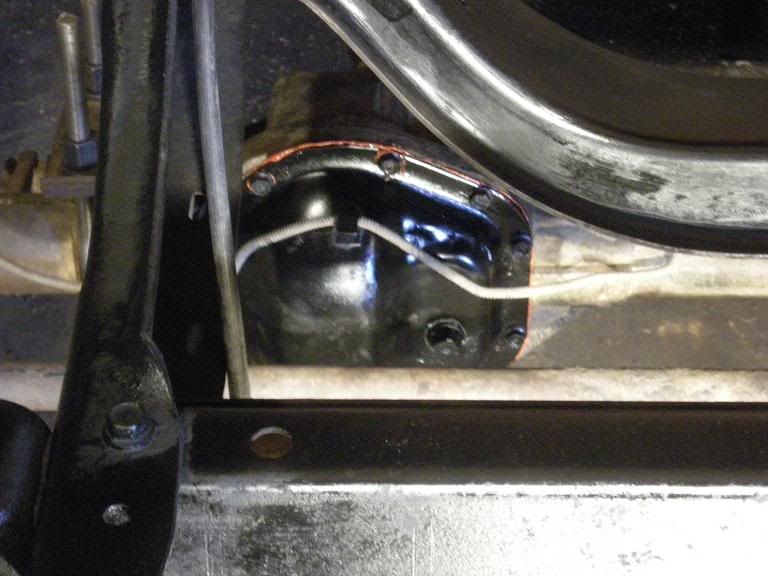
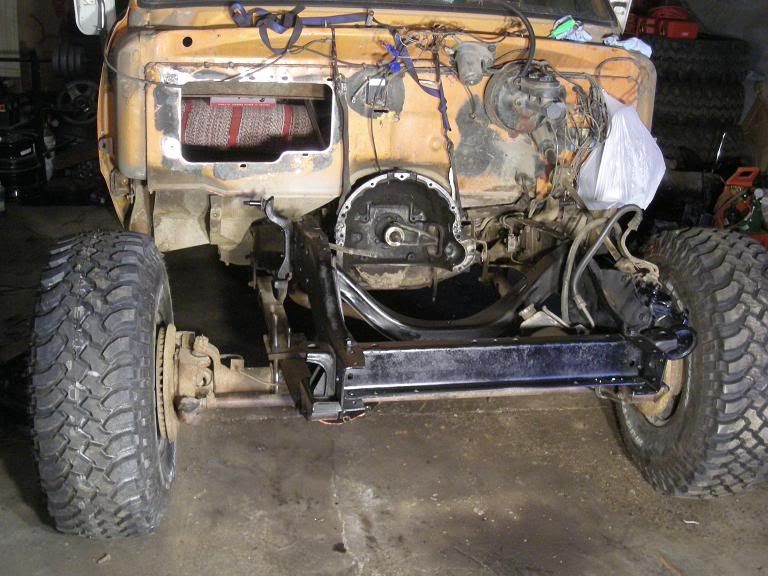
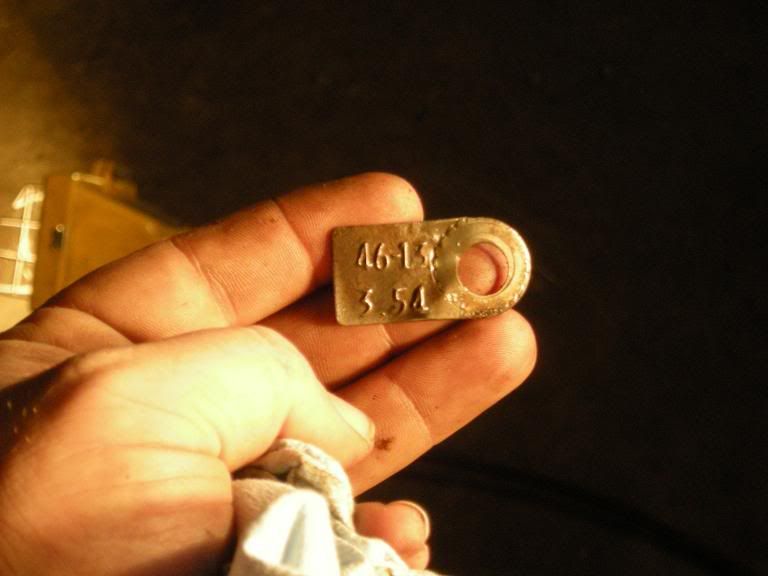
found the diff tag on the rear when i pulled the diff cover. the fluid in the front axle wasnt too bad but the rear diff must have been the red headed stepchild, 3.54 gears (not what id hoped for but oh well)
and the first coat of semi gloss on the hood
kinda splurged a little this morning. i tried to clean up the valve cover but there is so much crap baked onto the inside and i couldnt get it all out of there and i didnt want to chance any of it getting into the new motor so here we go
Fabricated Small Block Mopar Aluminum Valve Covers
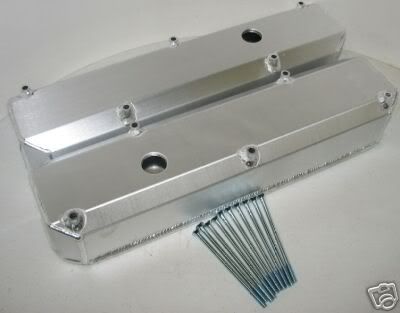
These are a fully TIG welded aluminum cover. Thick 1/4" billet rail. 1 1/4" baffled breather holes. 3.5" tall. Includes bolts.
thats a 2 foot pipe wrench and a 3 foot pipe on my half inch drive
installed the front diff cover today
found the diff tag on the rear when i pulled the diff cover. the fluid in the front axle wasnt too bad but the rear diff must have been the red headed stepchild, 3.54 gears (not what id hoped for but oh well)
and the first coat of semi gloss on the hood
kinda splurged a little this morning. i tried to clean up the valve cover but there is so much crap baked onto the inside and i couldnt get it all out of there and i didnt want to chance any of it getting into the new motor so here we go
Fabricated Small Block Mopar Aluminum Valve Covers
These are a fully TIG welded aluminum cover. Thick 1/4" billet rail. 1 1/4" baffled breather holes. 3.5" tall. Includes bolts.
05-24-2009, 11:25 PM
#7
Senior Member
Thread Starter
in between the coats of herculiner i put on the floor boards of my XJ i painted the engine with high heat 500 degree paint. i prefer the color of grey just because it is easier to see any leaks that arise.
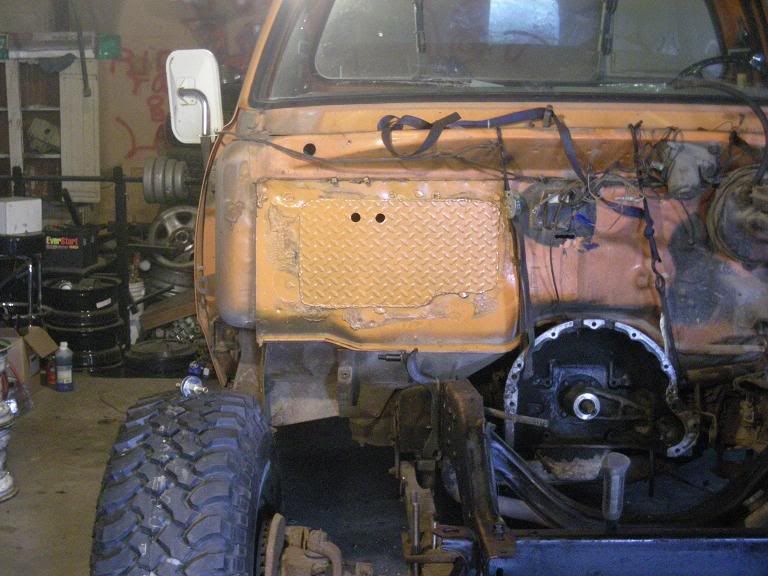
so after we put the interior back into the XJ, i cut out my first piece with my plasma cutter

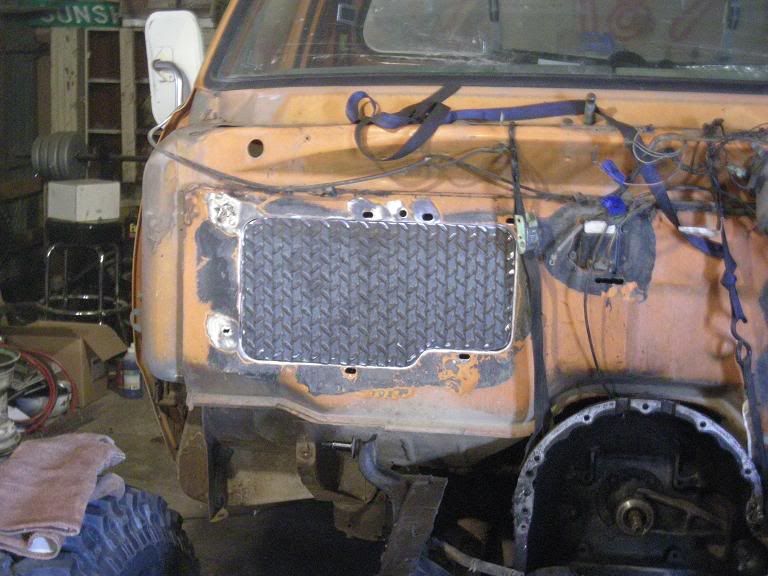
but i didnt make some of my corners right and i cought my hose on my clamp and took a bigger slice out of one spot, plus i decided i wanted the diamond tread on the inside of the engine bay so i cut a ew piece. it turned out alot better, here it is fitting in place.
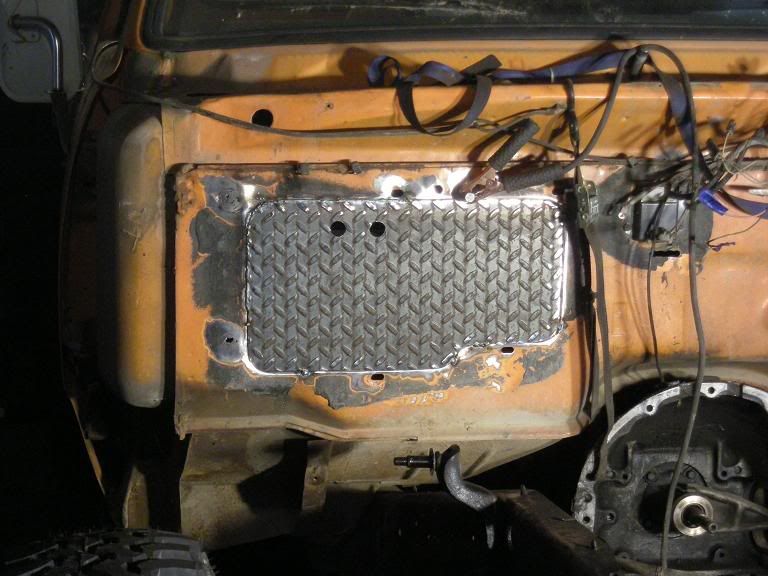
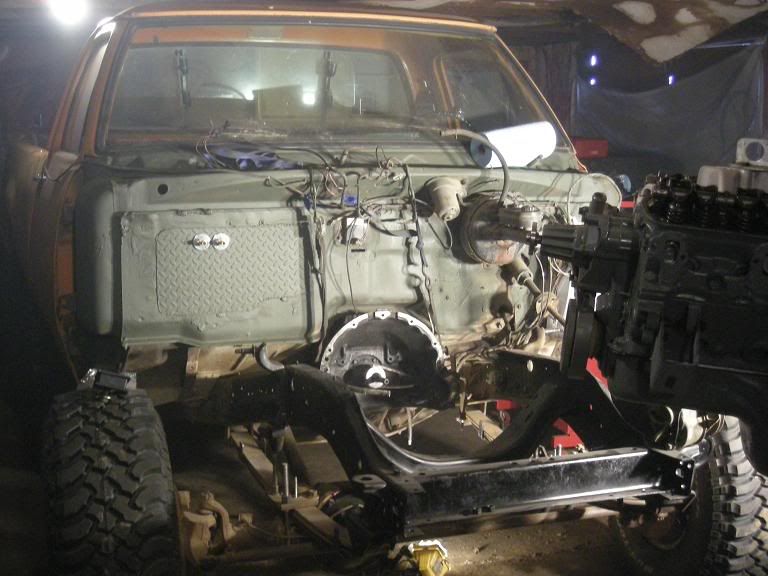
half way welded in and with the two holes drilled in it for the hose fittings for the new heater
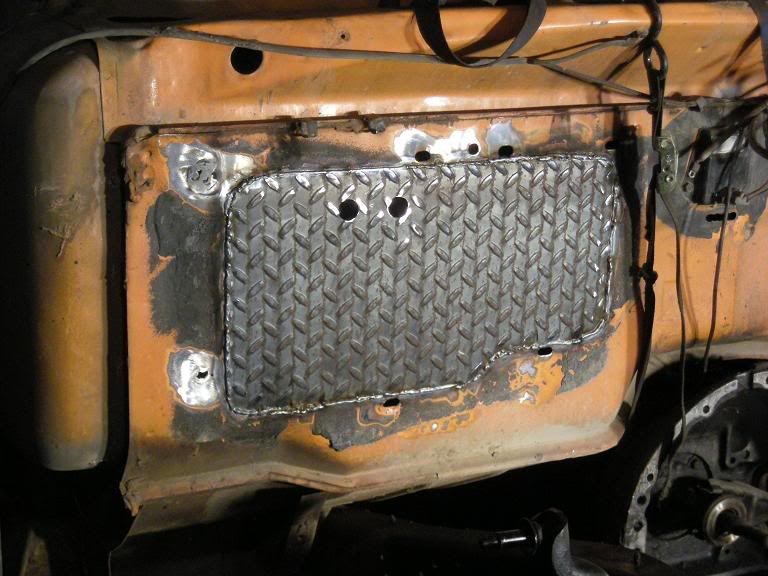
fully welded, then after this picture i finished welding the old mounting holes but dont have a pic of that yet.
so after we put the interior back into the XJ, i cut out my first piece with my plasma cutter
but i didnt make some of my corners right and i cought my hose on my clamp and took a bigger slice out of one spot, plus i decided i wanted the diamond tread on the inside of the engine bay so i cut a ew piece. it turned out alot better, here it is fitting in place.
half way welded in and with the two holes drilled in it for the hose fittings for the new heater
fully welded, then after this picture i finished welding the old mounting holes but dont have a pic of that yet.
Trending Topics
05-24-2009, 11:26 PM
#8
Senior Member
Thread Starter
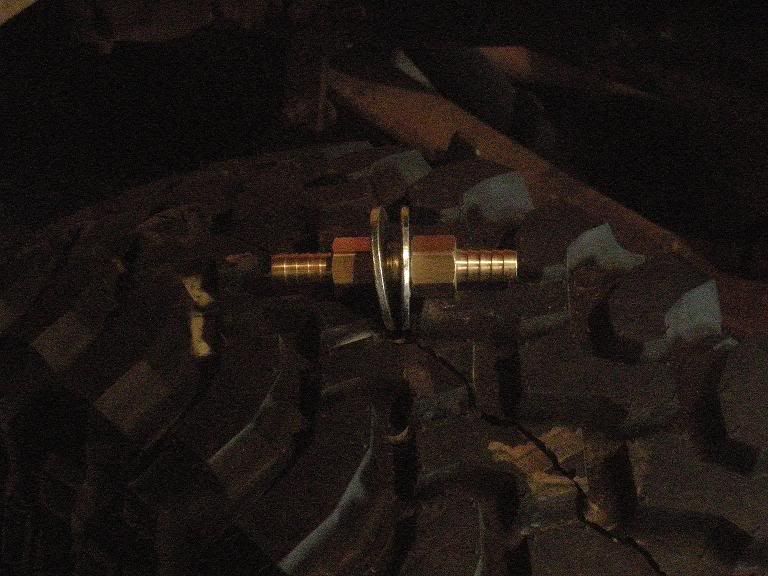
instead of using a rubber grommet and just pushing the heater hose through the firewall i came up with this. just a coupler and two barbed fittings that will smash the firewall between the big washers.
i think i found an orange that closely matches
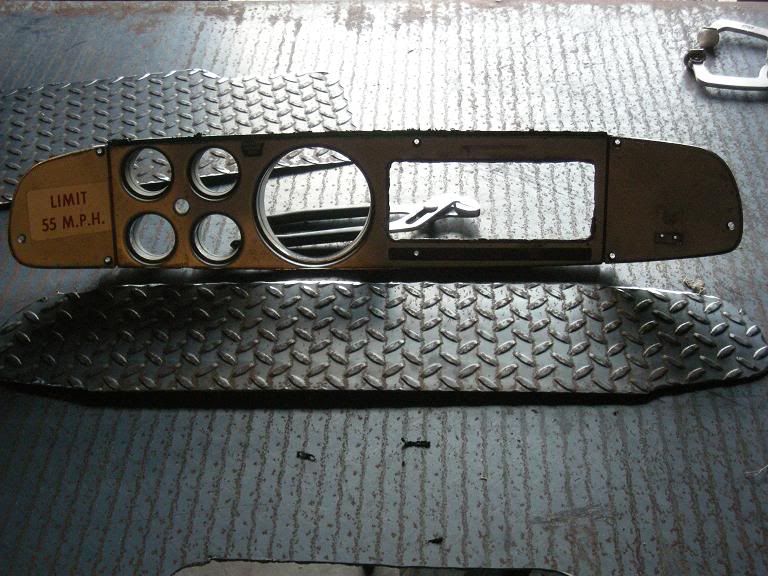
and here is the piece i am going to use for my new dash (rough cut of course)
other than that it was a day to clean the shop after i got off work.
i think i found an orange that closely matches
and here is the piece i am going to use for my new dash (rough cut of course)
other than that it was a day to clean the shop after i got off work.
05-24-2009, 11:28 PM
#9
Senior Member
Thread Starter
did lots of little things today, or atleast it felt like little things. bolted on the flywheel, clutch, harmonic balancer, mouts for the motor mounts and the motor mounts, then dropped the motor in but we had to clearence the bellhousing. you could see where the flywheel made marks inside the bellhousing when we took it out and it would not fit back in. then i we put the valve covers on but only sealed the passenger side since i still ned to mess with TDC on the drivers side, and put in the thermostat and housing.
we pulled the tub off of my dads jeep yesterday so he brought it out today so i can cut out the rust and weld in new metal.
now were caught up as of 5-24-09
we pulled the tub off of my dads jeep yesterday so he brought it out today so i can cut out the rust and weld in new metal.
now were caught up as of 5-24-09

 05-25-2009, 01:32 AM
#11
CF Veteran
Join Date: Feb 2009
Location: socal
Posts: 7,244
Likes: 0
Received 0 Likes
on
0 Posts
Year: 2000
Model: Cherokee
Engine: 4.0
05-25-2009, 06:39 AM
#12
CF Veteran
Join Date: May 2009
Location: Indiana
Posts: 9,047
Likes: 0
Received 0 Likes
on
0 Posts
Model: Grand Cherokee
 05-25-2009, 10:57 AM
#13
Senior Member
Thread Starter
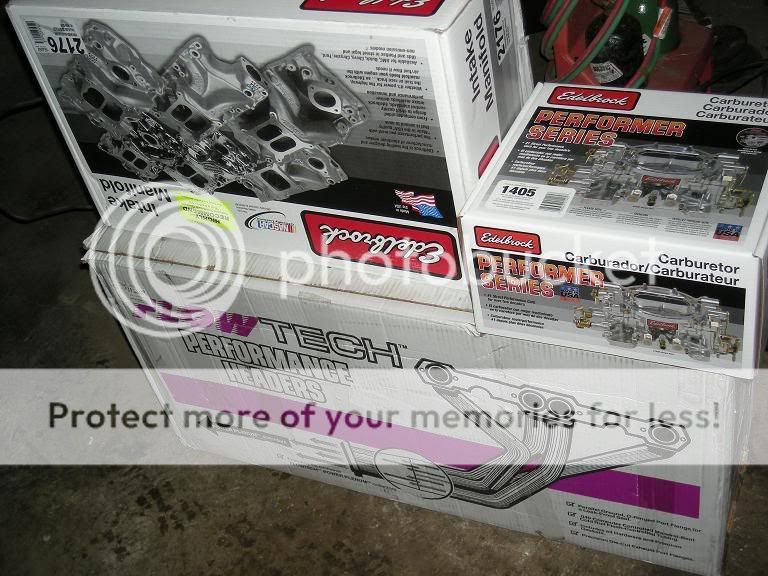
A few things have slowed my progress on the truck, hunting season, my XJ, and sending parts I needed for the crate motor back to the factory with my core. I didn't get a list of what I needed to keep and apparently there is an intermediate oil pump shaft and when I priced it out, I was looking at $70. I looked around and got one for $17, so its a good thing to wait a little sometimes lol.
When I ordered the headers, I didn't catch that they were flowtech pieces of junk. So I took them back and re-ordered a set of headmans.
I am still working on the design but I'm thinking of building a flatbed for it, with drop down 4"-6" sides, pockets on the sides for a set of bows and a canvas top to go over it, like a duece. When I need to haul hay or whatever, just use the flatbed. When I go hunting or camping, put the bows and canvas top on and I have a built in wall tent basicly.