12v, 120v, light, and air in one place.
#1
Thread Starter
Junior Member
Joined: Aug 2010
Posts: 33
Likes: 0
From: Florida Panhandle
Year: 98
Model: Cherokee
Engine: 280 stroker
Decided to build a new electric/air center in the rear of the XJ.
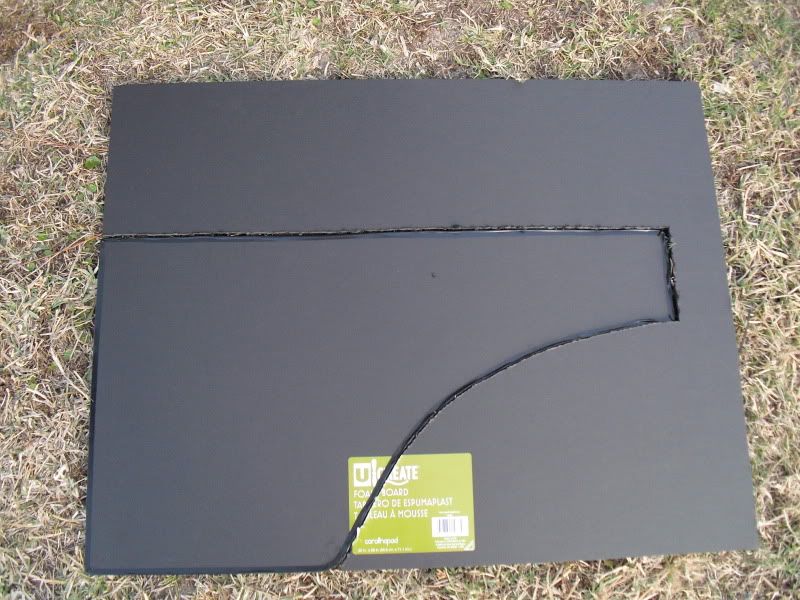
Foam board from K-mart to start the template building.
Used a wire coat hangar to get the wheel well bend into poster board.
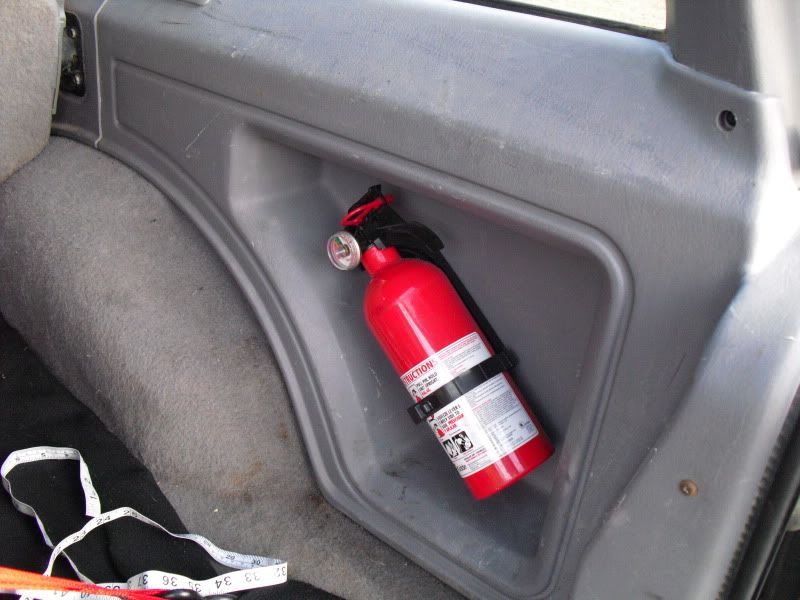
Marked my useable space from the rear cubby so i knew what i had to work with.

Fire extiguisher will be moving elsewhere, and new electronics moving in.
Template measured, cut, and rough fitted. I used electrical tape on the edges for a smooth edge, and also, you can use something round and smooth to even out the edges and make them true.
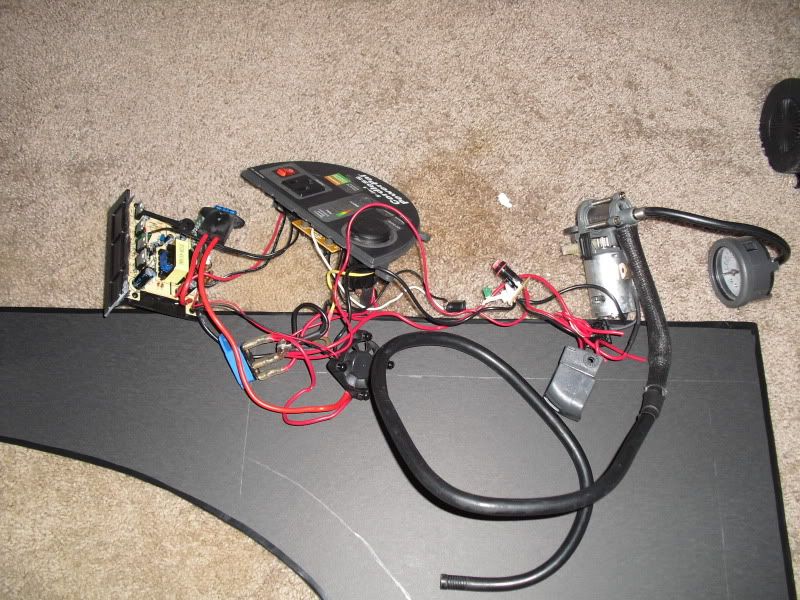
Well, heres all the crap we've got to get organized. Not to mention making some holes!
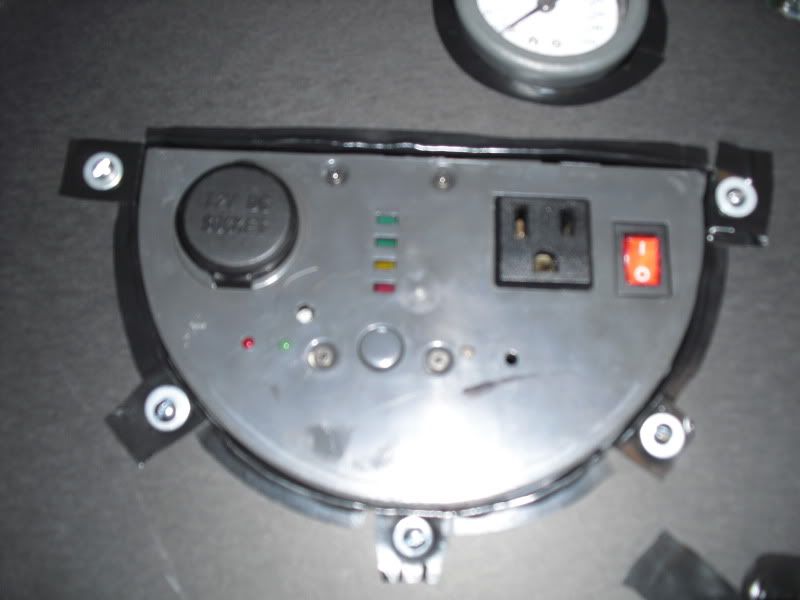
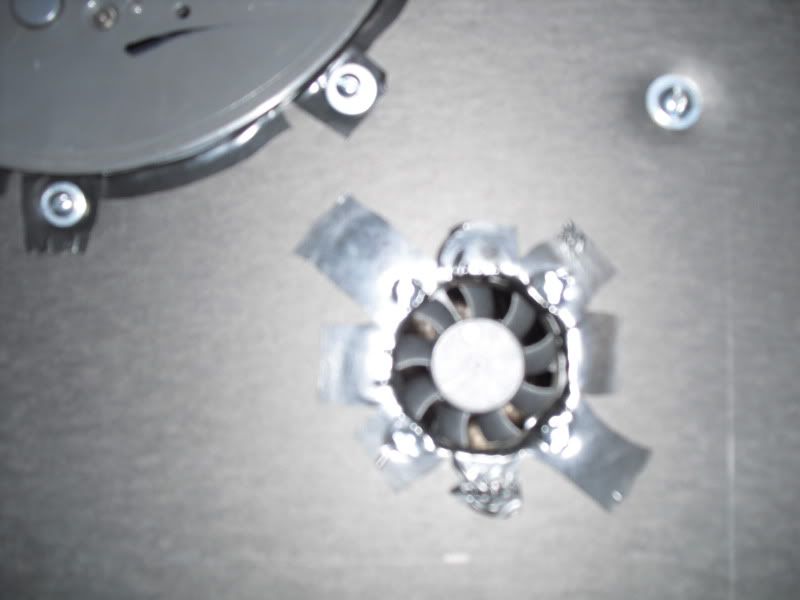
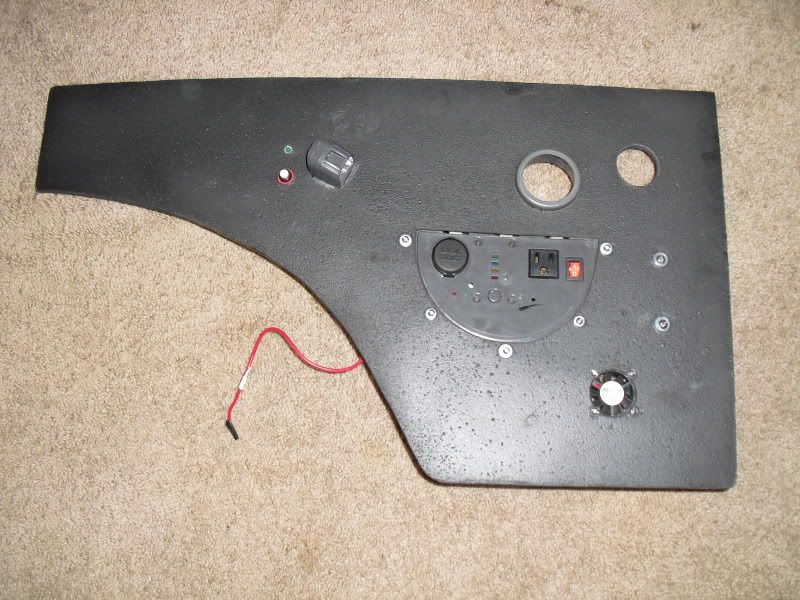
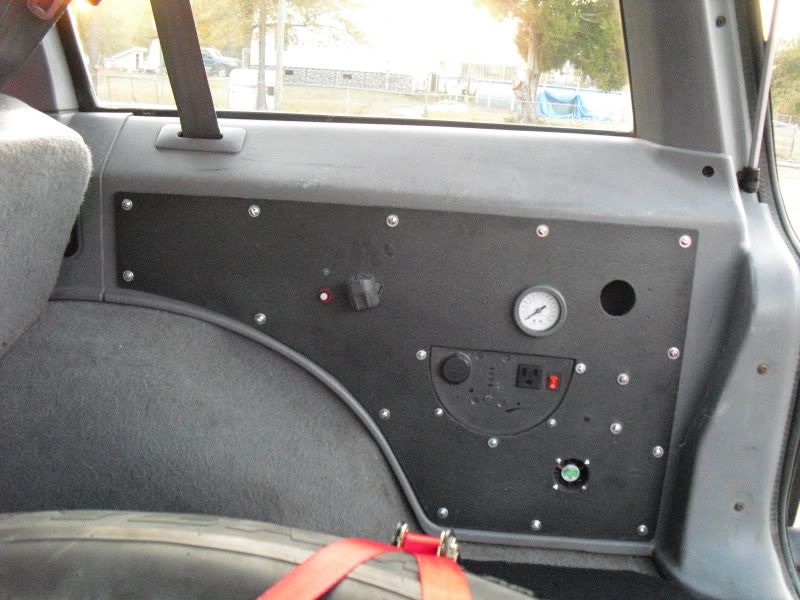
Alright, most of the tough stuff mounted, still have a few switches to cut holes for. Starting in the middle is the 110/12v plug in and switch. Just above is the air compressor gauge. Top left corner is the LED light and switch setup. Lower right corner is the cooling fan for the inverter power supply. Just above the fan are 2 screws, they are internally holding the inverter guts. Top right hole is exhaust for fan. i'll mesh both of these holes in to keep them free from debris and give them a clean look.

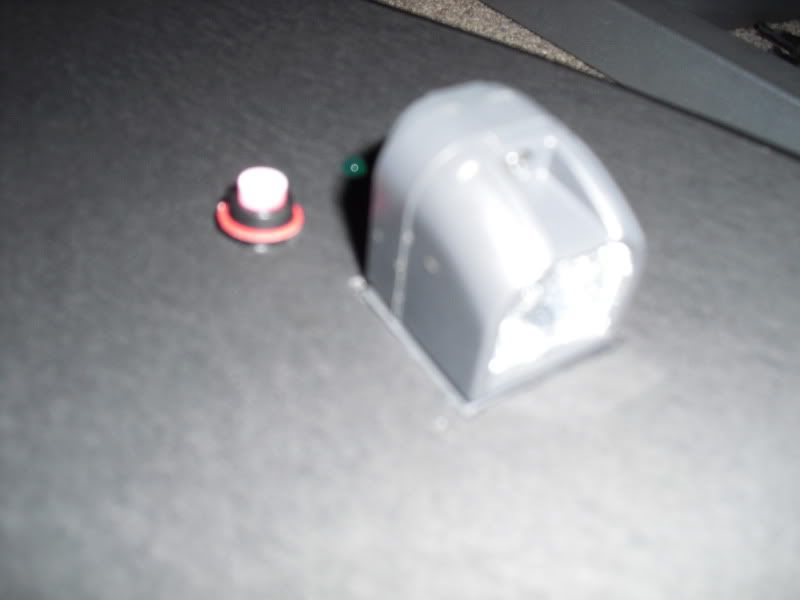
LED light:
12v-110v setup:
Cooling fan:
PSI Gauge:

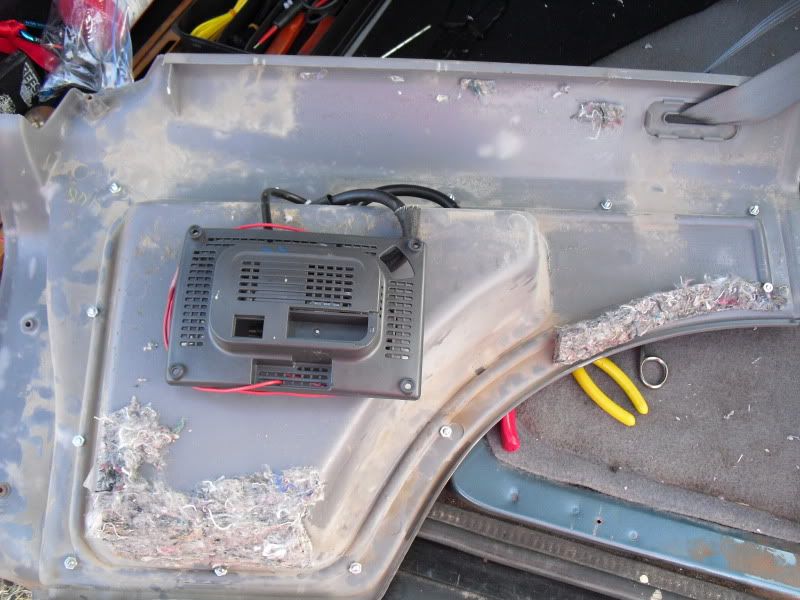
And finally, the back. The compressor portion on left is going to mount in the well and have a quick disco for air hose.
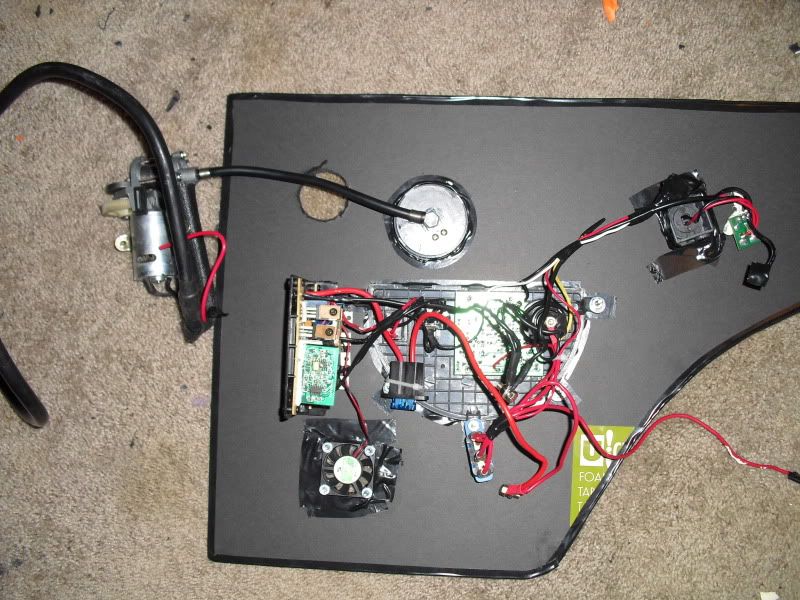
As far as i've gotten so far, need to pick up a sheet of aluminum or board and use the template the get it cut out. Will do that sometime this coming week, and update. Also have to drill a few holes between the led light and gauge to install air acess point and compressor switches.
All the guts are Campbell-Hausfield. Going to redo the plug in face with rubberized material. thanks for looking.
Hex
Foam board from K-mart to start the template building.
Used a wire coat hangar to get the wheel well bend into poster board.

Marked my useable space from the rear cubby so i knew what i had to work with.

Fire extiguisher will be moving elsewhere, and new electronics moving in.

Template measured, cut, and rough fitted. I used electrical tape on the edges for a smooth edge, and also, you can use something round and smooth to even out the edges and make them true.

Well, heres all the crap we've got to get organized. Not to mention making some holes!

Alright, most of the tough stuff mounted, still have a few switches to cut holes for. Starting in the middle is the 110/12v plug in and switch. Just above is the air compressor gauge. Top left corner is the LED light and switch setup. Lower right corner is the cooling fan for the inverter power supply. Just above the fan are 2 screws, they are internally holding the inverter guts. Top right hole is exhaust for fan. i'll mesh both of these holes in to keep them free from debris and give them a clean look.

LED light:

12v-110v setup:

Cooling fan:

PSI Gauge:

And finally, the back. The compressor portion on left is going to mount in the well and have a quick disco for air hose.

As far as i've gotten so far, need to pick up a sheet of aluminum or board and use the template the get it cut out. Will do that sometime this coming week, and update. Also have to drill a few holes between the led light and gauge to install air acess point and compressor switches.
All the guts are Campbell-Hausfield. Going to redo the plug in face with rubberized material. thanks for looking.
Hex
Last edited by hexfactor; 12-11-2010 at 08:17 PM. Reason: forgot stuff
#3
Thread Starter
Junior Member
Joined: Aug 2010
Posts: 33
Likes: 0
From: Florida Panhandle
Year: 98
Model: Cherokee
Engine: 280 stroker
It started life as a Campbell-Hausfield jumper pack with all of the bells and whistles. The battery died on it, and the only way to get another one was to buy 300 of em' from China. Decided to put it all in the XJ. I also understand that it wont be anywhere near what some of these guys are running for air, but i'll be happy with being able to throw some air in the tires without dragging a bunch of crap out.
Trending Topics
#8
Thread Starter
Junior Member
Joined: Aug 2010
Posts: 33
Likes: 0
From: Florida Panhandle
Year: 98
Model: Cherokee
Engine: 280 stroker
I finally got the paneling i needed to complete this. Got the template transfered over to the paneling, but will have to wait for a better day outside to get it cut out.
#12
Thread Starter
Junior Member
Joined: Aug 2010
Posts: 33
Likes: 0
From: Florida Panhandle
Year: 98
Model: Cherokee
Engine: 280 stroker
Alrighty,
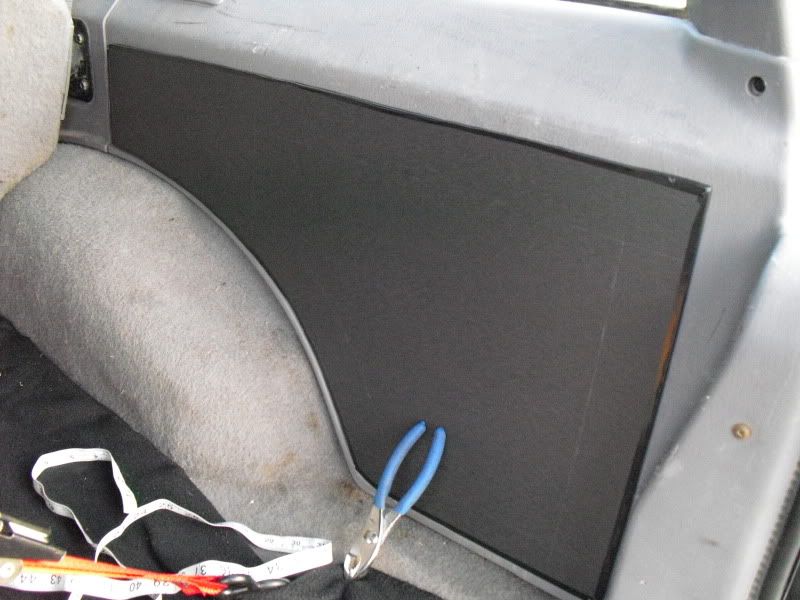
Got my board and cut it:
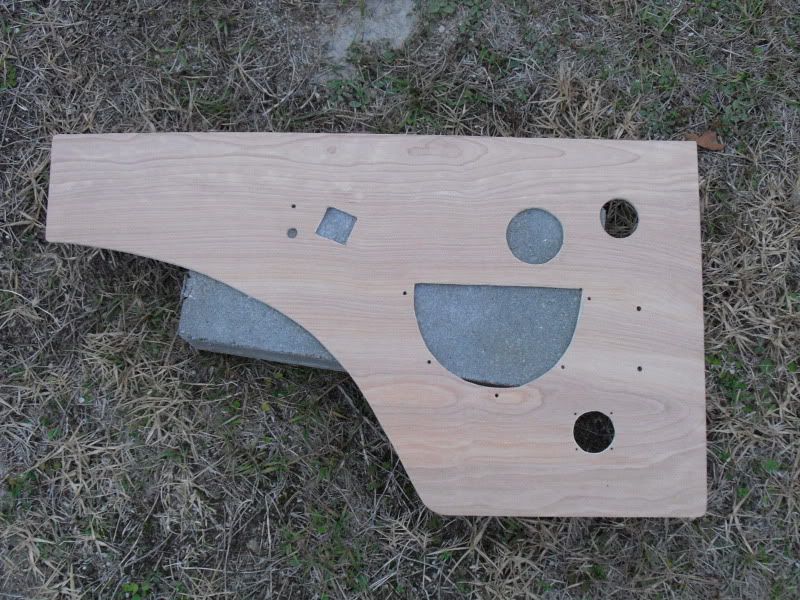
painted:
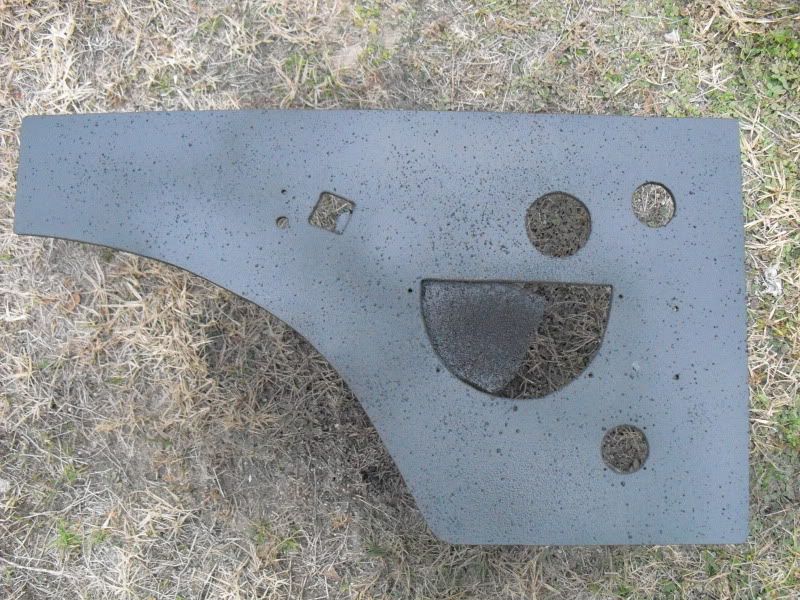
and stuff installed:
The board is cut straight, its just warped upwards. a few nuts and bolts and it will be flat as a pancake.
Got to get it in the jeep, run a power wire back, and get compressor stuff installed.
stay tuned, and thank you for all the comments.
Got my board and cut it:

painted:

and stuff installed:
The board is cut straight, its just warped upwards. a few nuts and bolts and it will be flat as a pancake.

Got to get it in the jeep, run a power wire back, and get compressor stuff installed.
stay tuned, and thank you for all the comments.
#14
Thread Starter
Junior Member
Joined: Aug 2010
Posts: 33
Likes: 0
From: Florida Panhandle
Year: 98
Model: Cherokee
Engine: 280 stroker
Heres the last bit accomplished until after new years.
Super secured all wires and dabbed silicon on nuts and bolts:
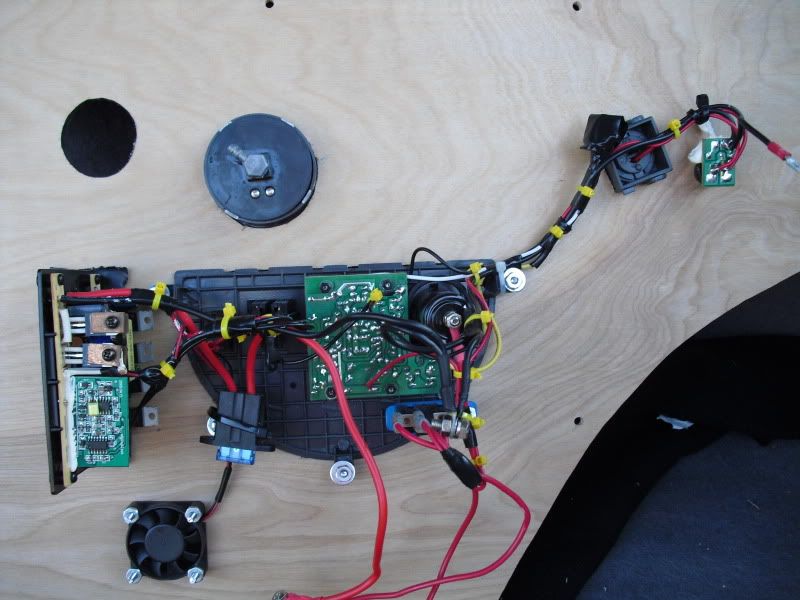
Mounted compressor to rear of cubby hole:
Panel mounted:
Angle 2:

Also mounted Stinger light on Aux circuit so it only charges when running:
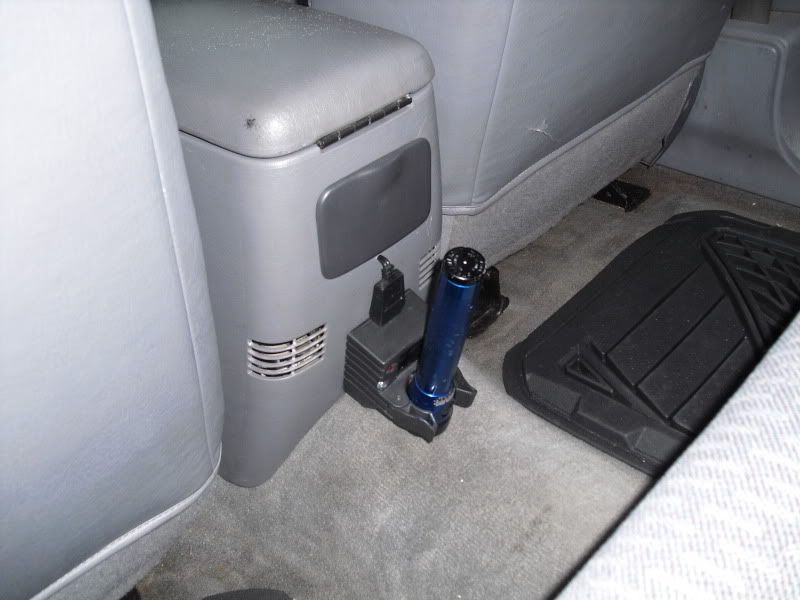
Shortly after new years, i'll try to get the wiring run back, the compressor plumbed up, and the compressor switches put in, then we'll take it for a test run, and get this updated.
w00t!
thanks for looking.
Super secured all wires and dabbed silicon on nuts and bolts:

Mounted compressor to rear of cubby hole:

Panel mounted:

Angle 2:

Also mounted Stinger light on Aux circuit so it only charges when running:

Shortly after new years, i'll try to get the wiring run back, the compressor plumbed up, and the compressor switches put in, then we'll take it for a test run, and get this updated.
w00t!
thanks for looking.


