When you click on links to various merchants on this site and make a purchase, this can result in this site earning a commission. Affiliate programs and affiliations include, but are not limited to, the eBay Partner Network.
Got it pretty much how I want it. Going to do some more work to it, bit it's basically how I would want the end product to look like.
You can still see the patch panel ever so slightly, especially at the bottom. Because the OEM plastic and the 3D printed patch sand slower than the bondo, its and never ending chore to get it just right.
I did end up sanding the whole thing smooth up to 220 grit. I wanted to go higher, but it's not exterior paint so I'm okay with it.
I may go over it one last time with sandpaper to get it juat right. This time, I'll probably wetsand. The bottom part irritates me, but I almost didn't even go this far because of the cupholders that I'm going to install. But the reason why I sanded all the way down there is because I thought about using expanding foam and a plastic cupholder to make a plug that's removable. But honestly, I think I'll JB Weld it intomplace and bondo the seams. Idk. I guess we'll both find out.
Made the interface from the dash to the vent today. Looks a little skeptical, but it's sturdy, it's sealed up nice, and I don't have to look at it 🤣
Marked out the opening through the vent adapter.
This is how it sits from the factory with the tube down the passenger side.
I cut the rear air feed tube from the interface. The angle is sloping downward though. Sorry I didnt take pictures, but I remarked the hole and cut it upside down because of the angle.
You can see here why I am mounting it upside down. I want the air to travel upwards to the vent.
I indexed the parts so I how they should line up.
I removed the lower vent assembly (not sure what the Chrystler name is) and applied new foam to where its going into the vent relocation.
I also did the air supply hole.
I tried to rivet the parts together but they kept pulling out because the plastic is so thin. Then i taped the two parts together with HVAC tape. (I like to call it aircraft tape) too bad I put the new seal down before I had the tape idea.
I went all around to create a good strong seal. This is supposed to be heat deflective and water resistant. Which is good because I bet theres quite a bit of heat that comes from the trans tunnel, and the moisture content in climate controlled air. It was the perfect idea.
I even removed and replaced the painters tape with it.
You can see how much weatherstripping i had to add to get it to seat right against the vent adapter.
Last thing for this is to glue the vent and vent adapter to the main center console insert.
Alright so in part 1, I showed I was going to use a 5.56 ammo can. I scrapped that idea for something better. Bare with me as I got too involved and did not take as many photos as I normally do.
Now I'm using a 40mm linked can for even more storage. The reason why I swapped is easy: more storage! I will eventually reroute my powered mirror switch, but it is okay because I do not regularly use it. Anyways, let's get at it.
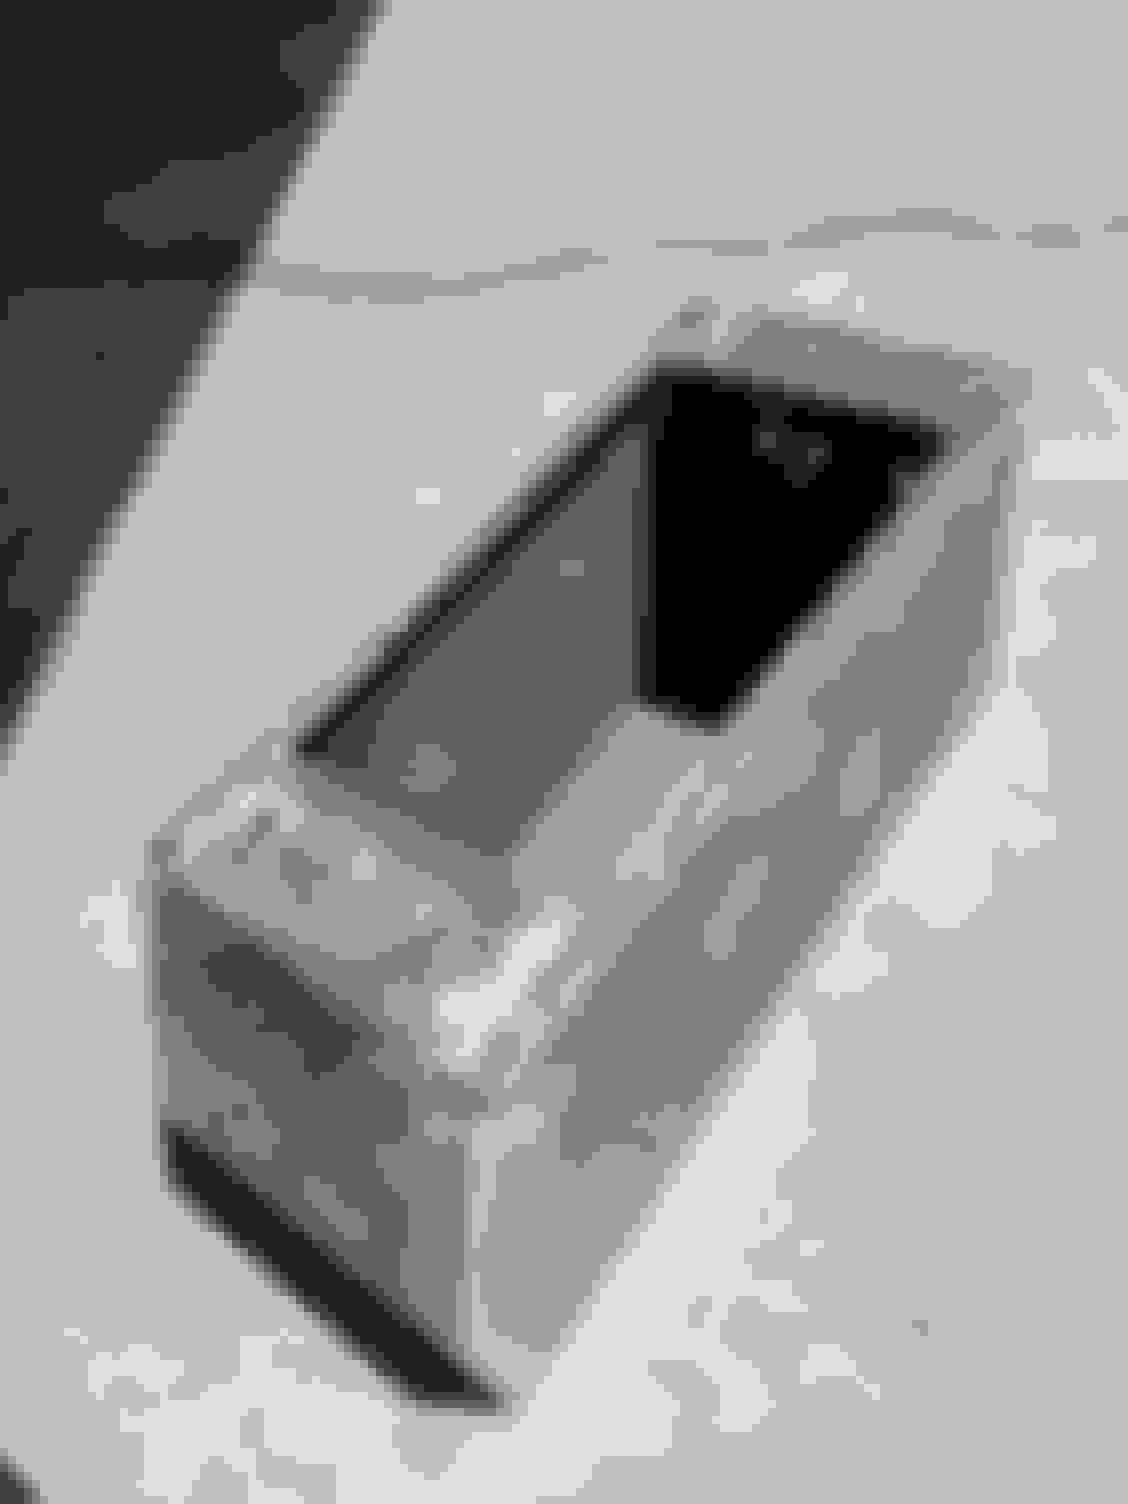
It's life started as a 40mm can.
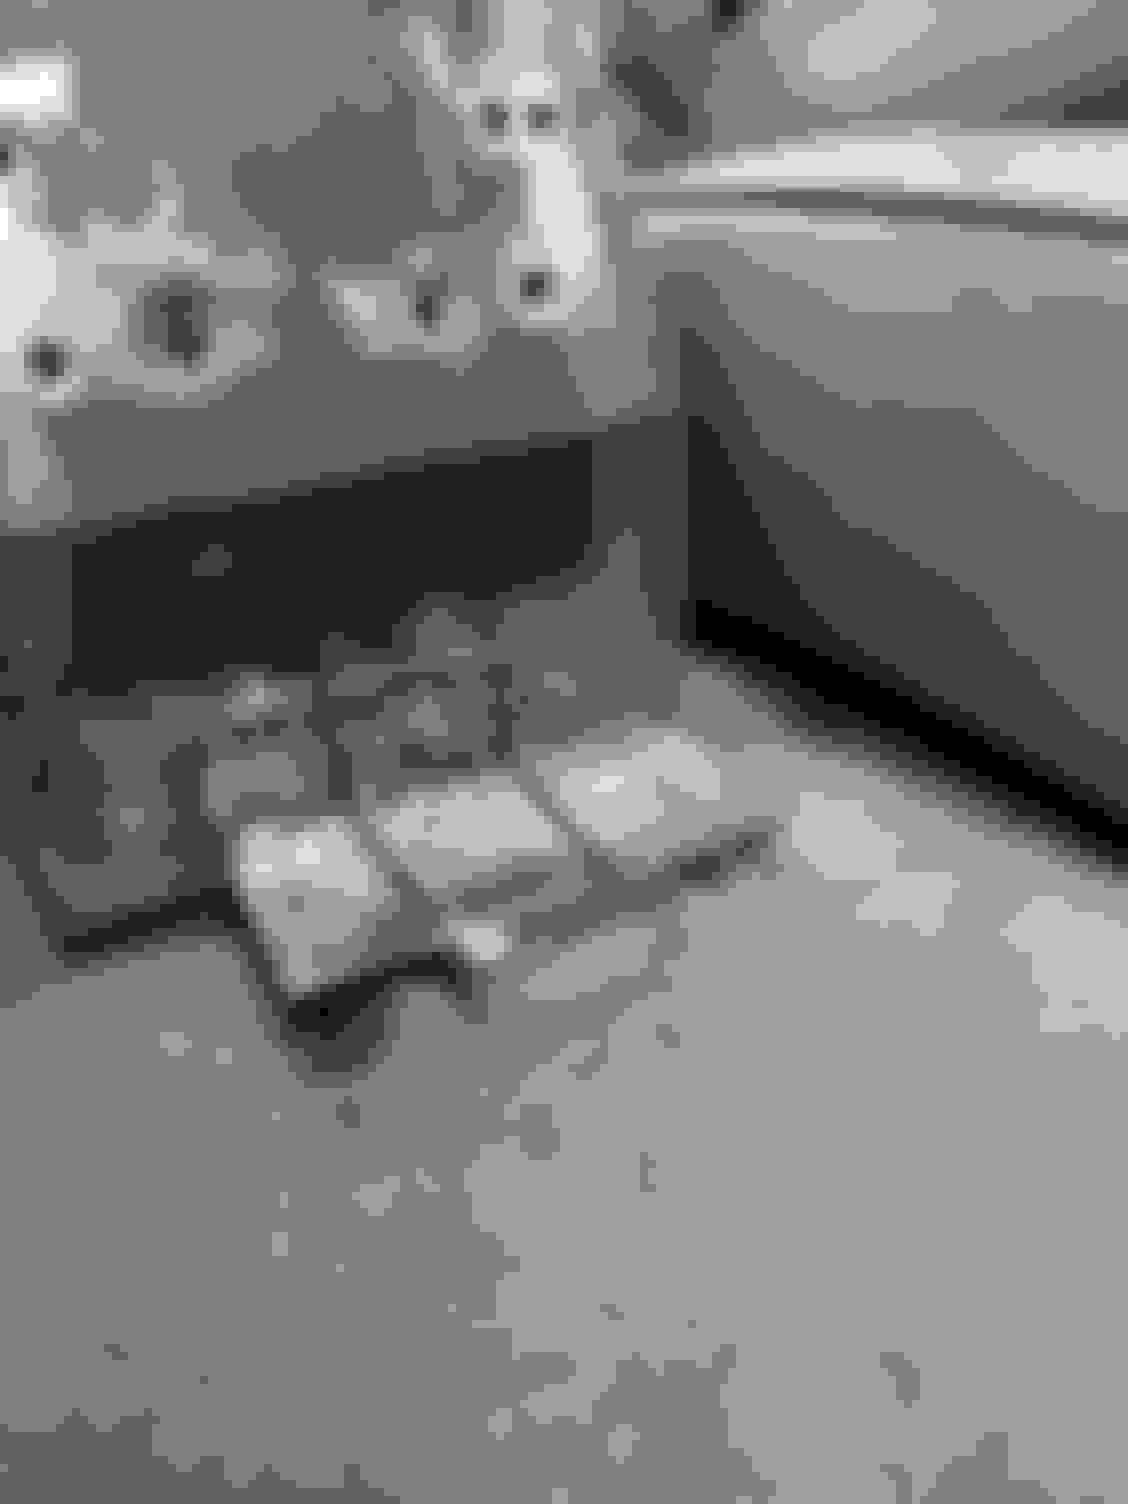
I drilled out all of the spot welds. I tried to perfect the technique of not drilling it on like 4 other cans but unfortunately could not make it work.
All the accessories are off.
Marked for cuts. I'll verify the measurements later after I finalize the design 100%, and then post them.
You can see here I copied the contours of the internal angles.
Made to fit.
I ground down the edges to be welded, and attached a cap on the angles end. Welds ain't the best but they will clean up later.
I added an extra piece of material on the outside to help fill in the internal space of the plastic. This would be advoided if I had made the box from scratch and formed it entirely to rhe center console but instead I am halfways forming the center console around the box.
Rear lip attached for the console lid to mount to.
And front lip for the black insert to attach onto.
I took the folded over edge of the can and welded it 90� to the vertical walls of the can to create an internal lip. It's a finished edge that has no burrs or sharp edges and will act as a stop for the locking lid.
Next step is to finish the welds, clean everything up with a grinder, and use JB Weld to catch anything I couldn't do with metal. This will finalize the shape of the can.
Last structural piece is the locking lid that's going to seal the can. I desperately wanted to use the actual ammo can lid with the gasket included, but proved too problematic to try to overcome. I also really wanted the OEM lid to lock. I did not want to have to pass through two doors to get in. I made sure to leave room to include that if I were able to to revise it, but for now, it will have a second locking door.
From there it's all about fitment. I've got to mark and drill holes to mount it to the floor board, holes for the lid, and the black insert.
Last step is beautification. I'm probably going to felt line the interior and paint the exterior black. After the center console insert box is done, then I can worry about shaping the plastic back around it too. And yes, I've got a trick up my sleeve to make it look professional.
I know it's been a minute since I last posted, but stay with me! More to follow soon!
Last edited by Travis Mudrich; 04-24-2024 at 09:44 PM.
Reason: Typo
Not much of an update, but was able to get the parts to bolt together.
Drilled and popped some rivnuts into the front. This is where the black plastic insert will bolt to.
Rear rivnuts for the armrest hinge.
The lid wouldn't seat all the way down because I was using regular machine screws. So I bought some countersunk ones and they still protruded.
So I threw the hinge into the vise with a socket on the backside...
...and countersunk it using the bolt as a die.
It's not perfect but it works. I may even do the lid side later.
Now the lid closes.
Ever step no matter how small, is closer to the end goal. There is still plenty left to do, but this is what I still have to do for the ammo can specifically:
1. Finish welding front corner
2. Weld in front locating tabs
3. Modify OEM rear metal mounting bracket
4. Order and install locking lid from SendCutSend
5. Bondo over the welds
6. Paint ammo can
7. Felt line interior
8. Sound dead and foam exterior
After these steps are done, I can finish the rest. This is the meat and potatoes of the build so once this is done, everything else will fall into place pretty easily. After the ammo can I should have some more frequent updates. Sorry it's taking so long to the 4 people following 🤣
Last edited by Travis Mudrich; 06-02-2024 at 01:12 PM.
Reason: Submitted by accident before finishing
Today I almost finished numbers 1 and 2 on the previous list.
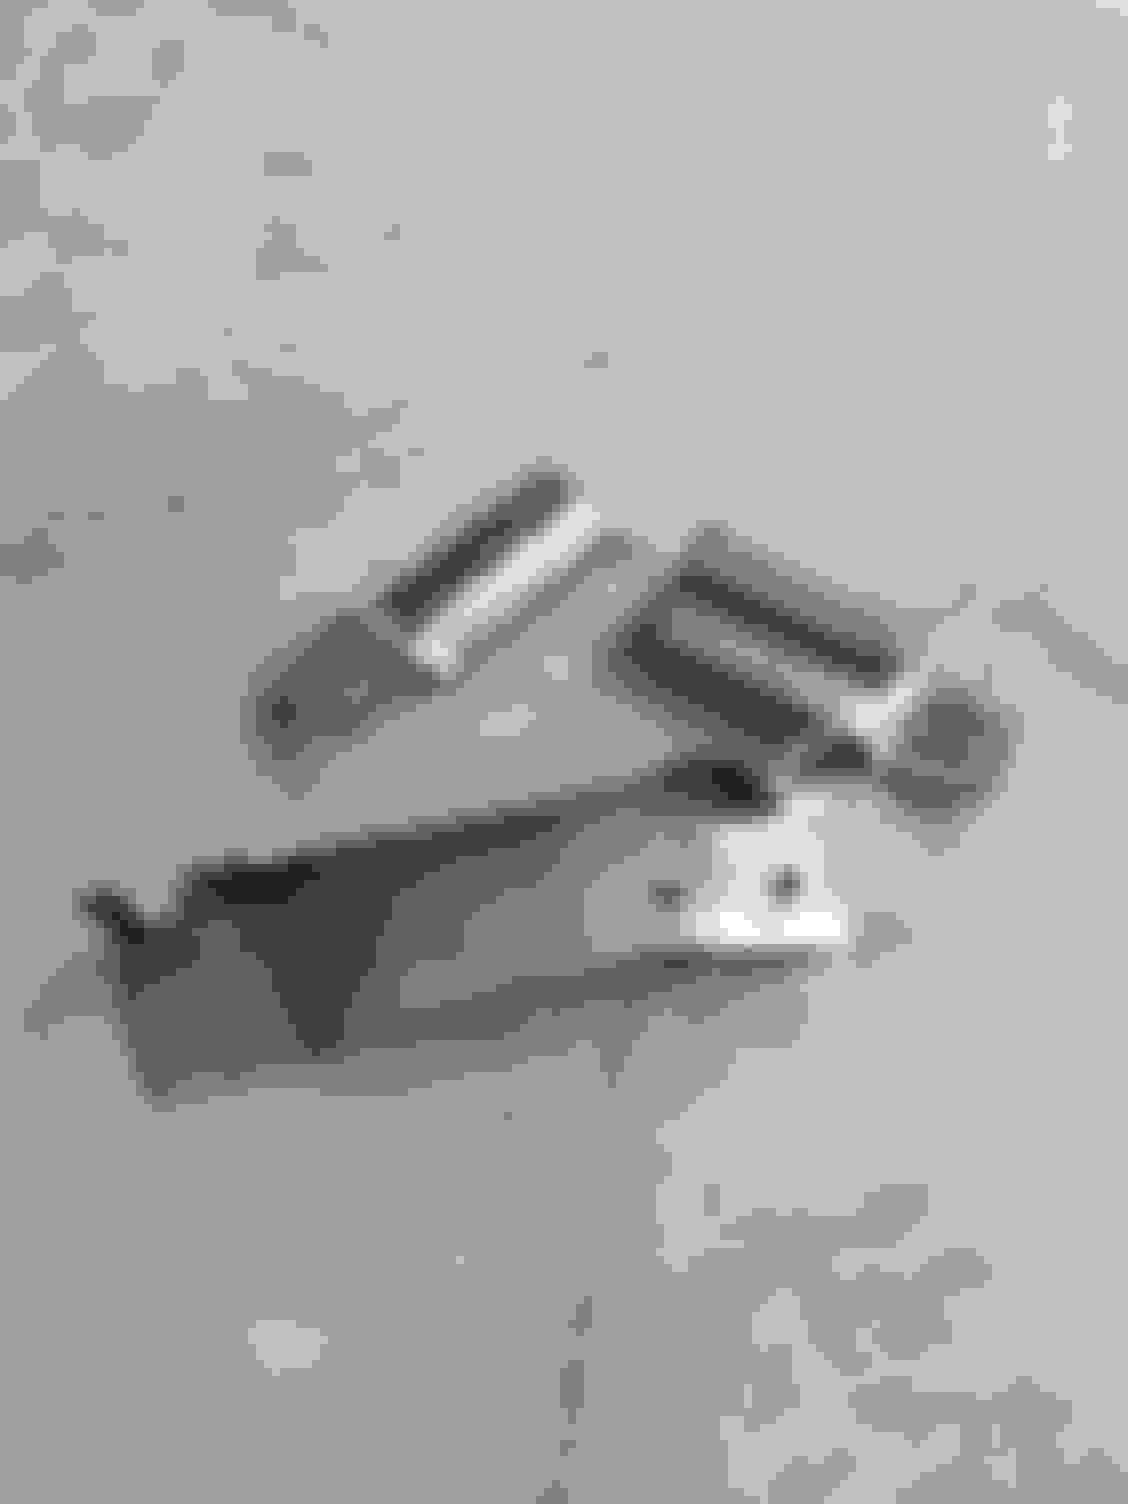
This is the OEM mounting bracket. It had slits cut into it and a sheet metal screw went inside. I bent the tabs back and tac welded the backside. Next time I work on this, I am going to add rivnuts here instead.
This is the corrosponding bracket I made for the front of the ammo can using scraps from ammo can Mk1 🤣
This is how the two mate together. The bent tabs in front locate the ammo can to the Jeep to prevent misalignment or wobbling.
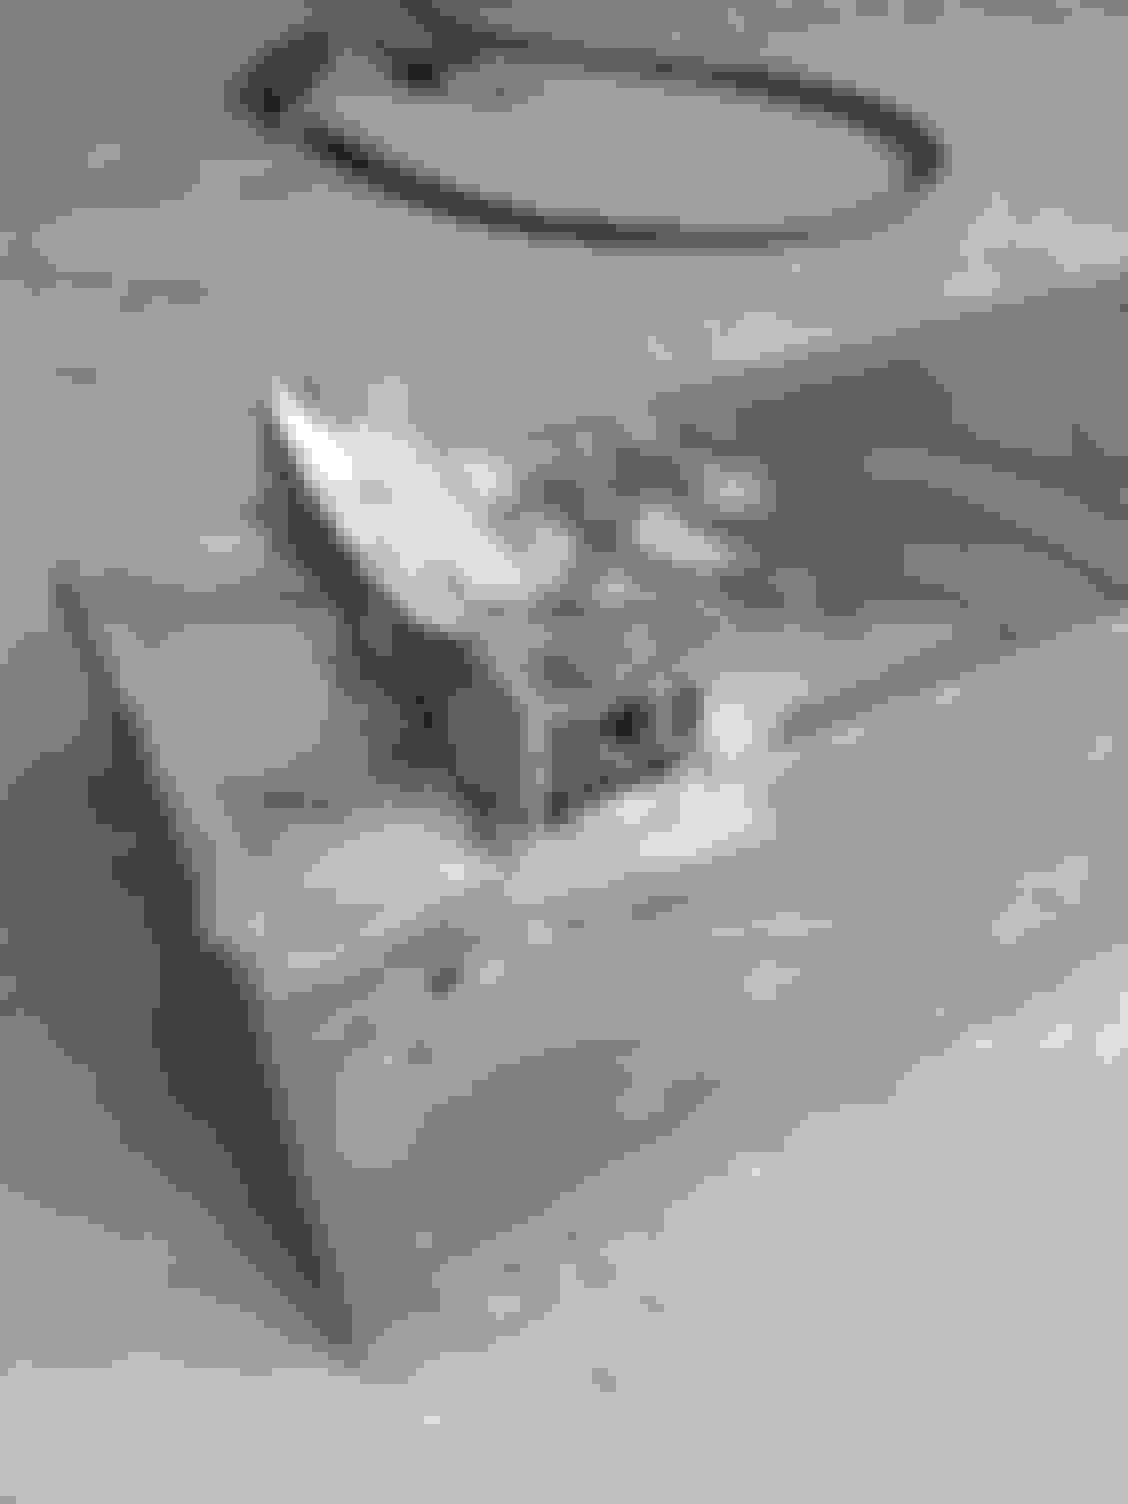
The welds aint pretty but it's attached!
Here you can see how it all fits together. The sharpie lines is where I plan on adding gussets since it's relatively thin sheet metal.
The next post will probably be the last couple things on the front mount and the whole rear mount. After that, is when the fun begins. This whole process of custom making a safe from an ammo can has been frustrating
So today is item number 3 on the list: the rear bracket.
Sorry I didn't take a picture before I cut the OEM rear bracket, but if youre following them I am sure you know what it looks like. No real math here, I eyeballed it and cut it level with the middle.
I used the side edge of a lid to an ammo can. The was already bent and one side was the right length.
Cut the lid to match.
Tack welded it together.
Ground the one side to match the curvature of the trans tunnel.
This is what the top looks like.
Lined up the mounting holes to the trans tunnel, laid the ammo can ontop aligning with the new front bracket, and marked where the rear bracket is supposed to sit. Got it tacked together to test fitted it, and burned it permanently.
Here, I trimmed the edges back and capped in the sides flush with the ammo can.
It doesn't seat against the ammo can in the middle only on the raised sides. I thought about adding a spacer or fully welding it together but once I got here, I think the idea was overkill for the amount of work. This should hold plenty.
Next step is to insert rivenuts for bothe the front and rear mounts. But from there, the last major thing for the storage portion is the locking lid. I need to sort this out before I do any finish work to the metal of the can. Once that is done, the locking safe will be done and I can move onto the asthetics of the plastic. Soon this will be wrapped up and I move onto other projects I've never finished.
Last edited by Travis Mudrich; 06-09-2024 at 11:57 AM.
Reason: Left some info out
Rear rivnuts. Previous set pulled through the floorboard so I had to do another two in a piece of sheet metal and weld it in from the bottom.
Front rivnuts.
Rear bolts installed.
Front machine screws.
She's fully bolted in!
It has ZERO wobble! I was afraid with all of these arbitrary measurements, all the holes wouldn't line up and the tan plastic would be misaligned, but everything it's looking great so far!
I ordered a lid from SendCutSend, and it should be here soon. I ordered it specifically because the opening to the center console is actually a trapezoid from the factory. I tried cutting a lid but I couldn't get the lines straight enough nor the angles right enough for my liking. I did not include the hole for the locking latch because I'm still working it between two different systems but unfortunately need the lid first to make the decision.
After the lid is done, all the metal work will be finished and I can wrap up the can and move onto the plastic!
I didnt take any pictures, but I filled in the holes where I drilled out the spot welds. From there, I sanded tho whole thing and sprayed it with self etching rust prevention paint. After that, I sprayed the inside with truckbed liner.
I wrapped it in sound deadening foam since the metal was flimsly enough to echo if you tapped on it. Using an ammo can is still plenty strong especially considering that i reenforced the opening lip, but it was still a little noisy.
I also did the bottom since thats where most of the sound would come from. I couldn't do the front, back, and top since it sat too close to the plastic. So in addition to the foam, I sprayed bed liner on the front and back. Then I went over the whole thing in high gloss.
Last edited by Travis Mudrich; 06-29-2024 at 06:19 PM.
Reason: Typo
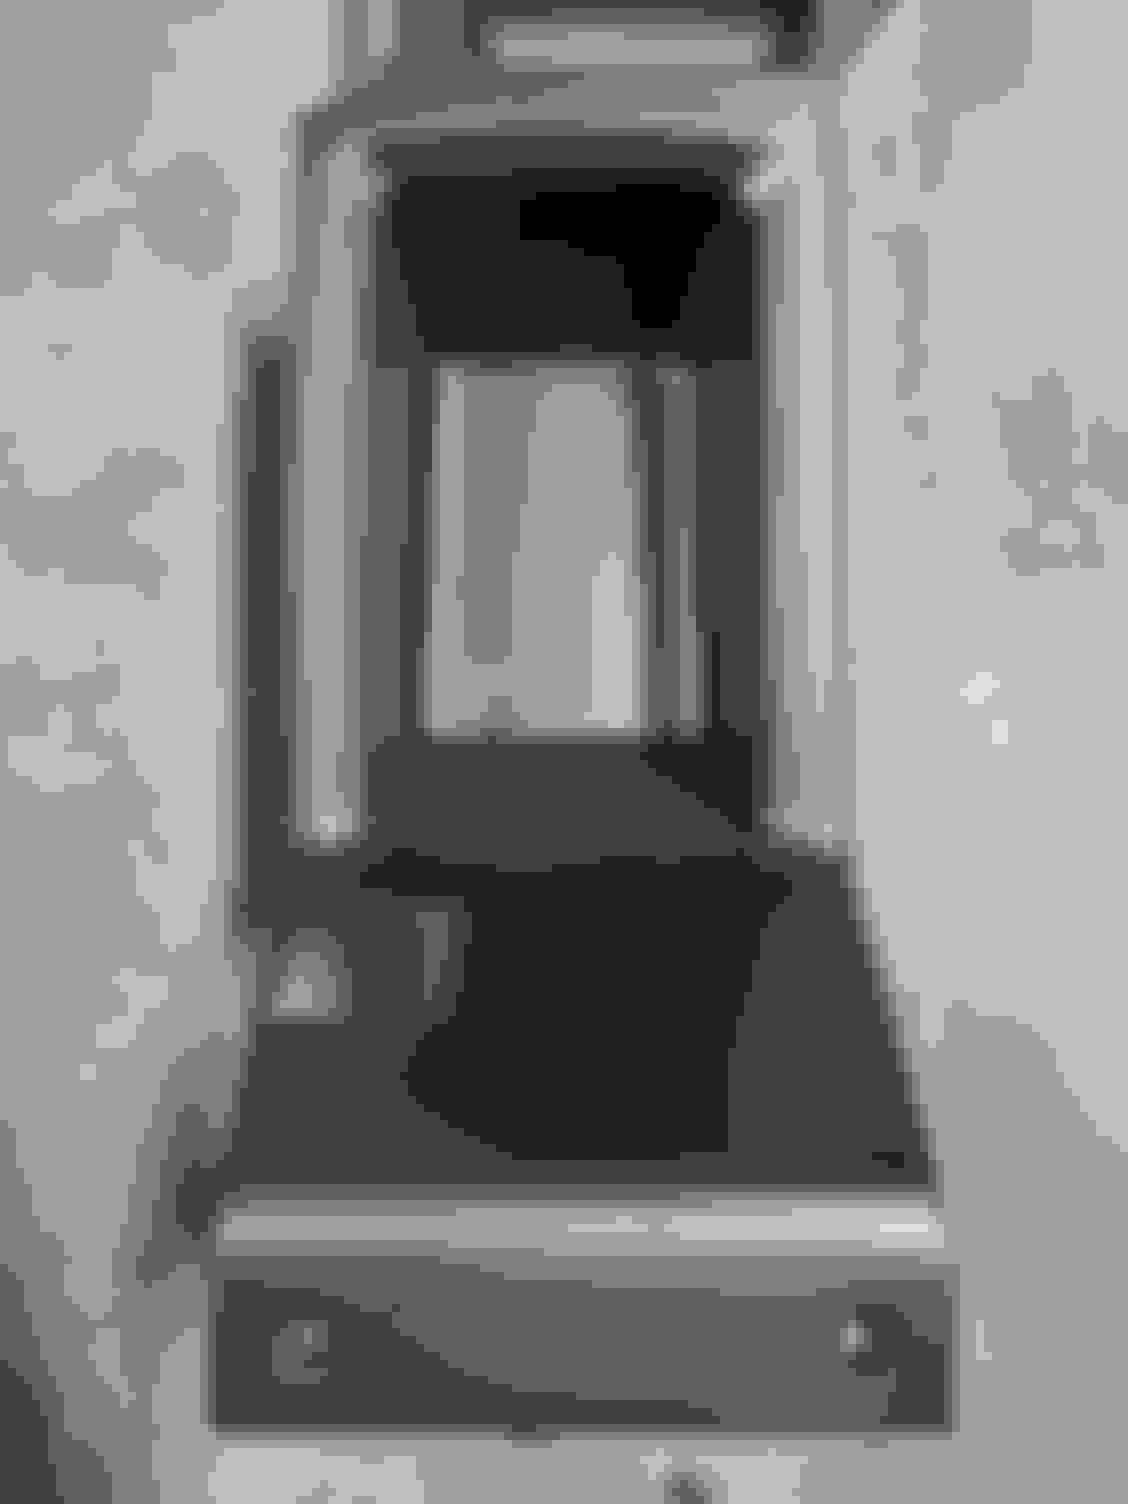
Part 1 is going to be pretty much it. I just got to do some finishing touches with the body work and paint, and then trim the front edge, but it basically done.
I cut up another center console inlay and sectioned it out. You can see here I separated the surrounding bezel that used to be the top of the bucket for the emergency brake.
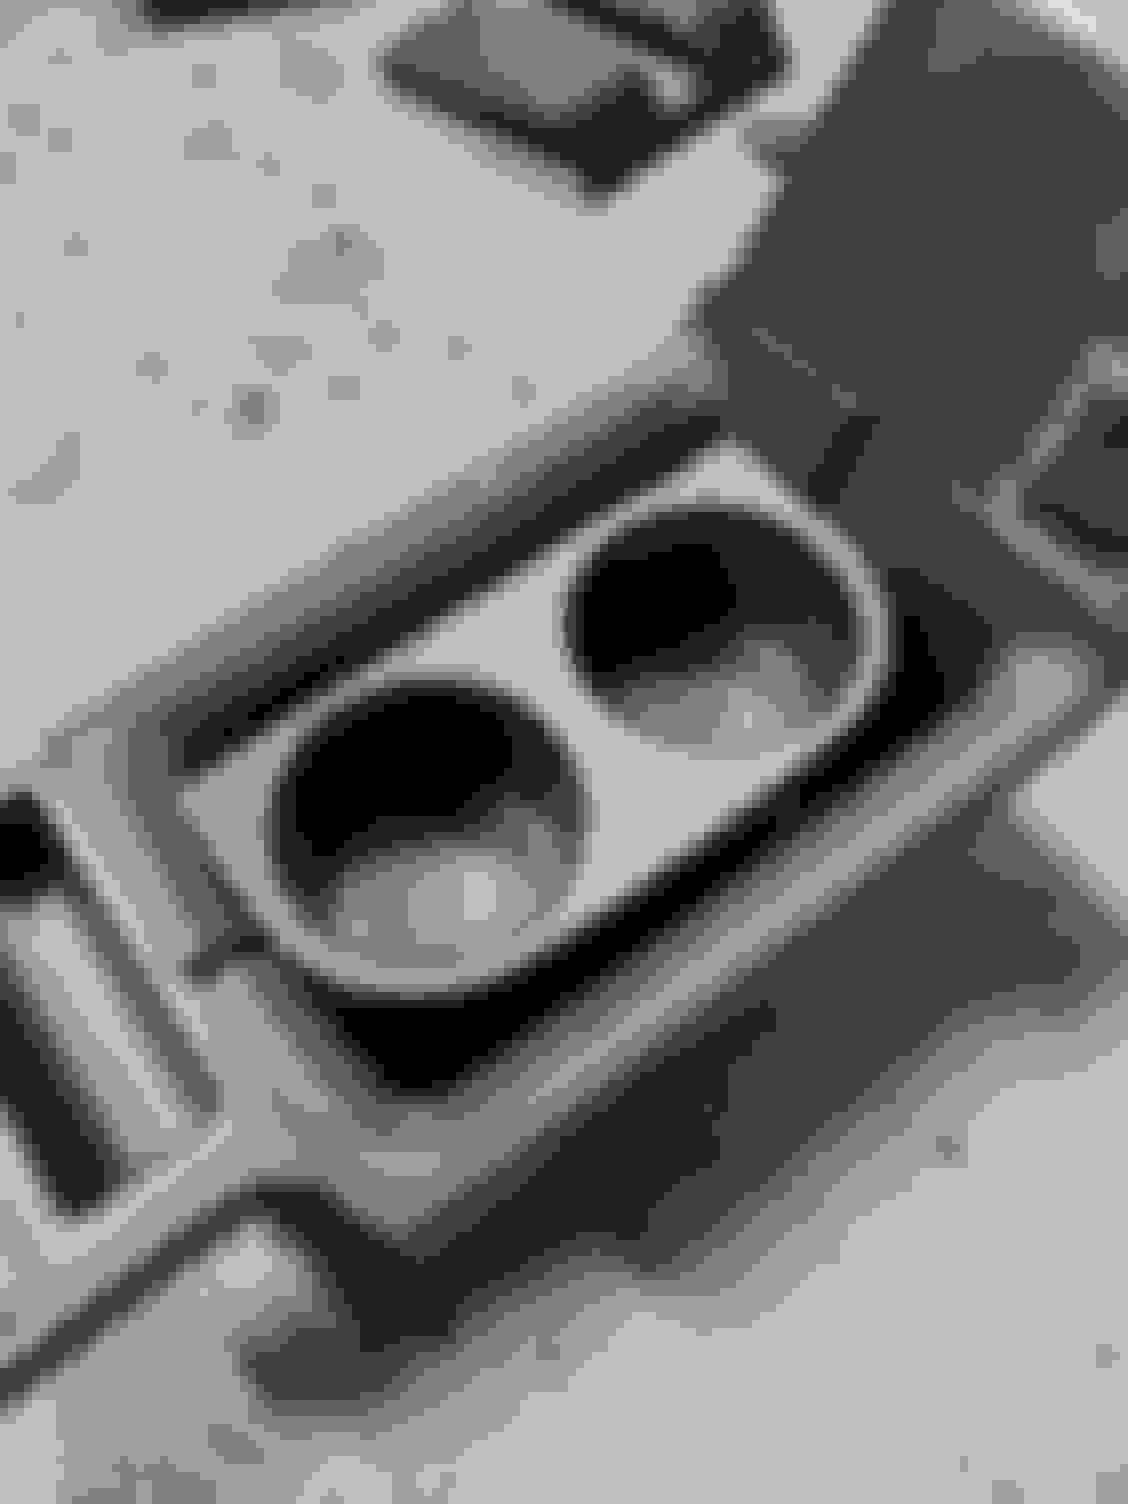
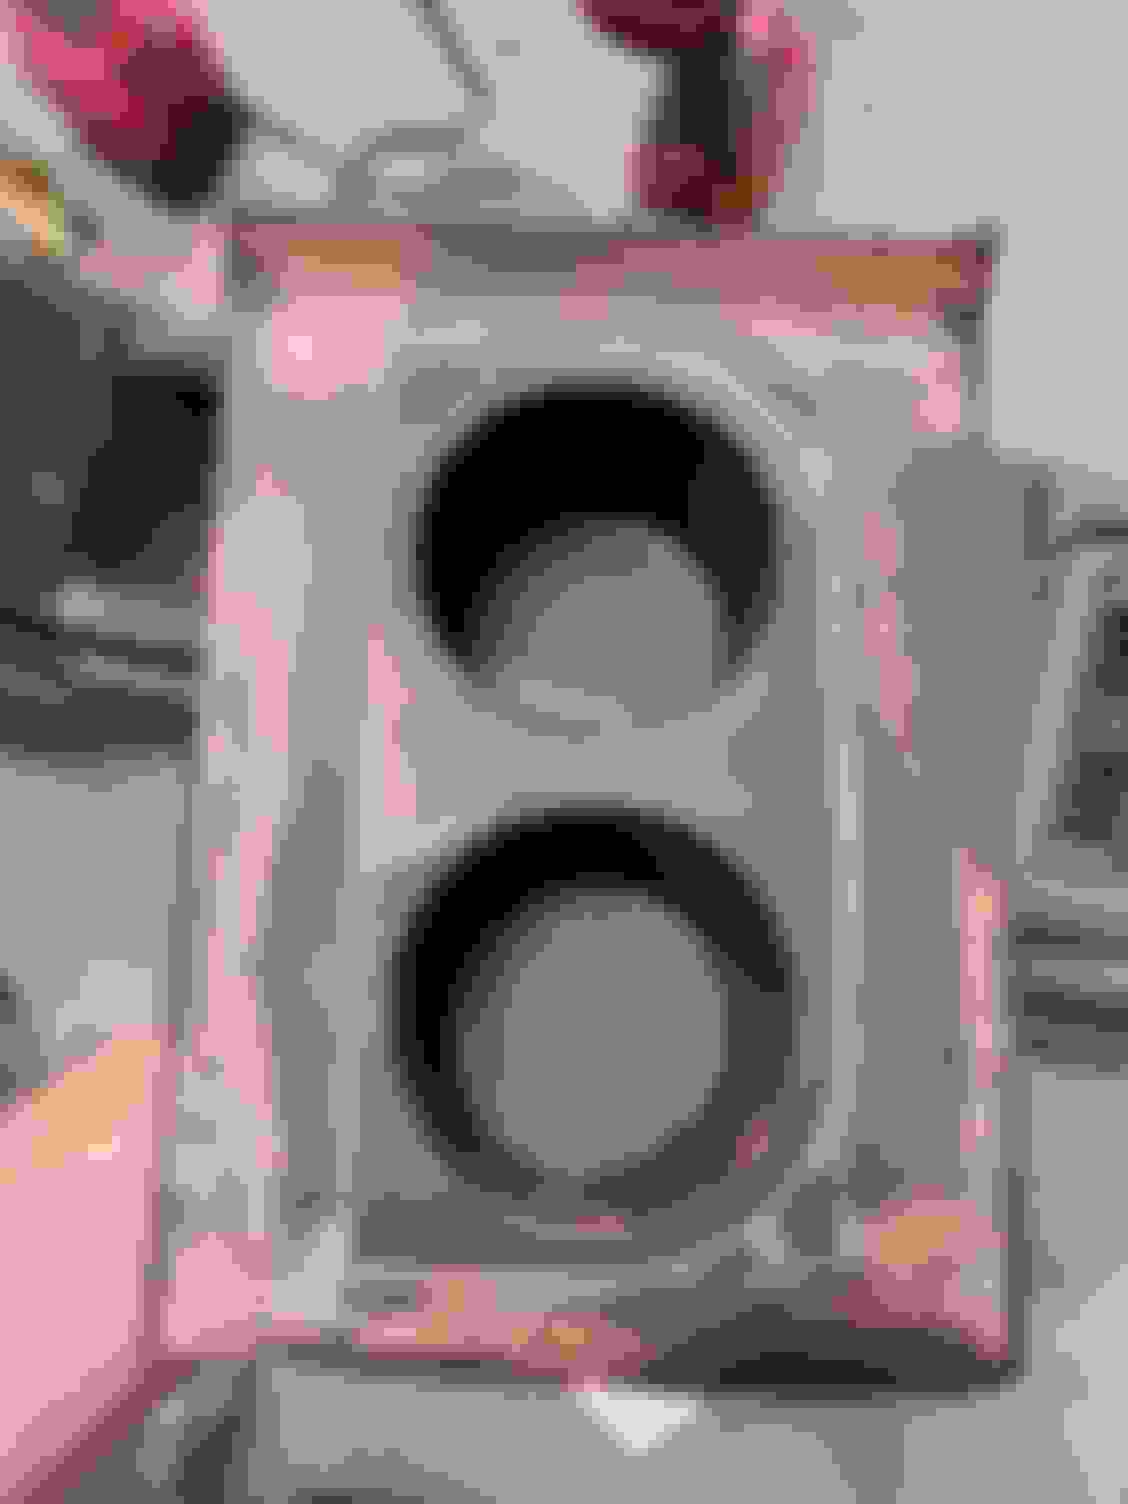
Here I have the spare bezel laid ontop of my center console. I bought another OEM cupholder from Ebay. It had broken tabs so I didnt feel bad.
I laid it upside down so the top face would be as flat as possible. Then I grafted in some scrap plastic the same thickness. I used a plastic welder and JB-Weld.
It's rudimentary, but you can see what I am going for.
Let's see if it fits...
Perfect! No wobble and snug as a bug.
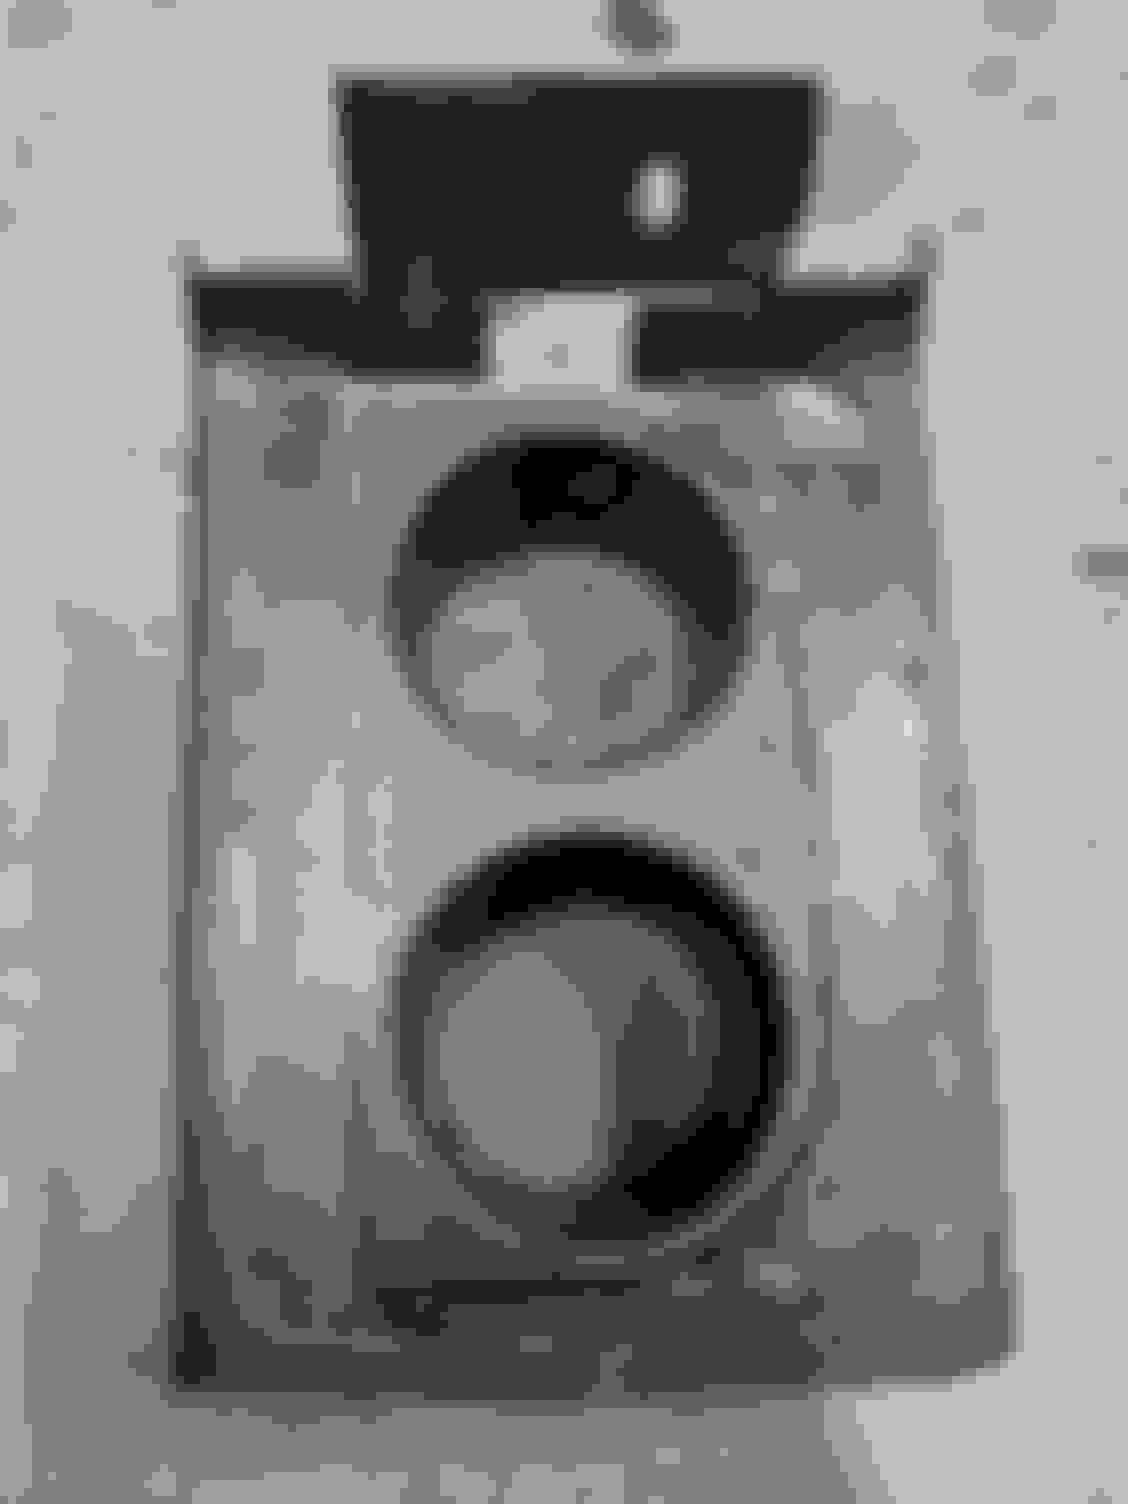
I JB-Welded the top face, sanded it down, and went back over it woth Bondo Glazing Putty.
I only took it up to 400 grit just to see where I'm at with it.
I laid a coat of paint to see the seams better. You can see a lot of imperfections, but it's basicaly just one more treatment and it will be done.
The front edge will be trimmed once the body work is done, but it's coming along.
I'm sure someone is going to woder out of all of the cuholders I could have grafted in, why the OEM XJ on? Well, mainly because I already had one so I was able to measure it up to see if it could fit. I looked on ebay for "OEM (every manufacturer) cupholder" and couldn't find one that I liked enough to gamble on making work.
I like this design because it's removable and I can still utilize the storage space underneath. I also still have my other OEM cupholder that I can use in tandem or in place of this one. It's nice to know if I were to use both, they asthetically match.
Last edited by Travis Mudrich; 06-29-2024 at 08:57 PM.
Reason: Typo
Honestly for as many pictures as I post, as much detail as I give, and how often I post, this would normally be part 1, 2, and 3, but I got caught up and didn't take as many photos as normally. But it's the same stuff as before so it's whatever.
As mentioned before, I now have a grey console. This is the part I messed up on my tan one. Unfortunately as I was designing the modifications, I overlooked these tabs and cut them off and realised I would much rather have proper tabs than to replace them. I also needed more plastic since I was expanding the console. Unfortunately the junkyard had no more tan consoles and I didn't want to pay Ebay prices so I got the best condition grey one. You can see here I filled in the holes and trimmed the underside flush with the ammo can.
I plastic welded the inside and seamed the outside of the lower rear arms.
It was too tight to plastic weld from the inside so I had to do it from the outside, but you can see here I'm changing the rear angle to match the vertical angle of the ammo can.
Because I swung out the rear-end, I had to lengthen this trim to match the transmission tunnel.
Here you can really start to see what I'm doing.
Got everything seamed and sanded. I still have to adress that chip at the bottom.
The drivers side came out really nice as I was able to carry the curve to the end.
I patched the ashtray hole. I wanted to add rear USB chargers but I decided to go full length on the ammo can.
I filled in the rear vents since they got relocated.
I had used HVAC tape on the outside and filled it in from the inside so there was a void I could get down into.
Filled it with more JB-WELD and laid more tape over it so it will cure flat. This is a great technique because the glue dries really nice but gums up sandpaper and files pretty easily so the less you have to remove the better. I can probably go right over this with glazing putty and be fine.
Last edited by Travis Mudrich; 06-29-2024 at 09:40 PM.
Reason: Typo
Even though I've come so far, there's still a lot I need to do:
Ammo Can
1. Order locking lid (already ordered once but I jacked up the measurements so I have to do it again. I'll post the first one when I post the second one)
2. Drill holes and rivnut (already had this done but I had to weld the holes close and relocate the rivnuts. Measure twice drill one or something like that)
3. Install locking lid and lock
4. Felt line inside (I wanted to do this to help sound deaden the can but not sure if I'm going to do this now. It's seems like too much work. I truck bed lined the inside for now. Maybe I might just put a carpet pad down on the bottom)
Armrest
1. Delete armrest guide rails (they intersect with the locking lid but I won't trim this until I have the lid installed)
2. Molle insert (I won't have much room in the detent of the lid, but I may add a pen or card holder in the shallow recess of the lid)
Main Plastic
1. Plastic weld gaps
2. Bridge front mount (this is the two tabs down at the front of the ammo can. They are independent and flimsy)
3. Reinforce cross bar
Plastic Insert
1. Drill countersunk holes in insert
2. Final mounting bolt (there is going to be one bolt in the emergency brake cubby that holds the black insert down to the transmission tunnel so the whole thing isn't wiggling around)
3. USB charger in change slot (spoiler alert! I'm relocating my cigarette lighter power down to the center console in place for USB ports)
Other
1. Transmission shifter plastic mounting tab metal bracket (hard to explain. I'll show you later)
Last edited by Travis Mudrich; 06-30-2024 at 09:55 PM.
Reason: Typo
So I jumped right into the wiring before I molested the plastic (more than I have already) just to verify all the electronics works.
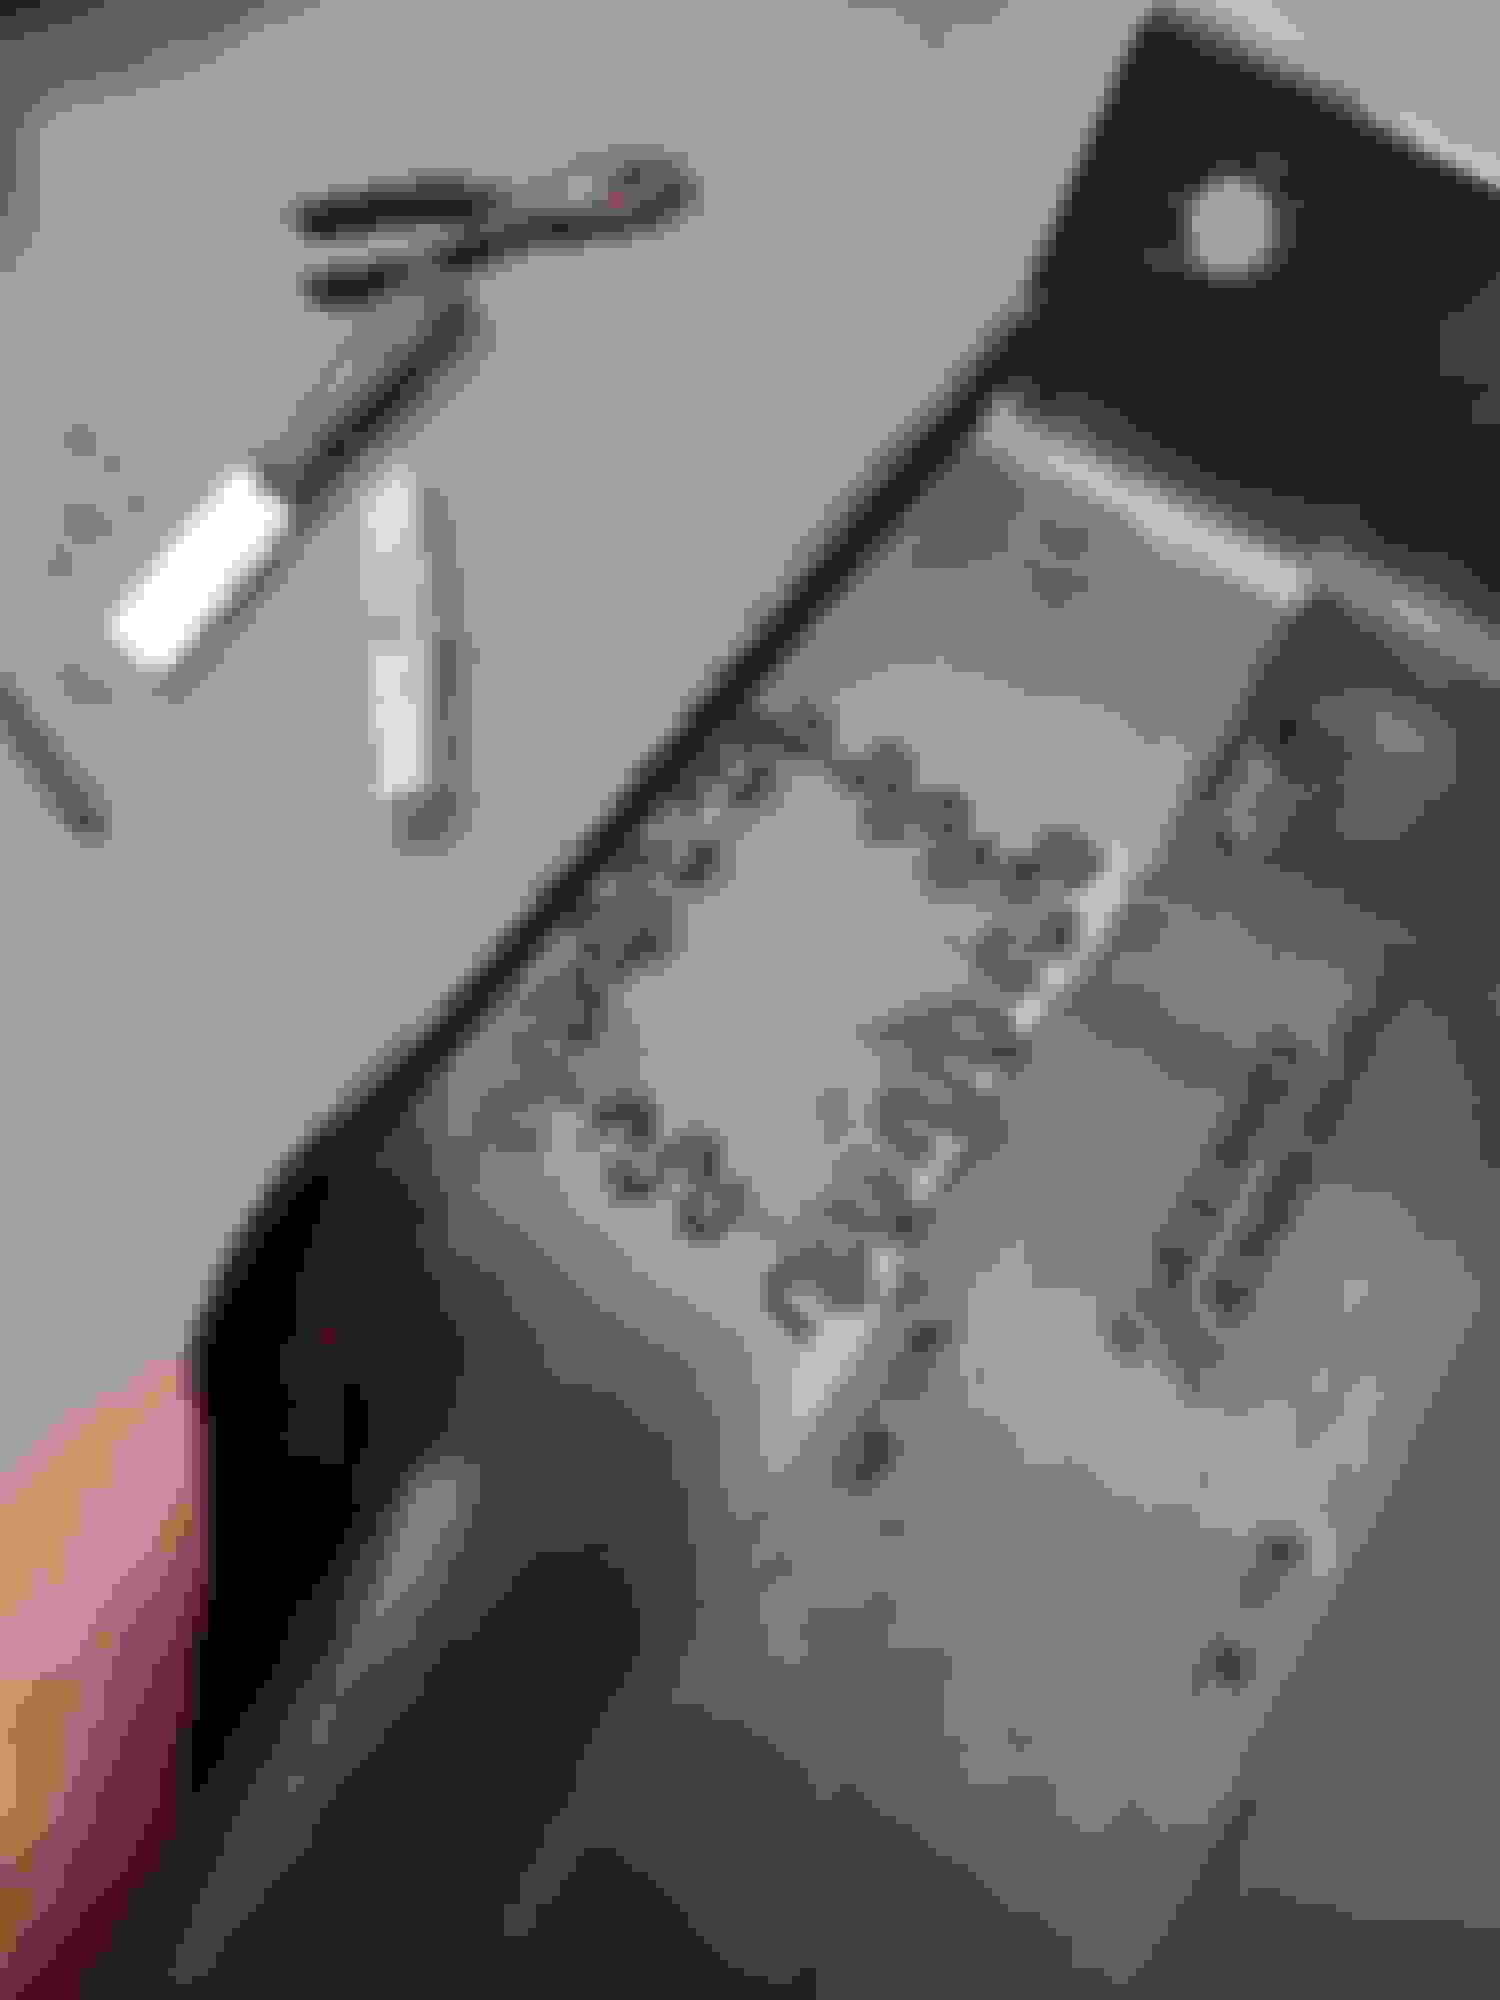
I started off by making an extention coming off the stock cigarette lighter connectors. I even chose to use the same exact wiring I had leftover from another XJ fusebox. I try to make things as proper as possible.
Here is another set of connectors for the other end. All stock except for the ground because I wanted a shielded connector. I didn't want to cut the OEM wiring because I like to keep the option open to switching back.
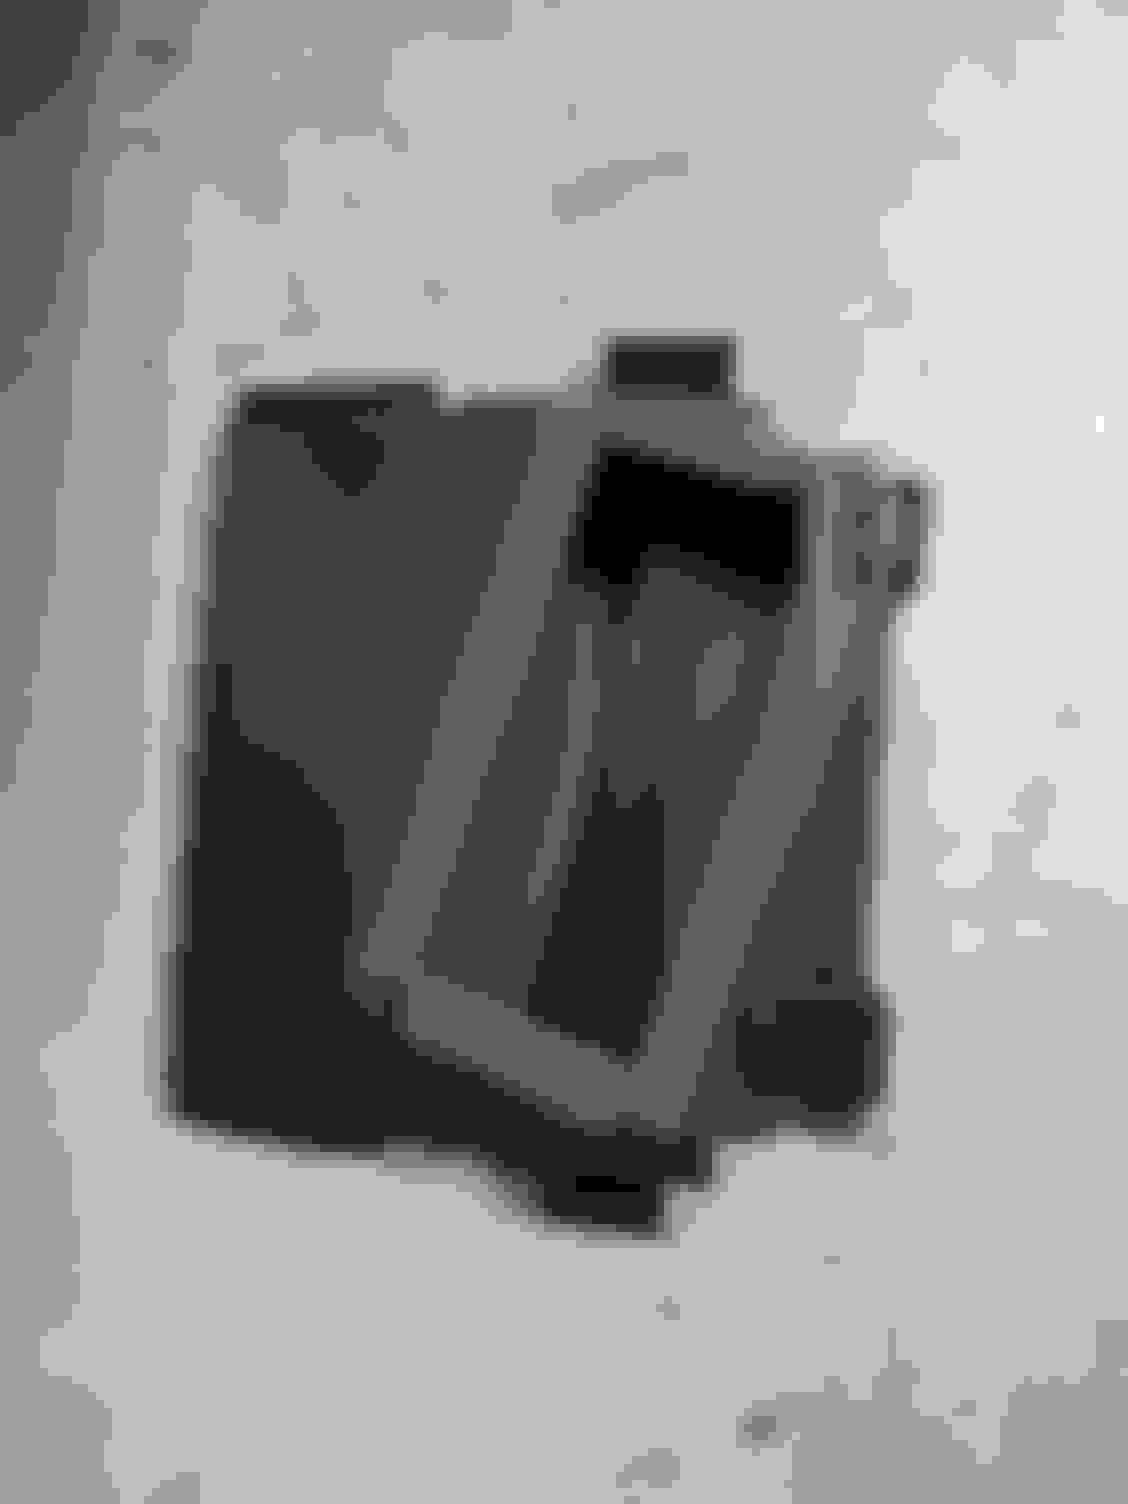
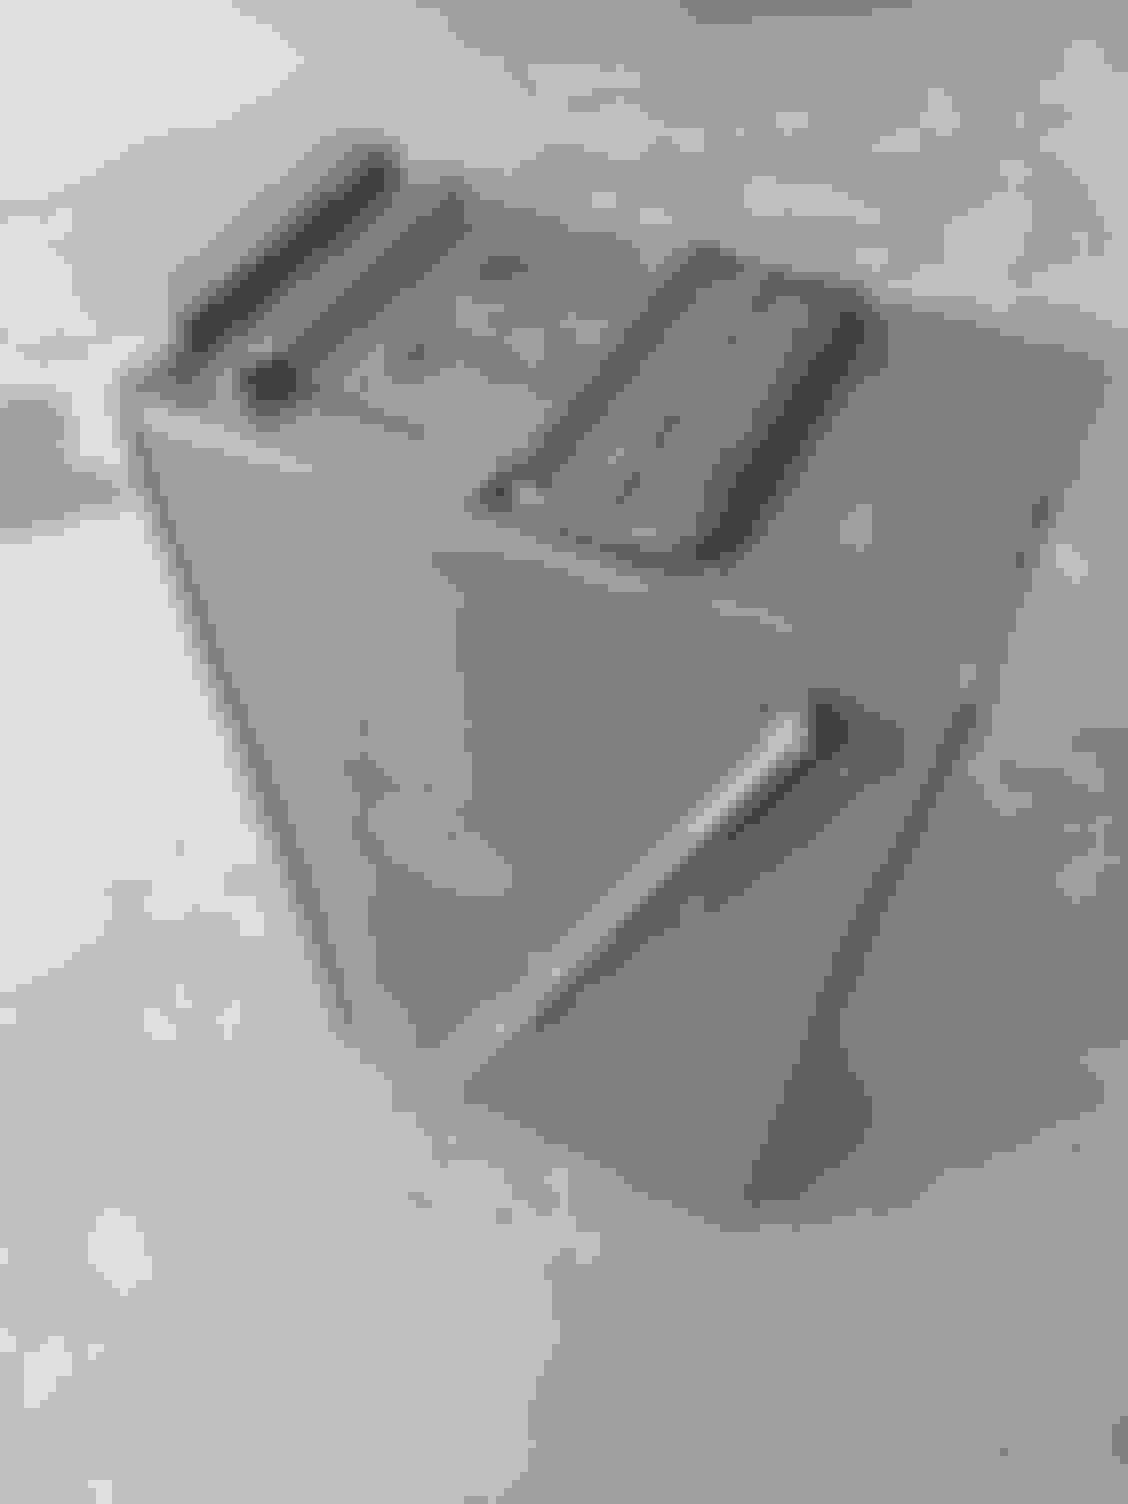
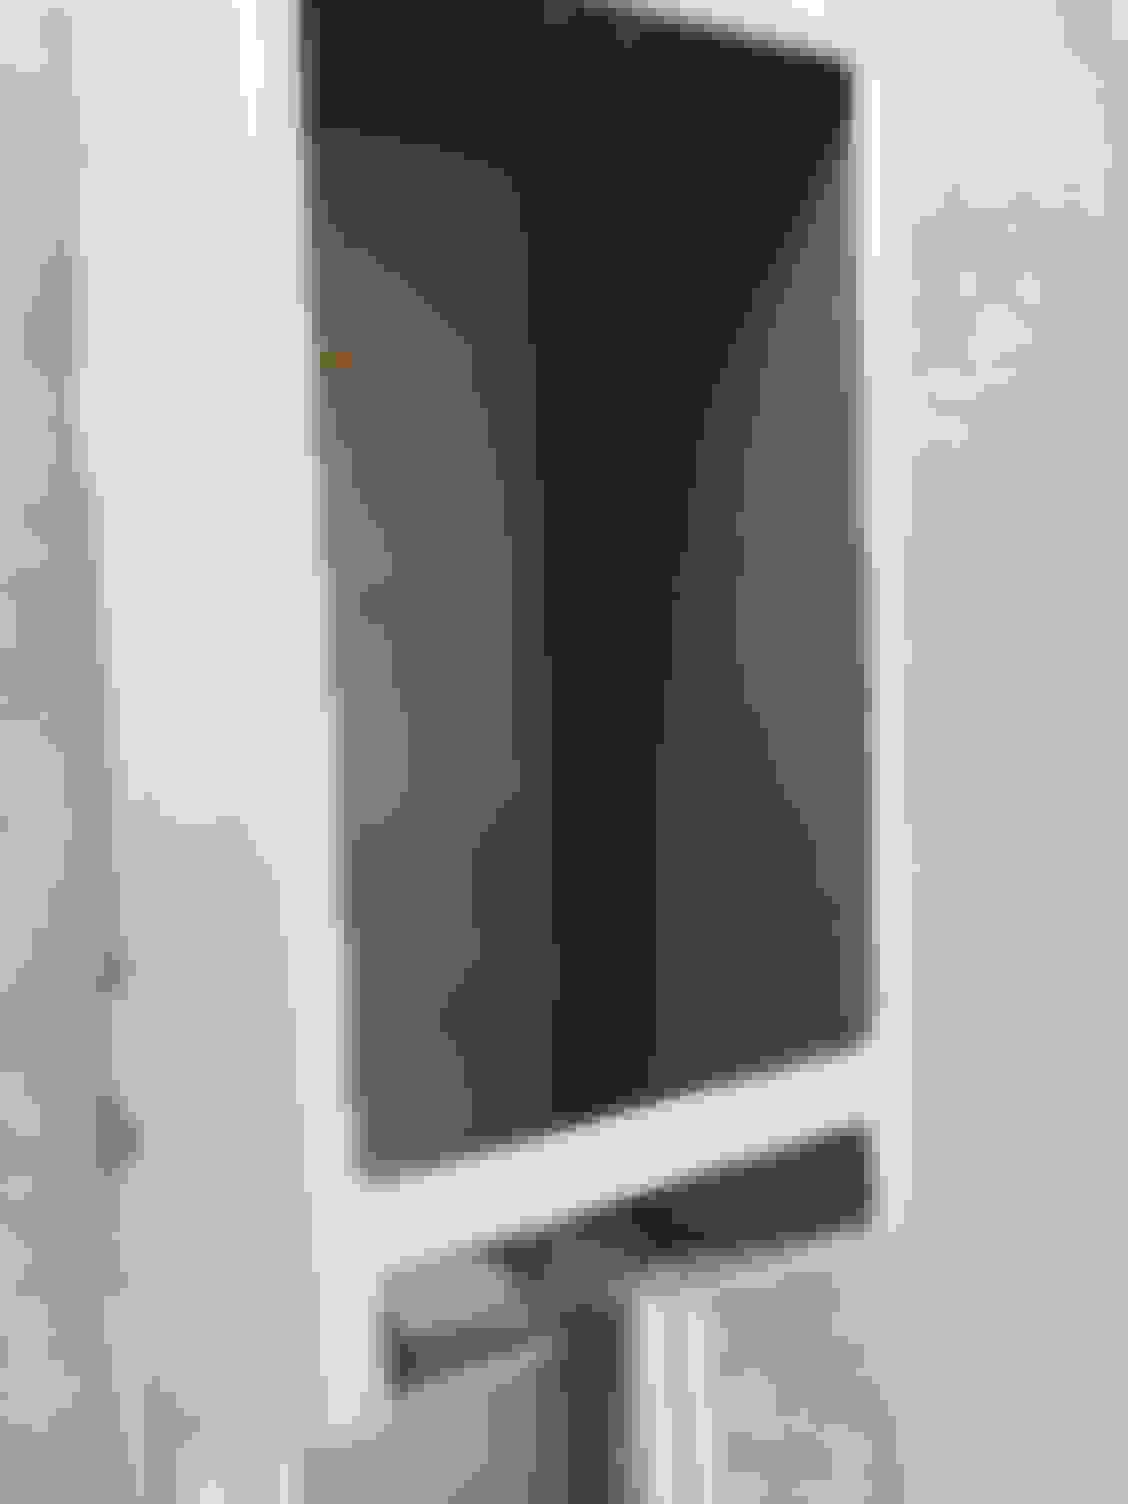
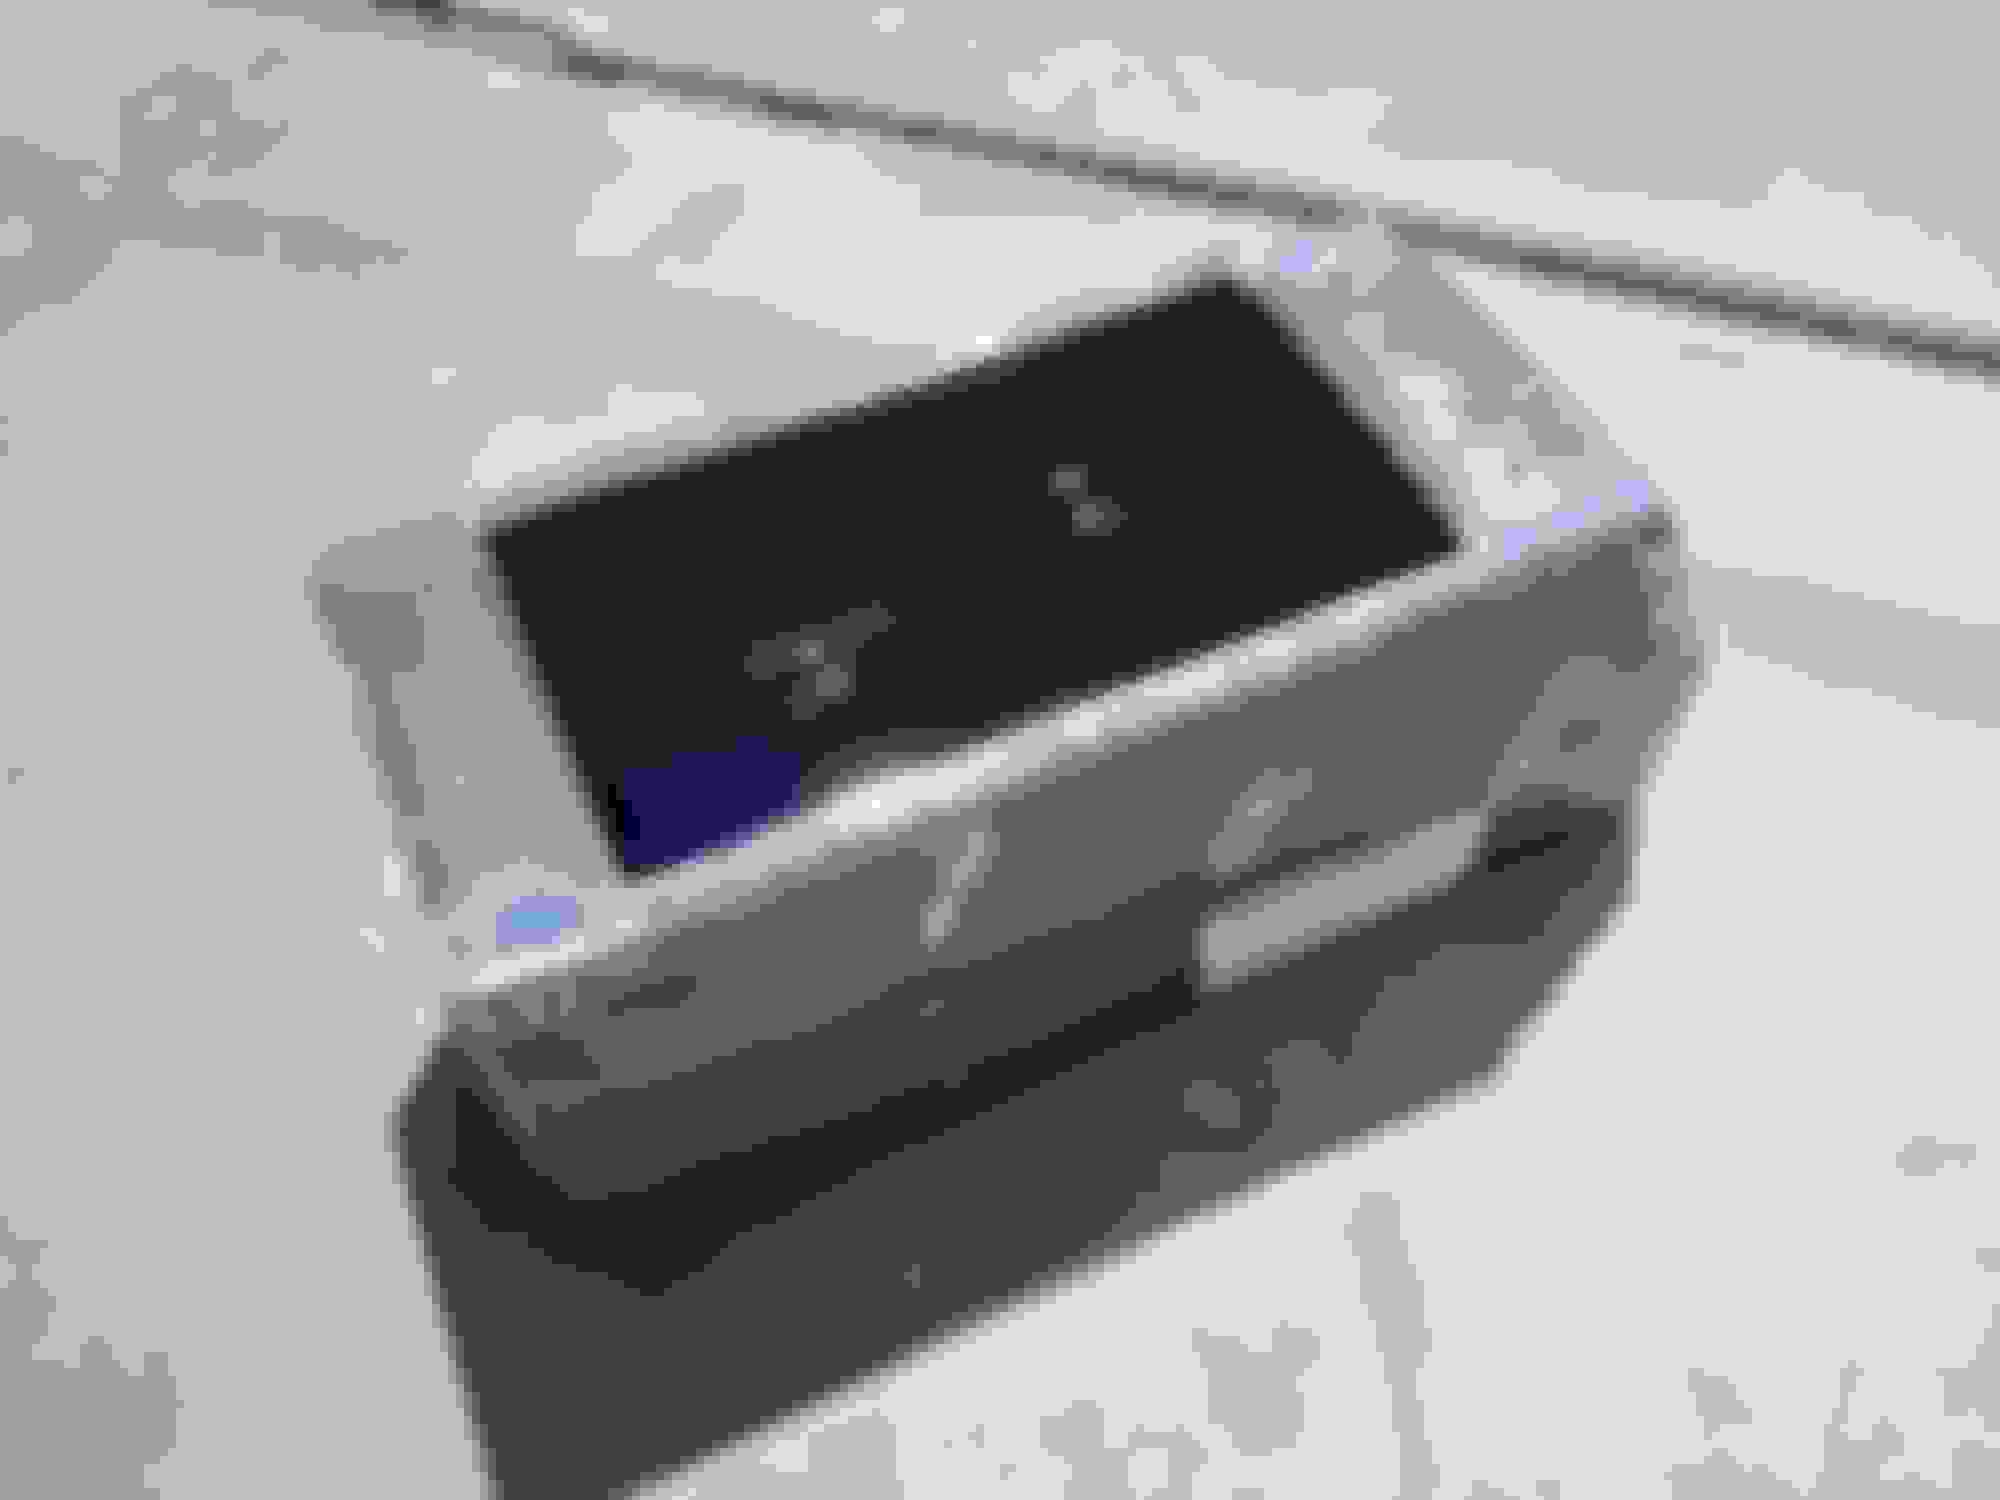
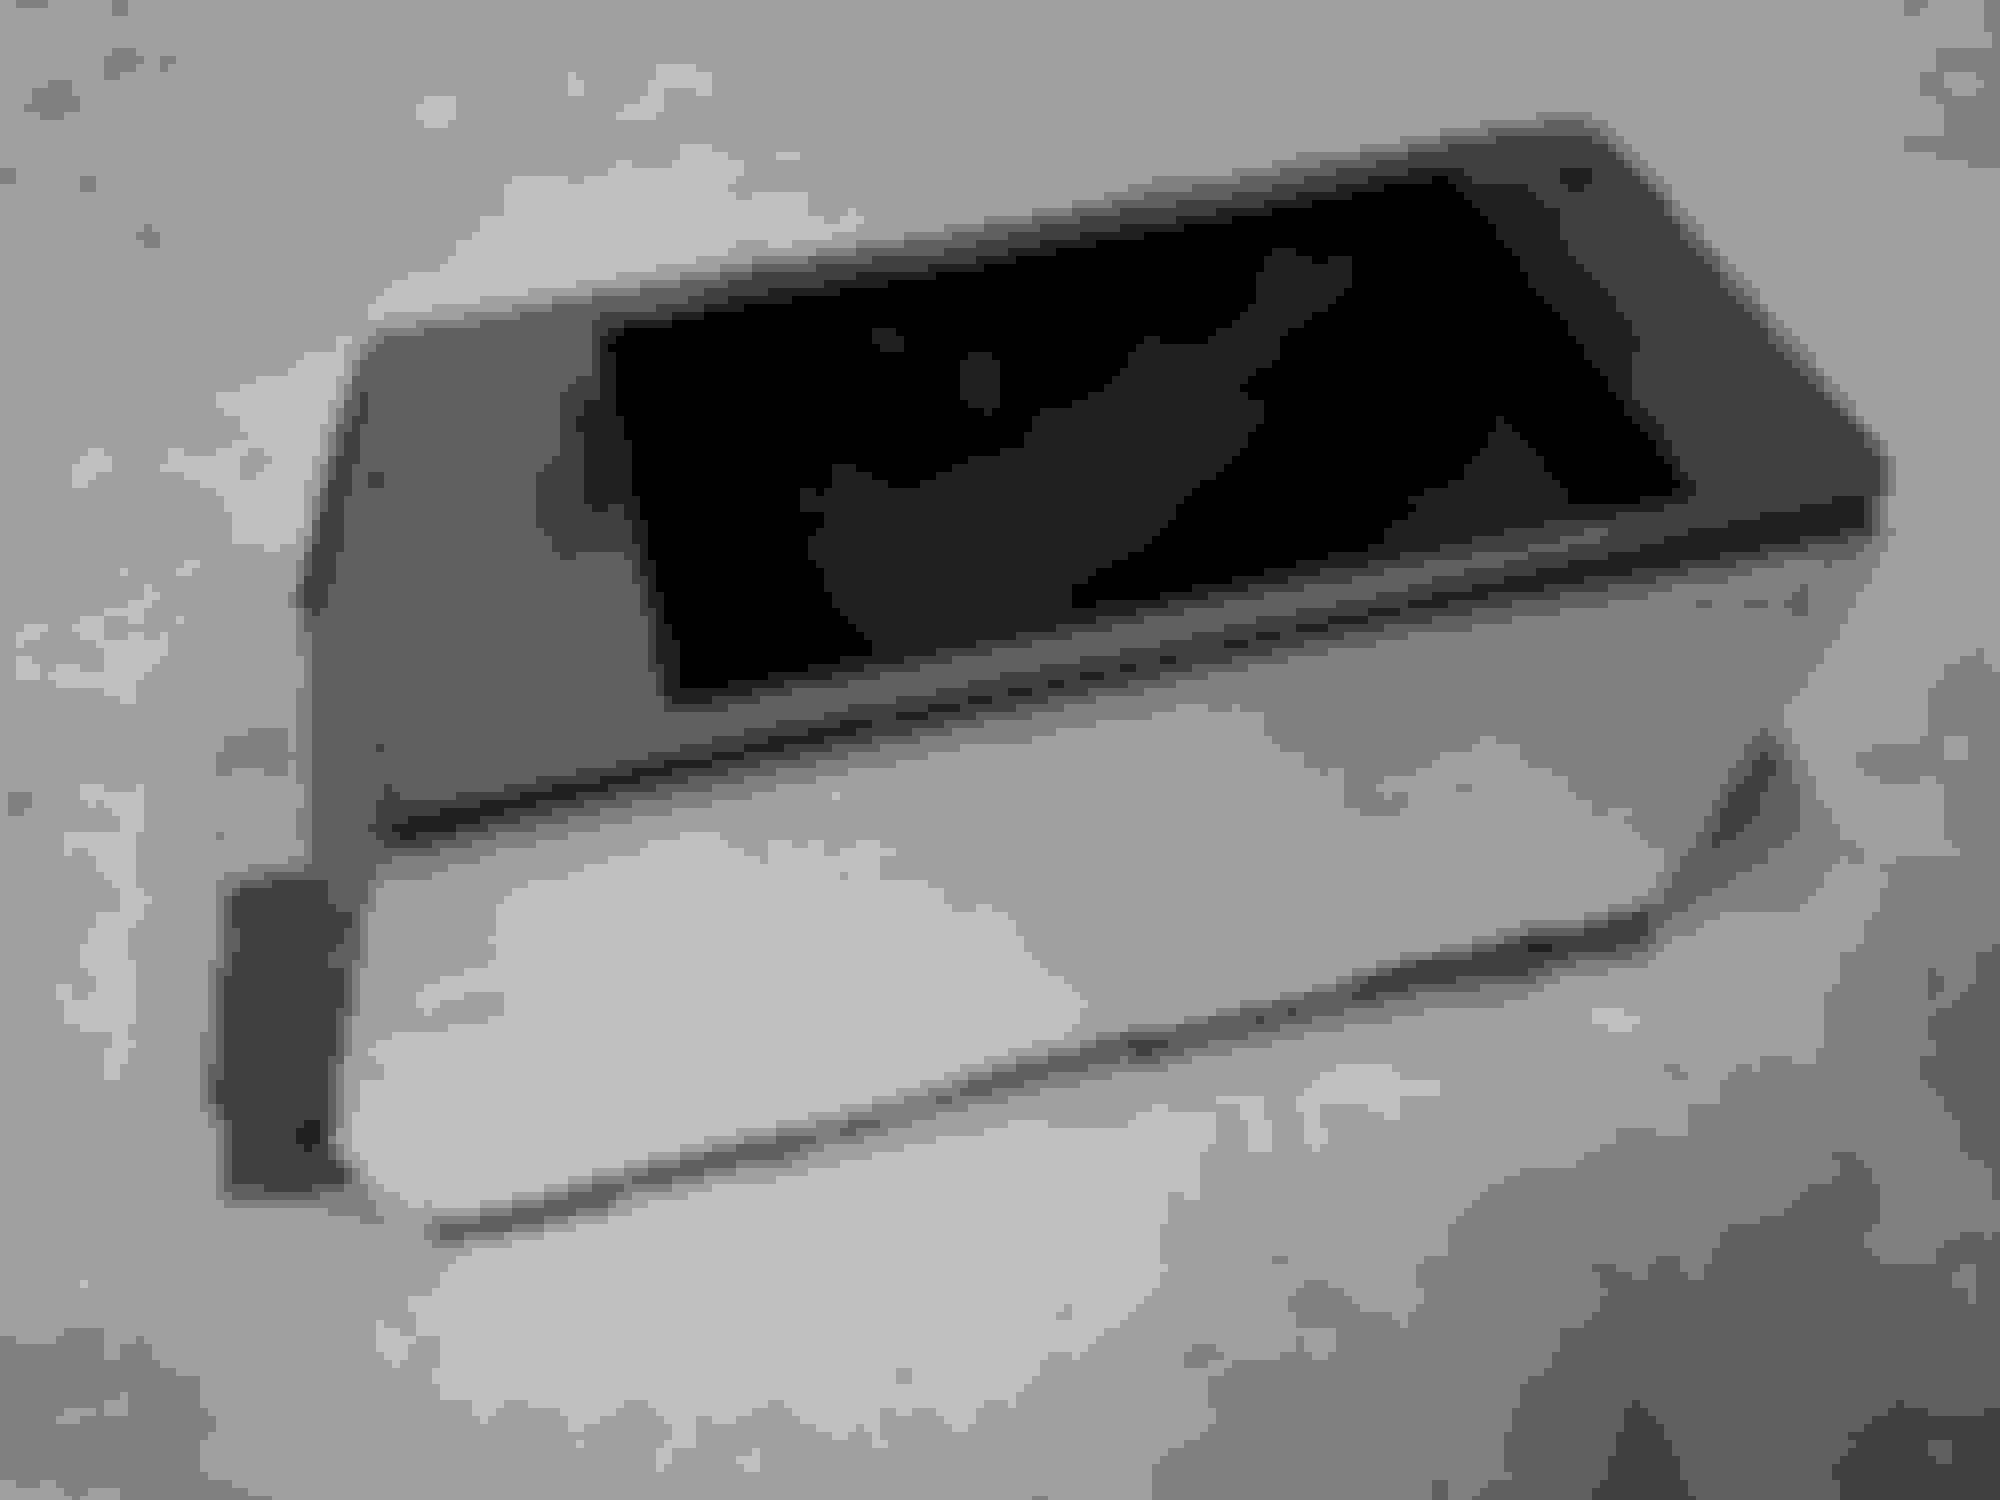
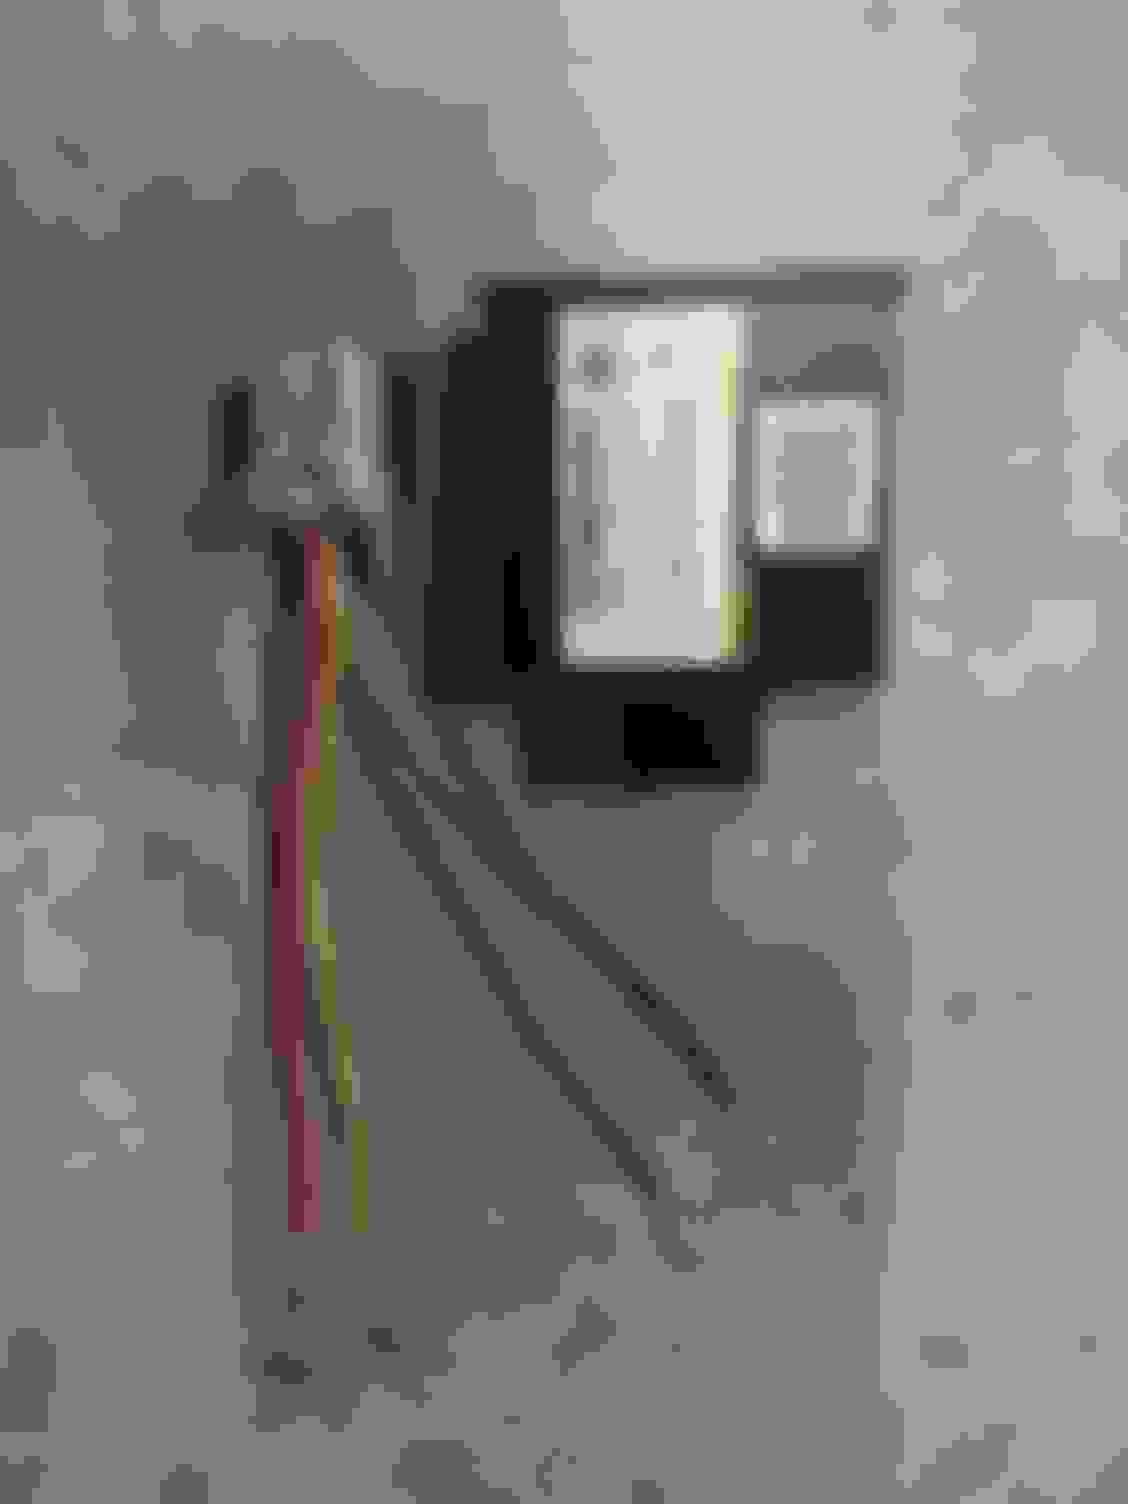
Here is a dual USB port I picked up off Ebay. It's from a 2017-2020 Maserati Levante. It doesn't matter too much, but I'm glad it's a Chrystler product.
I picked this out apart from every other model mainly because it said charge only. I knew I wouldn't have to worry about data transfer wiring, only charging. The faceplate was a win for me also. I tried to imagine what a 1996 XJ USB charger would look like. Most thing back then were bold, plain, and simple. So the crisp 90� corners and the unnecessary wording struck home for me. The internals were a little more involved that what I had hoped for but I was able to figure it out. Black is negative, other three got combined.
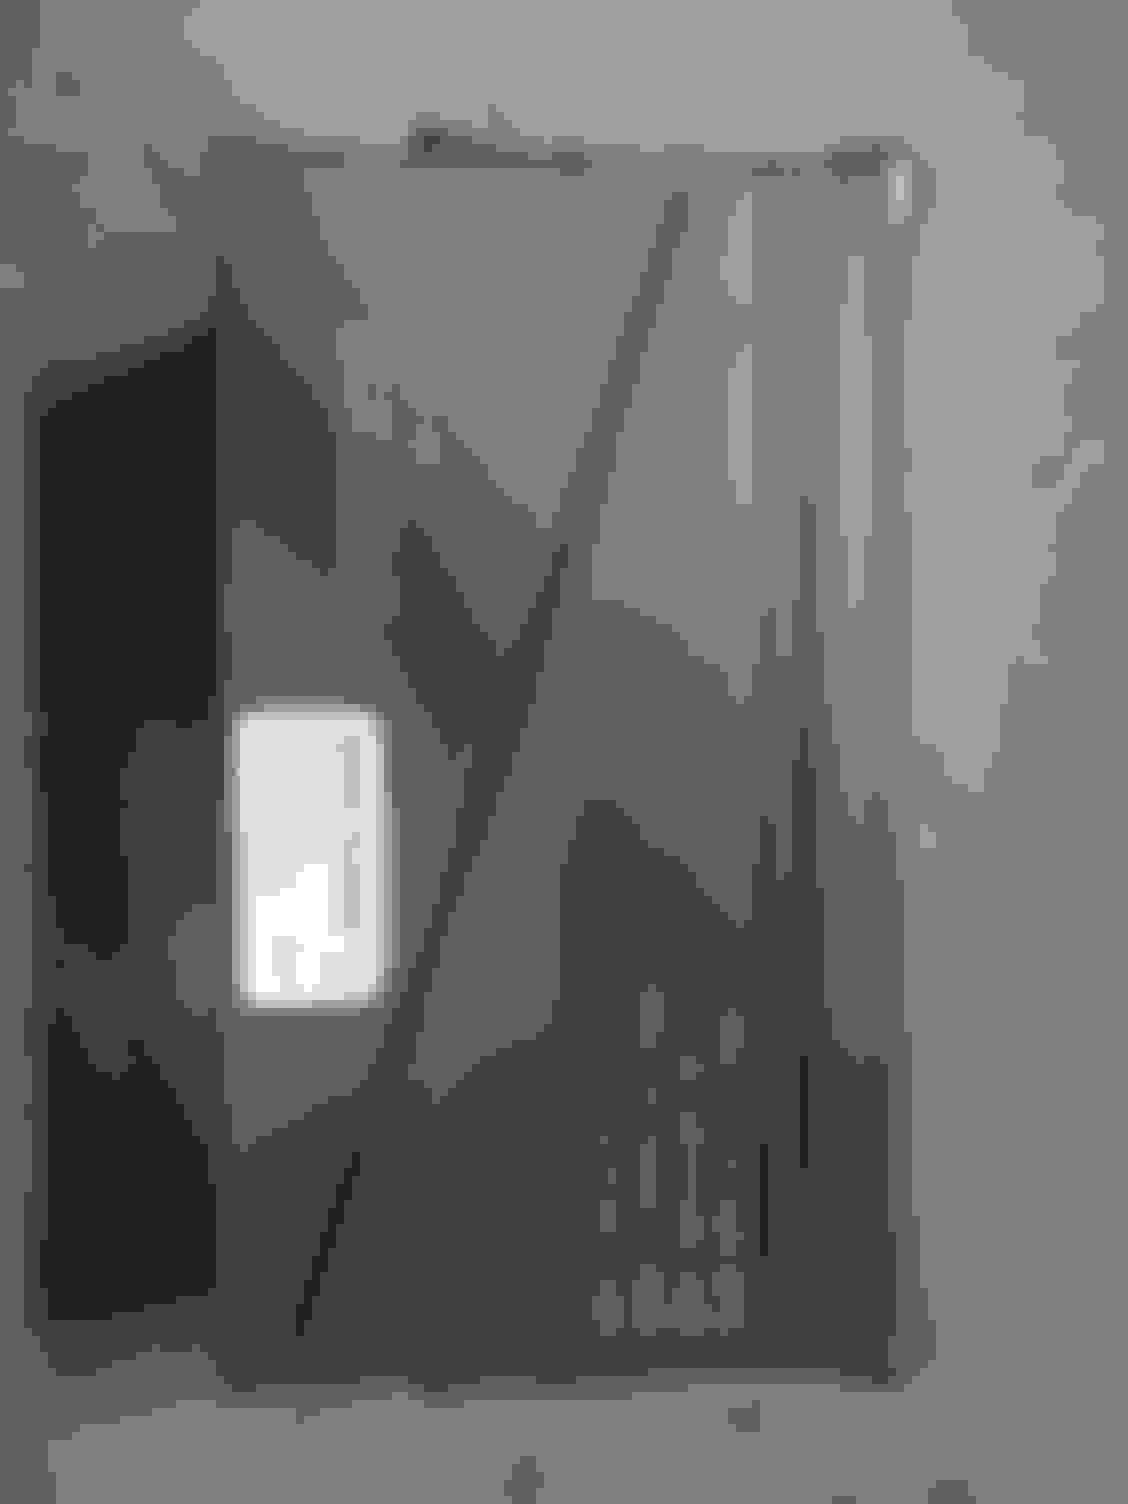
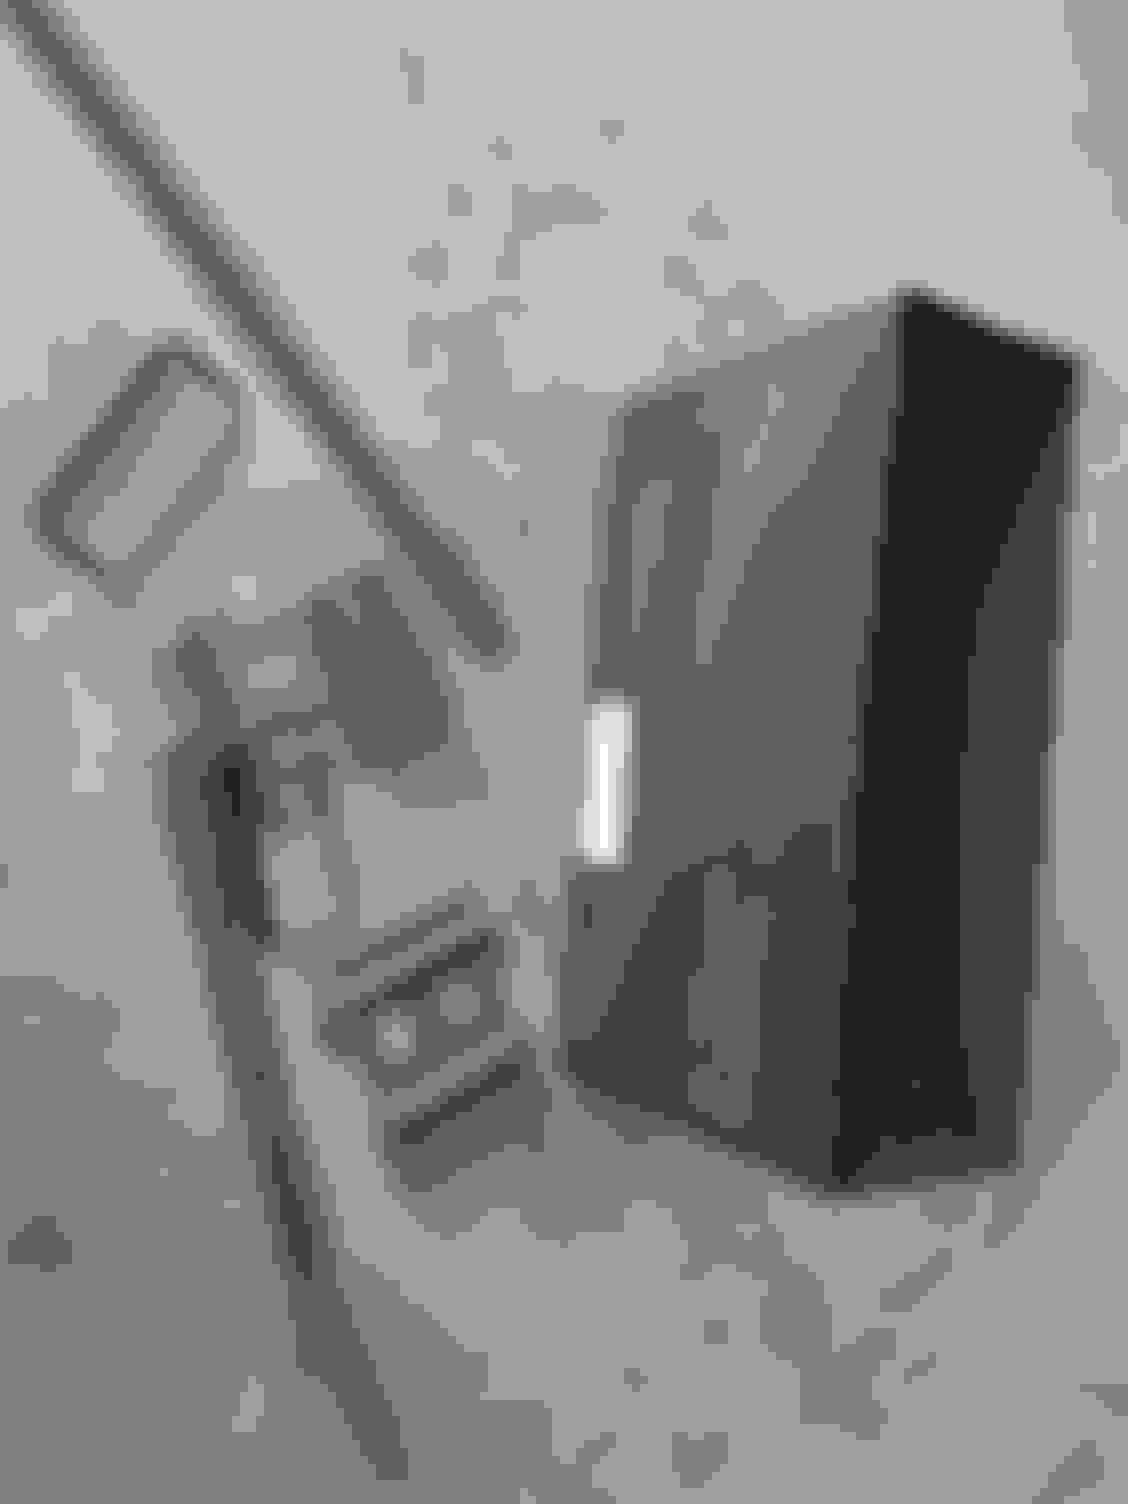
It doesn't look like much, but this is the complete extention harness. This will relocate the OEM ciggarette lighter and support the Maserati USB ports.
Last edited by Travis Mudrich; 06-30-2024 at 09:52 PM.
Reason: Typo
 08-09-2023, 08:39 PM