Project Day
#1
Thread Starter
Senior Member
Joined: Mar 2011
Posts: 522
Likes: 0
From: Las Vegas
Year: 1992
Model: Cherokee
Engine: 4.oL H.O. 784 injectors, EV6 to EV1 connectors, APN header, Dynomax exhaust
Paint day! YAY!!!
I have had a few requests for a write up, sorry but this one is brief:
Step 1: prepping....dual action sander (or electric random orbiter) over every inch in progressively finer grits (120/220/320...)
Step 1a/1b/1c: after each lap is complete I wipe it down with denatured alcohol then acetone then pressure wash it and let it dry
Step 2: Tape everything that doesn't require paint
Step 2a: Depending on color (red is a B!T$#) you may require a scratch coat, I used a few cans of flat black for base
Step 3: Enjoy the fumes....but be careful....the poison monoxide may carbon you, leaving severe drain bramage
I usually start with the green and work out my pattern (free hand) then black then drab
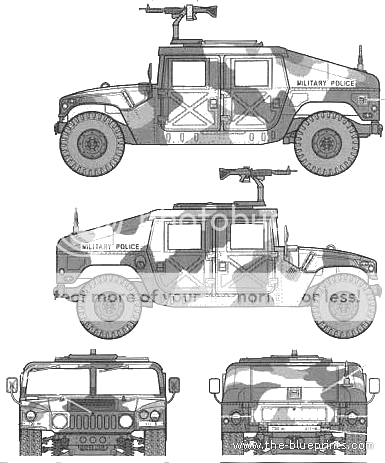
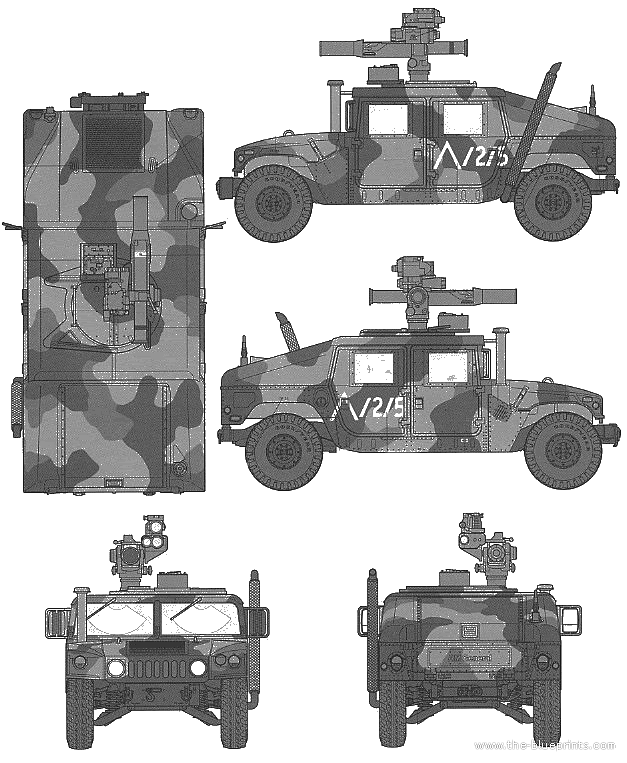
I use a template for reference, you can see it taped to the windows. I also have a top down view that I carry for the hood/roof
This is where I am so far.... packing it in for the night
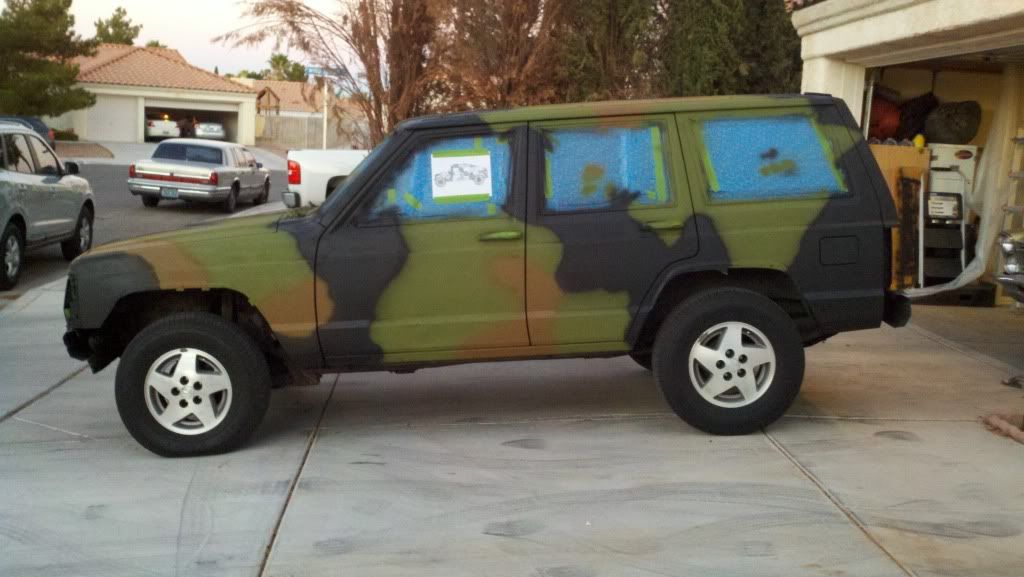
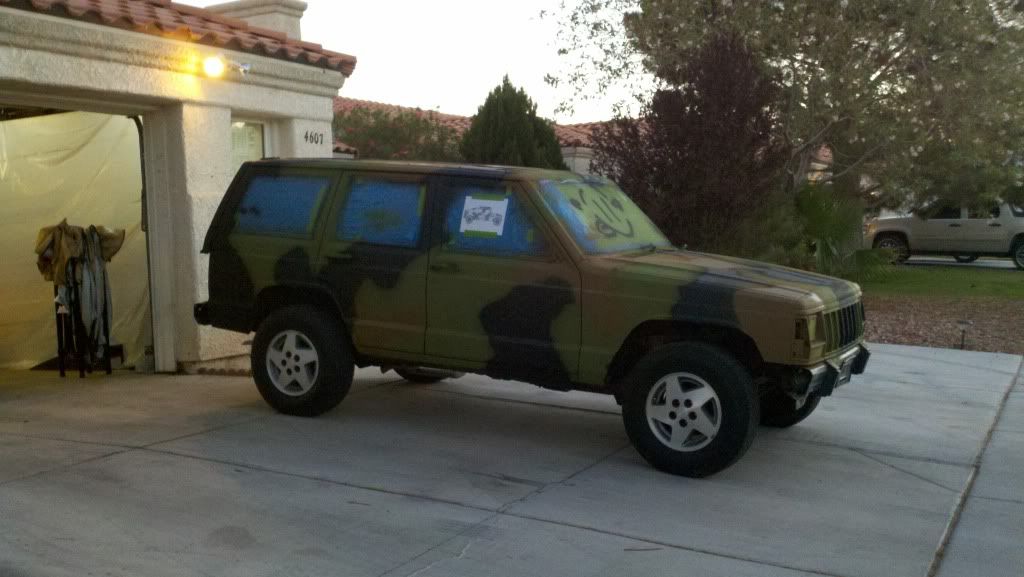

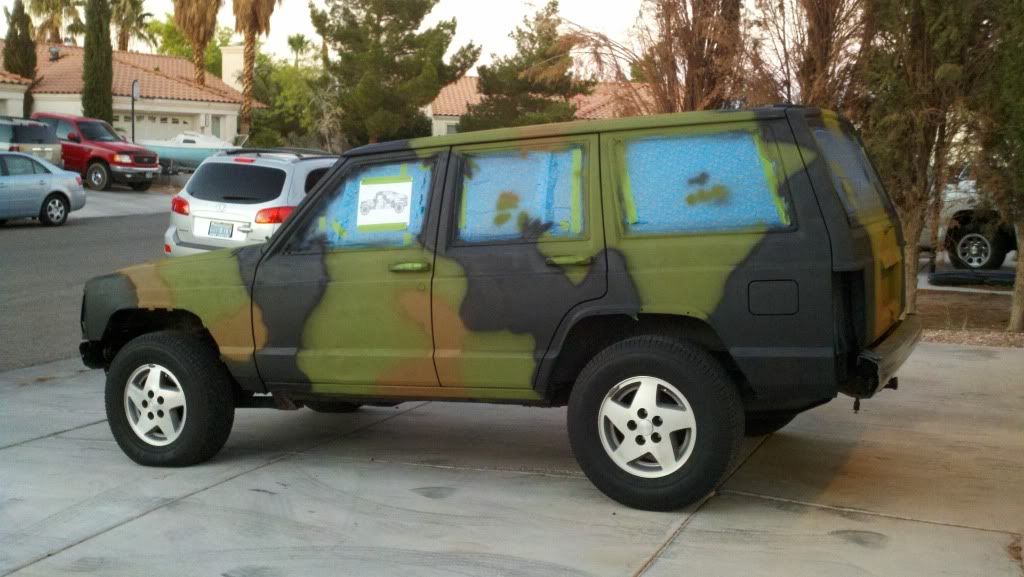
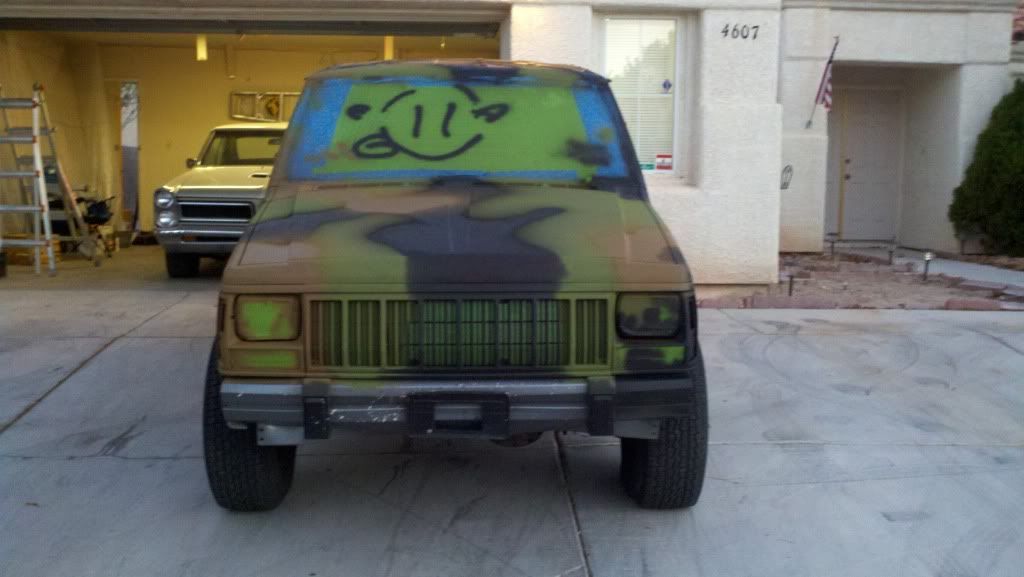
Step 4: Continue painting until color is on and pattern is secure (no base color poking through, waves smoothed out)
Step 5: Dry at least 24hrs
Step 6: wet sand with fine grit (320+) to smooth it all out and get rid of the fuzzies (rattle cans always leave a curtain)
Templates:

I have had a few requests for a write up, sorry but this one is brief:
Step 1: prepping....dual action sander (or electric random orbiter) over every inch in progressively finer grits (120/220/320...)
Step 1a/1b/1c: after each lap is complete I wipe it down with denatured alcohol then acetone then pressure wash it and let it dry
Step 2: Tape everything that doesn't require paint
Step 2a: Depending on color (red is a B!T$#) you may require a scratch coat, I used a few cans of flat black for base
Step 3: Enjoy the fumes....but be careful....the poison monoxide may carbon you, leaving severe drain bramage
I usually start with the green and work out my pattern (free hand) then black then drab
I use a template for reference, you can see it taped to the windows. I also have a top down view that I carry for the hood/roof
This is where I am so far.... packing it in for the night


Step 4: Continue painting until color is on and pattern is secure (no base color poking through, waves smoothed out)
Step 5: Dry at least 24hrs
Step 6: wet sand with fine grit (320+) to smooth it all out and get rid of the fuzzies (rattle cans always leave a curtain)
Templates:


Last edited by duafacia; 07-13-2011 at 01:34 PM. Reason: extra details
#2
CF Veteran
Joined: Jun 2011
Posts: 1,845
Likes: 2
From: S.E. Tx
Year: 1992
Model: Cherokee
Engine: 4.0 I6 firepower ignition, cat-back w/ magnaflow muffler, poweraid tb spacer, optima blue top
I think there's something wrong with the pics, I only see a driveway in all of them. Jk lol.
#3
#5
Thread Starter
Senior Member
Joined: Mar 2011
Posts: 522
Likes: 0
From: Las Vegas
Year: 1992
Model: Cherokee
Engine: 4.oL H.O. 784 injectors, EV6 to EV1 connectors, APN header, Dynomax exhaust
Water pump seal went out so did the bearing on it. Figured it could sit a bit since its not my daily driver.
I dropped it here since I wasn't documenting an entire ground up build.
Though if I am fishing in the wrong spot I am sure the mods will kick me to a new pond?
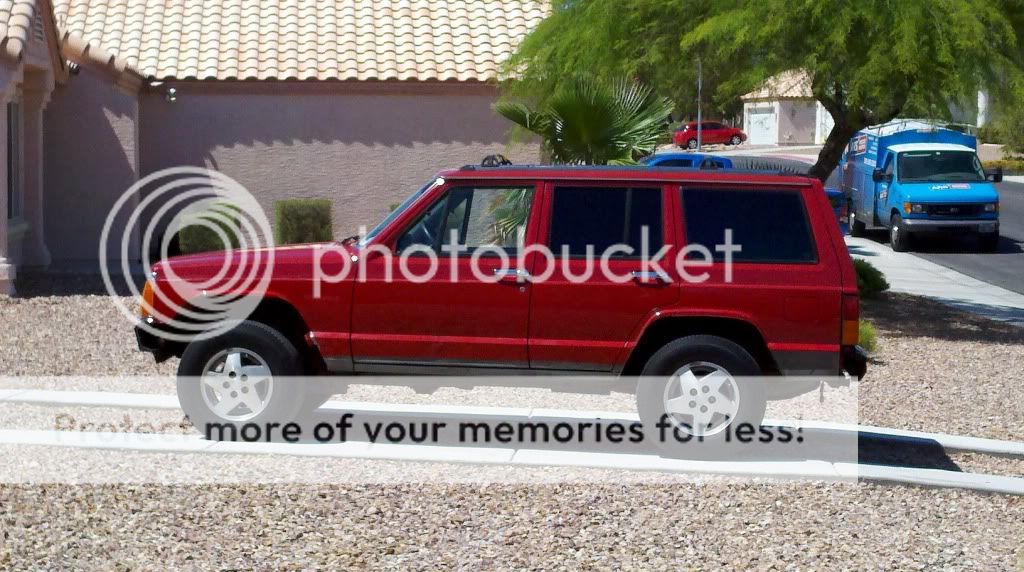
Oh yea, and this is what it looked like before:
Last edited by duafacia; 07-12-2011 at 11:58 PM.
#6
CF Veteran
Joined: Jun 2011
Posts: 1,845
Likes: 2
From: S.E. Tx
Year: 1992
Model: Cherokee
Engine: 4.0 I6 firepower ignition, cat-back w/ magnaflow muffler, poweraid tb spacer, optima blue top
Trending Topics
#8
Thread Starter
Senior Member
Joined: Mar 2011
Posts: 522
Likes: 0
From: Las Vegas
Year: 1992
Model: Cherokee
Engine: 4.oL H.O. 784 injectors, EV6 to EV1 connectors, APN header, Dynomax exhaust
All spray bombed with aervoe camo paints. The paint meets Military color standards with an ultra flat finish. First time I have used their paint, I have used Krylon's camo previously.
I can say that for the most part I do like their paint, it does go on a little thin and stays tacky longer than the krylon. It is suppose to have better adhesion but I guess I'll test that out after the lift/goodies go on.
I can say that for the most part I do like their paint, it does go on a little thin and stays tacky longer than the krylon. It is suppose to have better adhesion but I guess I'll test that out after the lift/goodies go on.
#10
#11
Thread Starter
Senior Member
Joined: Mar 2011
Posts: 522
Likes: 0
From: Las Vegas
Year: 1992
Model: Cherokee
Engine: 4.oL H.O. 784 injectors, EV6 to EV1 connectors, APN header, Dynomax exhaust
Its easy, its just labor intensive. And if you screw up, who cares? Just paint over it til you like it.
#15
Thread Starter
Senior Member
Joined: Mar 2011
Posts: 522
Likes: 0
From: Las Vegas
Year: 1992
Model: Cherokee
Engine: 4.oL H.O. 784 injectors, EV6 to EV1 connectors, APN header, Dynomax exhaust
Tire has a slow leak, cant be fixed. When I lift it though its going bye bye 
I still need to wet sand it, I am waiting for the paint to fully harden so sometime early next week that should be done.
As for all put together I am trying to narrow in on which lift to go with so project completely done is some time off yet.

I still need to wet sand it, I am waiting for the paint to fully harden so sometime early next week that should be done.
As for all put together I am trying to narrow in on which lift to go with so project completely done is some time off yet.


