Tube Winch Bumper Build
#48
 if your talking about plating the top with diamond plate then yeah you could. Id love to weld in some dimple died plate, but I don't have access to dimple dies.
The Bay Area of California. Idk how specific you want lol.
I typically wheel in the Sierras on trails such as Slick Rock and Deer Valley.
Thanks for all the kind words and everybody! My goal is to have it finished this weekend (4 day weekend for me).
#49
Idk, you tell me  if your talking about plating the top with diamond plate then yeah you could. Id love to weld in some dimple died plate, but I don't have access to dimple dies.
The Bay Area of California. Idk how specific you want lol.
I typically wheel in the Sierras on trails such as Slick Rock and Deer Valley.
Thanks for all the kind words and everybody! My goal is to have it finished this weekend (4 day weekend for me).
 if your talking about plating the top with diamond plate then yeah you could. Id love to weld in some dimple died plate, but I don't have access to dimple dies.
The Bay Area of California. Idk how specific you want lol.
I typically wheel in the Sierras on trails such as Slick Rock and Deer Valley.
Thanks for all the kind words and everybody! My goal is to have it finished this weekend (4 day weekend for me).
#50
#52
#53
Member
Joined: Oct 2010
Posts: 119
Likes: 0
From: Tega Cay, SC
Year: 2000
Model: Cherokee
Engine: Inline 6
#54
#55
^ Thanks, I had no idea they were that cheap!
Got some work done this weekend on the bumper... Got it all tacked together but then when we tried putting it on, the lowest tube interfered with the crossmember (the two pinch seams on the sides). Due to needing a bumper to be street legal, I had to chop those four pieces off (1 horizontal, 3 vertical pieces) and put it back on unfinished..... again.
Those two side support bars were a PITA to notch. My HF notcher only goes to about 28* from parallel (62* from perpendicular), while the notch I needed was 25*. Doesn't sound like much, but there's a huge difference there. So after an hour or two with the grinder, I finally got them to fit.
I wont be able to work on it for a few weeks, but when I do, I will be shortening the 3 vertical bars and rotating the lowest bar out a bit to clear the crossmembers pinch seam.
Heres some pics of the "final" design:
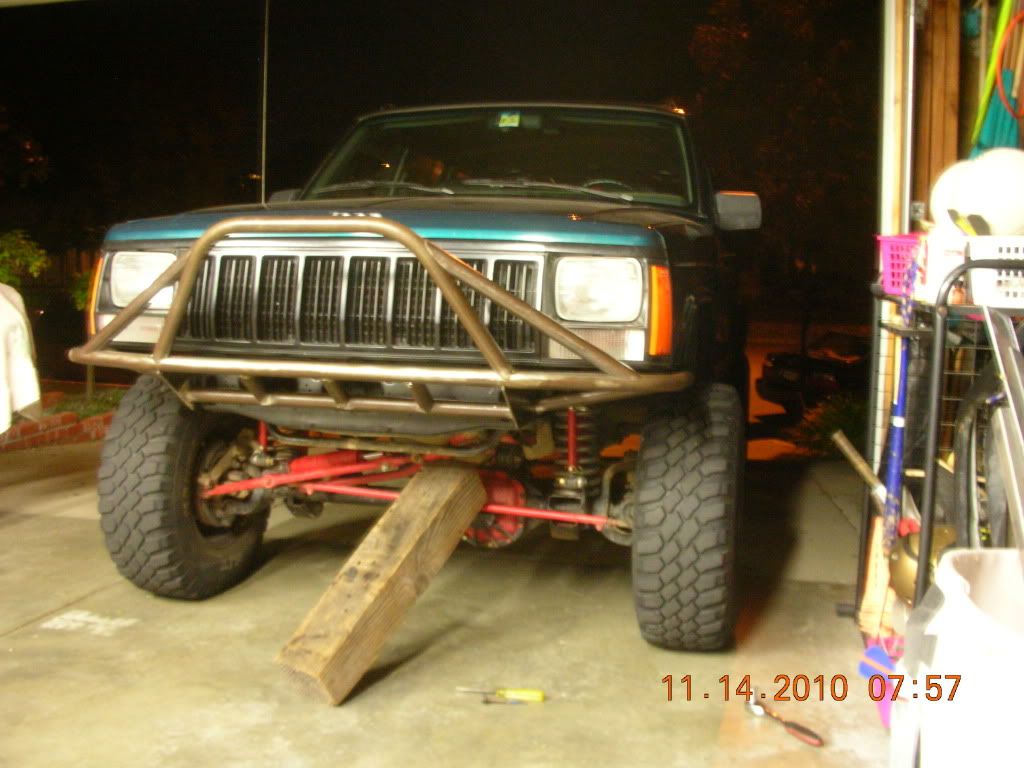

Thats right, that railroad tie is holding up my steering box by the drag link
Got some work done this weekend on the bumper... Got it all tacked together but then when we tried putting it on, the lowest tube interfered with the crossmember (the two pinch seams on the sides). Due to needing a bumper to be street legal, I had to chop those four pieces off (1 horizontal, 3 vertical pieces) and put it back on unfinished..... again.
Those two side support bars were a PITA to notch. My HF notcher only goes to about 28* from parallel (62* from perpendicular), while the notch I needed was 25*. Doesn't sound like much, but there's a huge difference there. So after an hour or two with the grinder, I finally got them to fit.
I wont be able to work on it for a few weeks, but when I do, I will be shortening the 3 vertical bars and rotating the lowest bar out a bit to clear the crossmembers pinch seam.
Heres some pics of the "final" design:


Thats right, that railroad tie is holding up my steering box by the drag link

#57
#59
As seen referenced in my previous update, the lower tube (with 3 vertical pieces) was too close, and interfered with the crossmember. To fix this, I busted those 4 bars off with a BFH and re-notched the lower vertical pieces about 1/4" shorter. These new notches were much cleaner and straighter, and much much easier to weld.

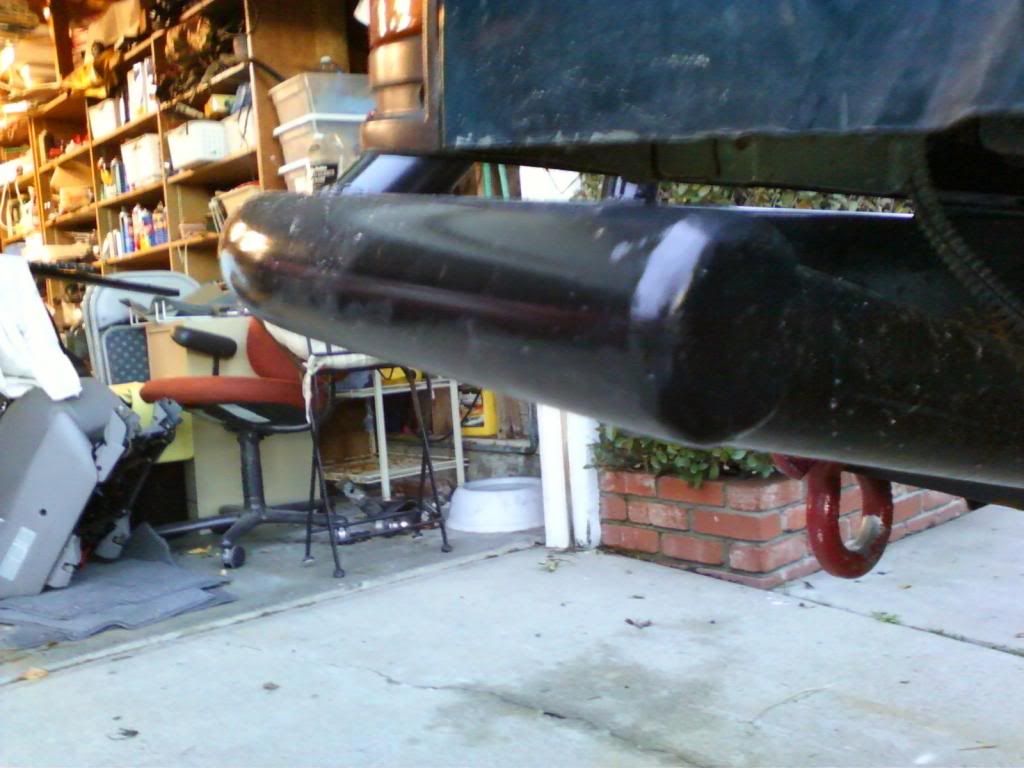
Next on the list was to cap the end of the bumpers. I previously cut out some circle with a 1.5" hole saw. Despite the hole in the middle of then, I fully welded them onto the end, and filled the drill hole.
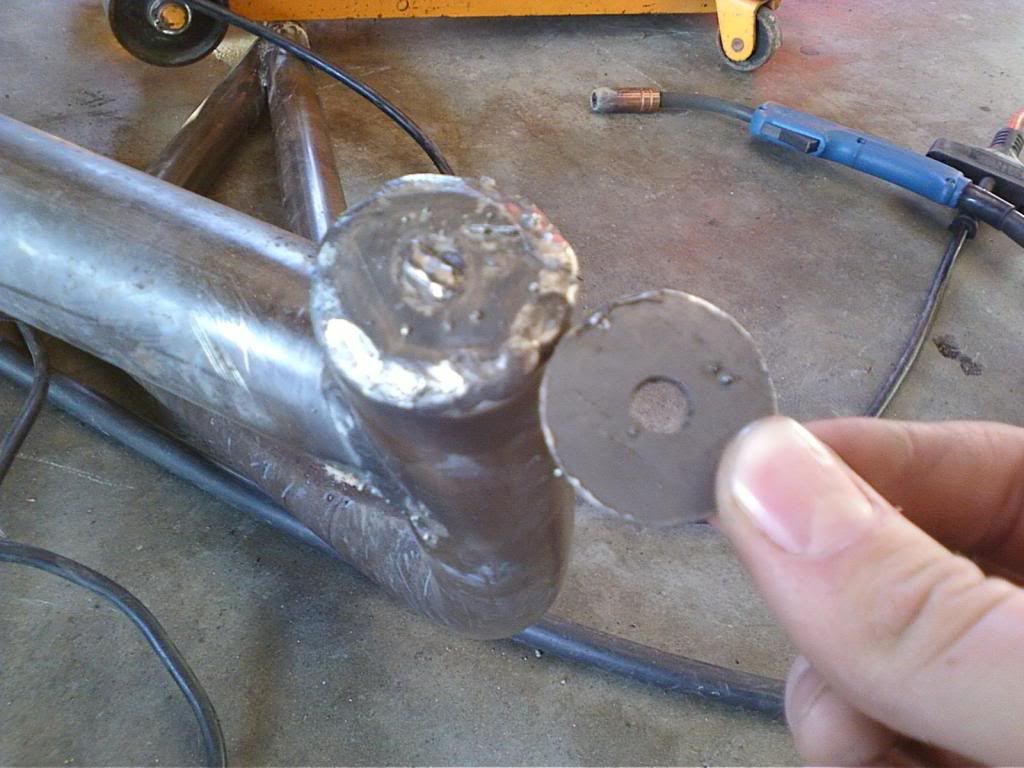
Finished up the other side, and then went back and attacked it with the grinder/flap disk.
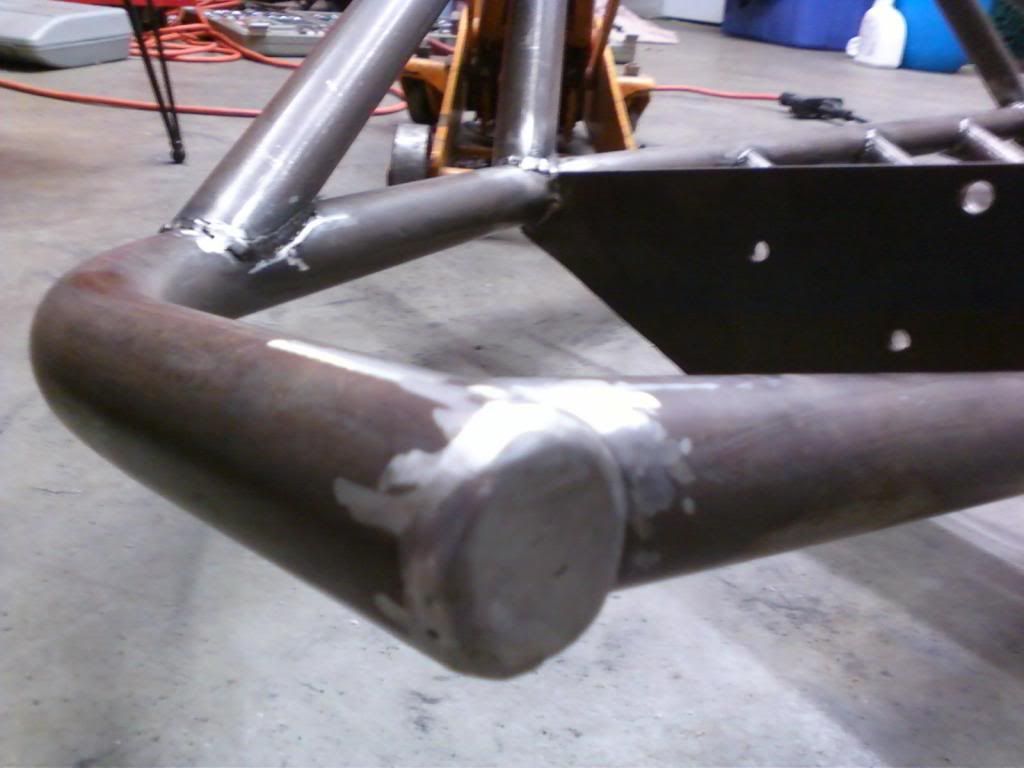
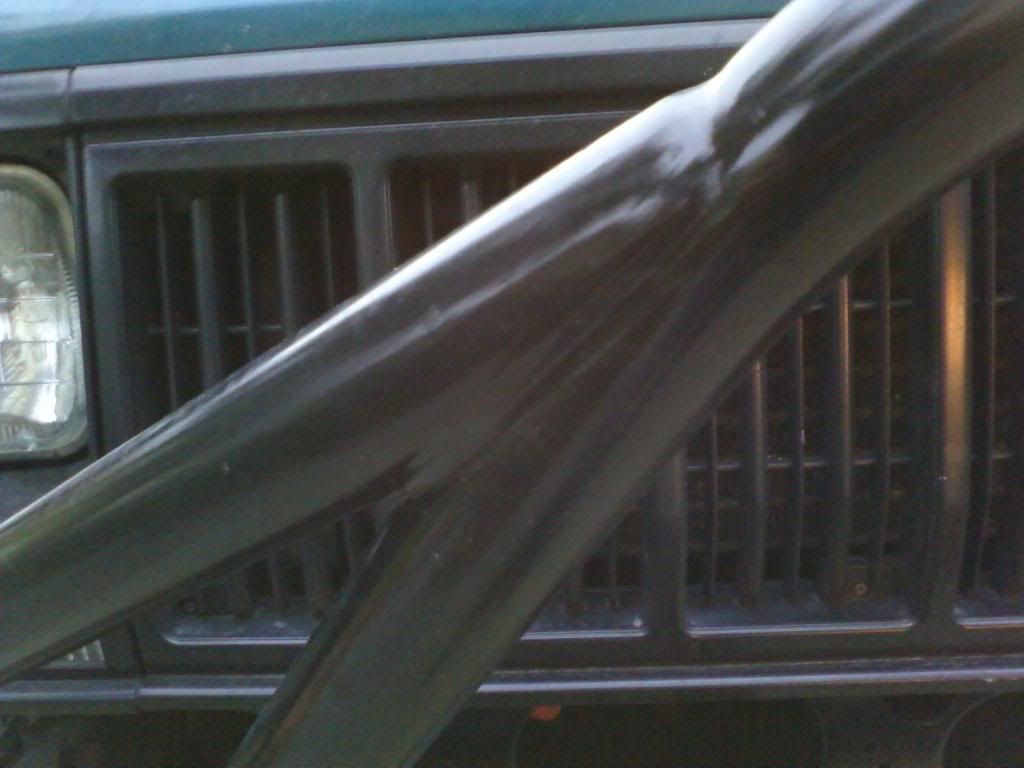
I wanted the transition from the hoop/stinger to the side support bars to be as clean as possible. To do this, I simply welded it up, and ground it smooth with the flap disk.
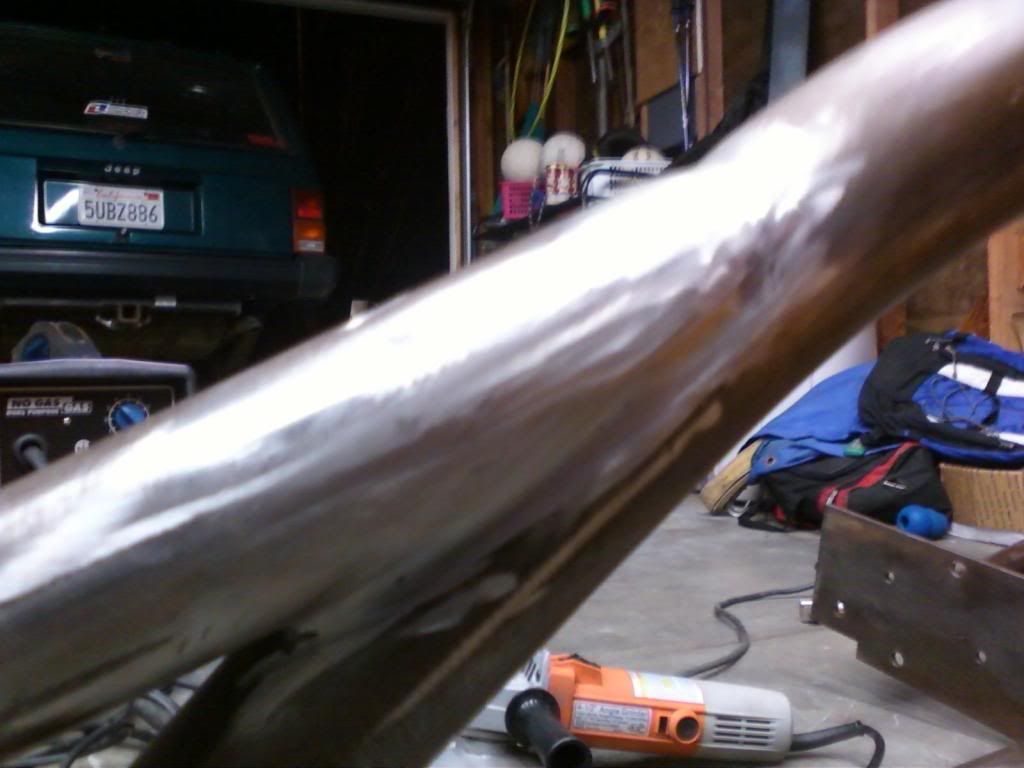
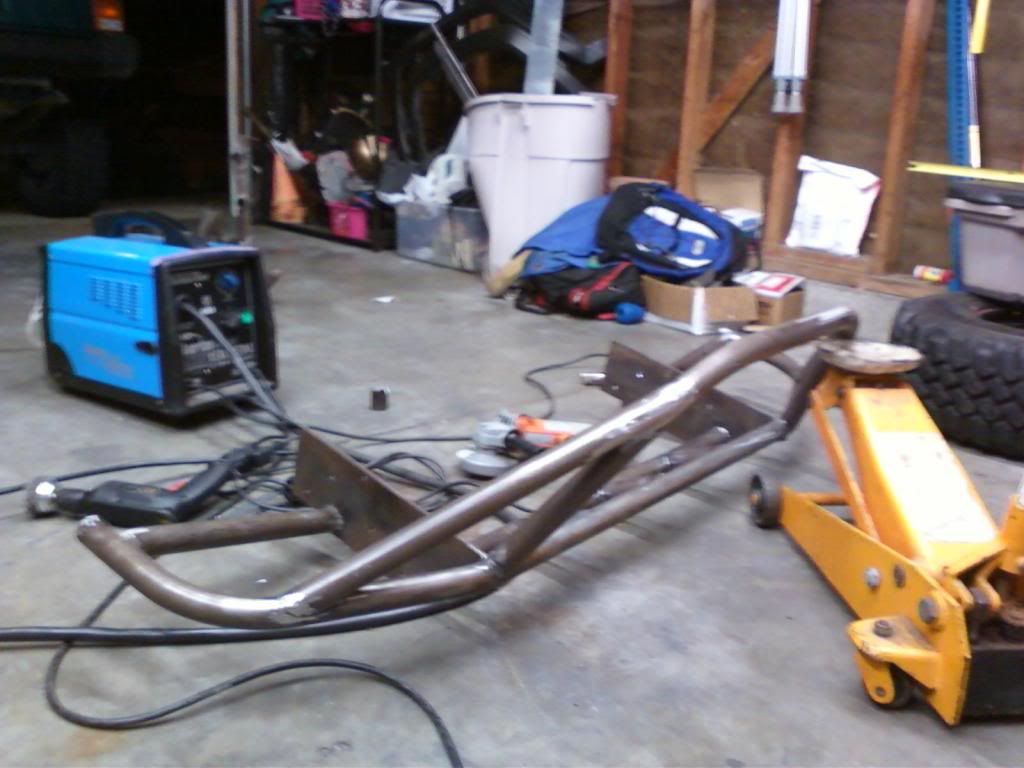
All welded up, before paint:
The next day, I took it outside and painted it up. Stupid me, I used some walmart spray paint I had laying around, and it is already peeling a tiny bit around the welds.
Then I drilled some 3/4" holes, and threw on some D-rings. I will go back some other time and weld a plate or two sandwiching the holes for more support (1/2" thick instead of 1/4" thick).
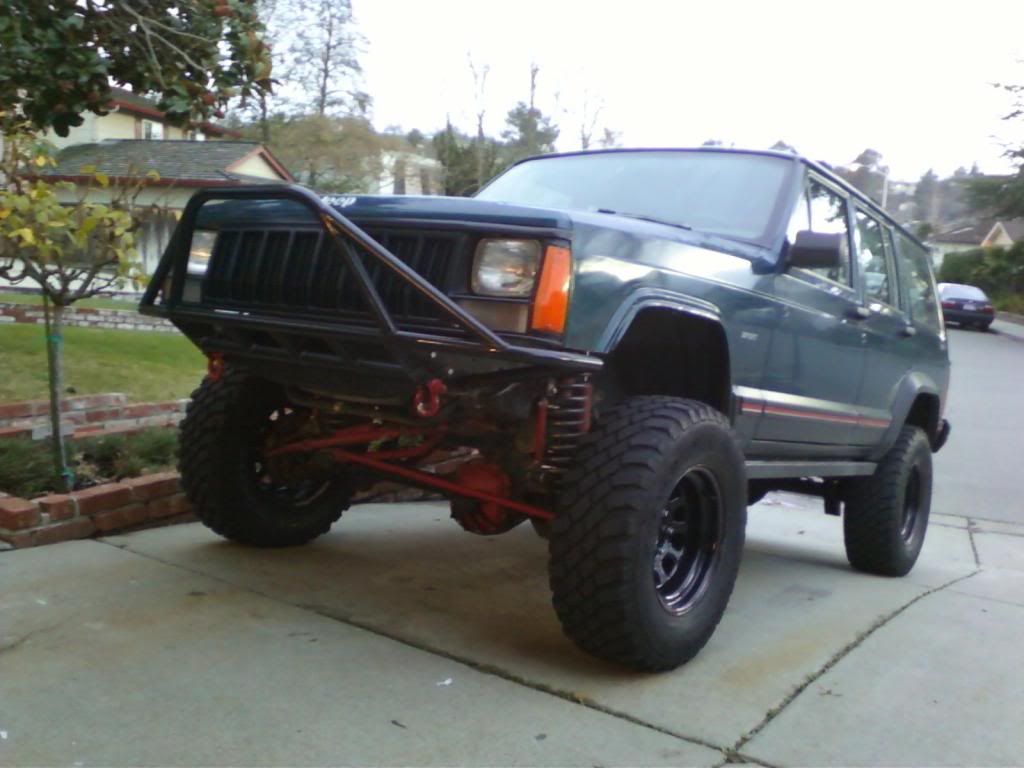
Heres some overall shots:

Ill have another shot or two coming in a few days.
All comments, questions, or concerns are more than welcome.

Next on the list was to cap the end of the bumpers. I previously cut out some circle with a 1.5" hole saw. Despite the hole in the middle of then, I fully welded them onto the end, and filled the drill hole.

Finished up the other side, and then went back and attacked it with the grinder/flap disk.

I wanted the transition from the hoop/stinger to the side support bars to be as clean as possible. To do this, I simply welded it up, and ground it smooth with the flap disk.

All welded up, before paint:

The next day, I took it outside and painted it up. Stupid me, I used some walmart spray paint I had laying around, and it is already peeling a tiny bit around the welds.
Then I drilled some 3/4" holes, and threw on some D-rings. I will go back some other time and weld a plate or two sandwiching the holes for more support (1/2" thick instead of 1/4" thick).
Heres some overall shots:


Ill have another shot or two coming in a few days.
All comments, questions, or concerns are more than welcome.


