Welding thread!!!!

 12-15-2015, 10:29 PM
#1492
::CF Administrator::
Some of what I've been doing at work...(bows down to wonders, you sir are on a different level...)
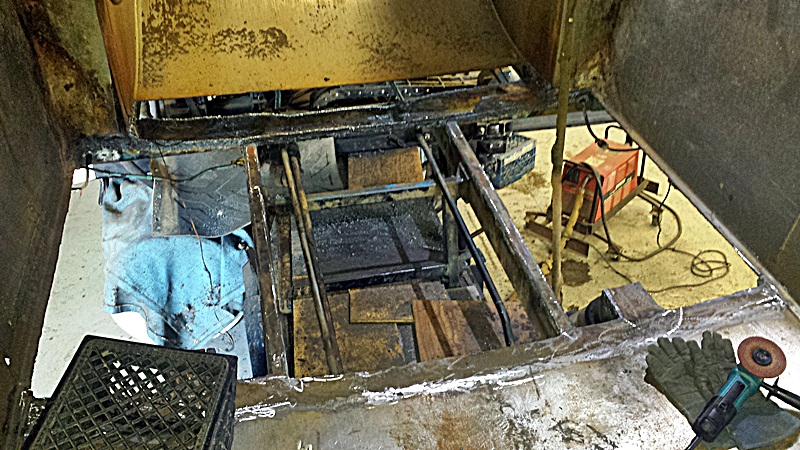
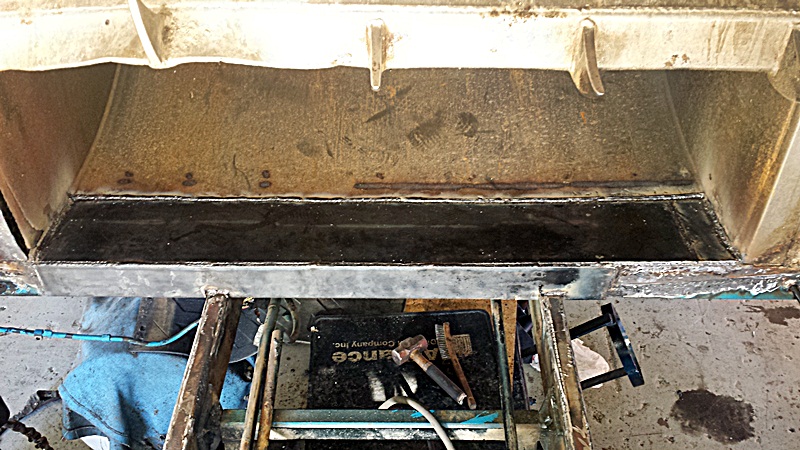
Replacing the floors in a trash truck...
Old stuff out, metal prepped and ground down

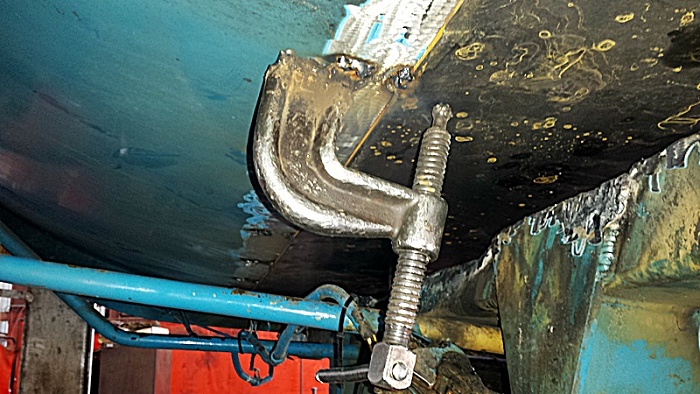
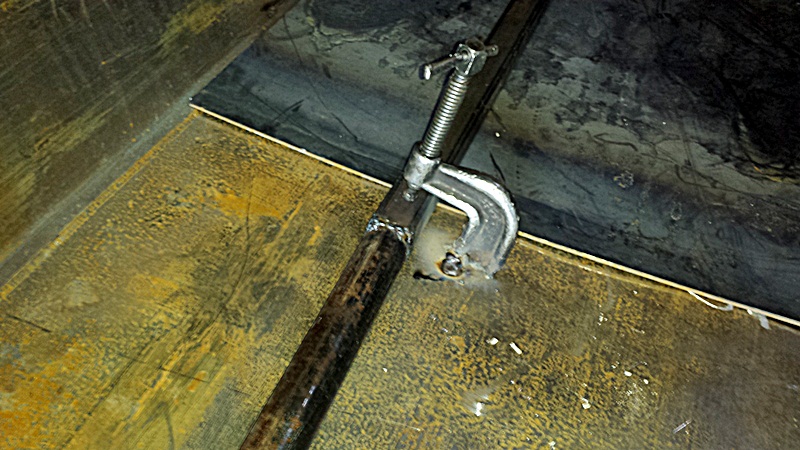
Using a half moon clamp to suck up the skin for the packer floor
Packer floor skin tacked in
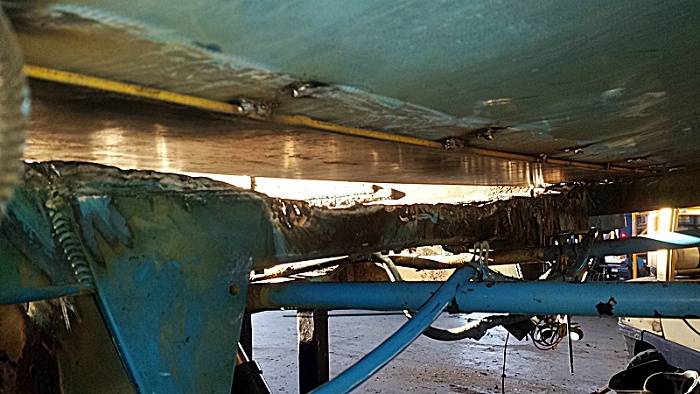
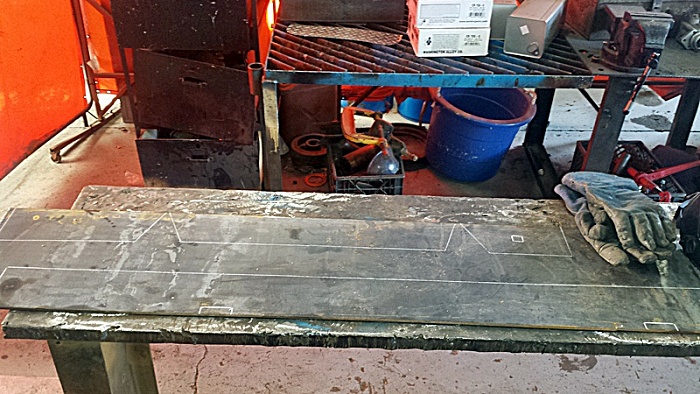
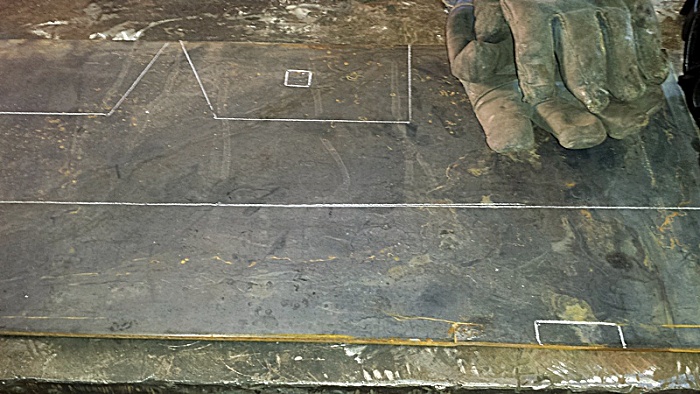
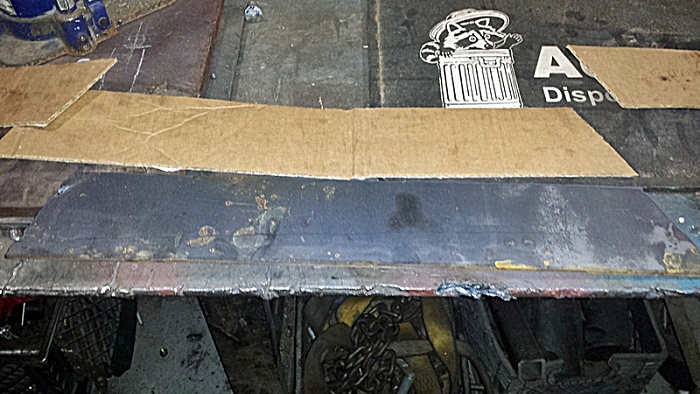
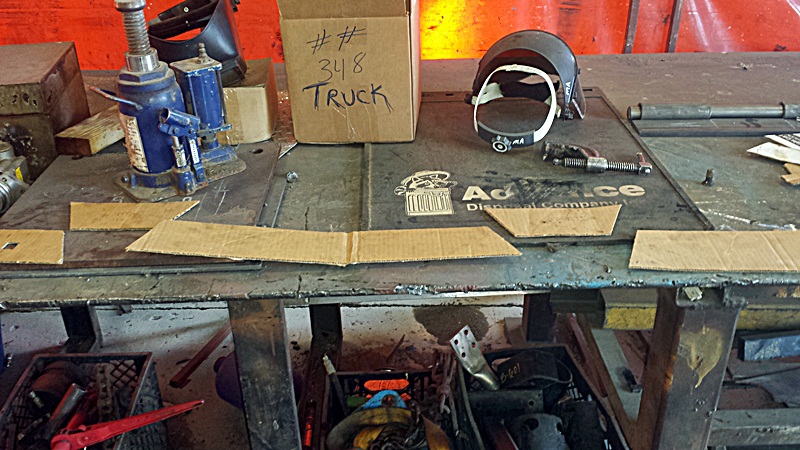
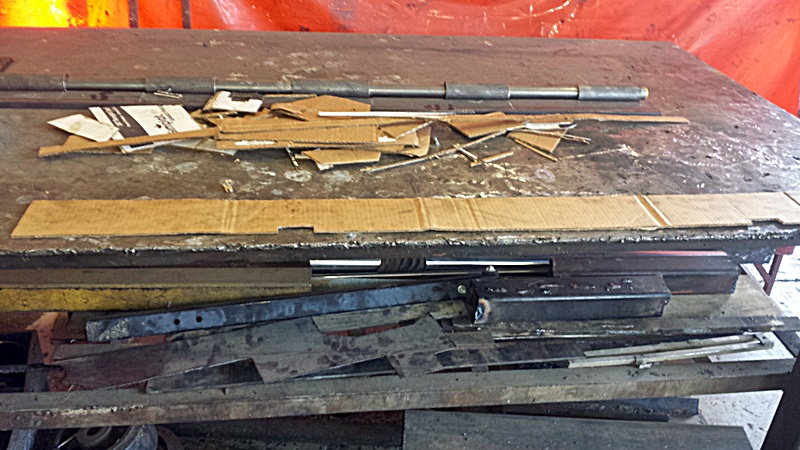
Crossmember view...cut some templates to patch it


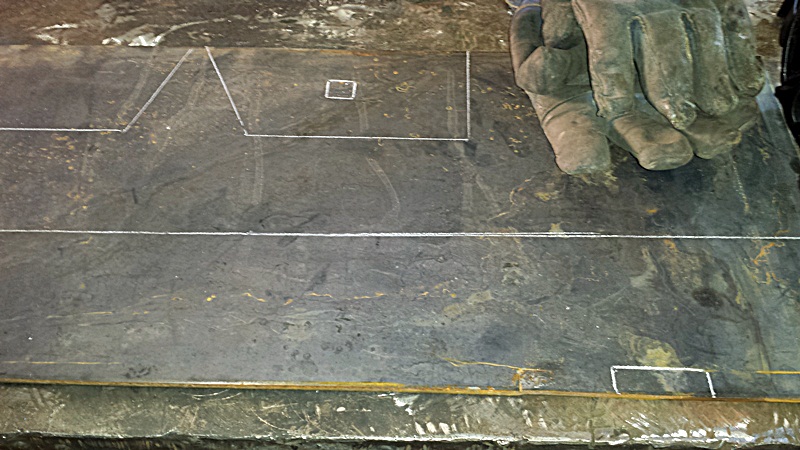
Marked out on the steel

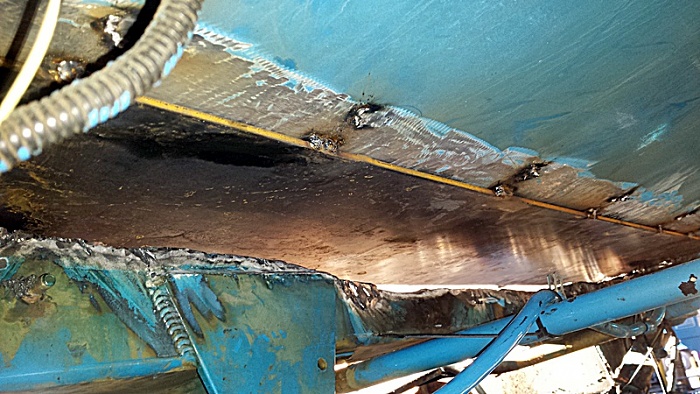
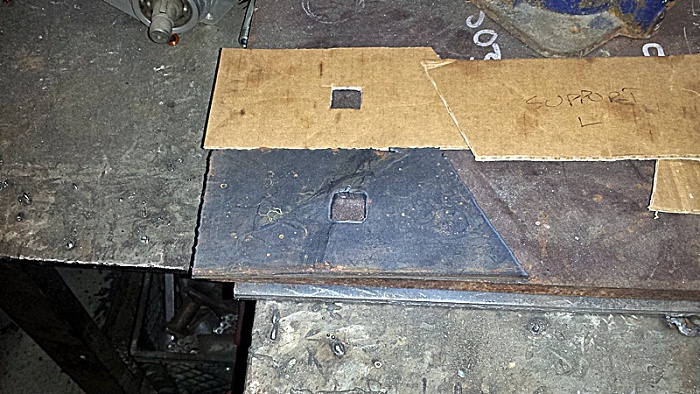
Inside packer crossmember that needs patching
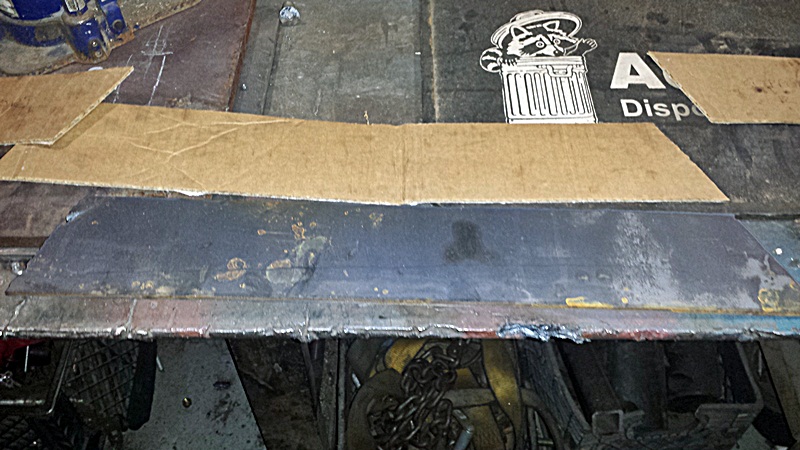
Patch piece in place
The patch pieces and templates for the opposite side...
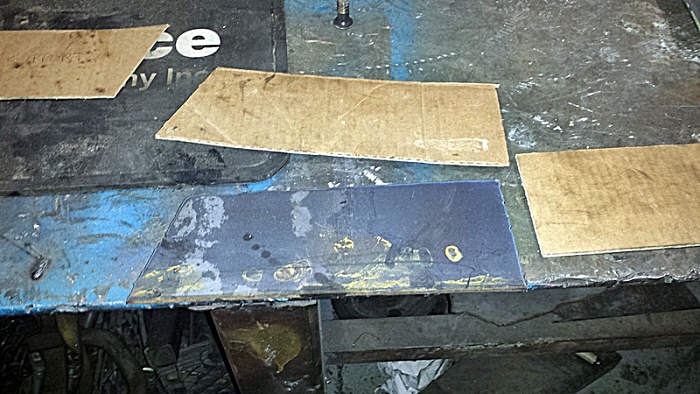
Should get them all tacked in tomorrow, and burned in. Then I can finish the floor for the rest of the bed, got the steel for it in today, special order, has a radius, got it in, and cut for width, just need to get the patches burned in before final install.
Replacing the floors in a trash truck...
Old stuff out, metal prepped and ground down
Using a half moon clamp to suck up the skin for the packer floor

Packer floor skin tacked in
Crossmember view...cut some templates to patch it

Marked out on the steel


Inside packer crossmember that needs patching

Patch piece in place

The patch pieces and templates for the opposite side...


Should get them all tacked in tomorrow, and burned in. Then I can finish the floor for the rest of the bed, got the steel for it in today, special order, has a radius, got it in, and cut for width, just need to get the patches burned in before final install.
12-16-2015, 07:26 PM
#1493
Seasoned Member
Join Date: Mar 2015
Location: Oregon
Posts: 473
Likes: 0
Received 7 Likes
on
6 Posts
Year: 2000
Model: Cherokee (XJ)
Engine: 4.0 I6
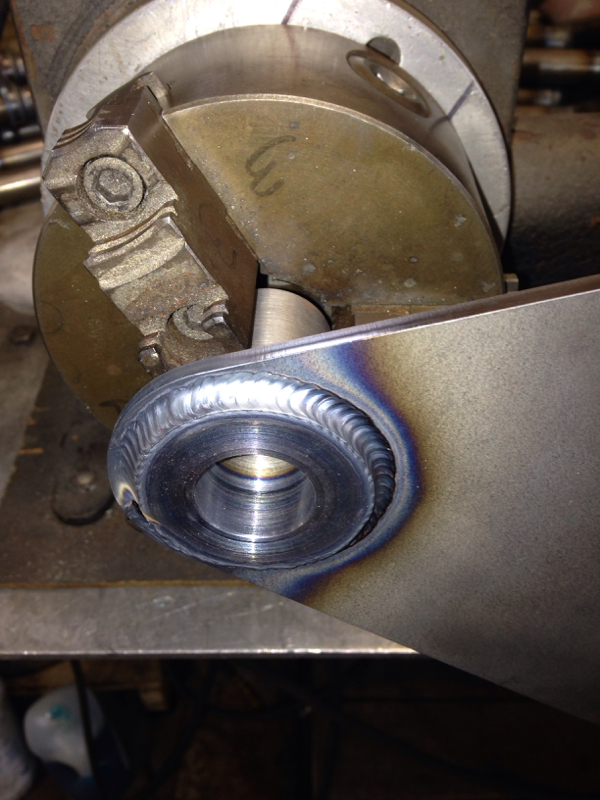
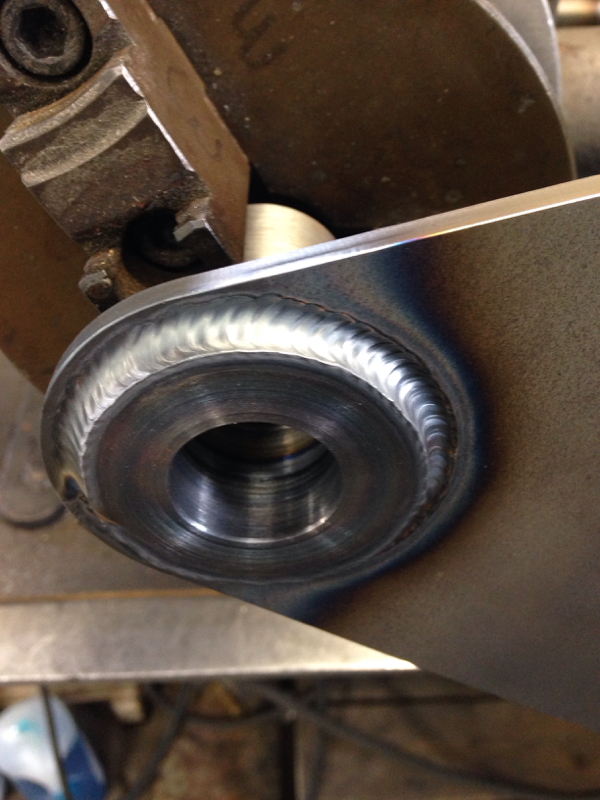
Nice work wonders but lets see that start/stop. I see it hiding out there on the left side, out of view of the camera lol Did you use that lathe to rotate it while you were welding or is it in the chuck for some other purpose?
And wow roninofako that project looks like it stinks literally.
Did you use that lathe to rotate it while you were welding or is it in the chuck for some other purpose?And wow roninofako that project looks like it stinks
literally.
12-18-2015, 06:32 AM
#1494
Senior Member
Join Date: Jan 2012
Location: Port Richey, FL
Posts: 648
Likes: 0
Received 0 Likes
on
0 Posts
Model: Cherokee
Engine: 4.0
 12-18-2015, 10:20 PM
#1495
::CF Administrator::
Old welder's trick, learned from a master fabricator. Very handy and use it all the time! I have several of these in different configs, you'll see another one in a sec...
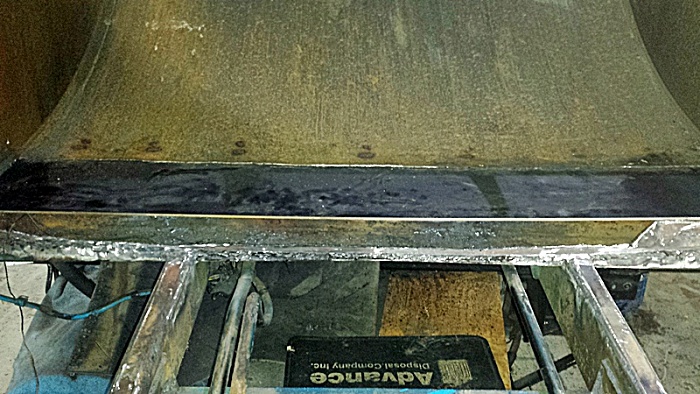
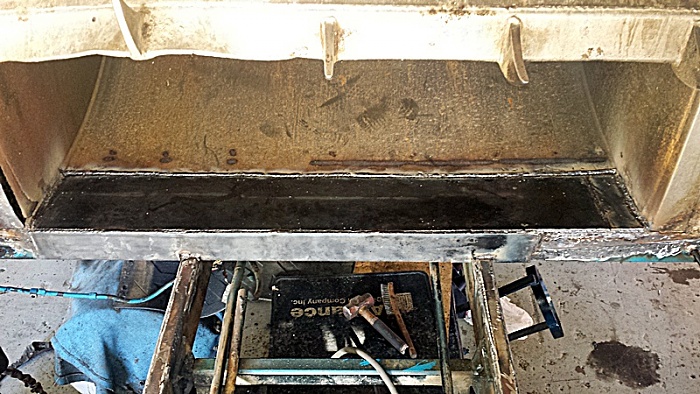
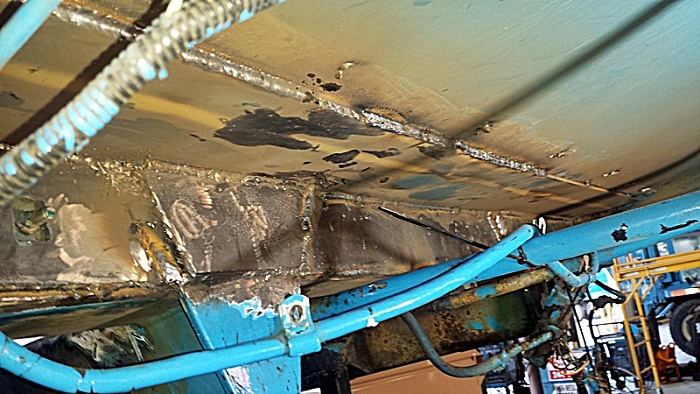
More pics from the reskin of the truck I've been working this week...
Remember, this is what the cancer looked like before...


Patches in and welded
Some of the inside welds...7018 inside
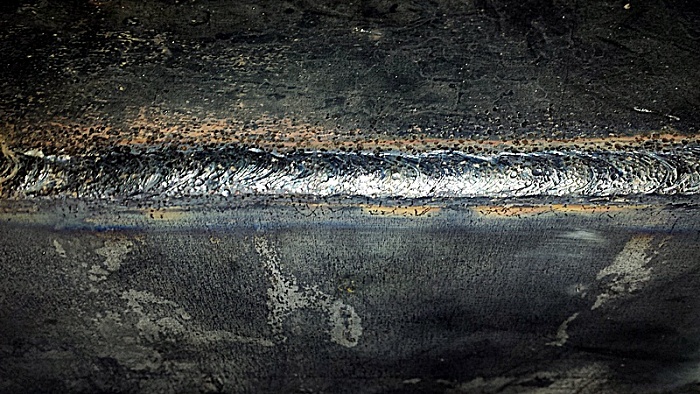
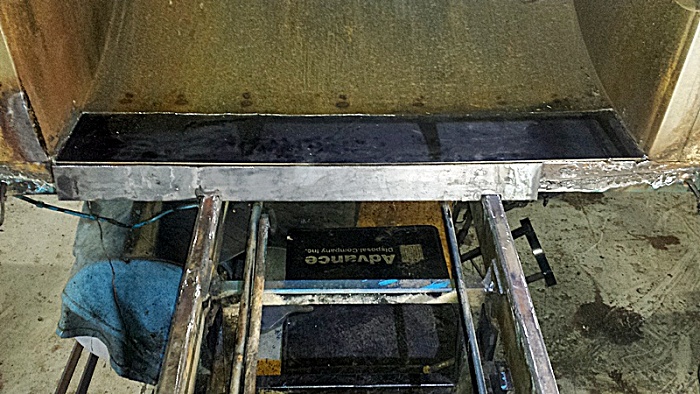
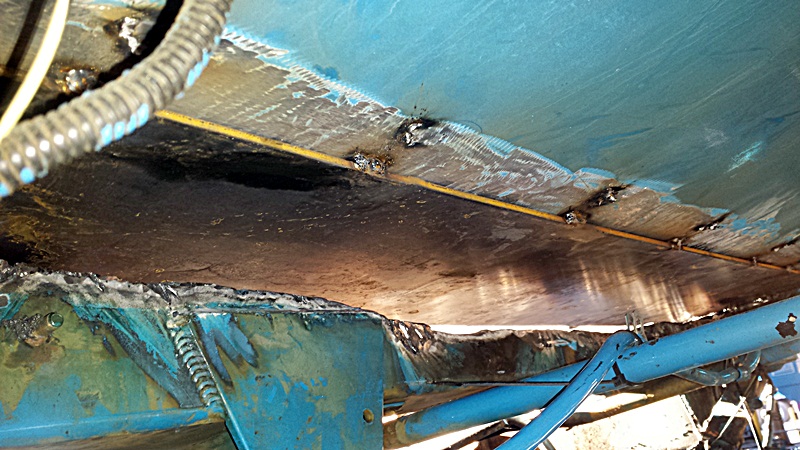
A couple more shots of the packer/hopper patchwork
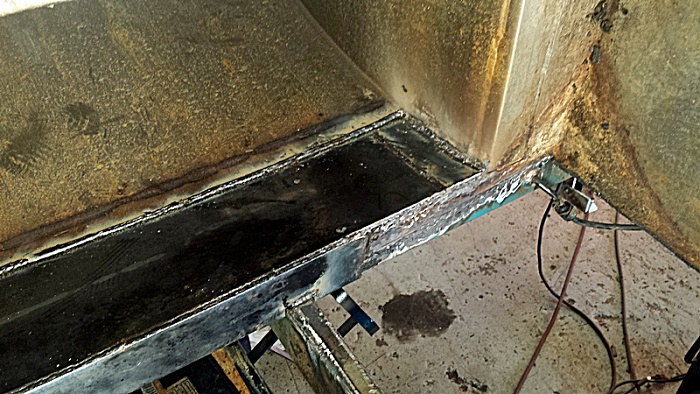
The underside patchwork, all done with a Miller 252 MIG, .035 wire, settings for 3/8" with a 75/25 mix of C02/argon
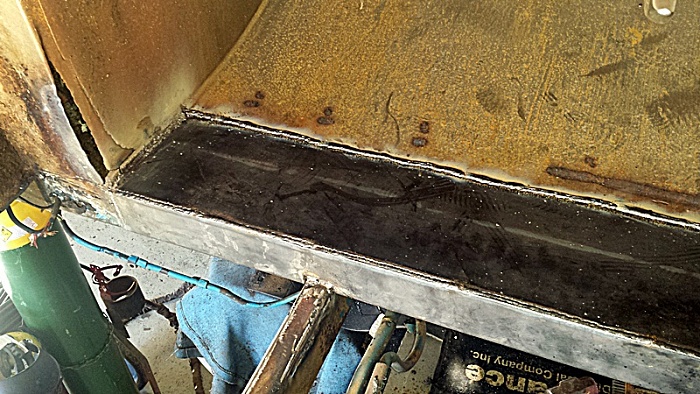
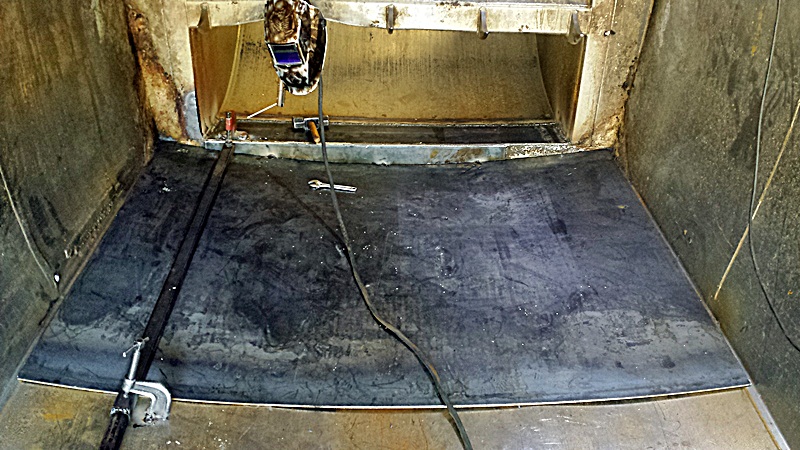
New floorplate in, and a couple of views of the half moon clamps, you'll see one of my other ones in the back (made it out of scrap pieces, LOL)
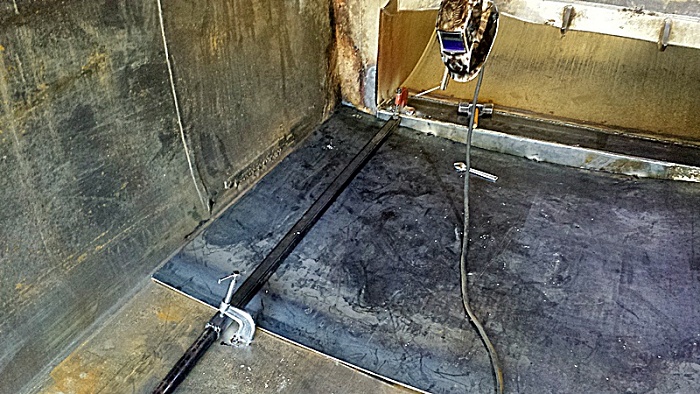

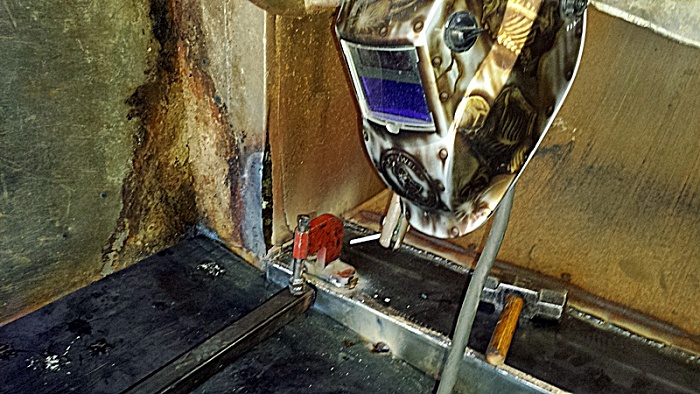
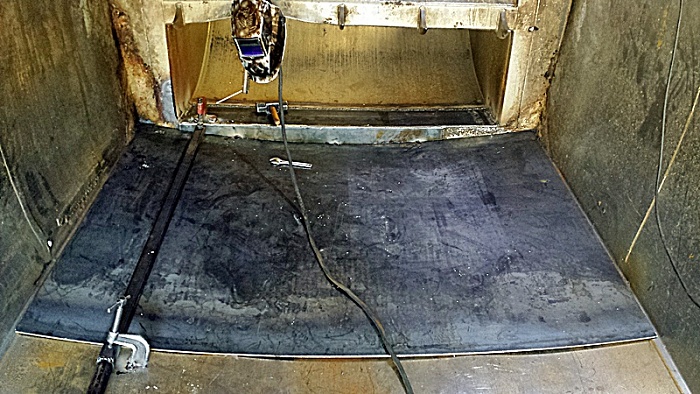
Used the bar and the clamps to suck the plate down to the floor, then stitch tack the plate underneath with the mig...and repeated on the middle and other side. I'm at the point where I can start burning in the inside with 7018 on Monday. Then I can start on the packer rebuild, and finish off any other small repairs after that.
More pics from the reskin of the truck I've been working this week...
Remember, this is what the cancer looked like before...


Patches in and welded
Some of the inside welds...7018 inside

A couple more shots of the packer/hopper patchwork


The underside patchwork, all done with a Miller 252 MIG, .035 wire, settings for 3/8" with a 75/25 mix of C02/argon

New floorplate in, and a couple of views of the half moon clamps, you'll see one of my other ones in the back (made it out of scrap pieces, LOL)


Used the bar and the clamps to suck the plate down to the floor, then stitch tack the plate underneath with the mig...and repeated on the middle and other side. I'm at the point where I can start burning in the inside with 7018 on Monday. Then I can start on the packer rebuild, and finish off any other small repairs after that.