When you click on links to various merchants on this site and make a purchase, this can result in this site earning a commission. Affiliate programs and affiliations include, but are not limited to, the eBay Partner Network.
Please do elaborate. How exactly is a Multimatic 200 or 215 not a "true MIG machine"? What exactly is the difference between a true MIG machine and a fake MIG machine?
sorry, i should have said "dedicated mig machine"
but you guys know better, so carry on. we all have our reasons for what we buy. so why don't you just lend him your multimatic so he can decide on his own.
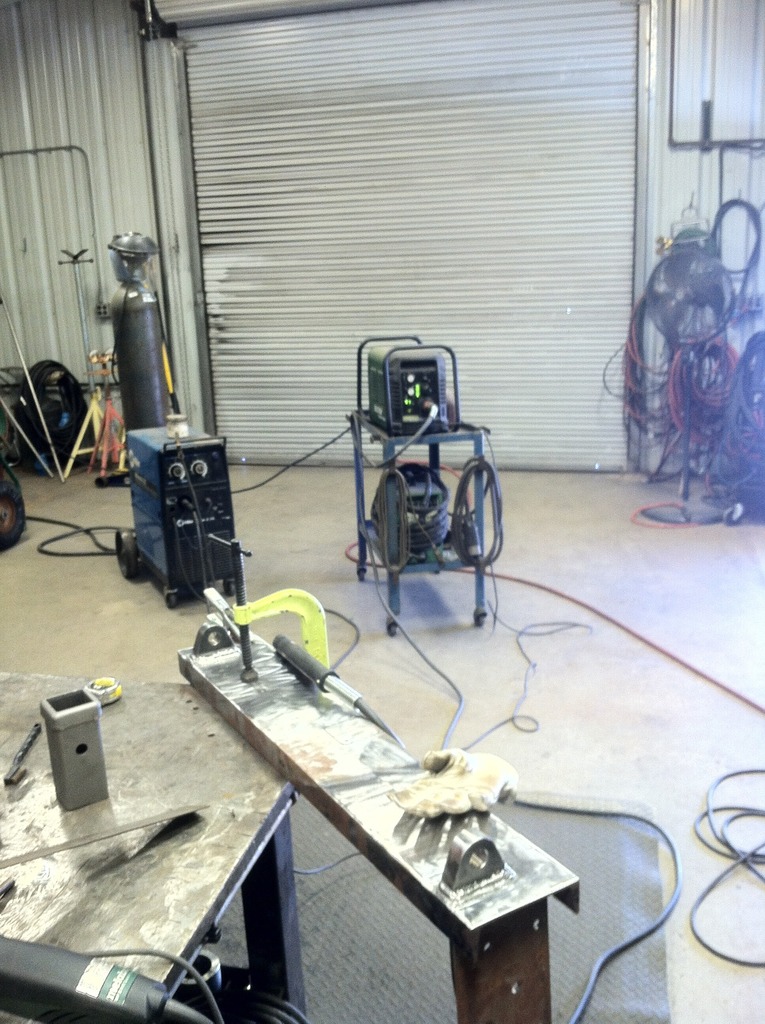
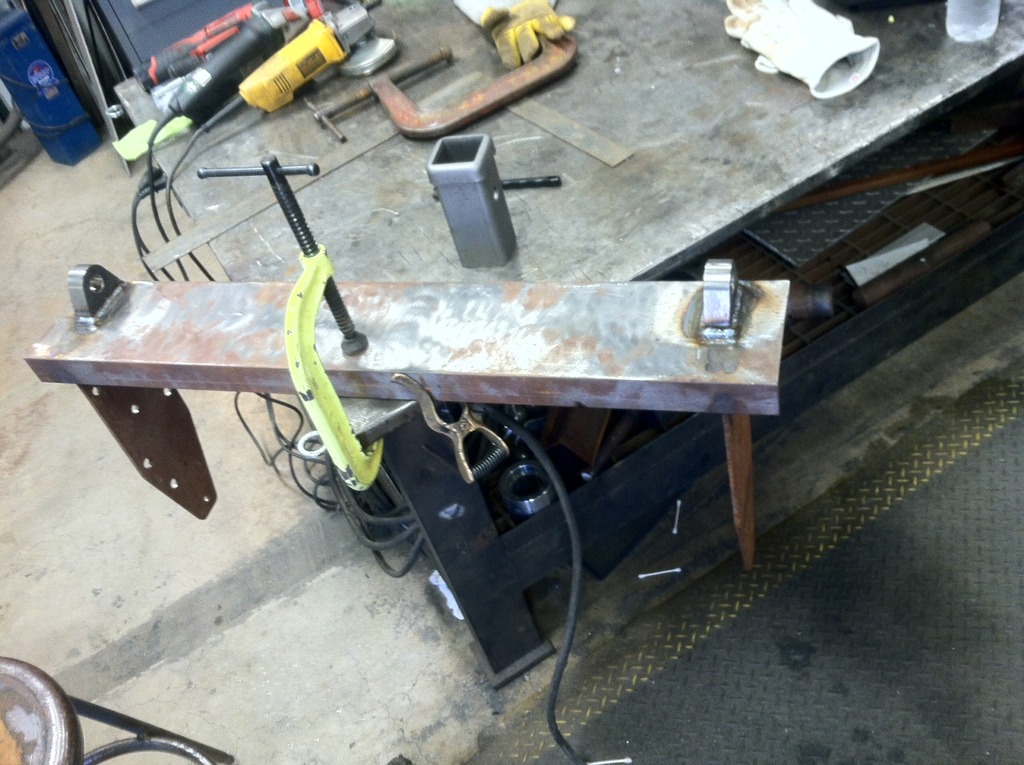
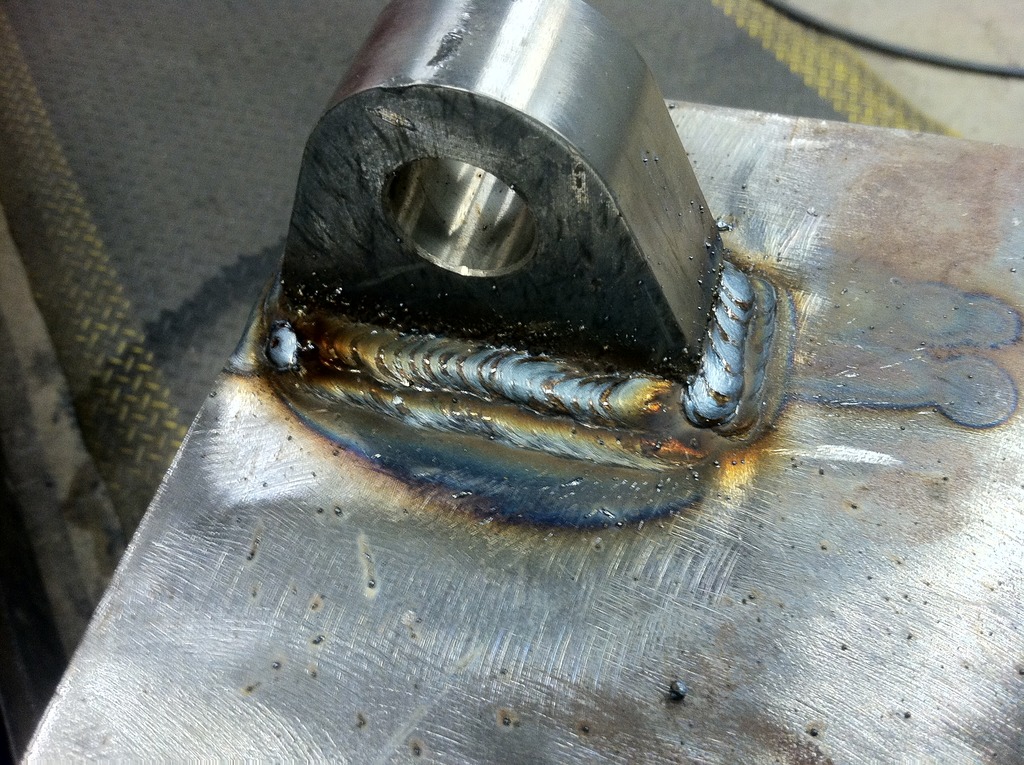
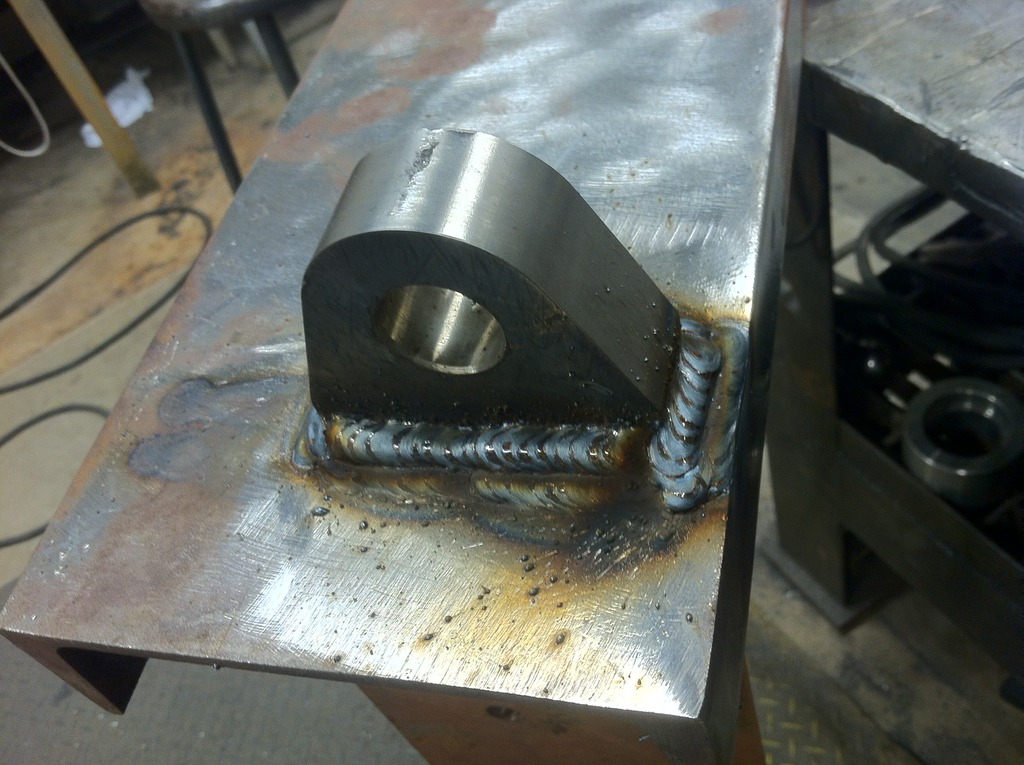
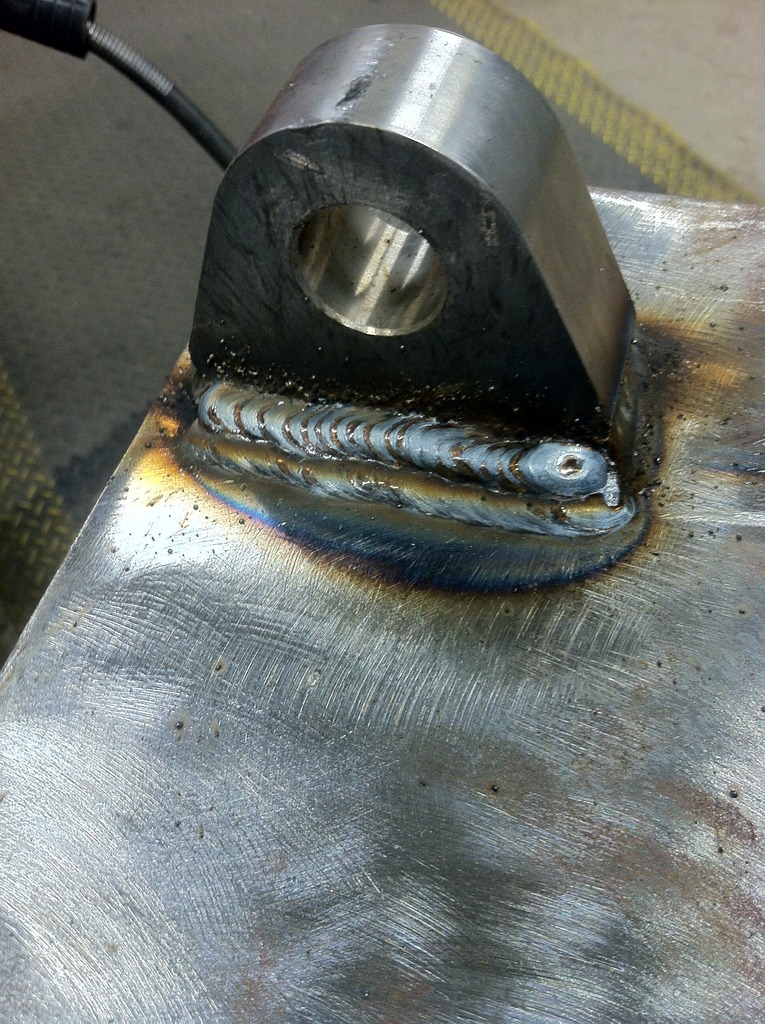
working on a simple recovery bumper. this is my first bumper build and first time welding stuff this thick. im still quite the n00b and have no where near the talent as most of you. apprentice marks galore, but thought id share some pics of my progress. hints, tips, criticism, all welcome
first time attempting 3 pass as well. another note: someone left the gas regulator cranked ALL the way up and im pretty sure thats the reason for the excessive spatter
using the machines at work
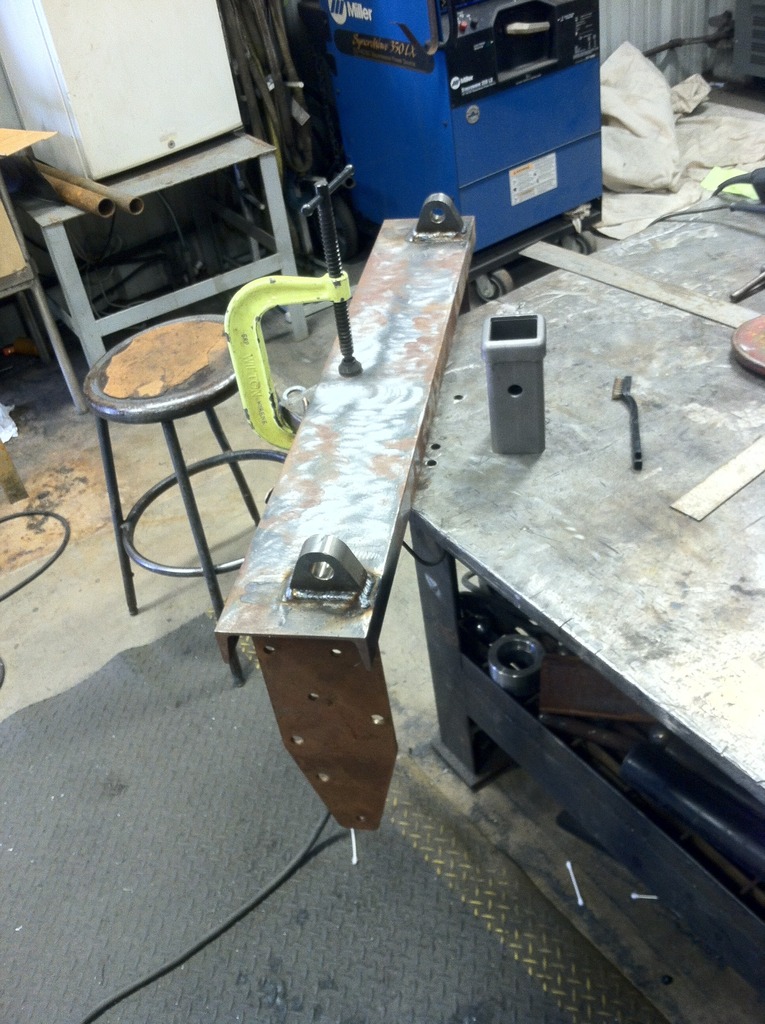
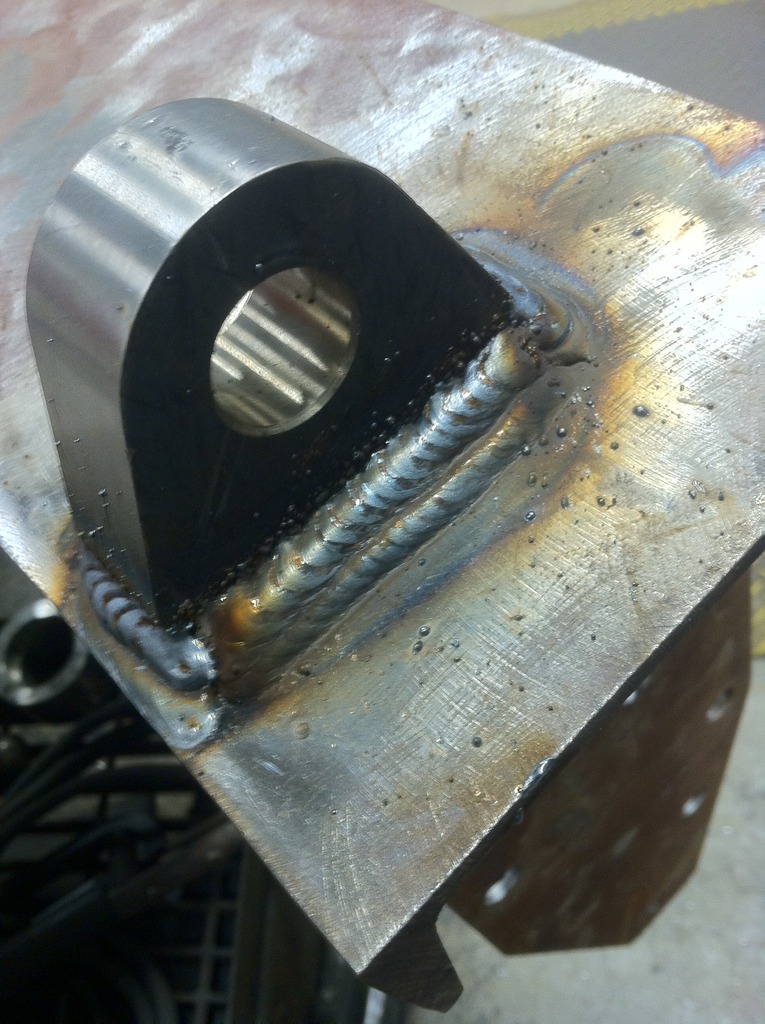
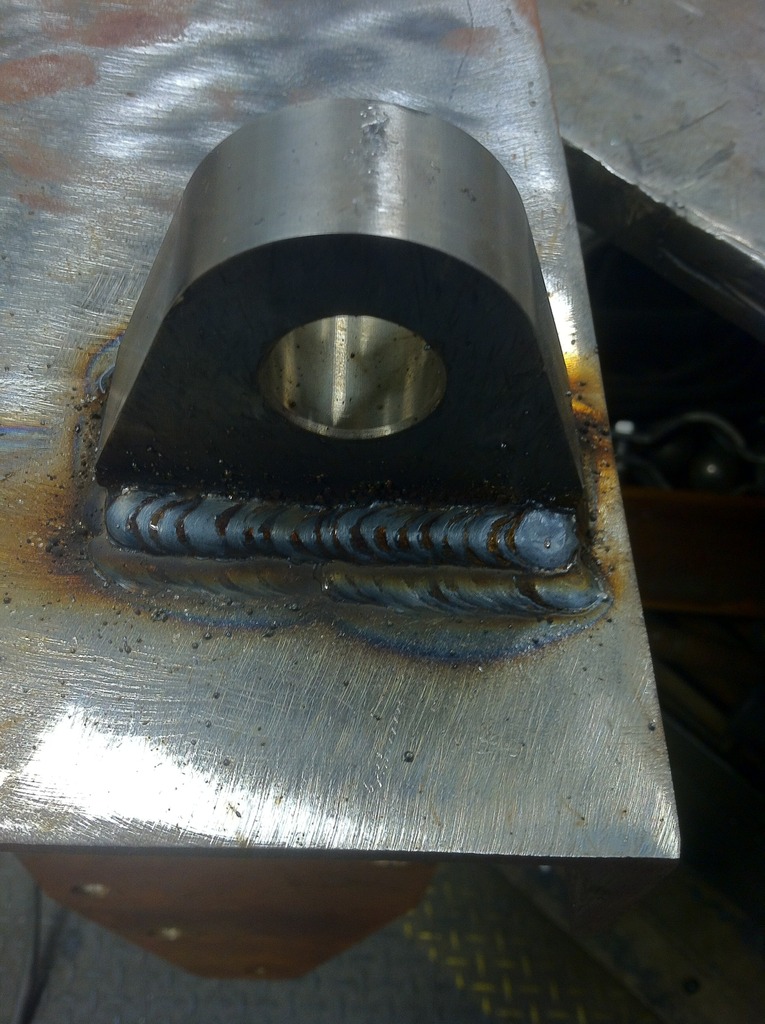
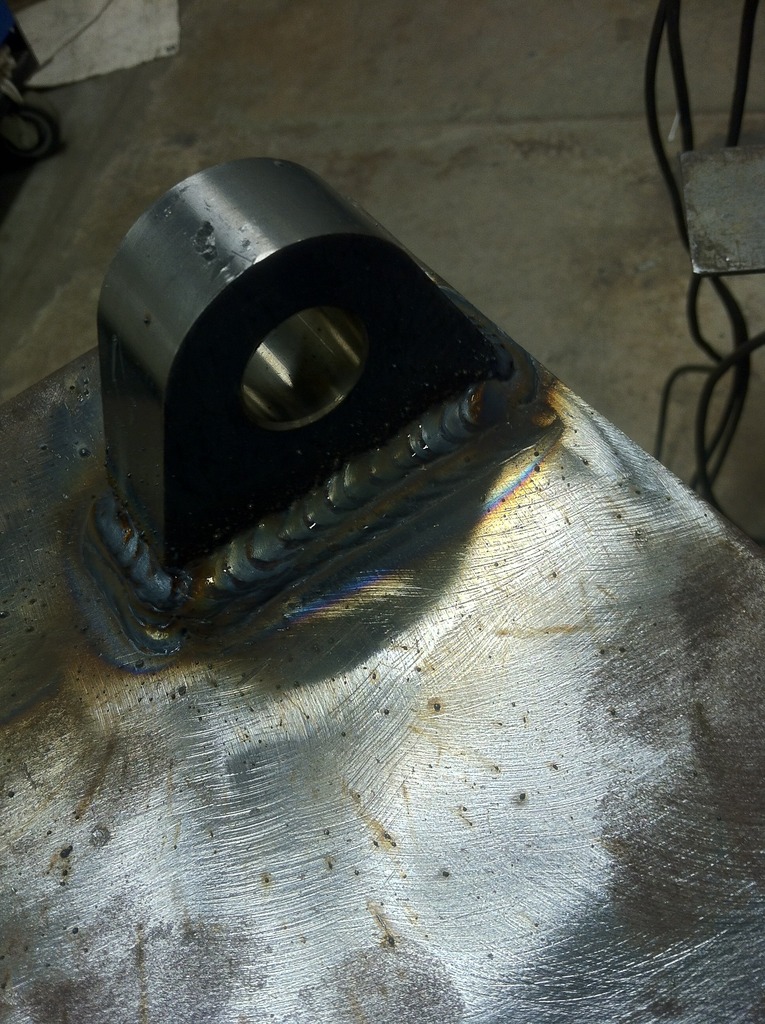
Cleaned up
Last edited by wheelsaz08; 09-24-2016 at 01:56 PM.
Roni, c'mon man, show off some more of your work stuff. T' hell with the people whining about it, at least it was SOMETHIN'!!!
One of my reasons for not posting was I've been doing a lot of repetitive work...I could care less about the whiners, LOL
Originally Posted by roninofako
Man I have had so much work, I don't have time to take pics, LOL
I'll see what I can do...haha
So here we go...
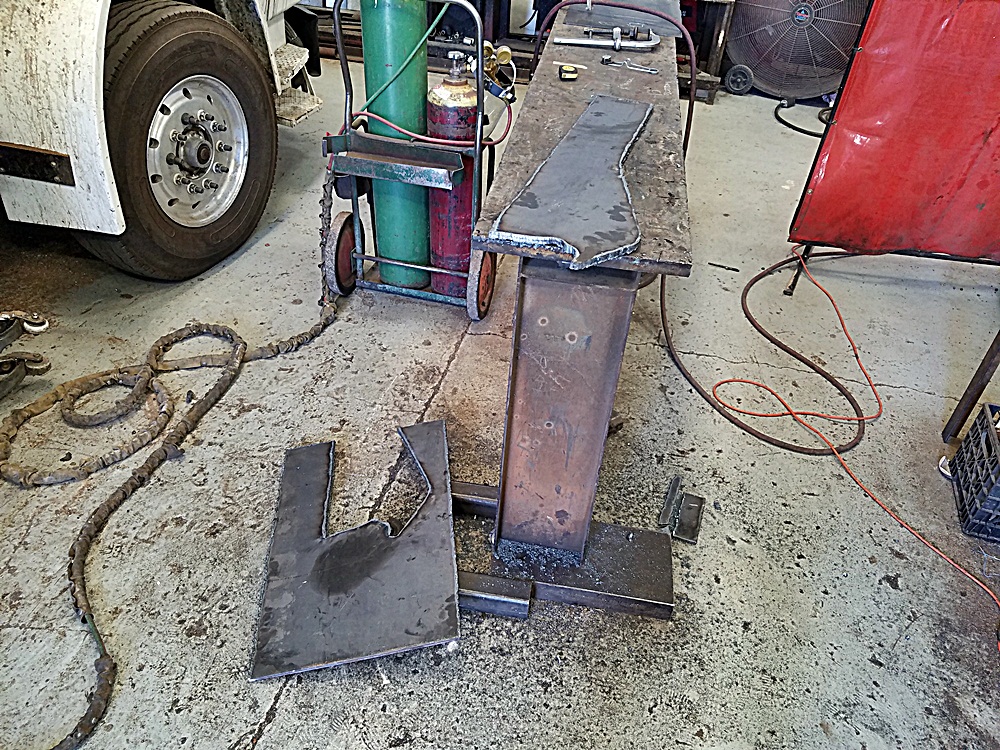
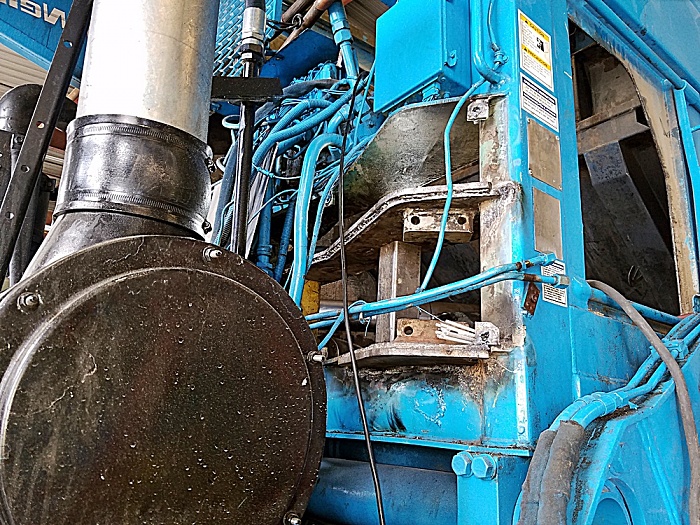
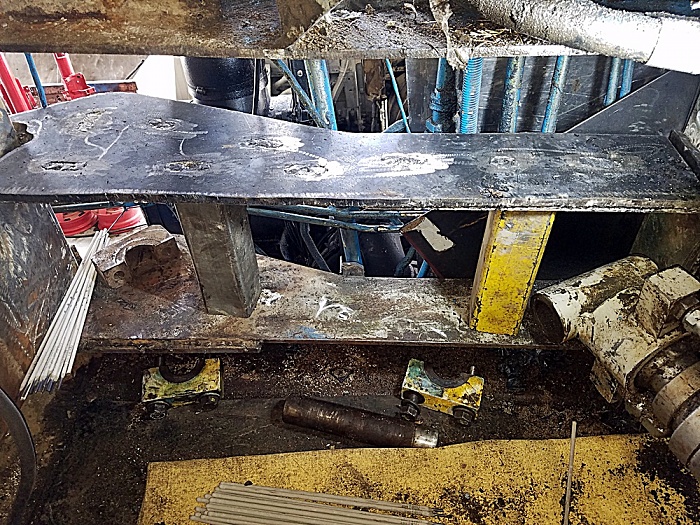
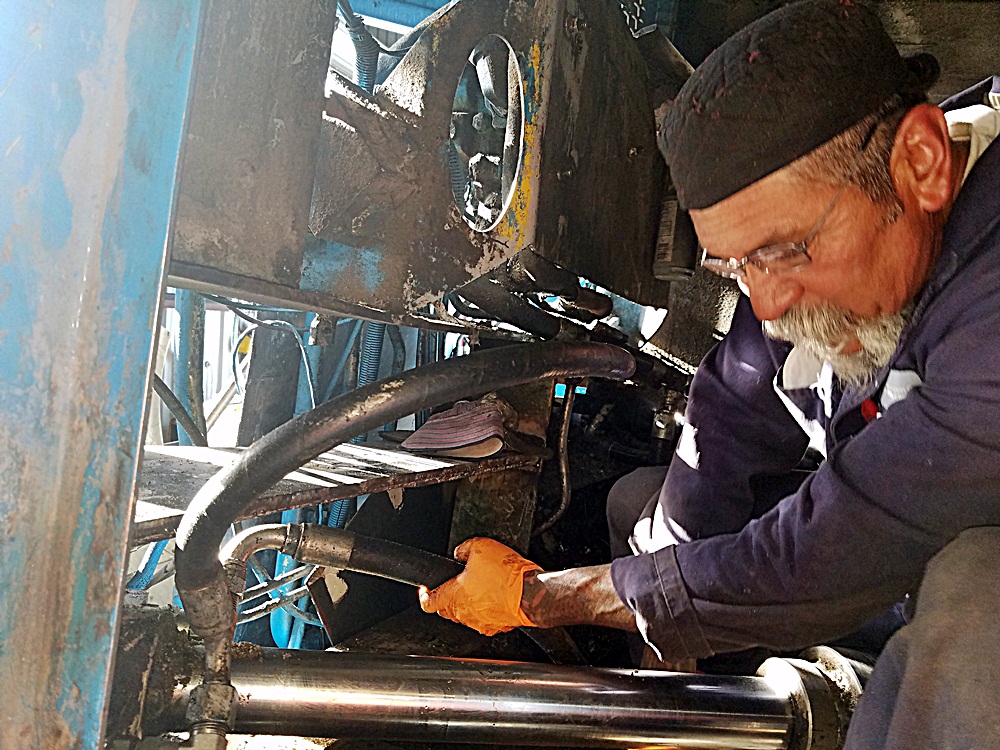
Had a hydraulic cylinder rip out of its mount...here's what I've been doing to fix it. Didn't get pics of the initial damage, and did some work before this point, but here we go...
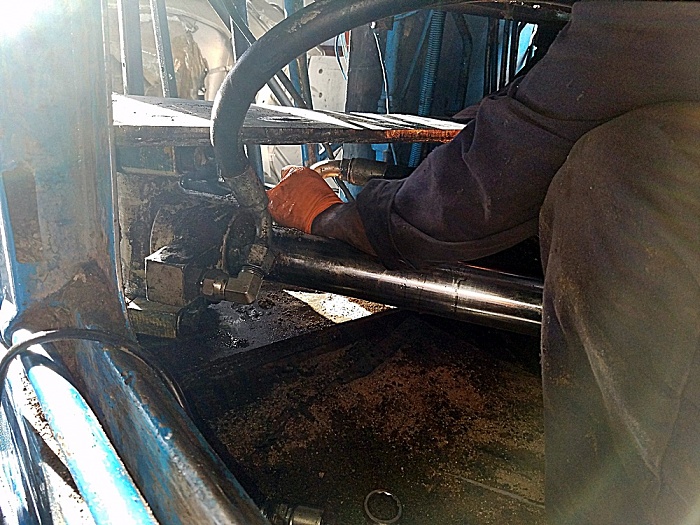
Used a come along to pull one side back into place, along with heat and a sledgehammer...
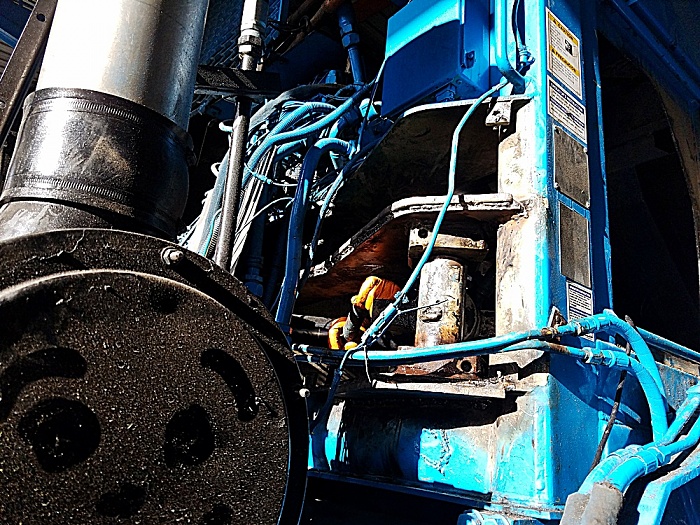
Hard to see in this pic, but you can sort of see what the other side looks like...the offending cylinder is at the bottom...
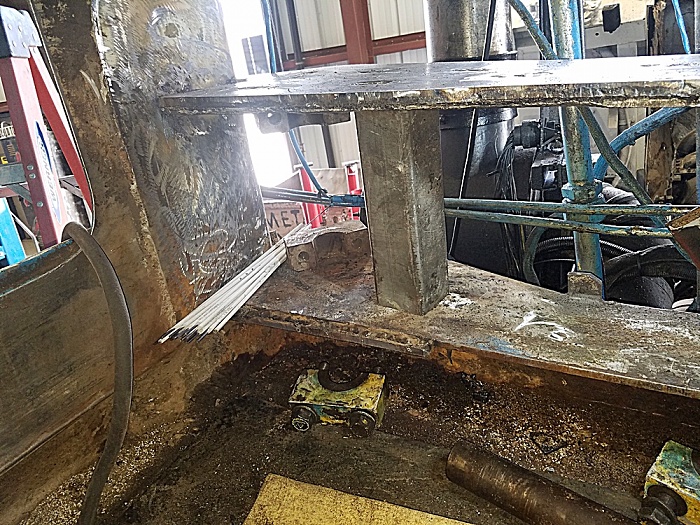
interior view of the side that got ripped up
The top plate that got damn near ripped out...took very little cutting to break it loose, LOL
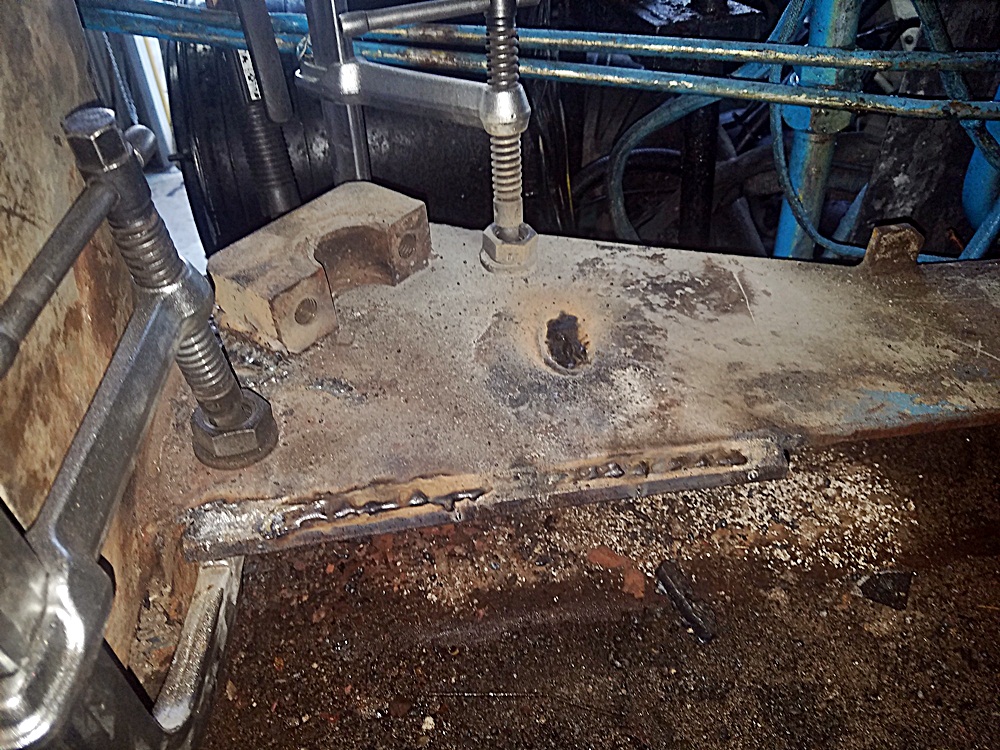
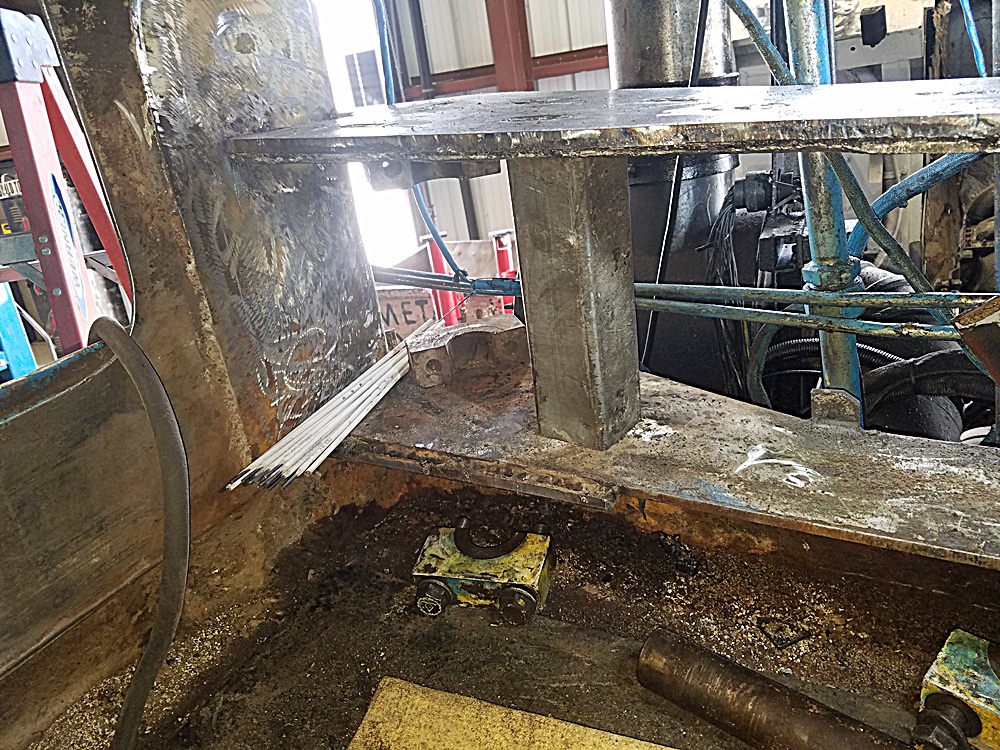
Where I welded the torn portion of steel, with the portion where the pin cap ground down...
Other side of the plate, welded, then ground flush in anticipation of the fish plate...
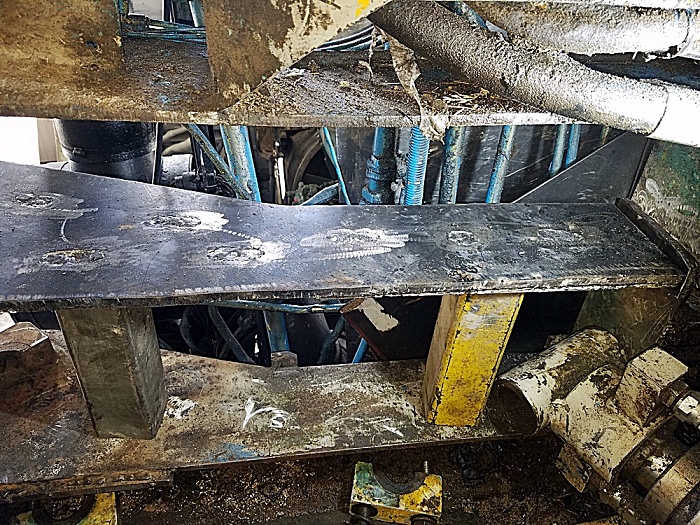
Fish plate cut out, ground down, rosettes added, and welded to the plate...
Fish plate installed on the bottom pin retainer plate...
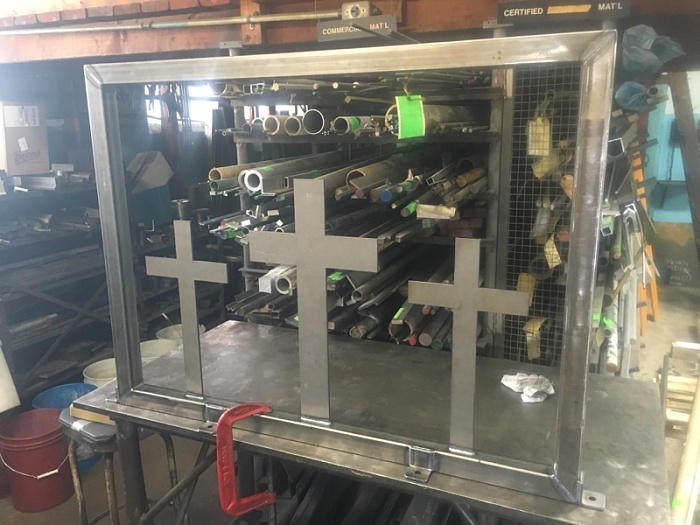
This guy was hanging out watching me for a while...hmmm
It's for a local church as a part of rail so the choir leader won't fall off the podium while in the middle of choir singing.
lol... clean work as always.
Originally Posted by wheelsaz08
working on a simple recovery bumper. this is my first bumper build and first time welding stuff this thick. im still quite the n00b and have no where near the talent as most of you. apprentice marks galore, but thought id share some pics of my progress. hints, tips, criticism, all welcome
first time attempting 3 pass as well. another note: someone left the gas regulator cranked ALL the way up and im pretty sure thats the reason for the excessive spatter
using the machines at work
Cleaned up
Lookin' good man.
Originally Posted by roninofako
One of my reasons for not posting was I've been doing a lot of repetitive work...I could care less about the whiners, LOL
So here we go...
Had a hydraulic cylinder rip out of its mount...here's what I've been doing to fix it. Didn't get pics of the initial damage, and did some work before this point, but here we go...
Used a come along to pull one side back into place, along with heat and a sledgehammer... Attachment 294677
Hard to see in this pic, but you can sort of see what the other side looks like...the offending cylinder is at the bottom...
I picked up a 3-point brush hog recently and was out cutting trails and ran over a stump that I didn't see in the leaves which snapped the shaft. Pre heated and did 3 passes. Seems to be holding fine. Went back out and cut for 3 more hours after.
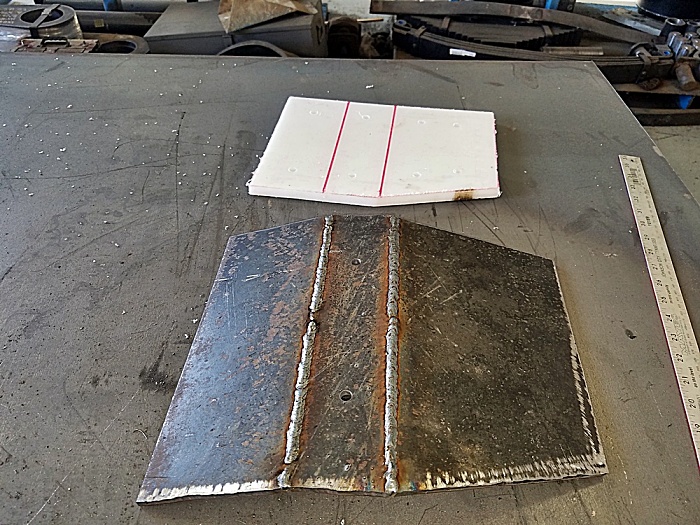
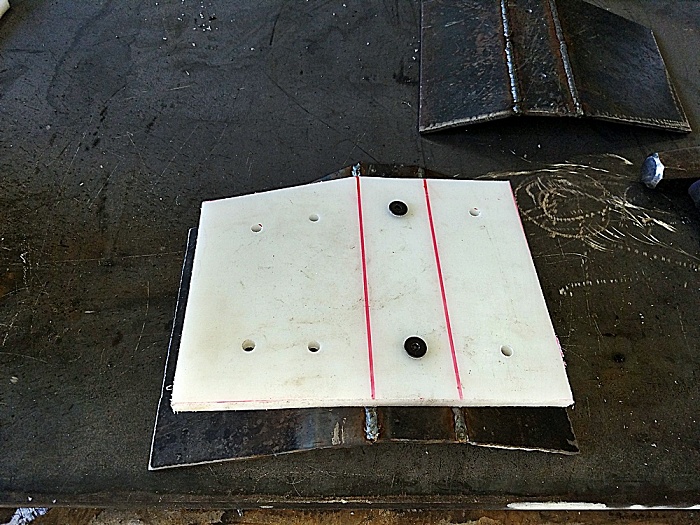
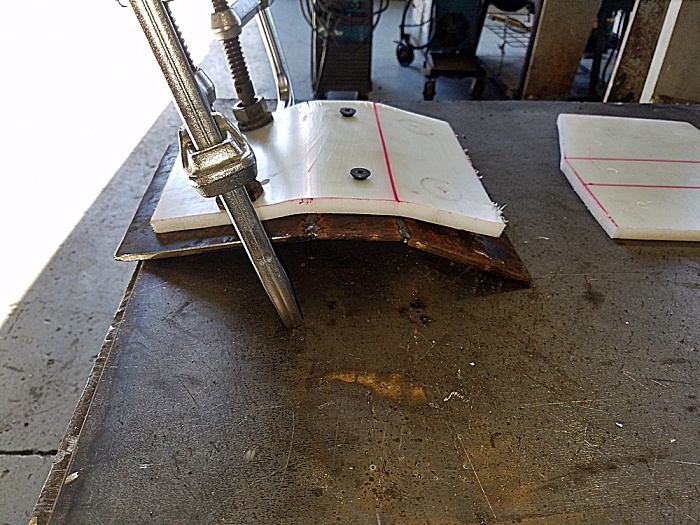
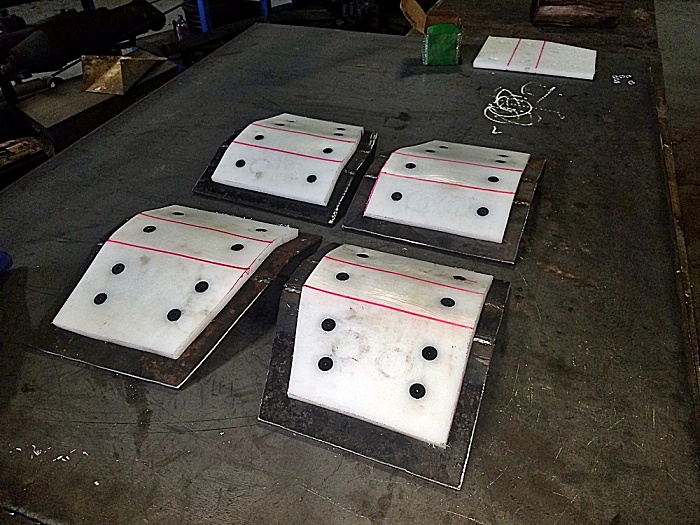
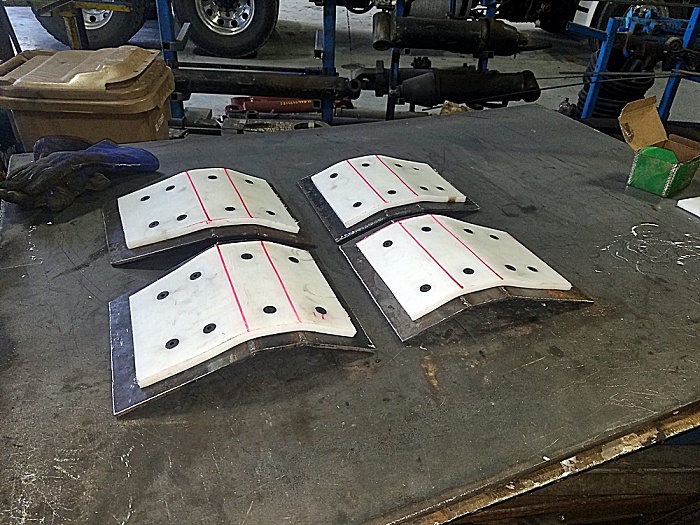
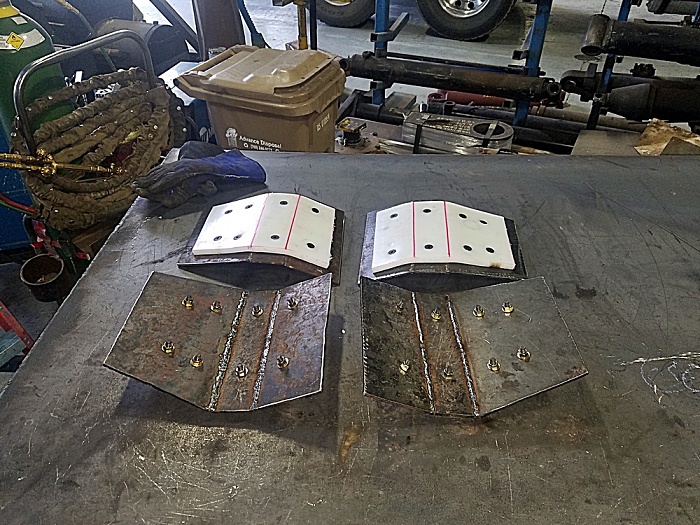
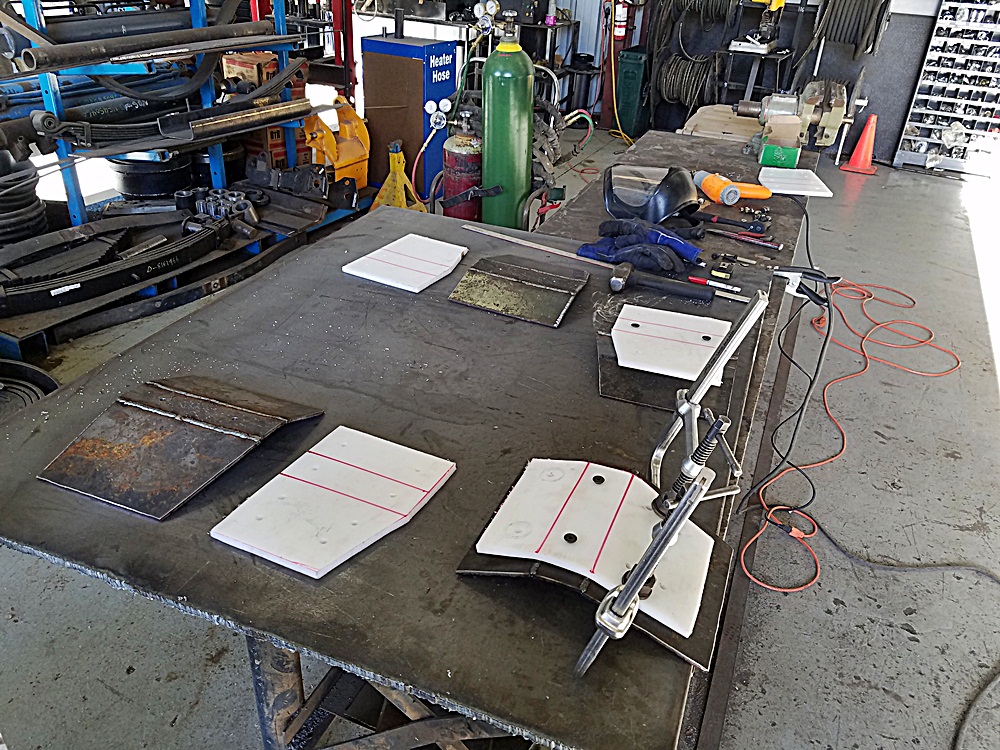
Not a big deal, but a little different project at work. Have a conveyor belt chewing through some kicker plates. So, made replacement plates, and added some ptfe wear pads, to prevent it from happening again. I'll get some pics of the conveyor when I go to cut out the old and install the new...
Not a big deal, but a little different project at work. Have a conveyor belt chewing through some kicker plates. So, made replacement plates, and added some ptfe wear pads, to prevent it from happening again. I'll get some pics of the conveyor when I go to cut out the old and install the new...

 09-23-2016, 10:32 PM