When you click on links to various merchants on this site and make a purchase, this can result in this site earning a commission. Affiliate programs and affiliations include, but are not limited to, the eBay Partner Network.
So I can just pool in onto the thick and flick it onto the thin or just let it melt out until it reached the thin then move?
Also I'm think about hooligan mids, any advice on filling the slits that allow it to bend or is it kinda tack it on and fill it up, seemingly and odd groove to connect thinner material underneath to, but also filling out the weld of the thicker part. Seems a ways to get wire In lol.
Any recommendations on keeping the weld on the material vs growing outward or becoming slag blasted everywhere.
I'm using a Hobart 210mvp.
I am getting ready to weld in those stiffeners on my rig soon. Aside from roninofako solid advice I have already welded a set on my friends Xj and because these frame stiffeners wrap around the uni-body rail you will want to remove the muffler as it is nearly impossible to get up into the area with the muffler in the way (the other side just the gas lines can be pulled over out of the way). I was able to remove mine whole as my Xj is just the right height that I can un-bolt it from the header and wiggle n snake it out of the way. Also like someone has stated already if you do it outside do it in good weather and wear ear-plugs and protective clothing while you are under there. Good luck!
quick question, those that have frame stiffeners. If you had aftermarket bumpers, How'd you get the bumpers to fit after putting on the stiffeners? I know my front bumper brackets are really tight to the "frame".
I also need to drop the flux welding and get my bottle/wire...
When I built both my bumpers. I made sure to add extra width to compensate for the stiffeners.
I can't say about pre-fab bumpers though. But I believe JCR made their bumpers slightly wider to compensate for stiffness thickness and provided spacers so the bumpers can be bolts down tight.
Remove spacers when you do stiffeners later. That's what they said and that's why I respect them.
JCR truly is a class act. Everything instruction wise I've ever seen from them has been detailed as ****, and spot on.
quick question, those that have frame stiffeners. If you had aftermarket bumpers, How'd you get the bumpers to fit after putting on the stiffeners? I know my front bumper brackets are really tight to the "frame".
I also need to drop the flux welding and get my bottle/wire...
I have a Login fabed bumper was on the jeep when I got it. The front stiffeners I welded on my rig was from Rusty's off road and was not nearly as thick as those Hooligan's are (Note; I like the thickness of those Hooligon stiffeners cause I want to make the rock rails even more solidly mounted). But the way they built the bumper I could add a spacer to change the width of the mounting brackets to fit. as it was my bumper was a little snug but still was able to get it to fit.
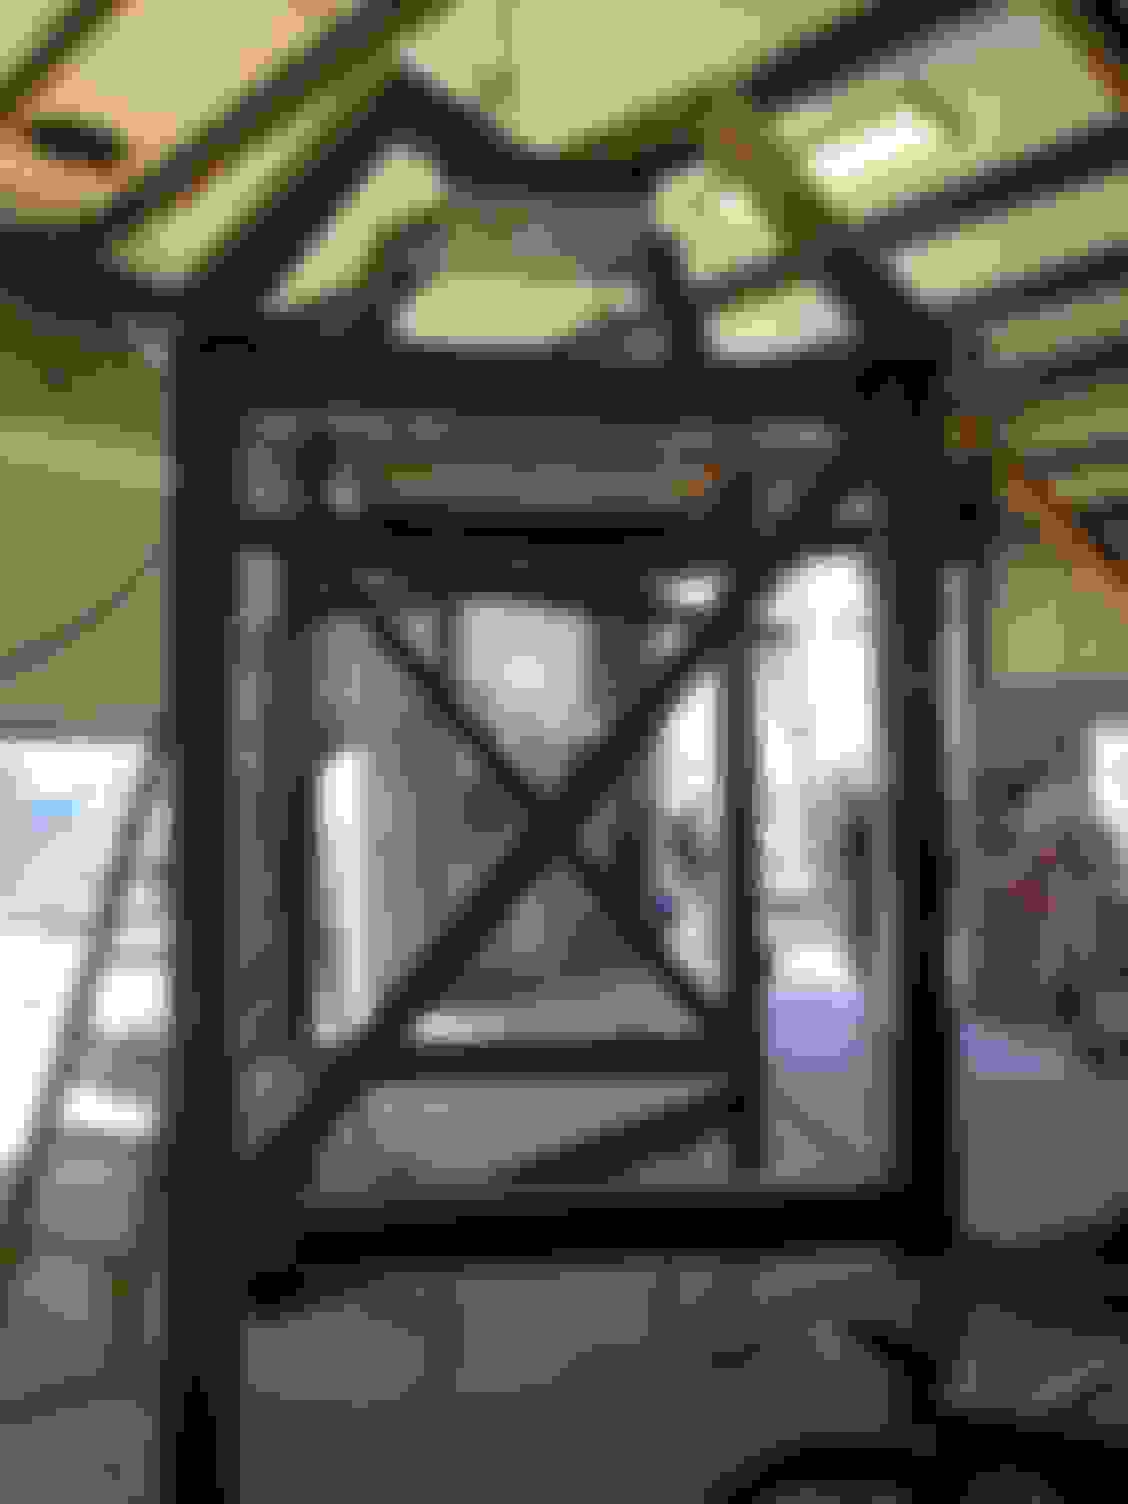
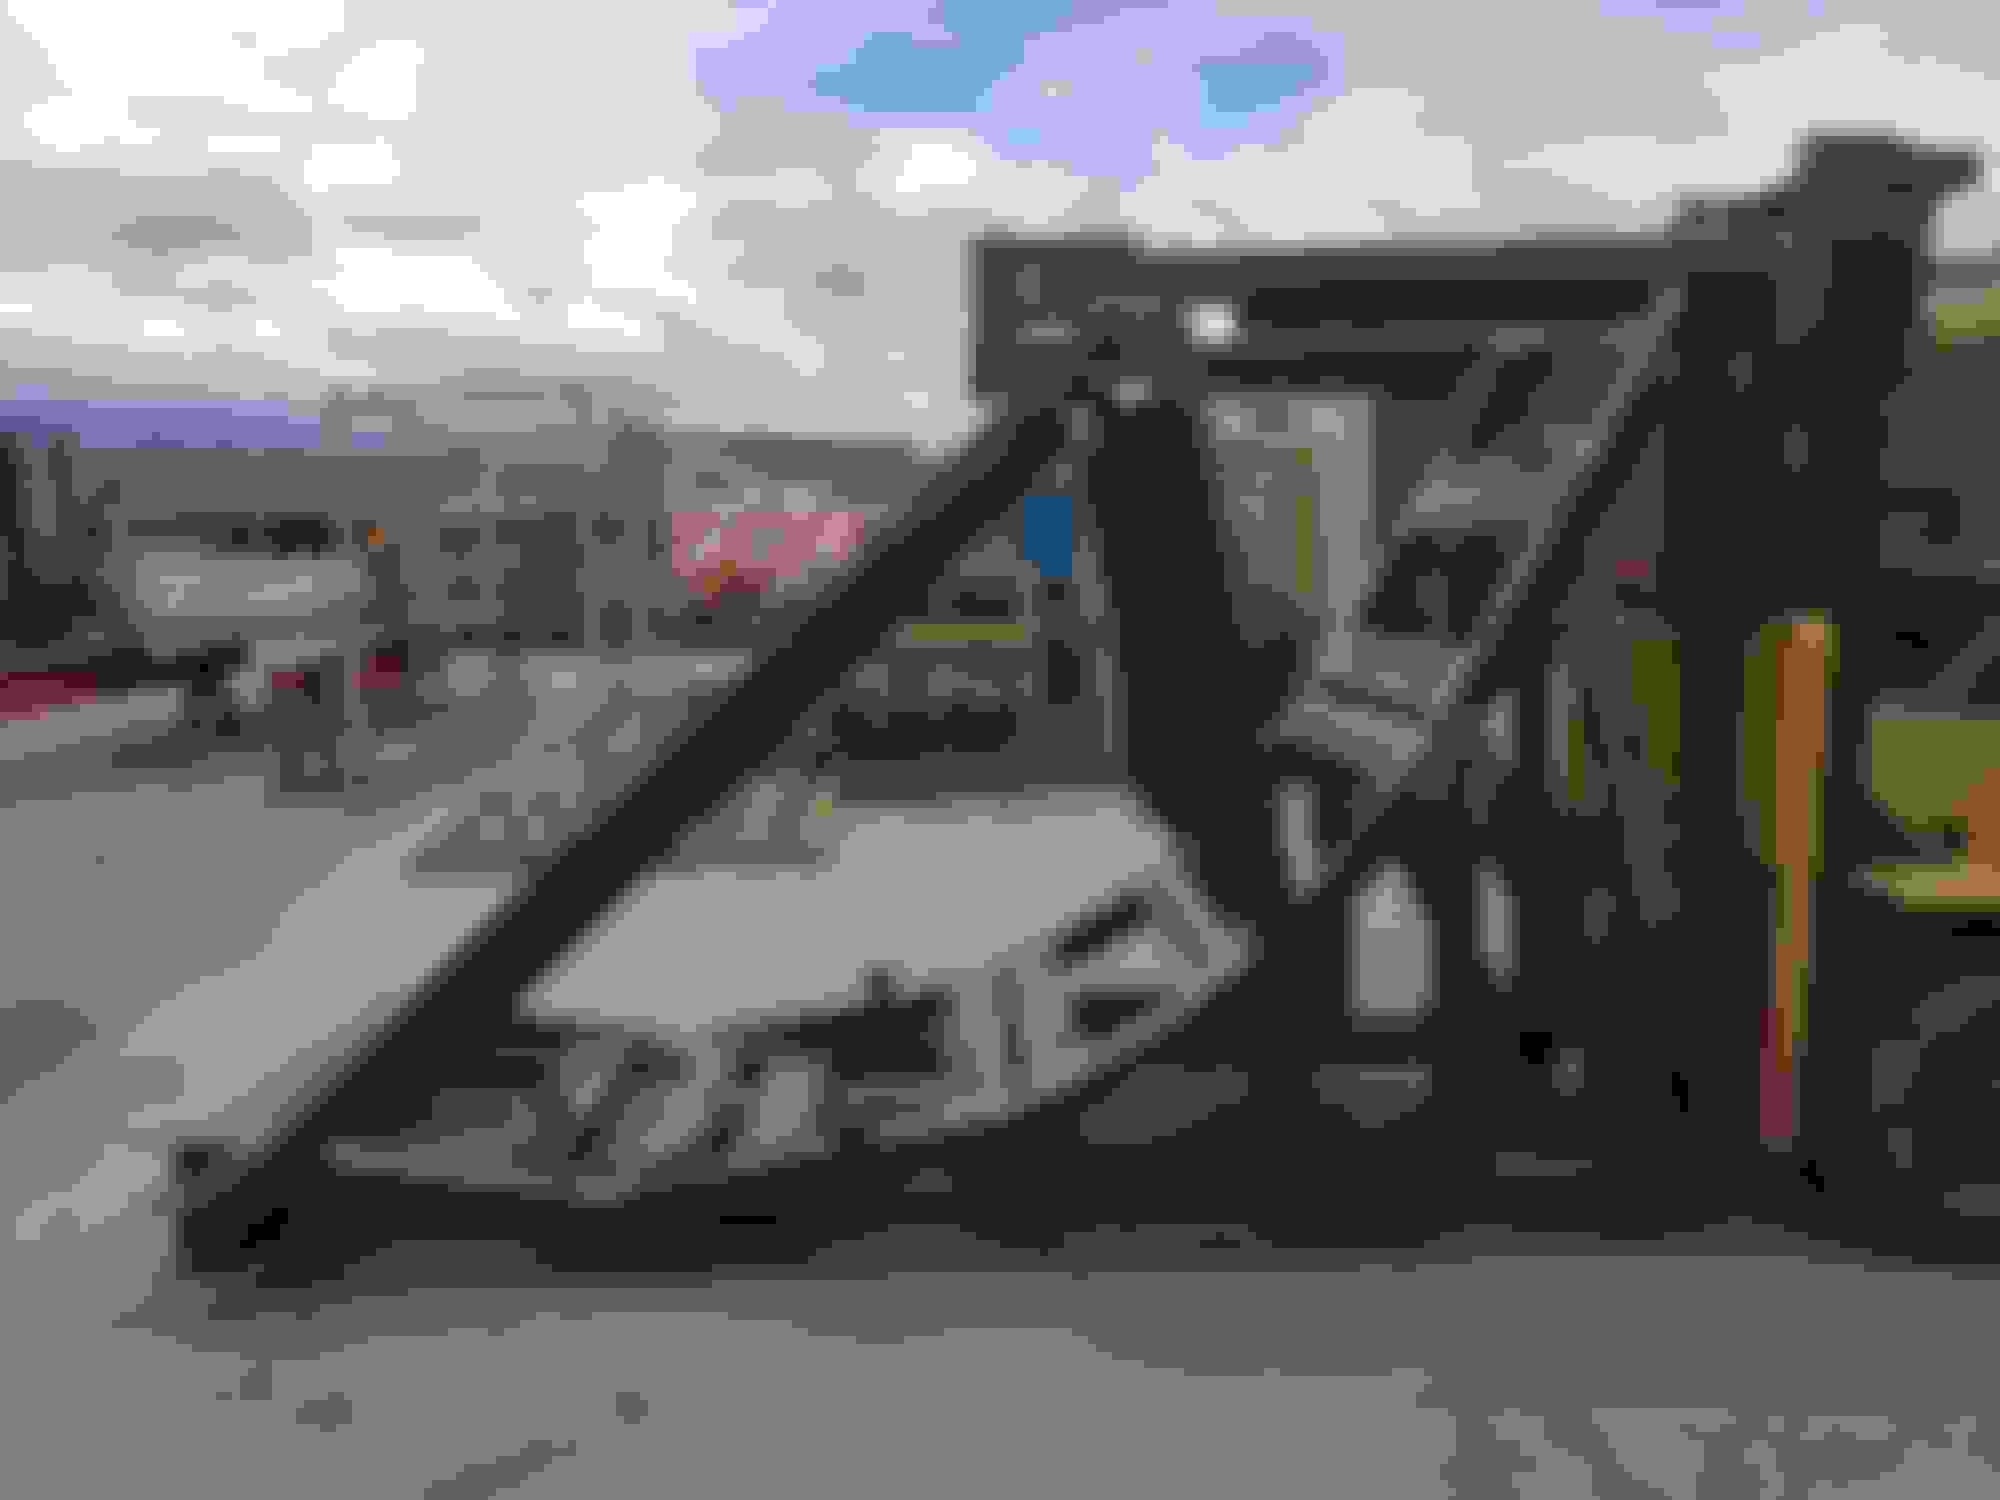
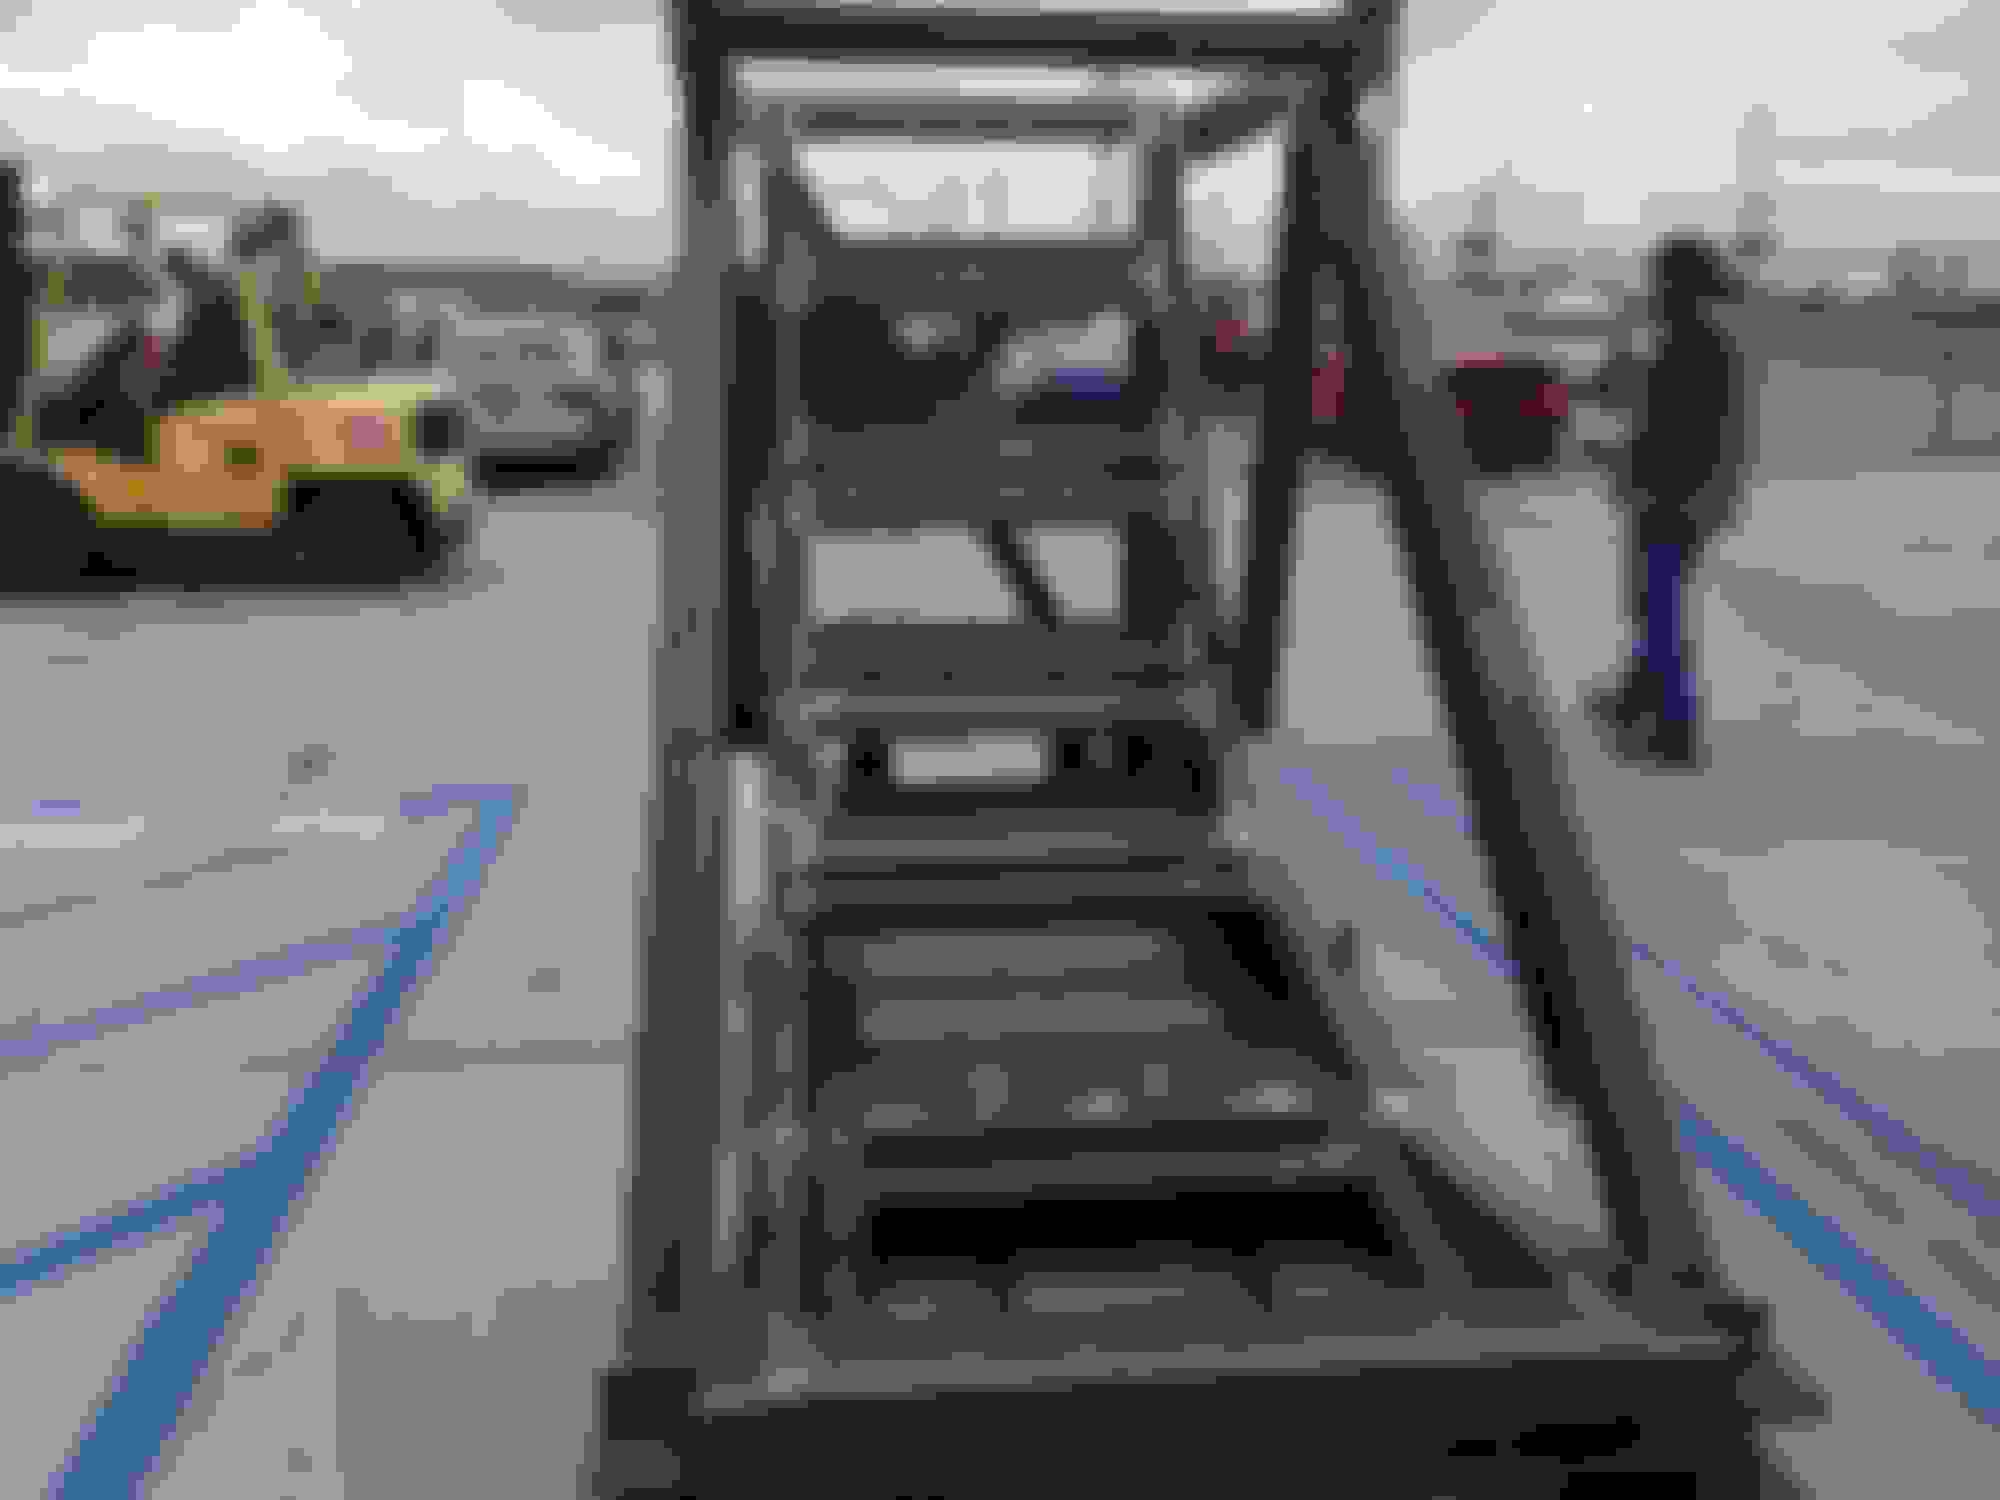
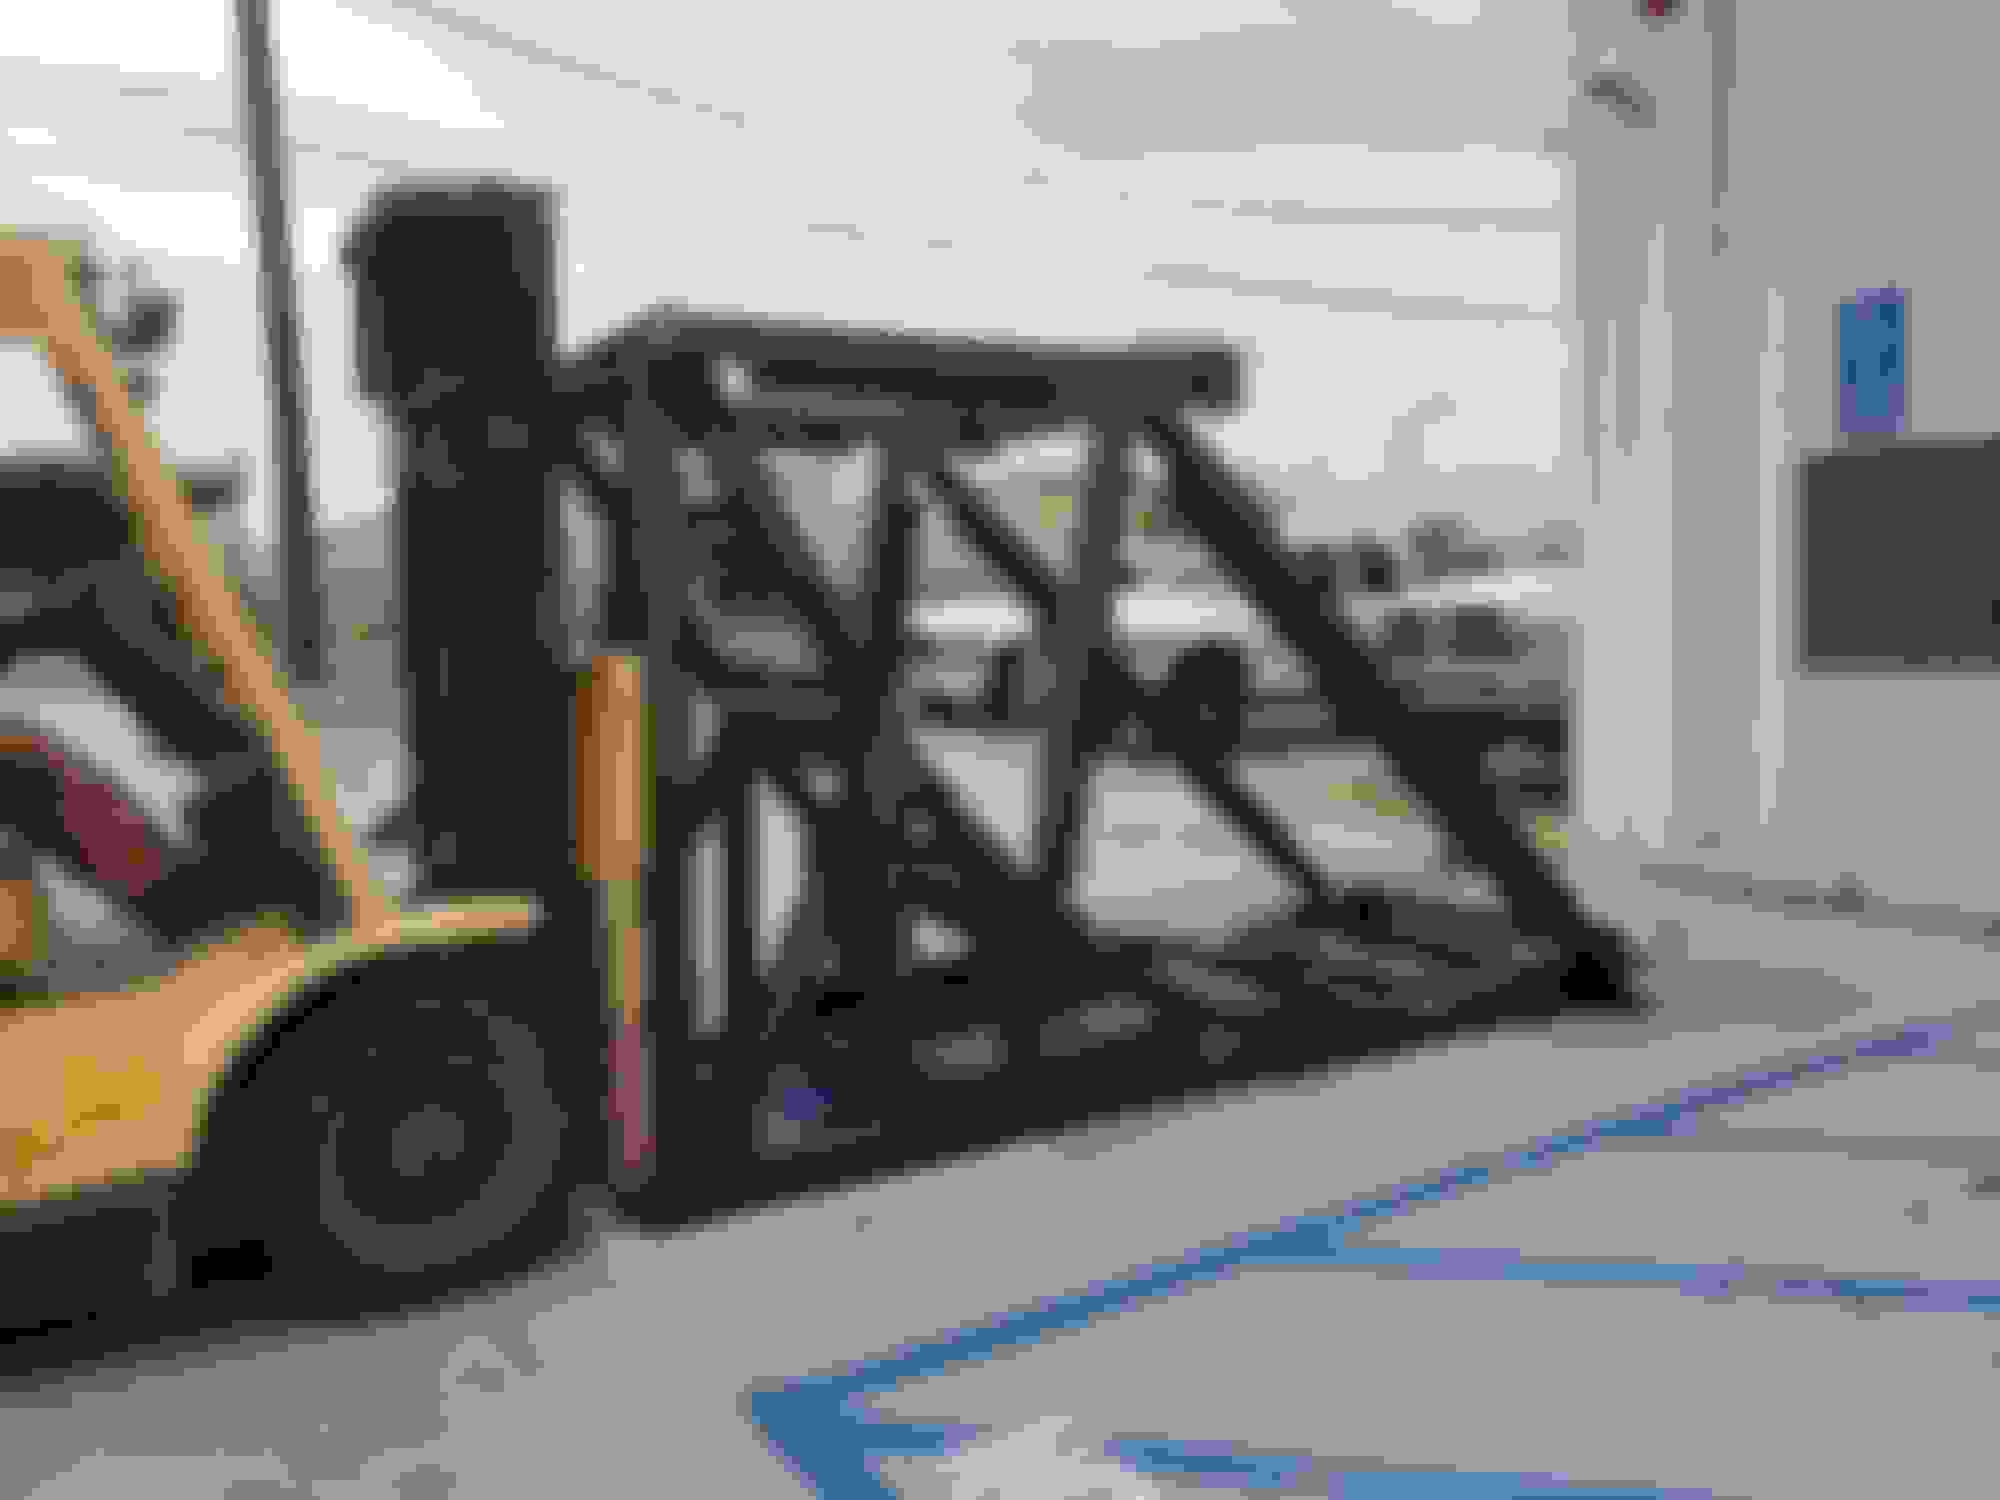
Haven't posted pics in a while, here's a rocket motor blast deflector we recently built for a local aerospace company
First pics are where the rocket mounts, sits above the "ramp", the deflector doesn't have the blast plates installed, and the tubing is 6x6x3/4" thick...this thing was pure beef, the mount plate alone is 3" thick...
Money brother, I've been wanting to build one, but personal projects haven't been top of my list, but really looking forward to seeing this as you go, Neal. Looks great so far
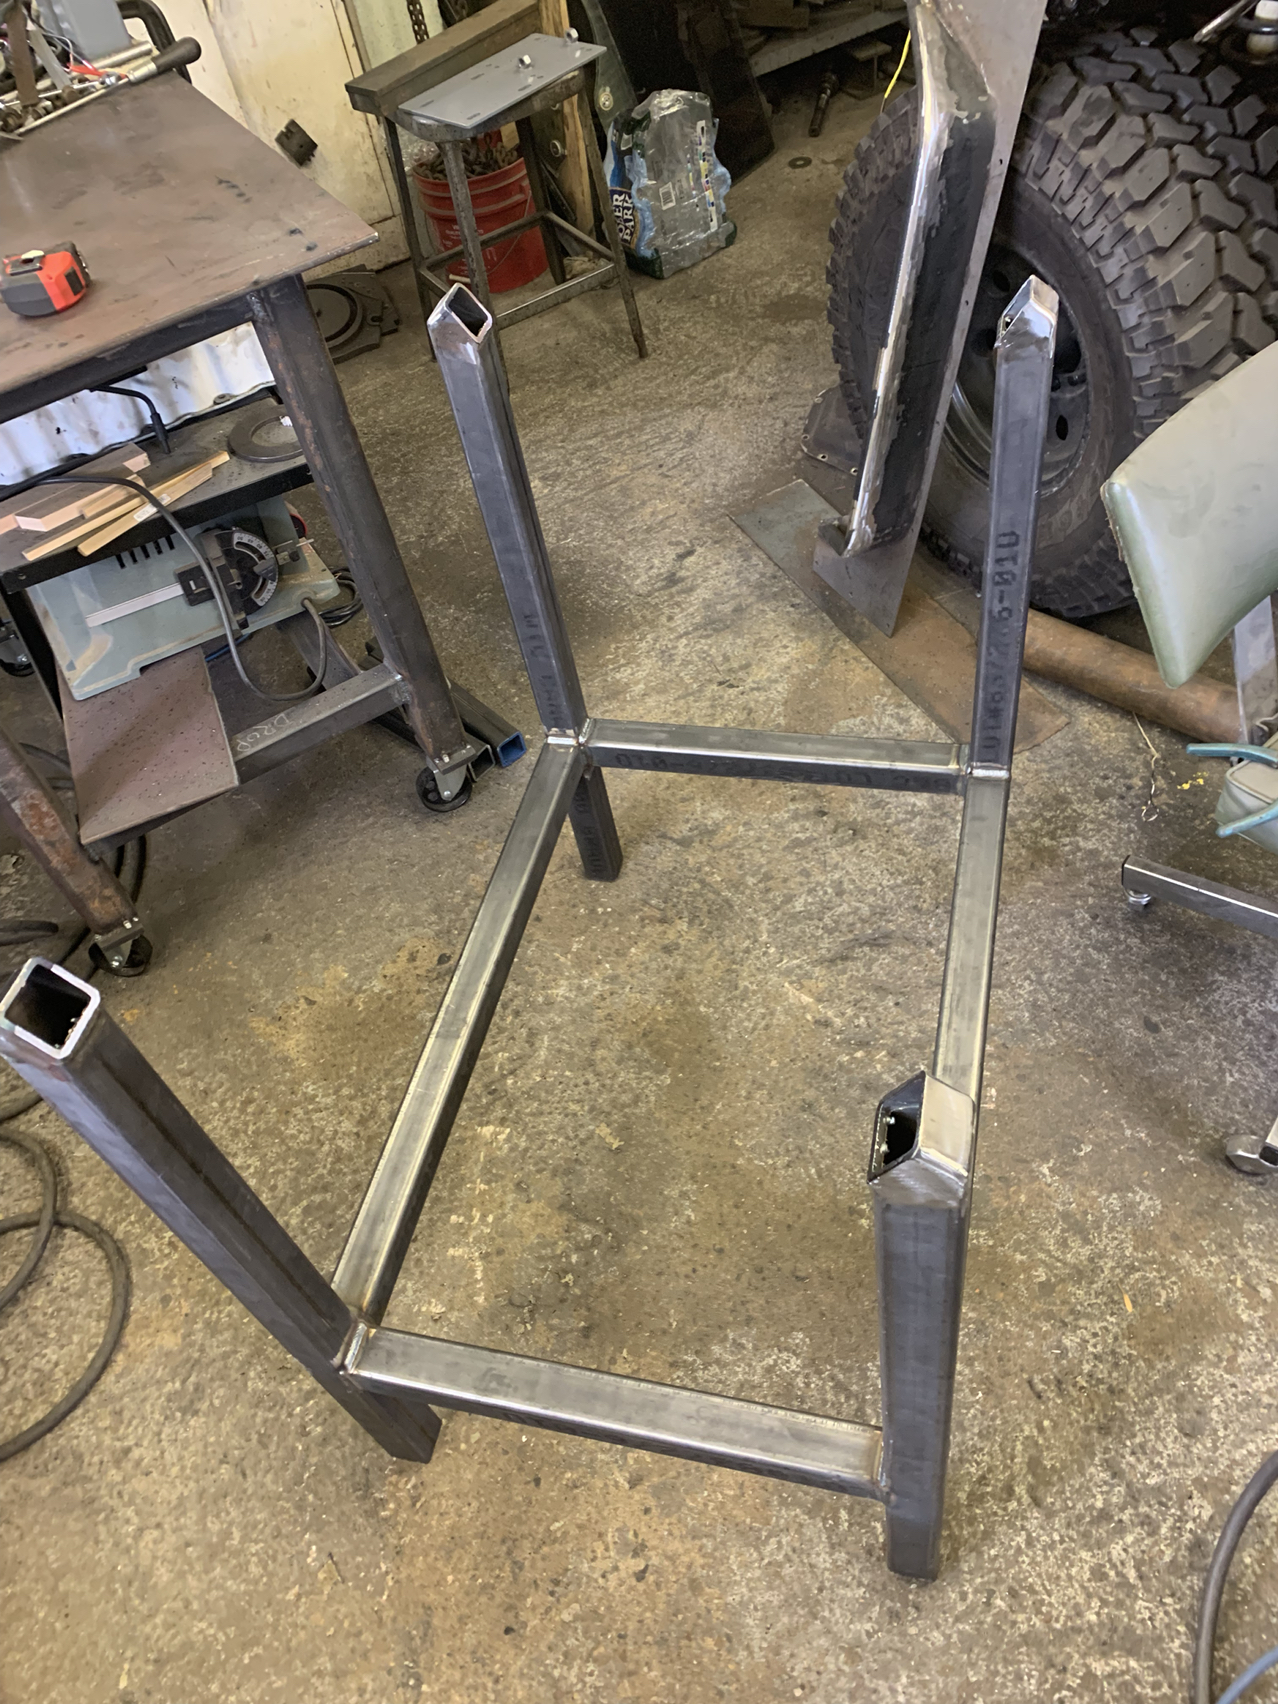
Here's a project I just finished for my trailer that I'll be towing behind my XJ next week on a camping trip. It's basically a roof rack that I can ad a rear "T" bar to so it works a kayak rack too when needed.
It's mostly made out of 1.25" tube. I don't have a bender of that size … but I did have an old chain link fence gate with 4 perfect 90* bends! The wall thickness is 1/16" so it was light and plenty strong enough. Welding it with my Lincoln 180 was pretty straight forward.
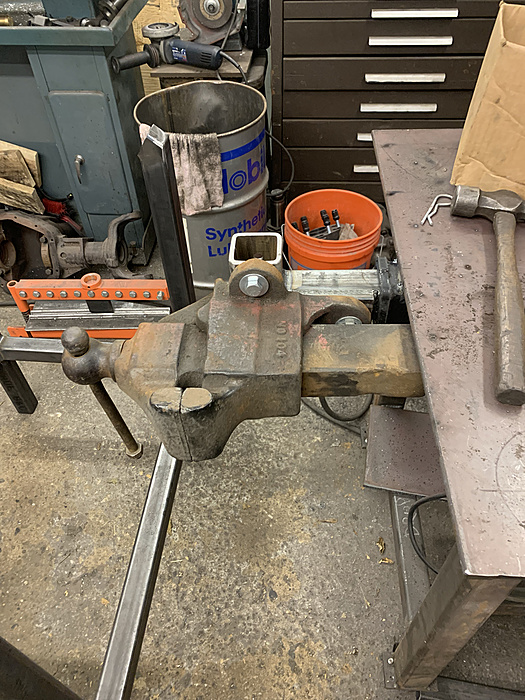
I started by cutting up the gate and making some notches.
The overall width is about 54". My welding table is just short at 50" so I used a piece of 6"x6" angle to line things up and provide a good clamping surface.
Here's the final roof rack part of the project. The wind deflector came off of another roof rack I have. I added the LED's for camp lighting, not road use.
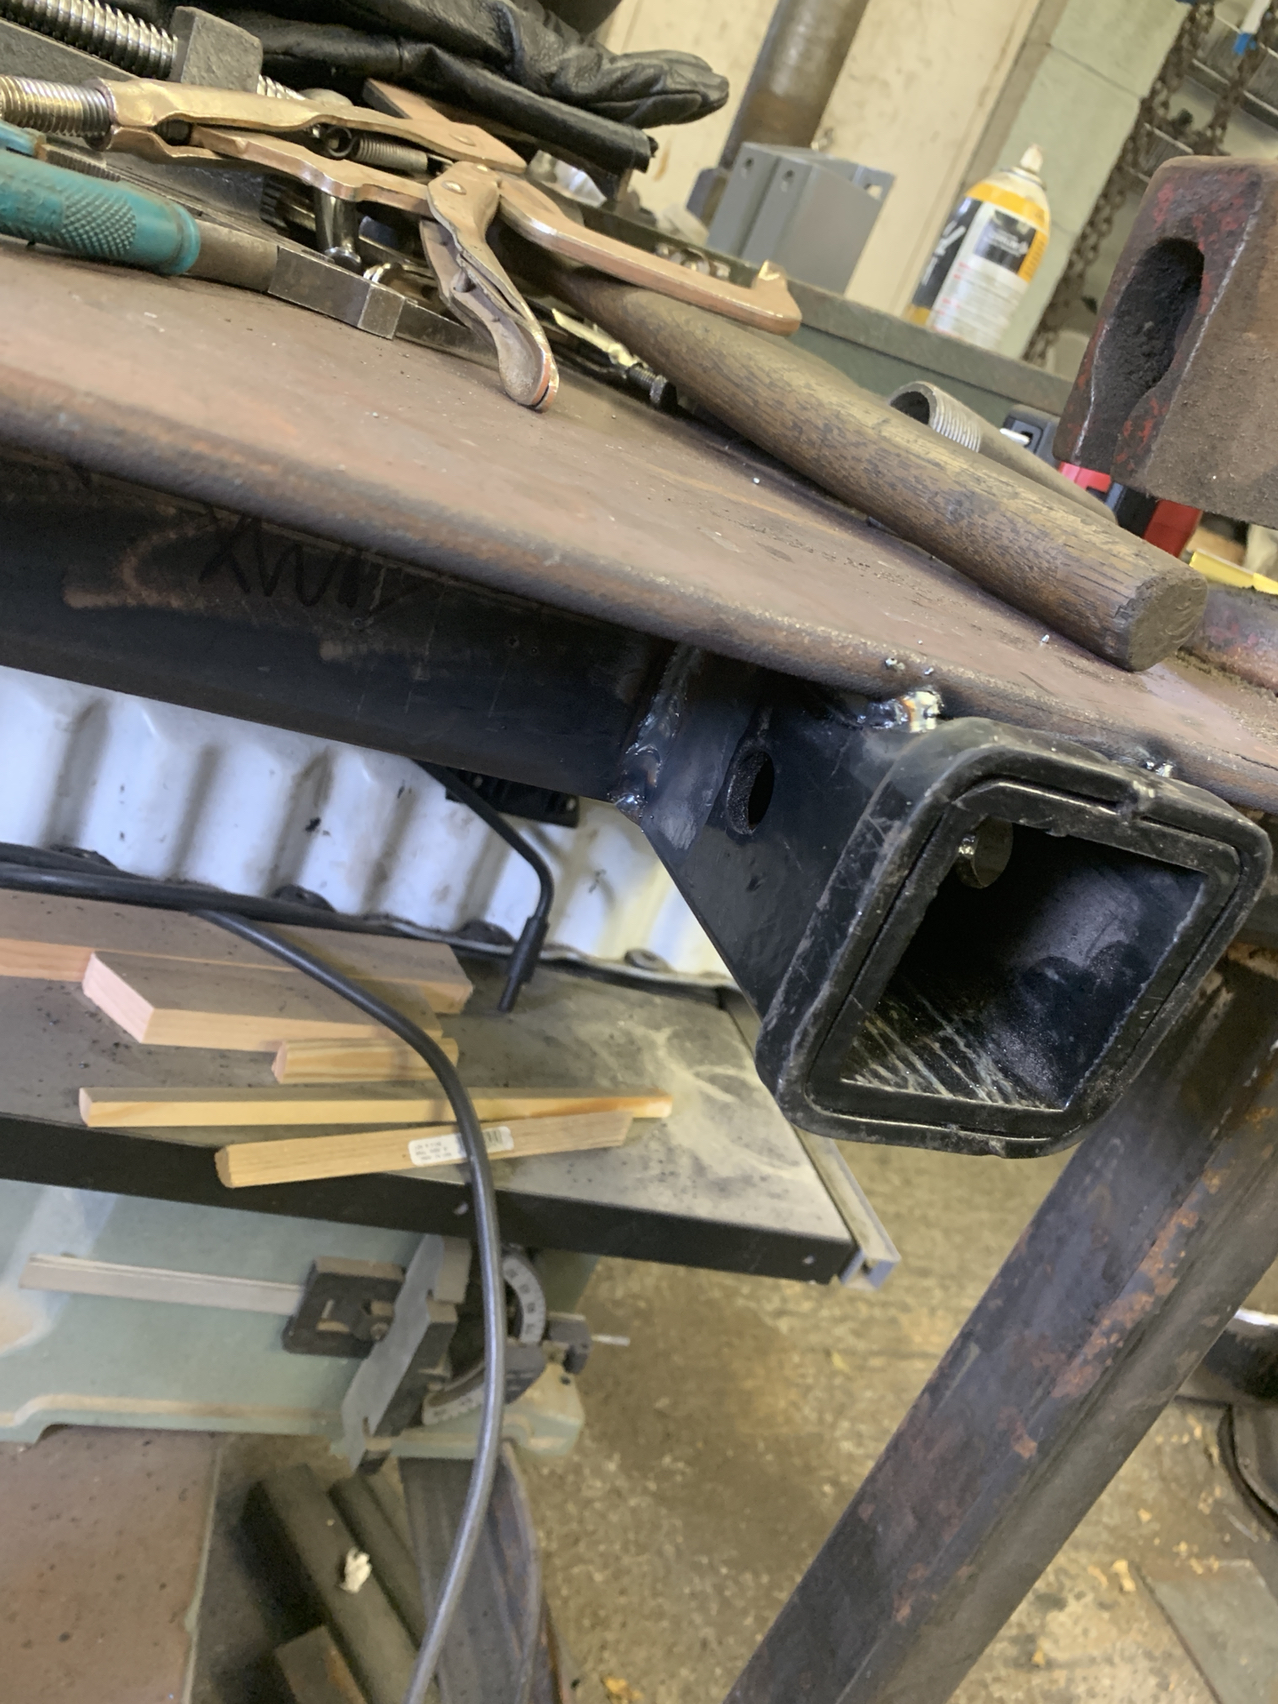
The rear "T" bar fits into a 2" receiver tube. There will be times when I go biking and leave the kayaks at home so it will be used with a double bike rack I built a few years ago. The receiver tube is 18" long and has a couple of cross bars that help to stiffen up the rear of the trailer.
Here's the final product with the "T" bar completed. I can load/unload the kayaks with all of the strapping in about 10 minutes. The "T" bar breaks down with the removal of 2 pins. When camping, the upright piece will be used as a stand for my on demand hot water system and the horizontal piece will be used as a wheel lock for the trailer. More welding projects!
The Cabela's waterproof bag holds 2 kayak seats, 2 pfd's and some assorted kayak bits. The paddles go inside the trailer.
Overall there's very little wind drag. I test drove it behind my XJ at 130 km/h and didn't notice any difference as compared to driving without the rack.

 05-24-2019, 09:56 AM