When you click on links to various merchants on this site and make a purchase, this can result in this site earning a commission. Affiliate programs and affiliations include, but are not limited to, the eBay Partner Network.
I recently upgraded the battery cables in my '98 XJ and want to share some details of the project, in case it may be helpful to others. I leveraged several posts from this site to help me, but I found it hard to find all of the details what parts I would need, what modifications had to be made, etc., so here's an attempt to tie some of that together.
First, the goal of the project was to upgrade the factory wiring with larger, finer strand cables, replace the inline fuse to the alternator, and dress up the engine bay a little. Most of the process was very straight forward, but there were a few modifications that had to be made, most notably:
1) adding a second stud to the PDC to allow for a mega fuse to replace the inline fuse to the alternator
2) removing the plastic connector on the starter and rewiring the power/solenoid feed wire
I have the 117amp stock alternator and could've used 4ga wiring, but I decided to go with 2ga, in case I wanted to upgrade the alternator down the road. To make installing the new (and future) cables easier, I replaced the stock battery terminals with military spec versions. The nice part about these is that there is a separate bolt to add accessories to that allow for easy access to add cables, while not having to loosen the terminal from the battery. I also decided to use a braided flex coating to dress up the wiring.
Most of the cables were straight forward to make and just consisted of removing the old cable and cutting a new one of similar length, crimping on lug terminals, covering in the braided flex coating, and adding heat shrink to finish. All the ground cables were easy, but the starter and alternator cables required a small amount of additional work:
1) starter cable - I had to remove the plastic housing that connected the power and solenoid wires to the starter, so that I could run new wires directly to the starter. The plastic housing was molded around the two wires, so I had to cut the wires and simply unscrew the plastic housing. This allowed me to connect each wire separately directly to the starter. Beside making the new, 2ga battery to starter cable, I needed to add a ring terminal to the solenoid wire to connect it to the starter.
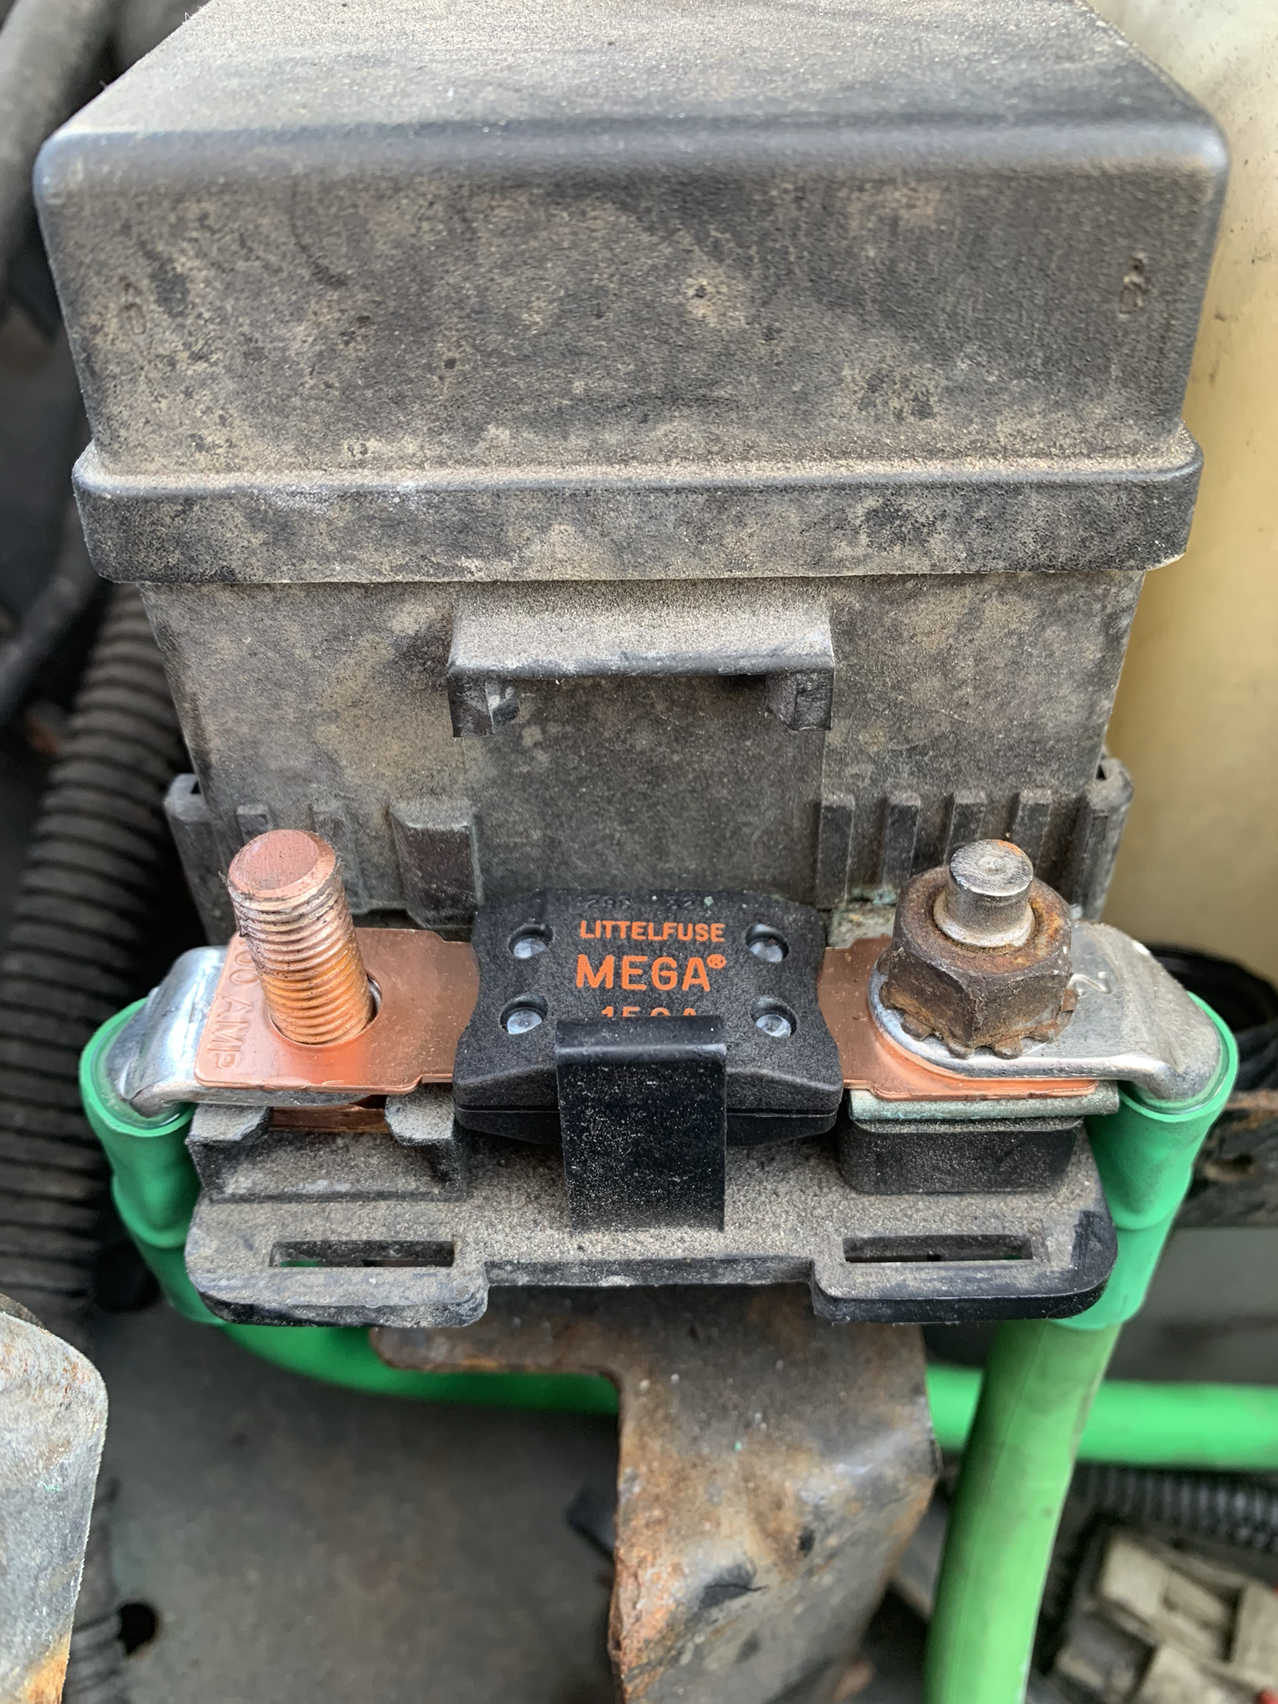
2) alternator cable - I wanted to remove the inline fuse, add a second terminal to the PDC, and install a mega fuse. I've seen people make their own second terminal several ways, but, to keep things simple, I purchased a 5/16" carriage bolt from Lowe's and ground the sides/top of the bolt to a roughly square shape, so that it would fit snugly into the blank terminal slot. Additionally, I had to grind the lug that attached to the alternator, because the standard lug wouldn't fit in the housing around the positive terminal.
Here is a list of the specific parts I used to complete the project (total $136):
1) 2 ga flexible welding wire - 10' of both red/black (
Agreed. This will help me. Thank you for this.
I am trying to finalize some of the details myself. Have a guy rebuilding an alternator that will fit a '00 and upping the amps. I wanted a straight bolt in despite the fact that using the ZJ or Durango alternator is not that big a deal.
I am still trying to decide if I want to solder or crimp. But I bought the Harbor Freight crimper and wire cutter to play with. And to try and be all professional I bought the wire stripper off Amazon. LOL.
So the crimper crimps more flat and not more round like the better ones. I played with it on 4 and 2 gauge wire. Like in the videos I watched I cut the lugs in half when done. You can see how the wire even with the cheap Harbor Freight one looks solid.
But I have a theory about this. I think this is kind of caused when cutting with the die grinder and a 3" cutting wheel.
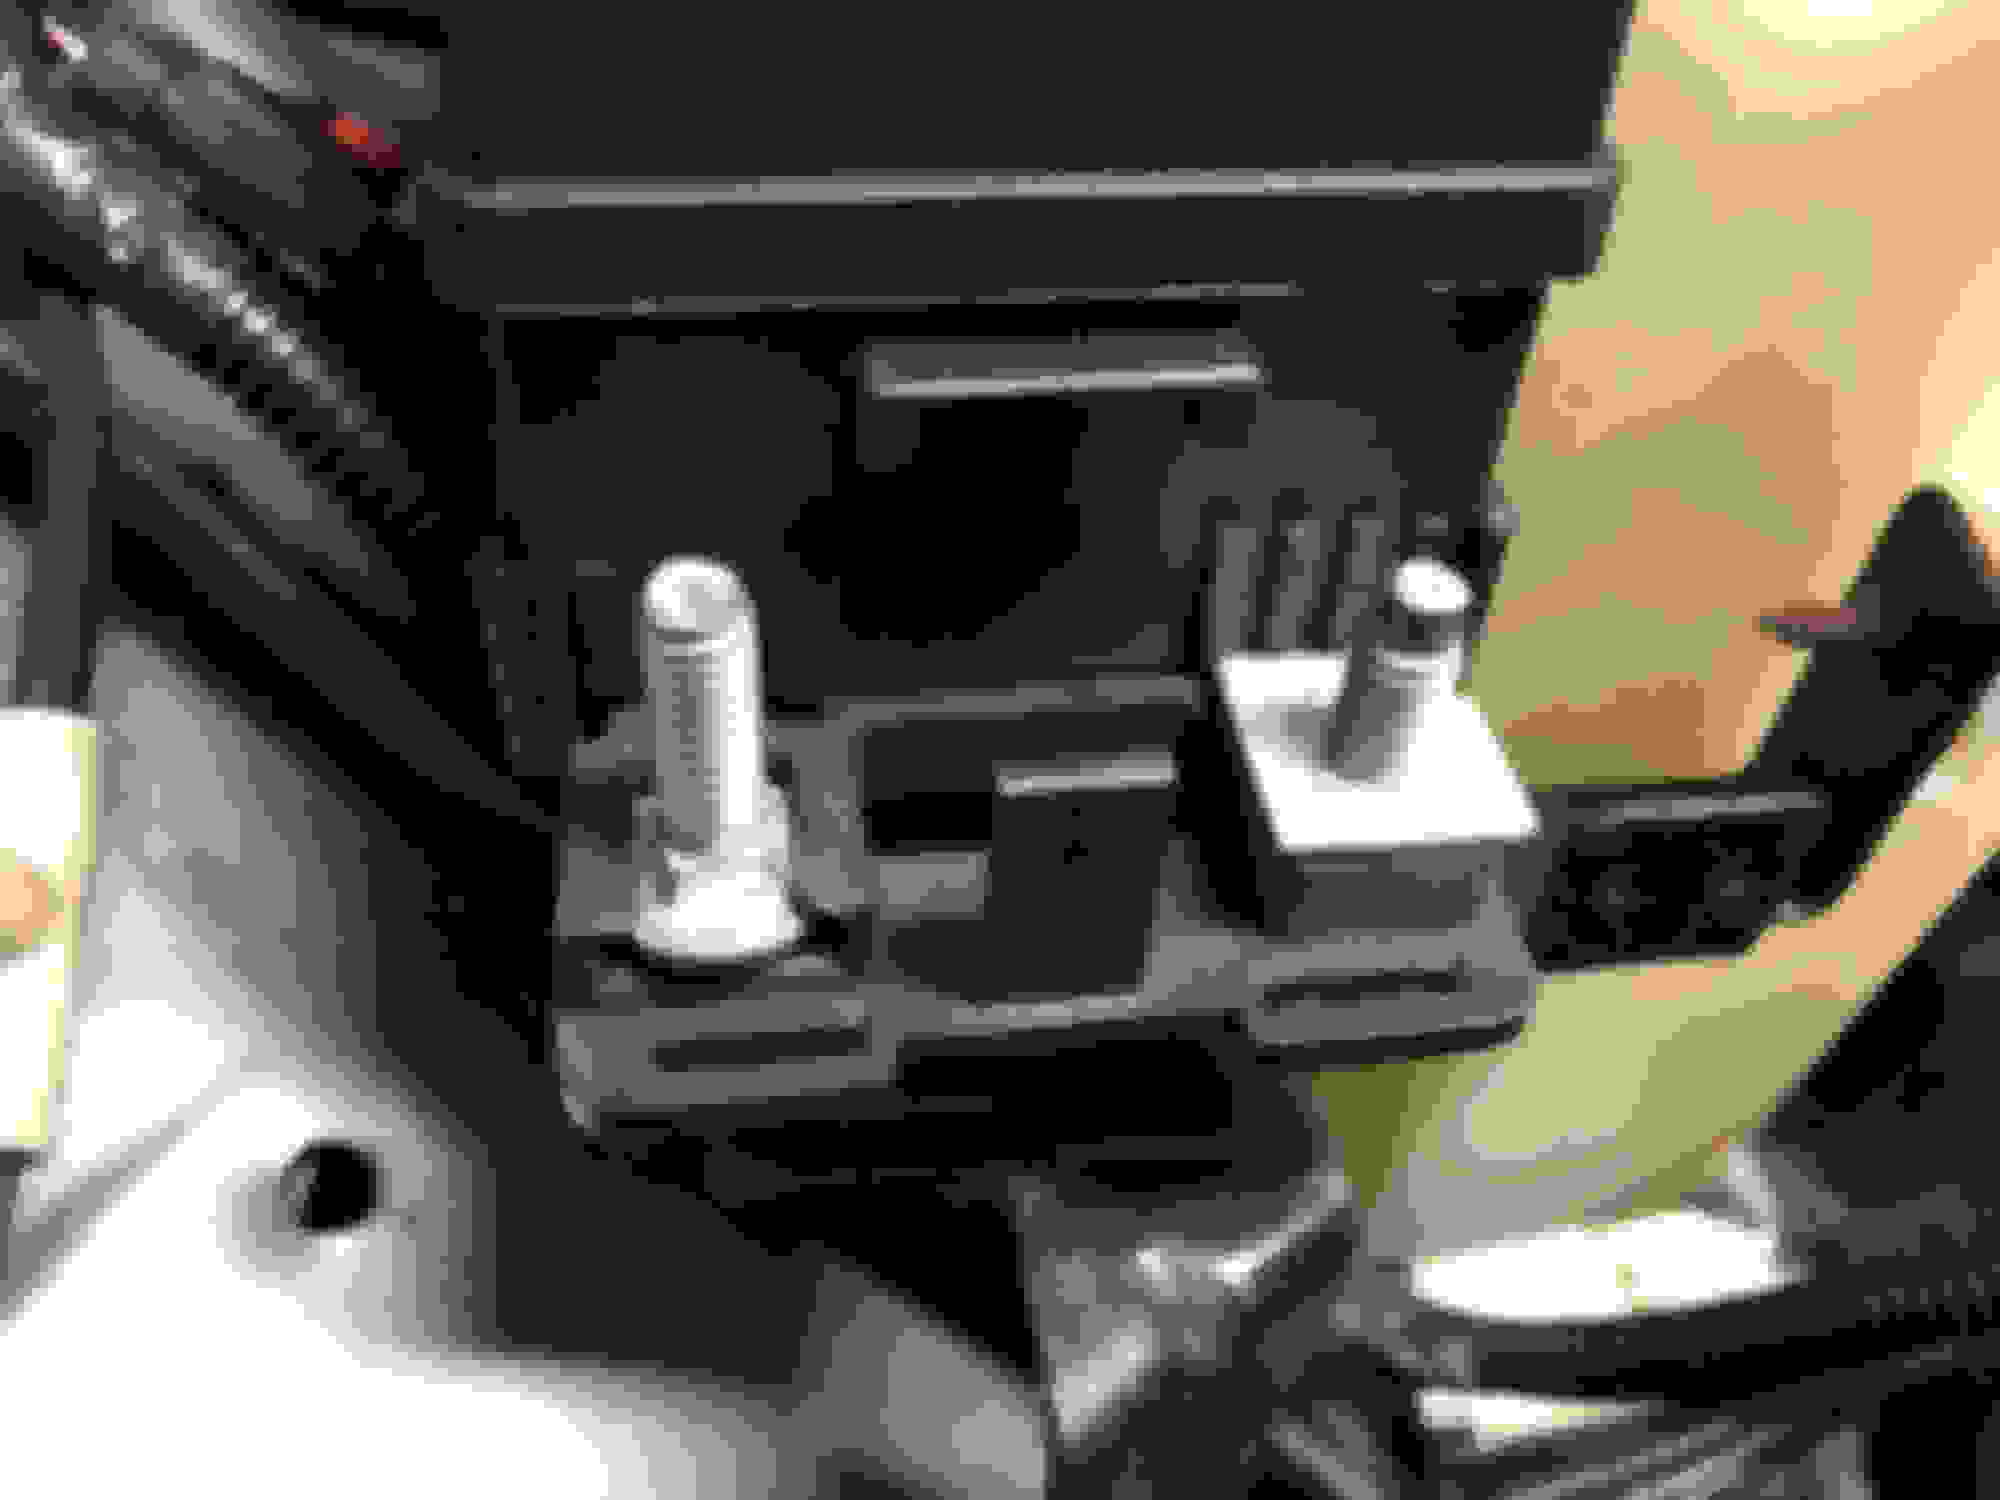
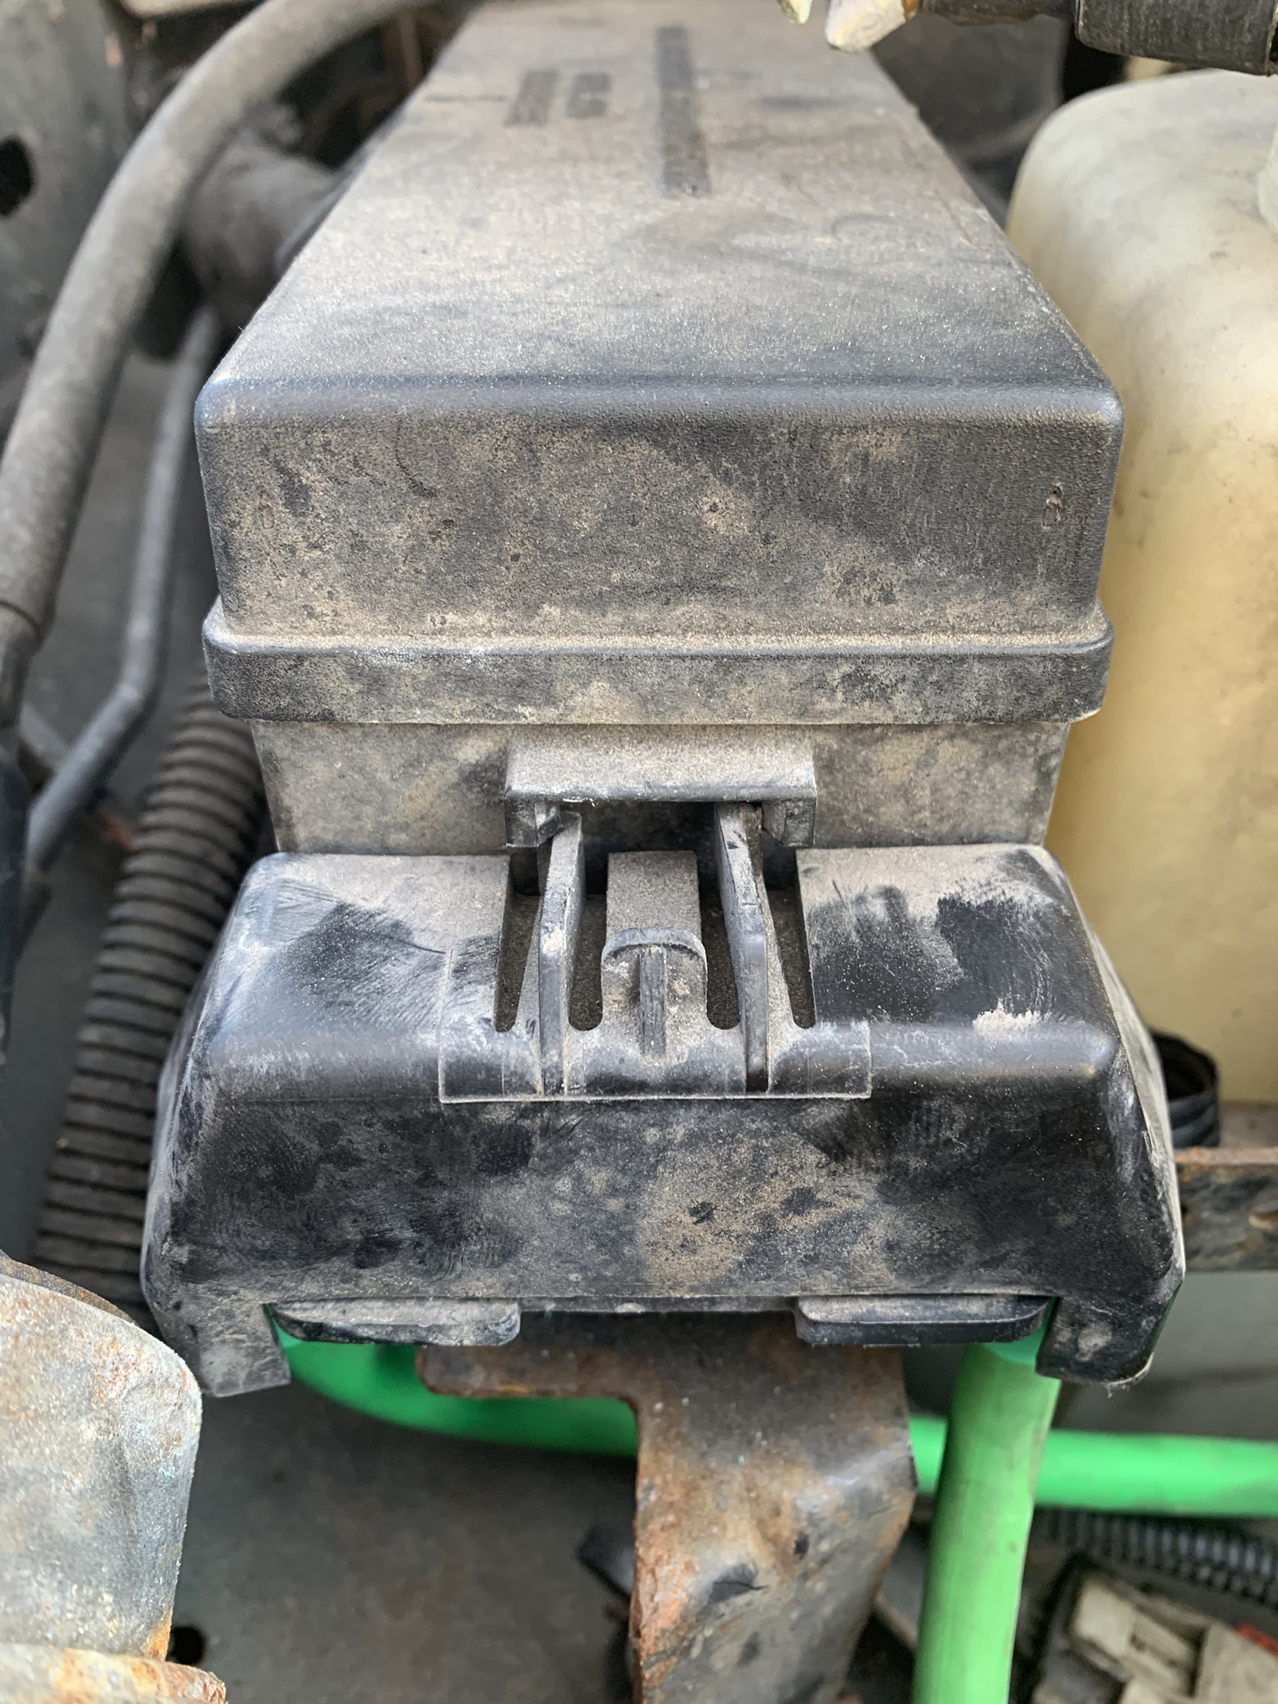
Also I too want to position the Mega Fuse in front of the fuse box. Looks like it was made to be like this at one time and not the fusible link. l Was hoping that these battery terminal bolts would fit in the existing slot. A square head bolt would work best.
The head of the bolt is to thick to fit in the slot so I am going to take it down some on my bench grinder. And will shorten the bolt too. Otherwise looks like it will fit in there.
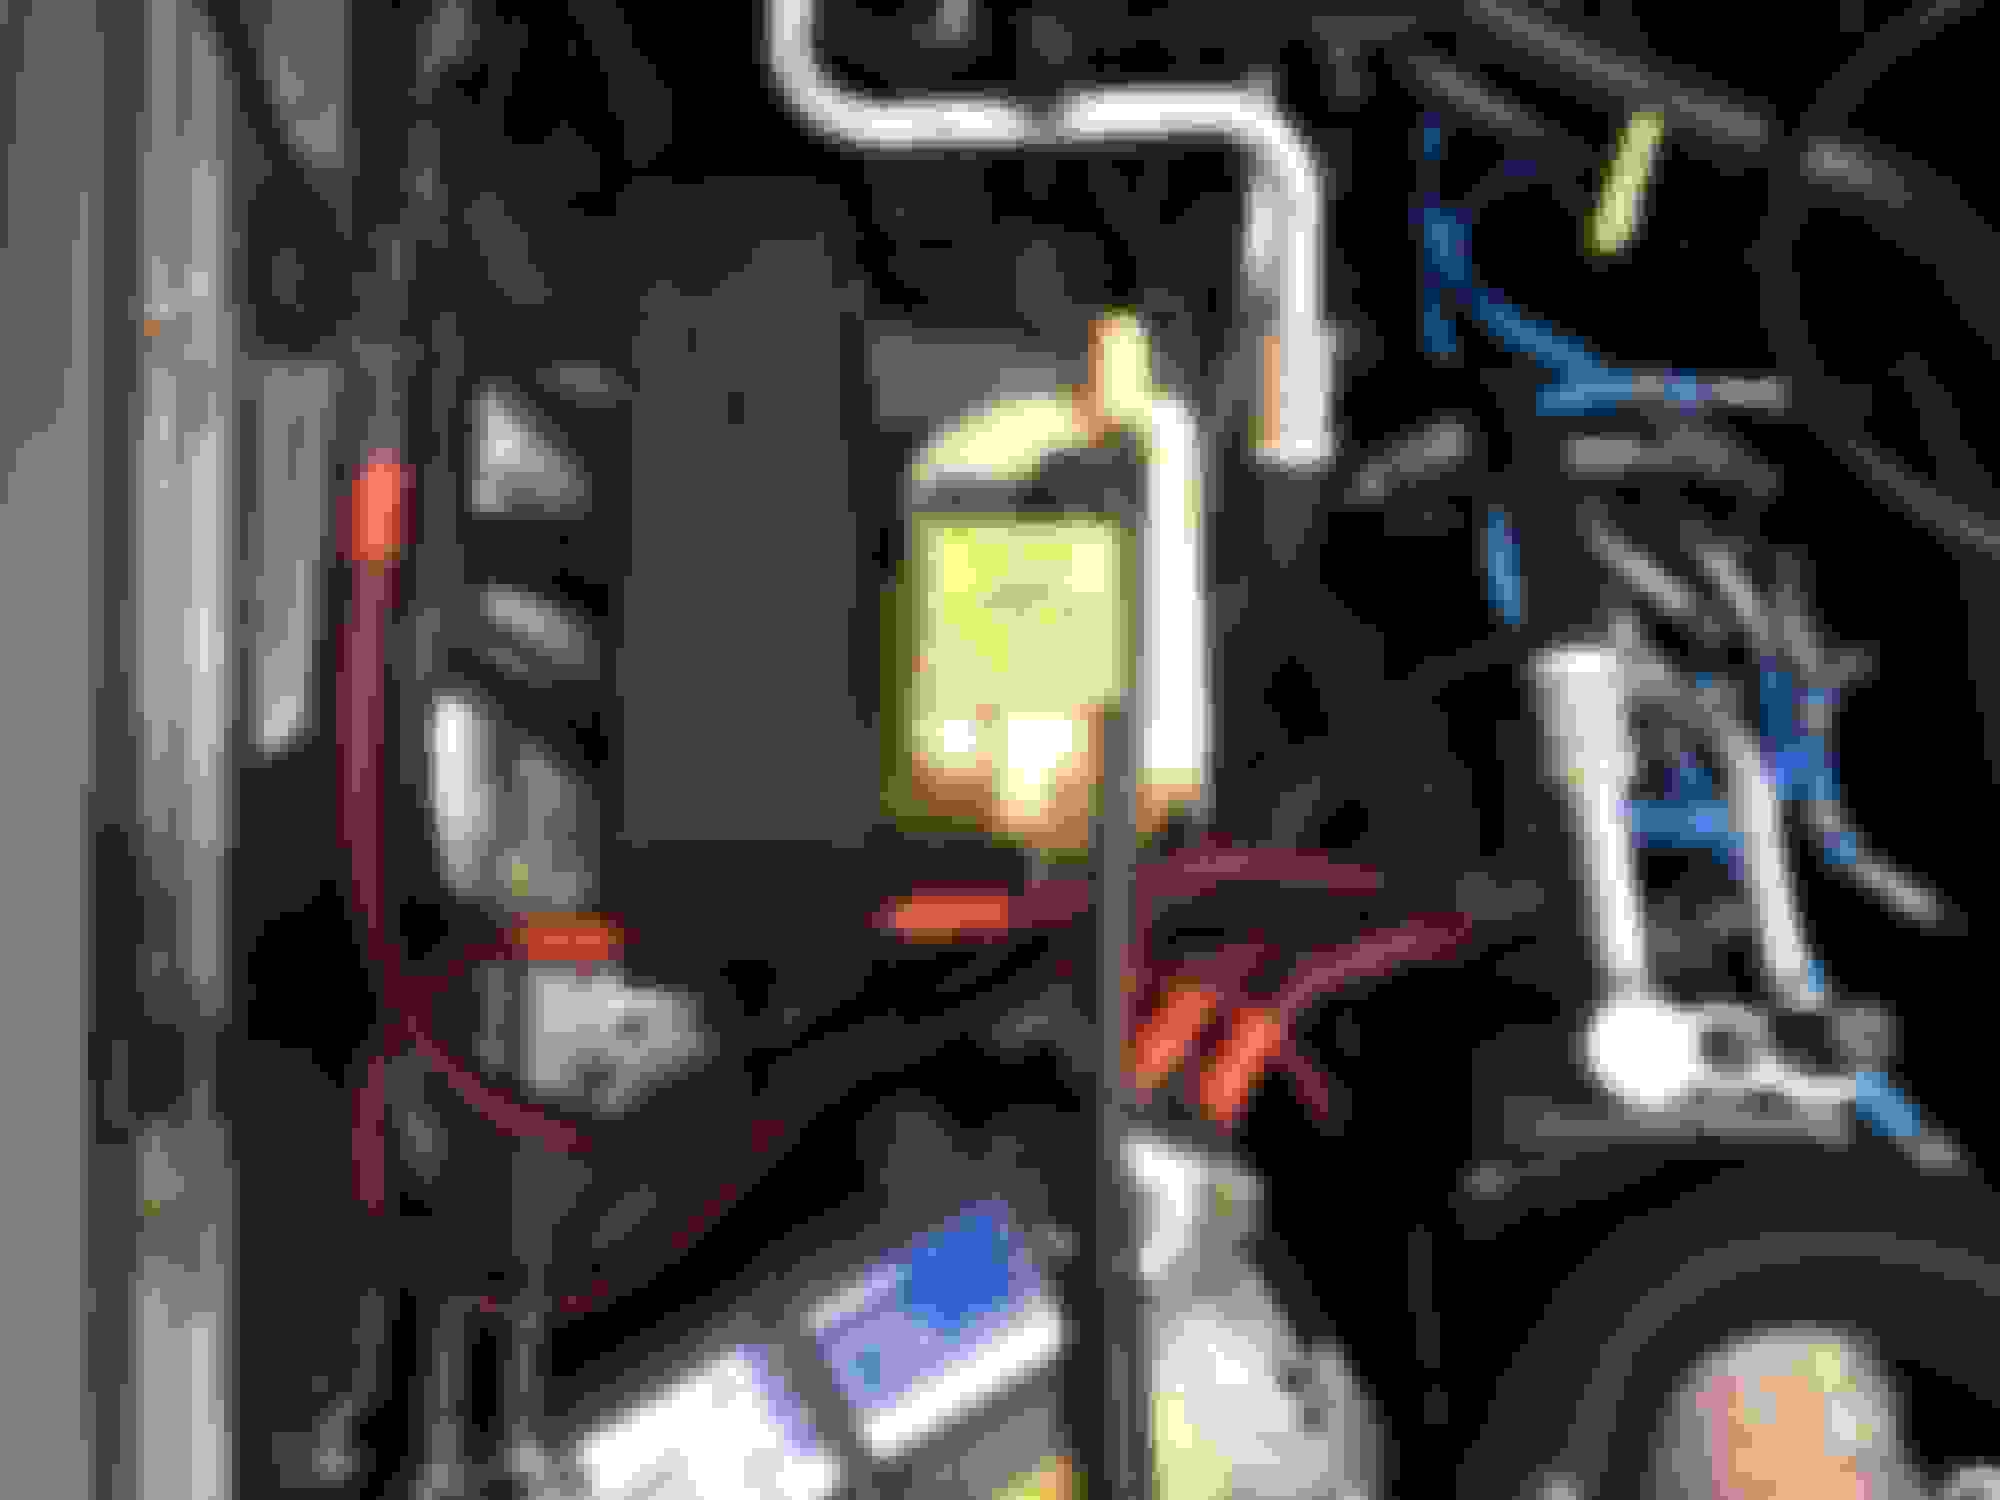
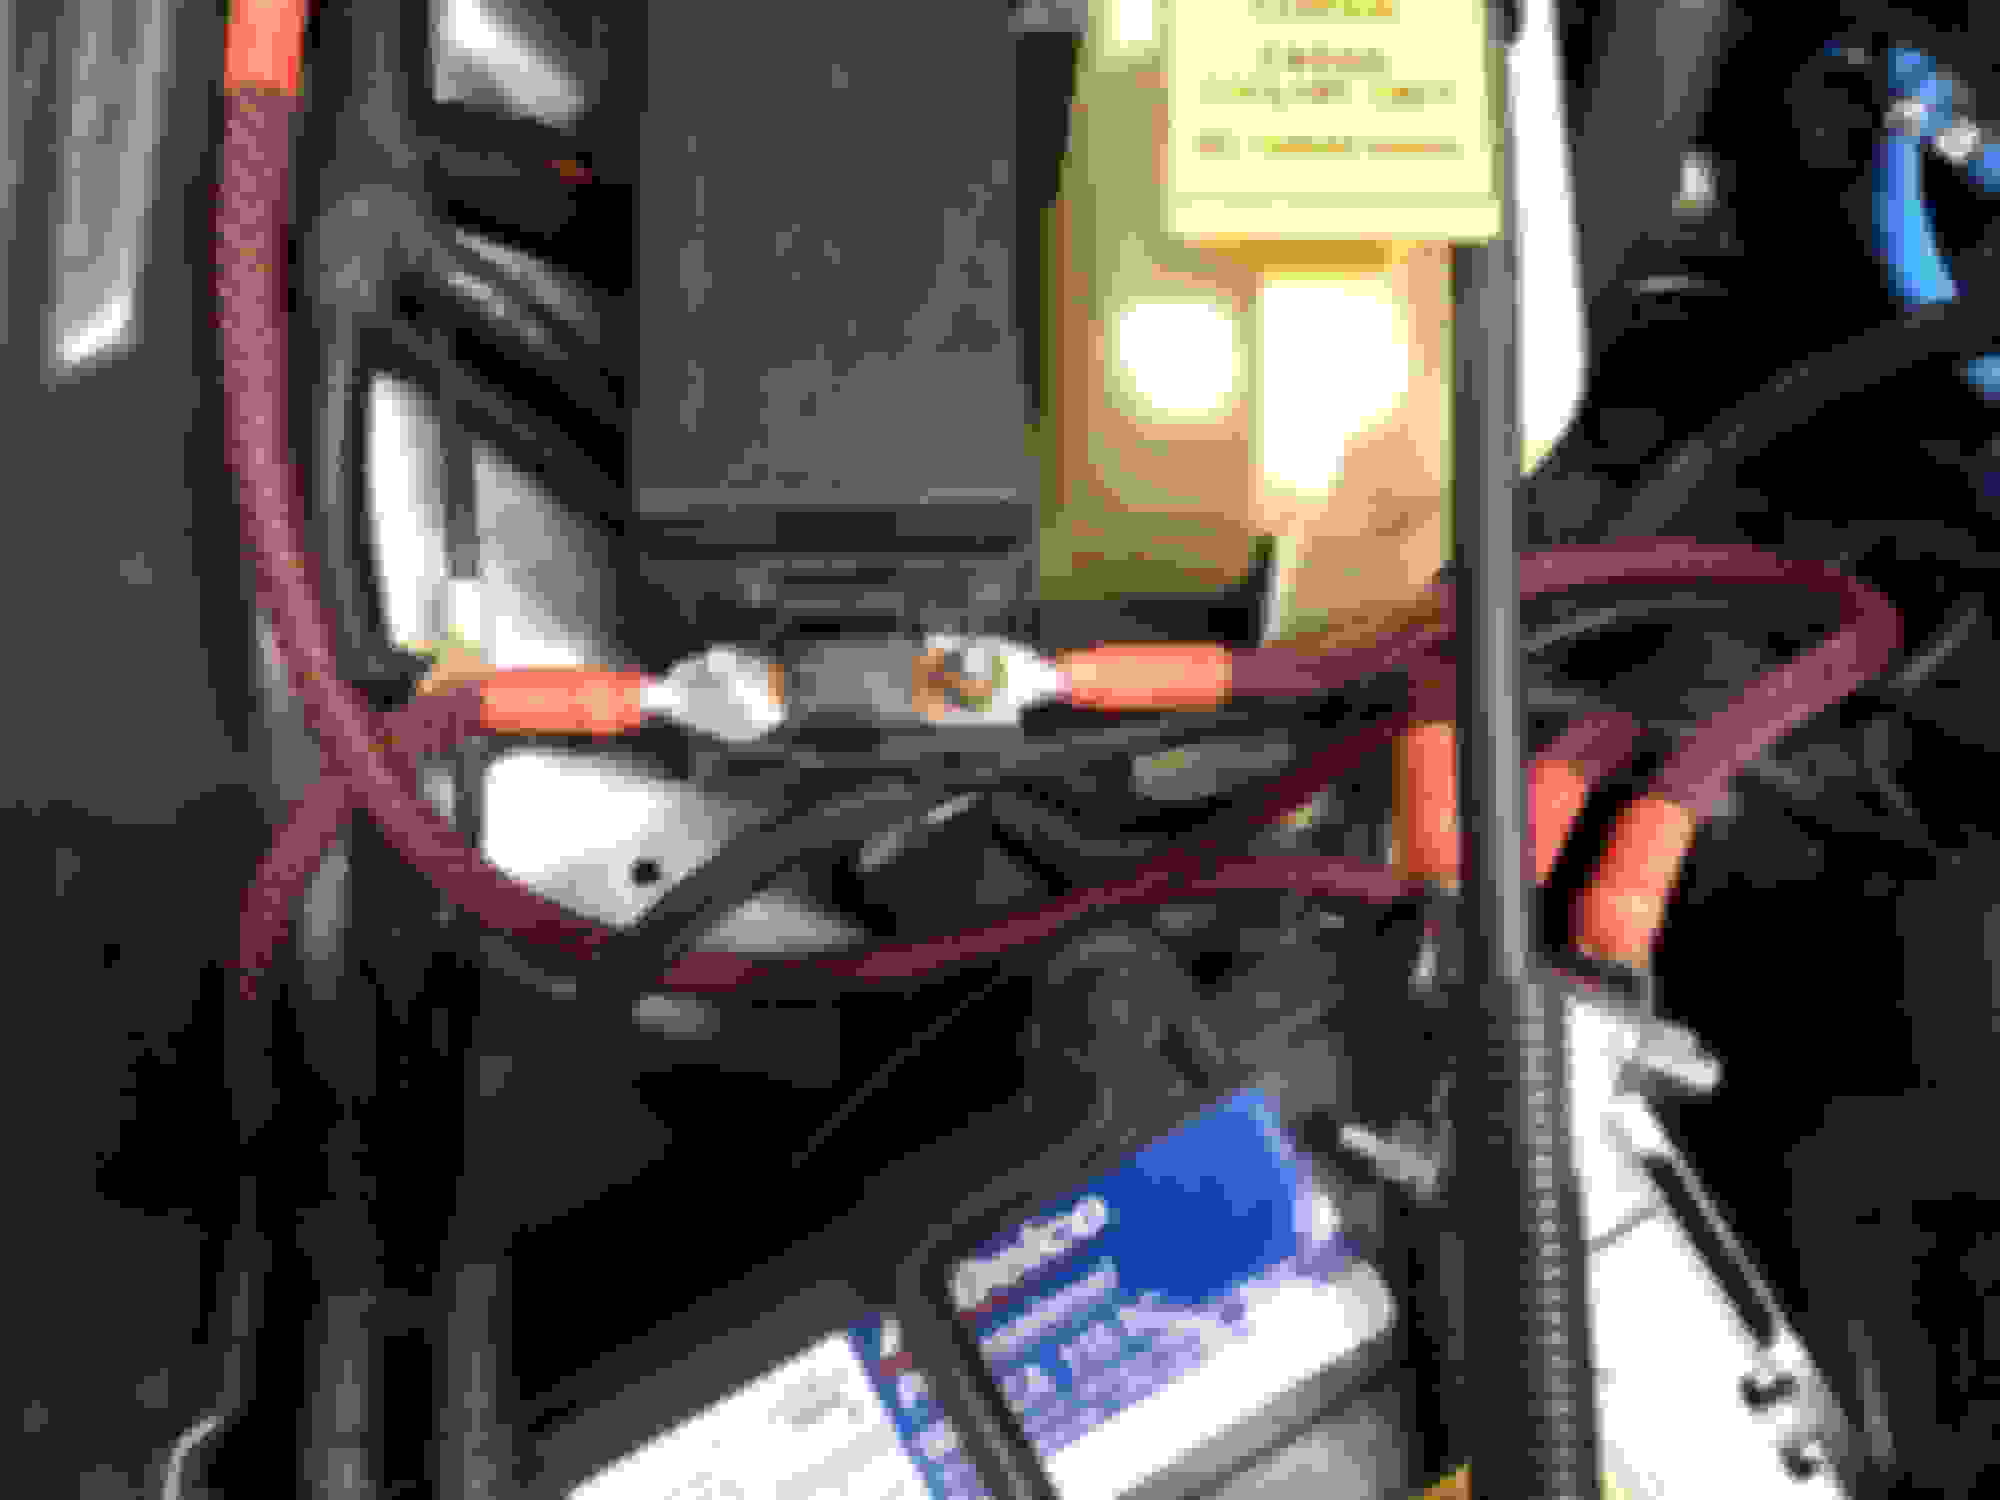
I yanked a wiring harness of of an XJ in the boneyard cause I wanted a guide that was easy to look at. Lots of details still need to be finalized. Some are I am thinking about using 45 or 90 degree lugs in certain places.
At the starter and alternator. Plus the ground wire that attaches to the fender maybe.
I expected to have to grind down a couple of the lugs some just like BroncoMan pointed out.
Some pictures.
Agreed. This will help me. Thank you for this.
I am trying to finalize some of the details myself. Have a guy rebuilding an alternator that will fit a '00 and upping the amps. I wanted a straight bolt in despite the fact that using the ZJ or Durango alternator is not that big a deal.
I am still trying to decide if I want to solder or crimp. But I bought the Harbor Freight crimper and wire cutter to play with. And to try and be all professional I bought the wire stripper off Amazon. LOL.
So the crimper crimps more flat and not more round like the better ones. I played with it on 4 and 2 gauge wire. Like in the videos I watched I cut the lugs in half when done. You can see how the wire even with the cheap Harbor Freight one looks solid.
But I have a theory about this. I think this is kind of caused when cutting with the die grinder and a 3" cutting wheel.
Also I too want to position the Mega Fuse in front of the fuse box. Looks like it was made to be like this at one time and not the fusible link. l Was hoping that these battery terminal bolts would fit in the existing slot. A square head bolt would work best.
The head of the bolt is to thick to fit in the slot so I am going to take it down some on my bench grinder. And will shorten the bolt too. Otherwise looks like it will fit in there.
I yanked a wiring harness of of an XJ in the boneyard cause I wanted a guide that was easy to look at. Lots of details still need to be finalized. Some are I am thinking about using 45 or 90 degree lugs in certain places.
At the starter and alternator. Plus the ground wire that attaches to the fender maybe.
I expected to have to grind down a couple of the lugs some just like BroncoMan pointed out.
Some pictures.
I just updated the link to the lug crimper that I used, which worked well. It didn't work as stated, meaning that the suggested metric sizes for standard wire sizing were off. What I did was first use the suggested crimp die and then move down to the next size and crimp again. This provided very solid connections, and, from what I read, most people greatly prefer crimping to soldering.
A square head would work well, you're right. I didn't have a bench grinder, and I had to use a grinder bit in my drill, so I decided to use a carriage bolt, as it required less grinding. I was going to cut the bolt down, as well, but with the plastic cover installed, you can't see the bolt, so I left it as is.
Best of luck with your project!
A few people said that the HF one was off to. The sizes are SAE. The dies say 4 ga, 2 ga, etc. But they said you had to go one bigger. So with 4 gauge wire you had to use the 2 gauge die. I did not seem to have this problem. Or maybe I just don't know any better. LOL.
I also used 90� lugs for the PDC connection so I won't have to cut the plastic piece. Makes it look more cleaner too.
That is what I was thinking. I can't find any 45 or 90 degree lugs locally and was wondering when hooked up if they would clear the sides of the PDC.
The throat not being long enough to do that. Trying to find dimensions for those lugs on the internet as proved to be challenging to confirm this.
I was thinking a 90 on the left, passenger side, but a straight one on the right cause that line goes straight to the battery if I am not mistaken.
Have not really finalized anything yet.
Great wright up. What size wire & lugs did you use for the solenoid feed wire? Thanks for any info.
Thank you. I just cut the existing solenoid wire and used a 14-16ga ring terminal (#8 stud) to attach the wire back to the starter, although I did have to drill out the terminal slightly to get it to fit. Hope this helps.
Personally I would just give XJwonders my money. I have 2 wiring kits from him on my vehicles and I didn't add up all the prices listed in the main post, but it looked like it was close to if not more than one of his kits. I'm always down for supporting someone on the forums. No guess work with length or any of that.

 03-16-2019, 04:20 PM