When you click on links to various merchants on this site and make a purchase, this can result in this site earning a commission. Affiliate programs and affiliations include, but are not limited to, the eBay Partner Network.
I also used this reservoir. Copied the idea from CantDrive55
I actually have this saved in my shopping cart! If I got this, it would go on the same side as the radiator fill cap, right between the master cylinder and inner fender. Do you think it will fir there? Also, will the stock coolant reservoir cap fit over the opening of this bottle? I like the OEM look. Thanks in advance!
I want to be able to run the battery dry (if need be) and still be able to start the vehicle
If your plan is to pull power from one battery only, a dc-dc battery charger is the best tool for the job. Otherwise, if you just use an isolator you'll want to start the vehicle prior to connecting the batteries in parallel. Connecting a dead battery to a good battery and then trying to start a vehicle is not the best idea... Unfortunately, this could bite you if you forget to do so, or someone else thinks they're helping, if you run both batteries down in the process. For the rare occasion that hooking both batteries together is warranted, such as for heavy winching, I'd go with the "just rewire it route", but using a switch or two to disconnect the charger and instead wire them in parallel would be the shiznit...
So after much thought, I decided to scrap my original idea. My intention was to put the second battery and PDC over by the factory one. With that I presented some challenges.
The space by the blower fan was going to be used for the battery but is too shallow. Finding a battery that would fit just prooved too challenging. Alongside this is the additional problem of creating a battery tray. This would have been nice to do for the physical wiring since it would have been localized.
The reason why I am changing it is because there is already so much research (and products) that tailor to the second batterybating placed in the OEM intake filer location. With all things considered, it could be done, but I rather not go this route.
So what I have decided was to the traditional XJ dual battery layout, with a few of my own tweaks. Stay tuned!
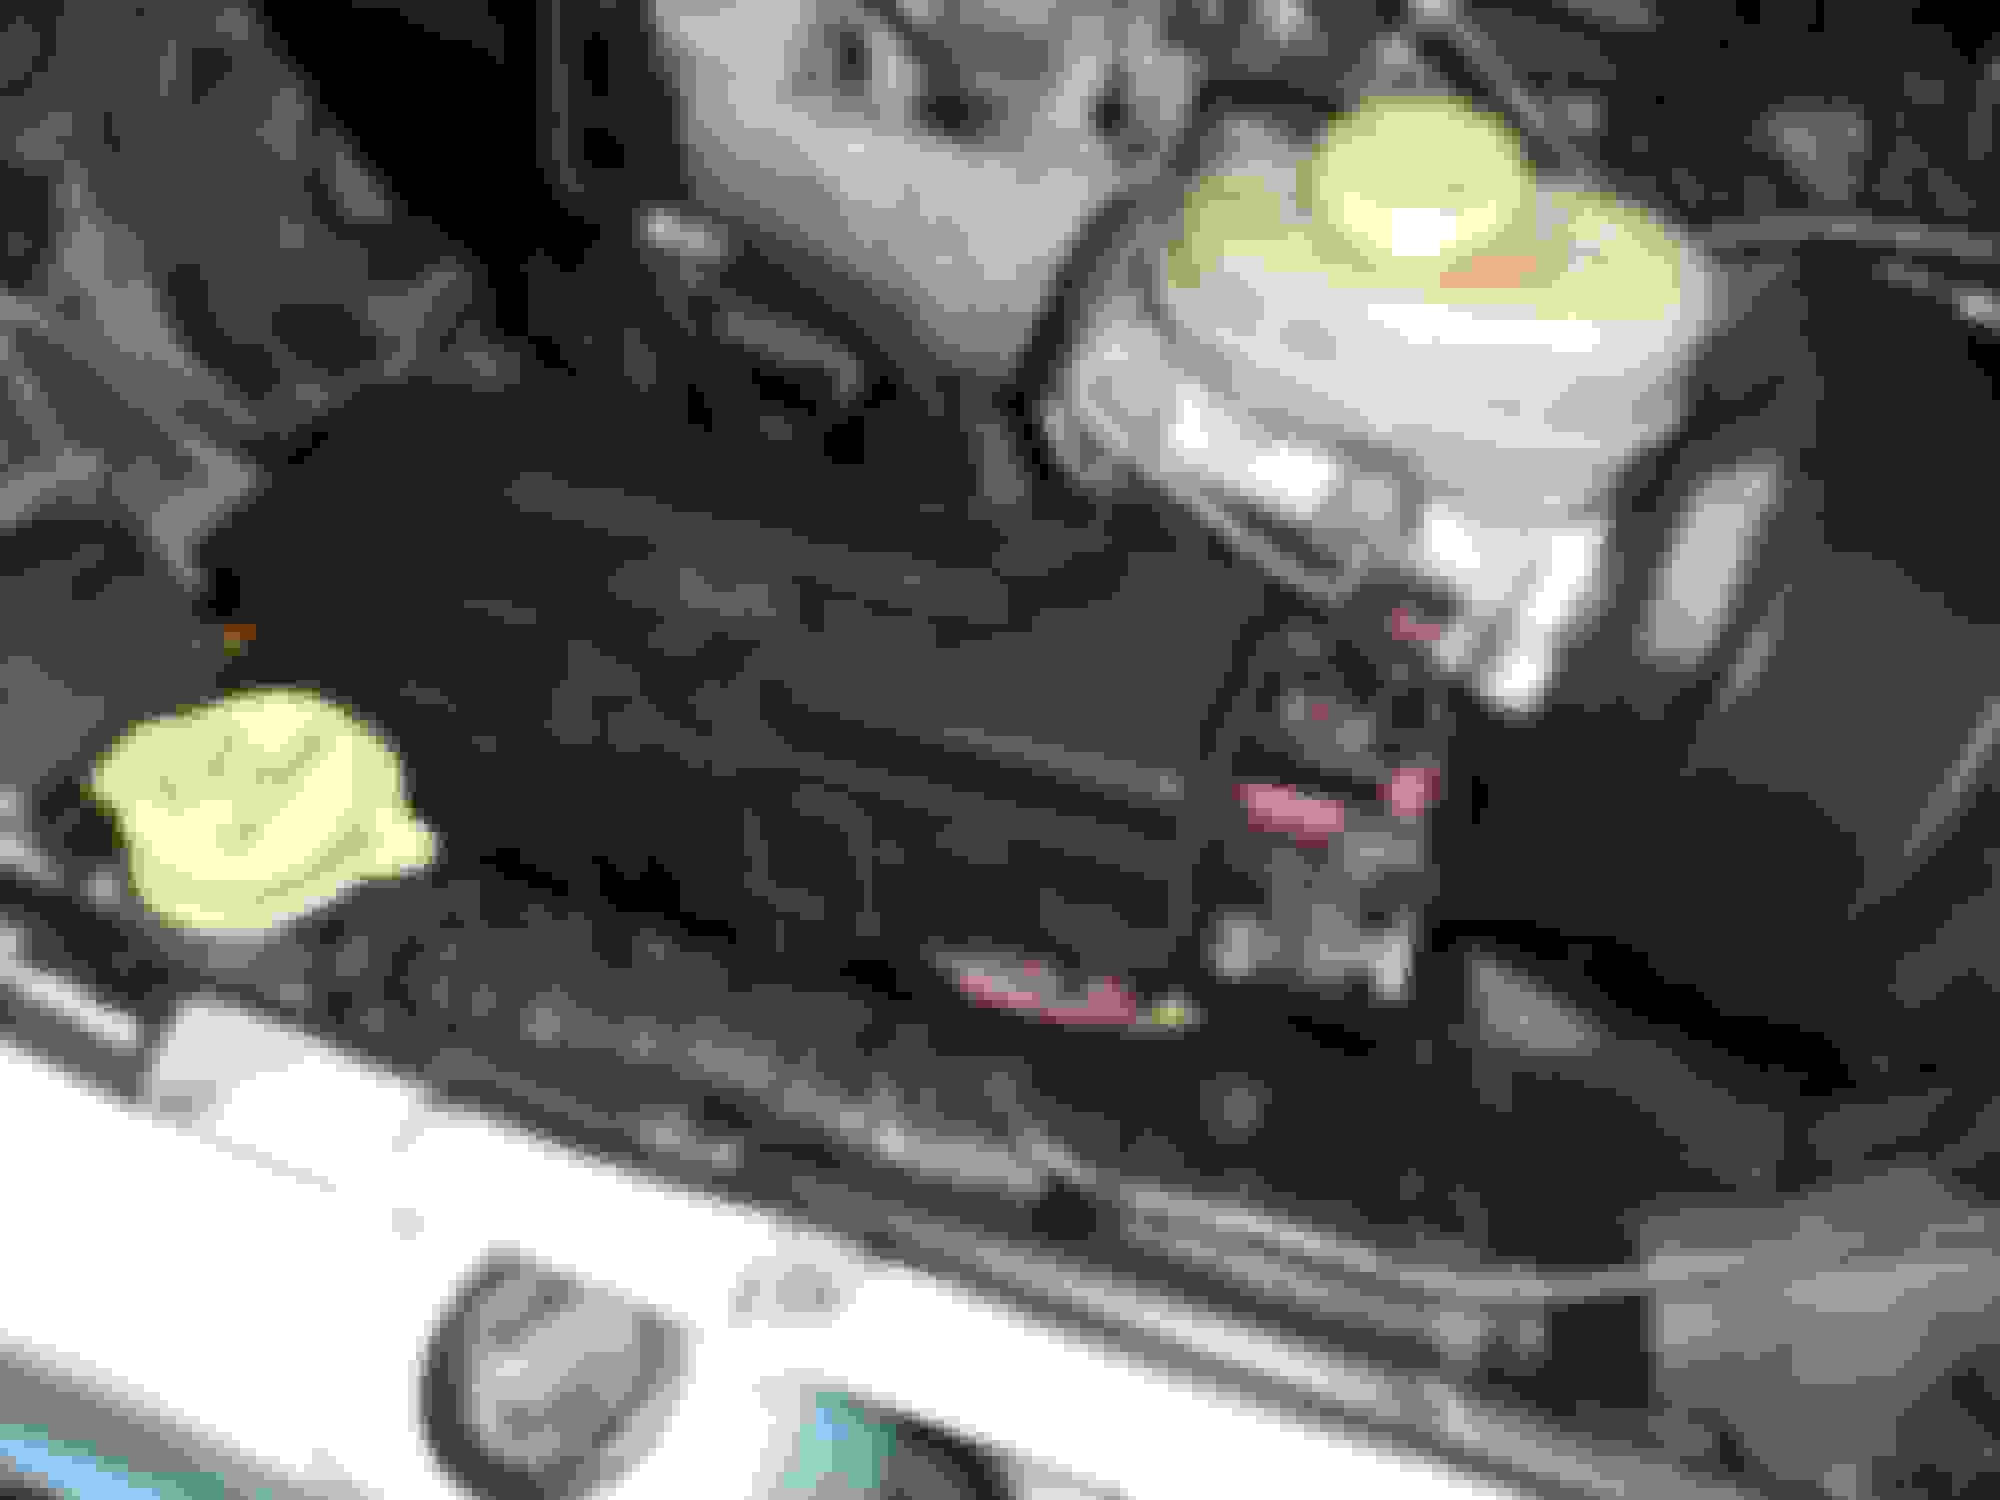
Since I am placing the PDC on the drivers side, here is how I prepped the PDC.
This mounting tab on the bottom tray was removed.
I am going to cut off this part also.
Kinda ugly right now but it will be cleaned up.
I trimmed the bottom supports. This will eventually get plastic welded into place.
This is what it looks like with the wires coming out the opposite side from factory.
Roughly here is where I will mount it using the OEM bracket.
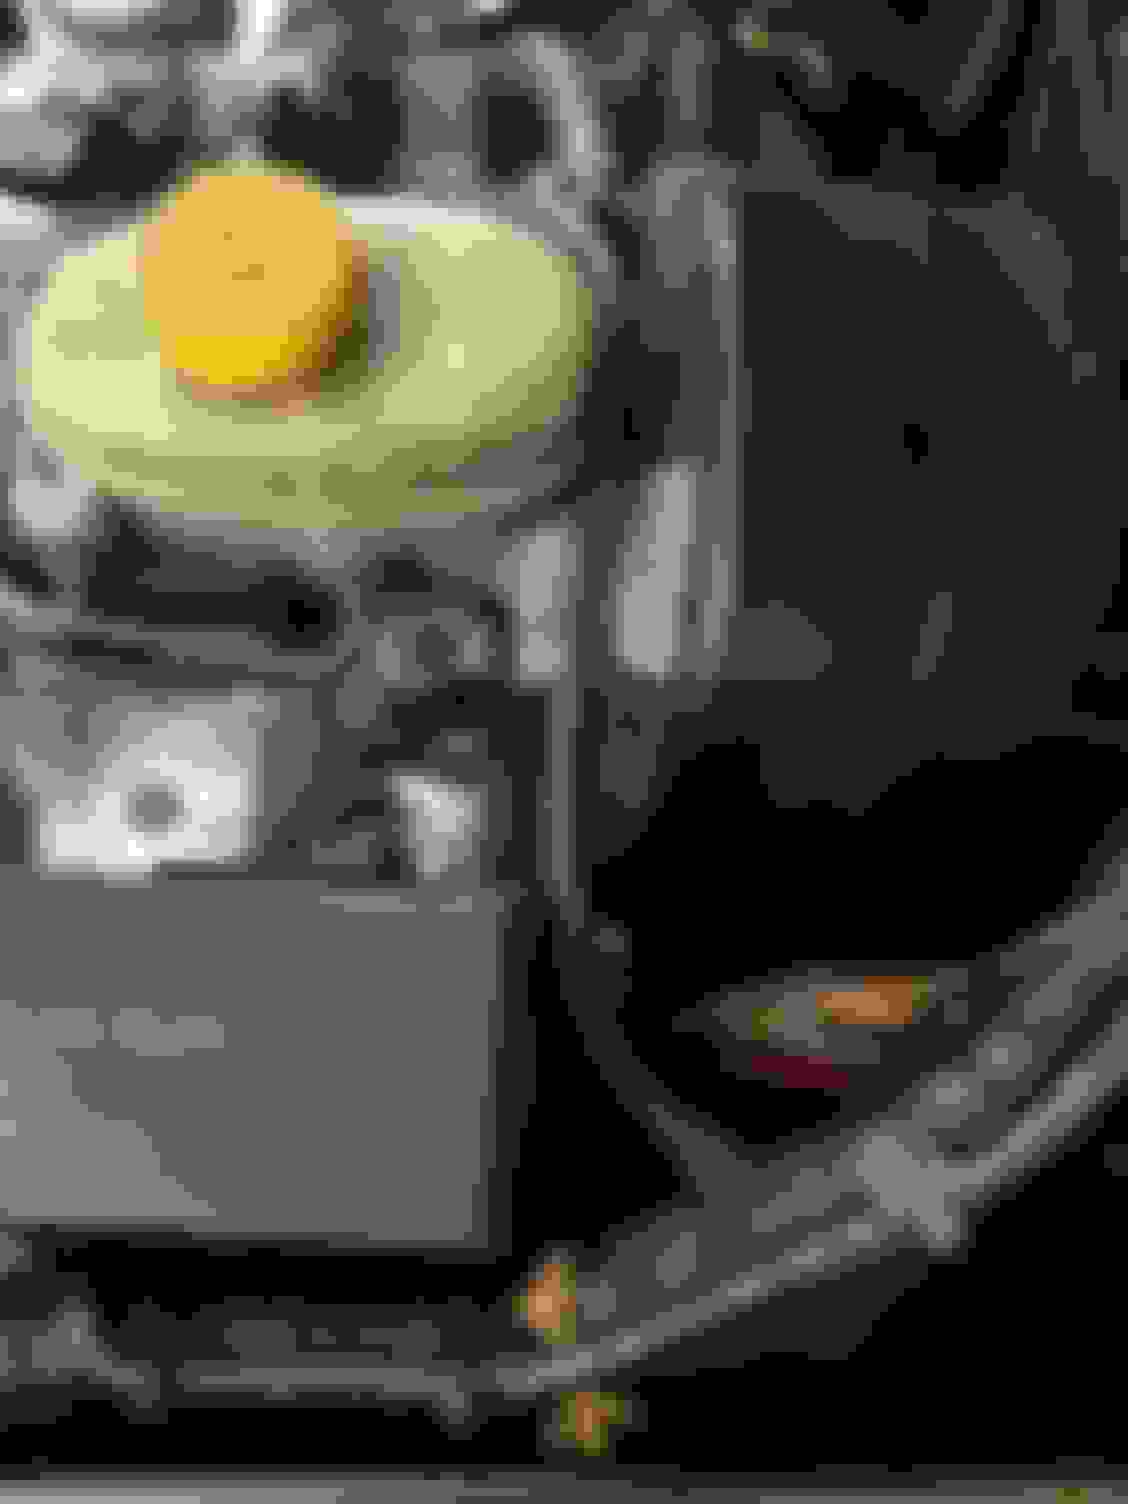
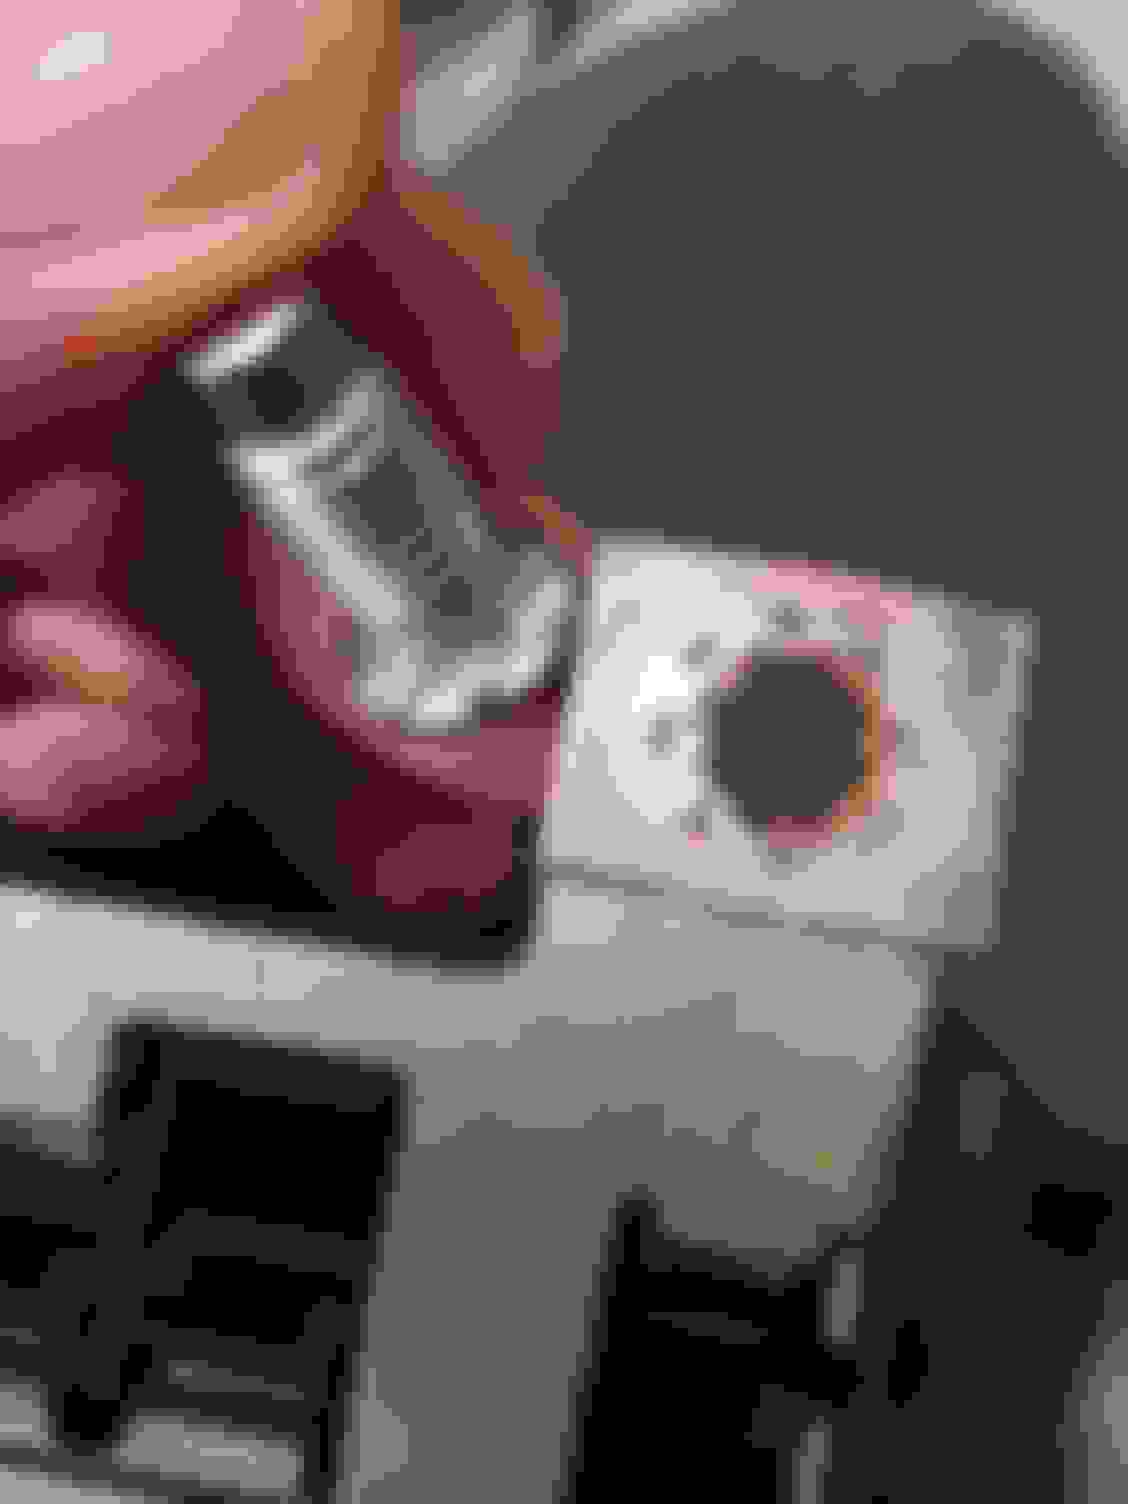
This master cylinder sensor wire will need to be moved.
Im going to rerout it coming straight down from the front. (That other pigtail coming from the cowl area will get rerouted steaight into the main harness at the same time. I dont like the look of how Chrysler did it)
Let me know what uou guys think!
Last edited by Travis Mudrich; 09-28-2022 at 01:27 AM.
Reason: Typo
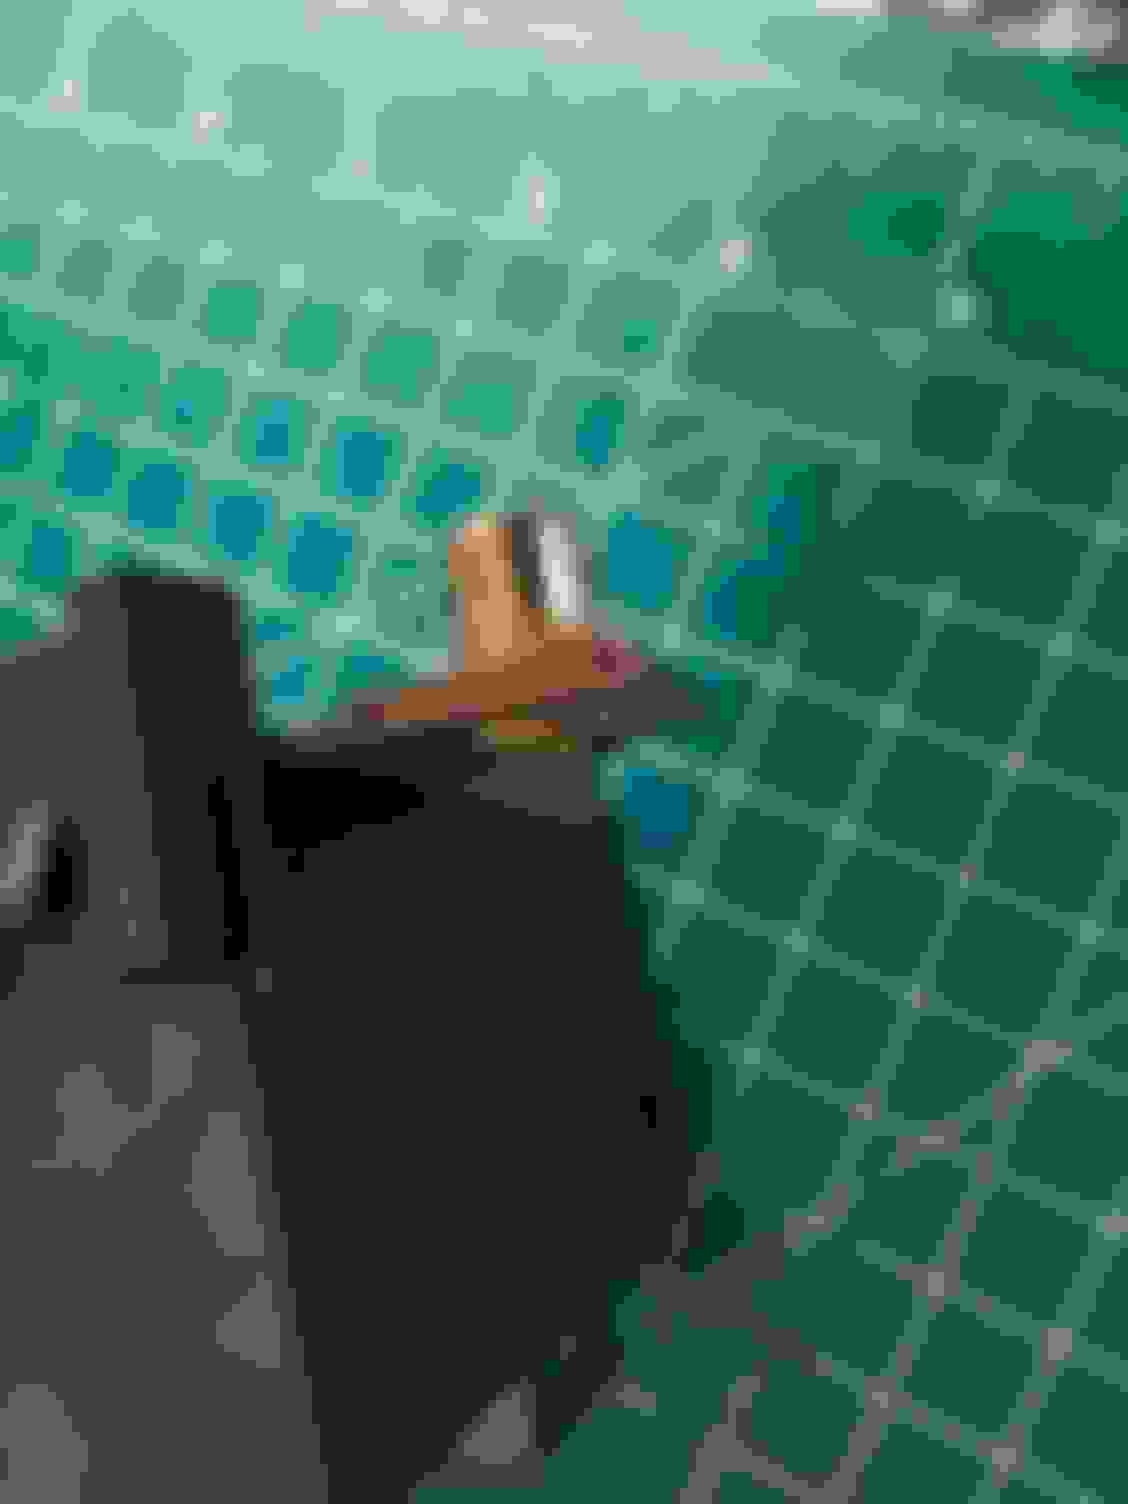
Since I'm using an OEM PDC bracket it will have to get modified. Check it out.
I bent the mounting tabs to conform to the fender.
This one just got bent back straight.
This is how the front sits.
And the rear.
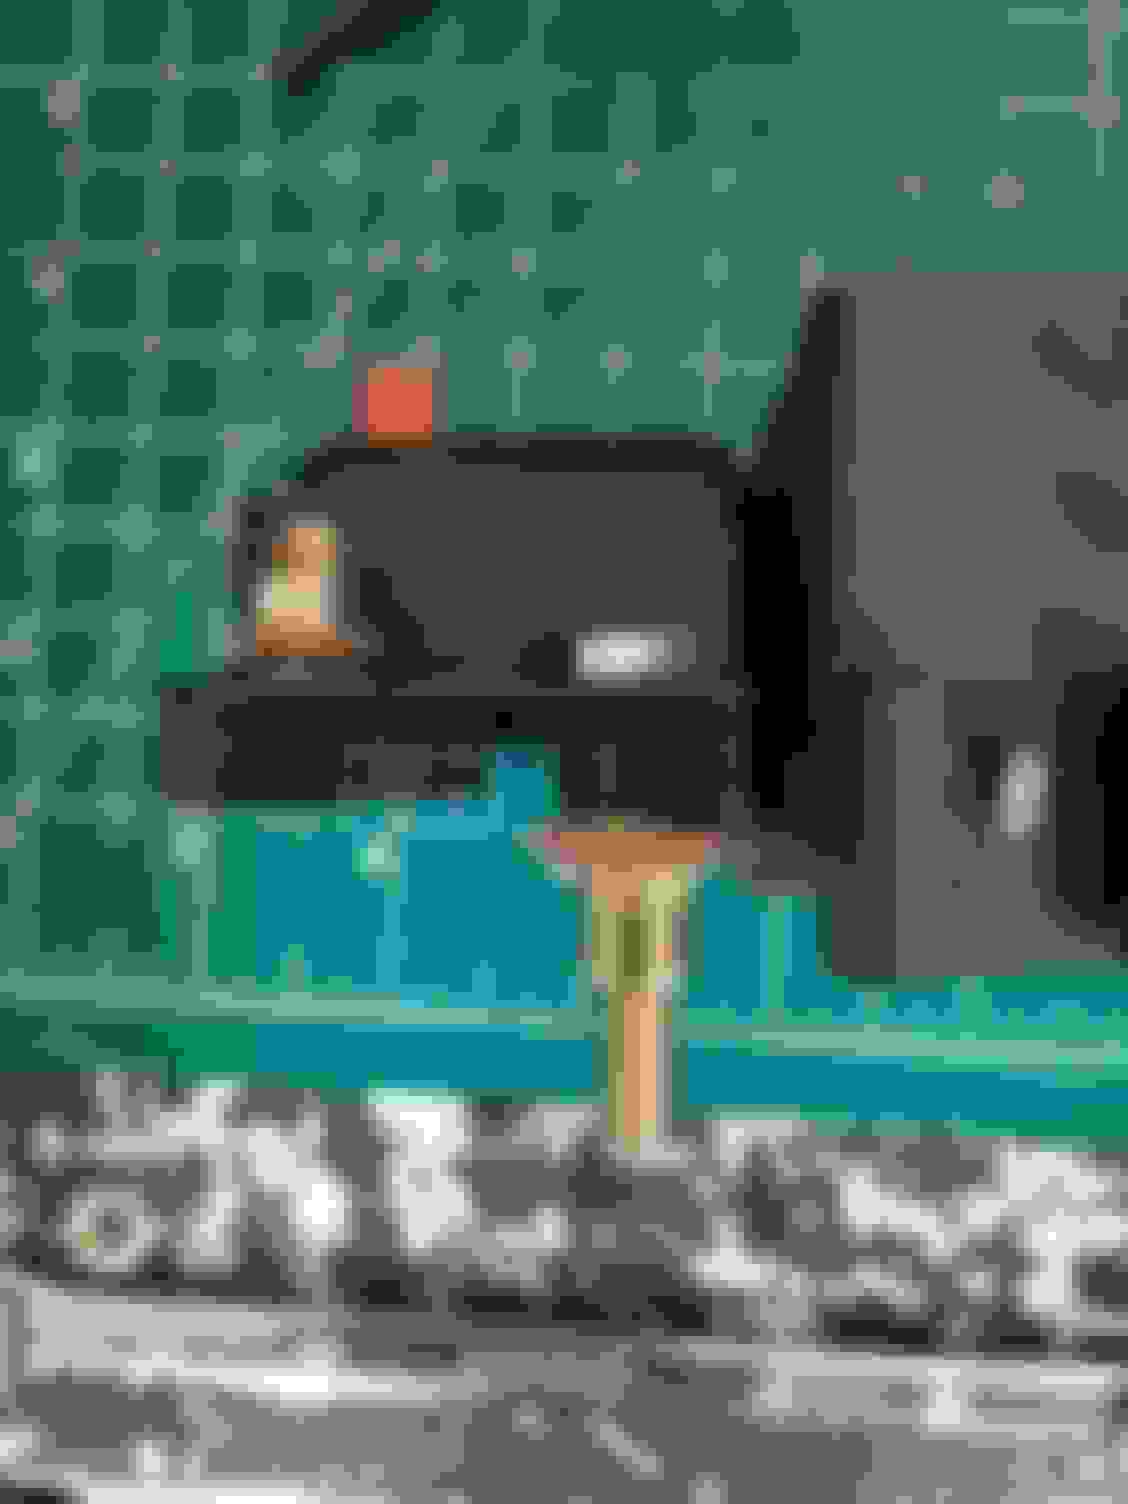
I made this mounting bracket to attach the front. Eventually everything will get prepped and painted.
I attached it with a rivit and drilled two holes for bolts.
I drilled through the fender and attached rivnuts.
Here it is installed.
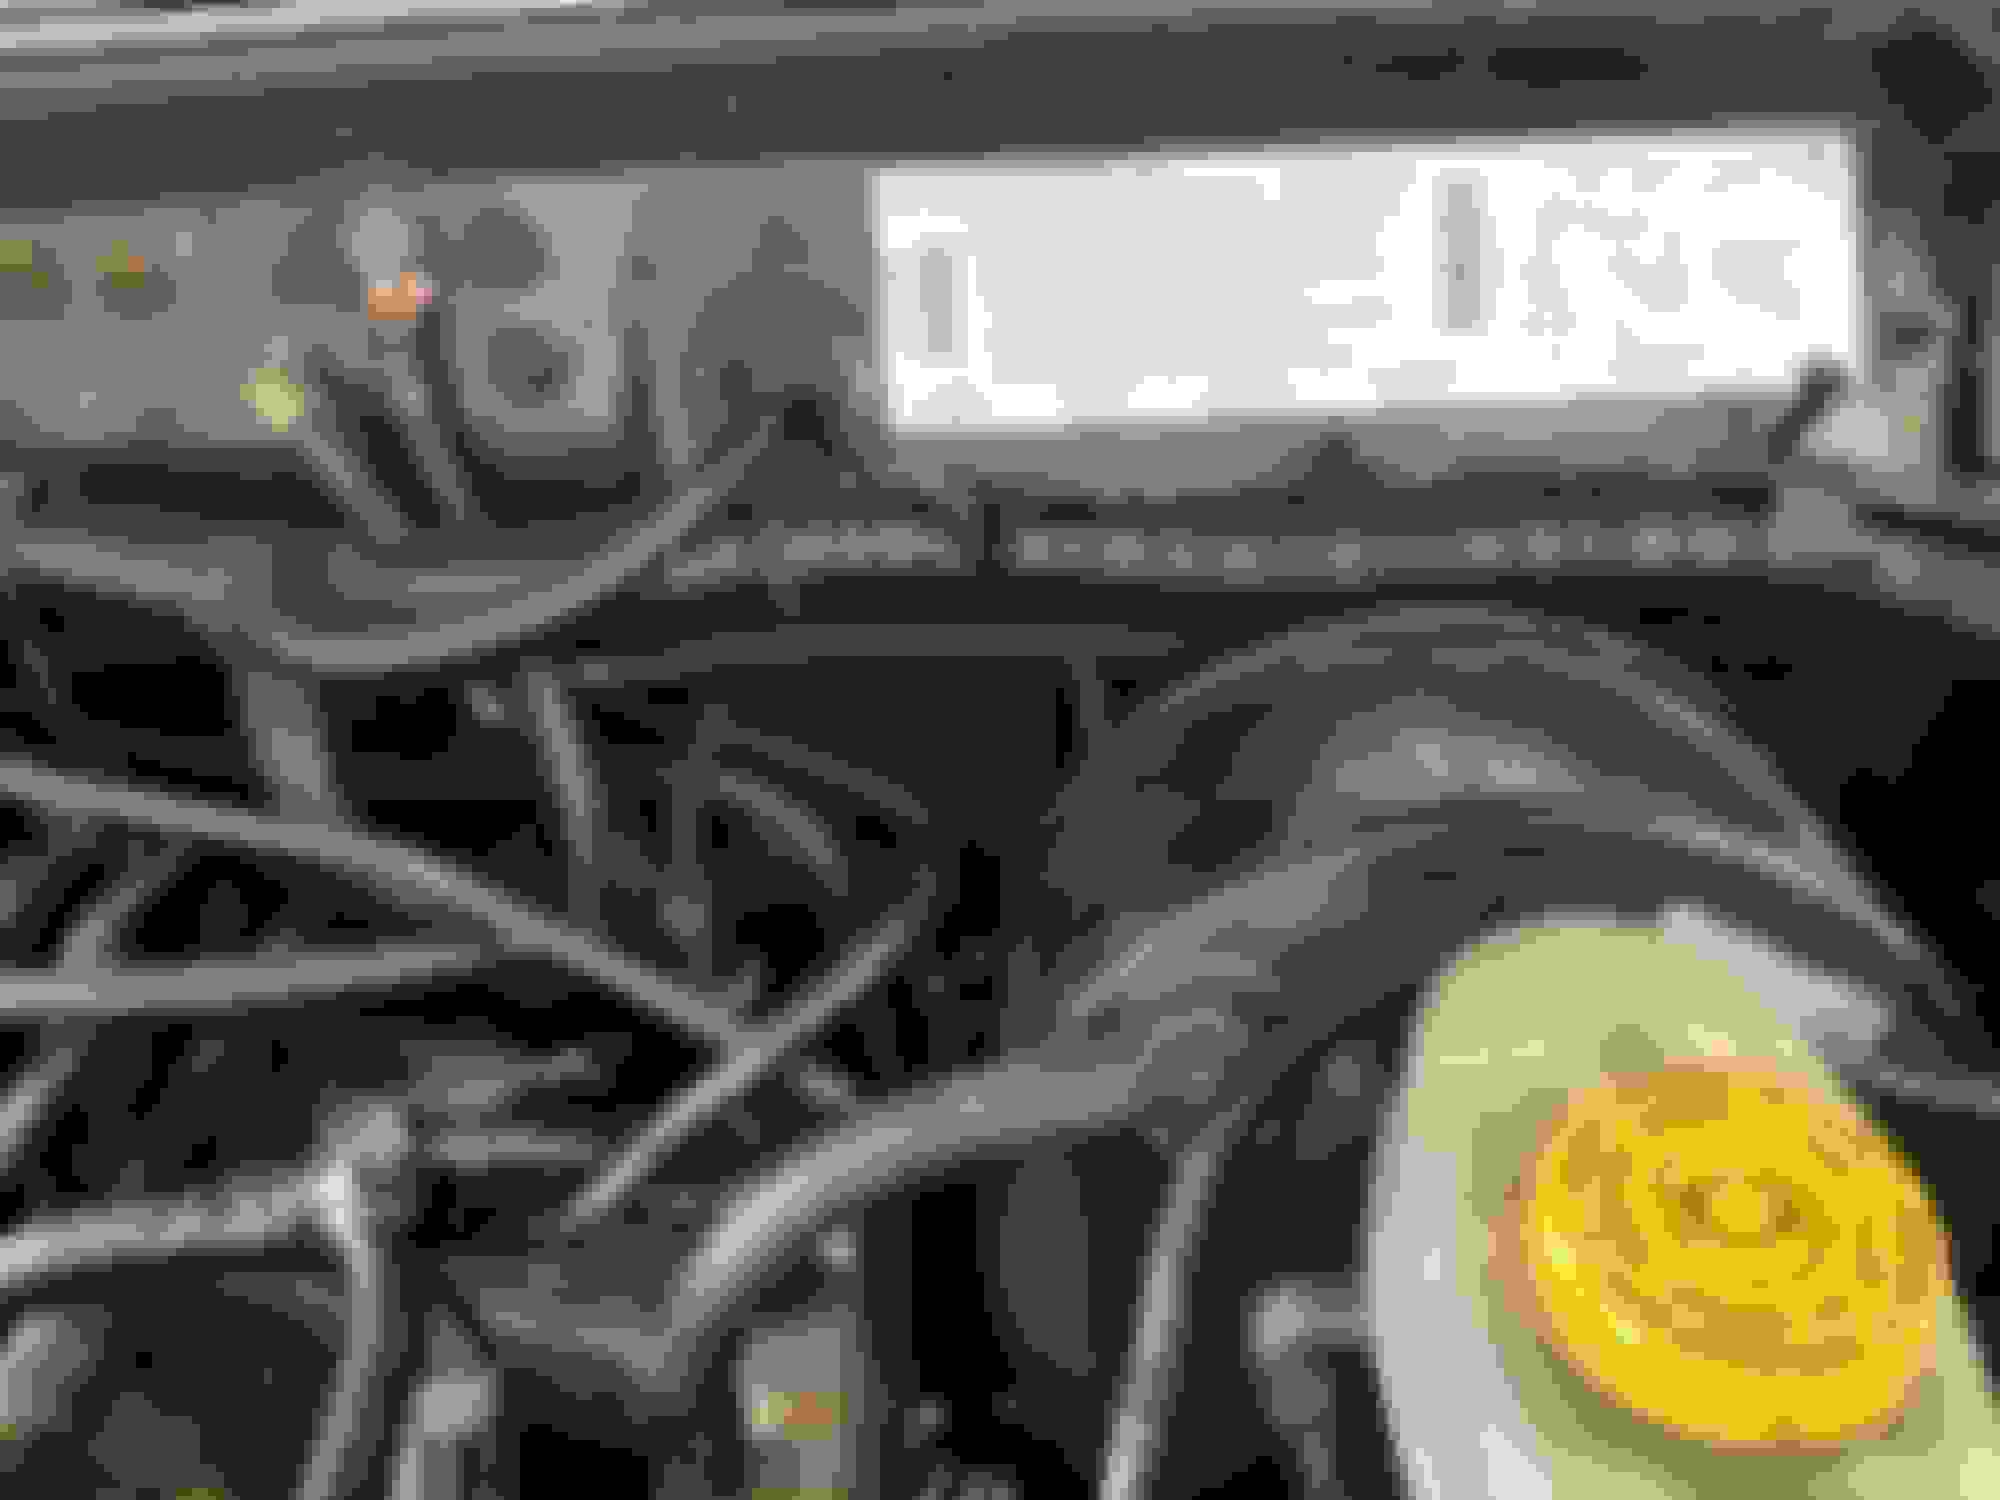
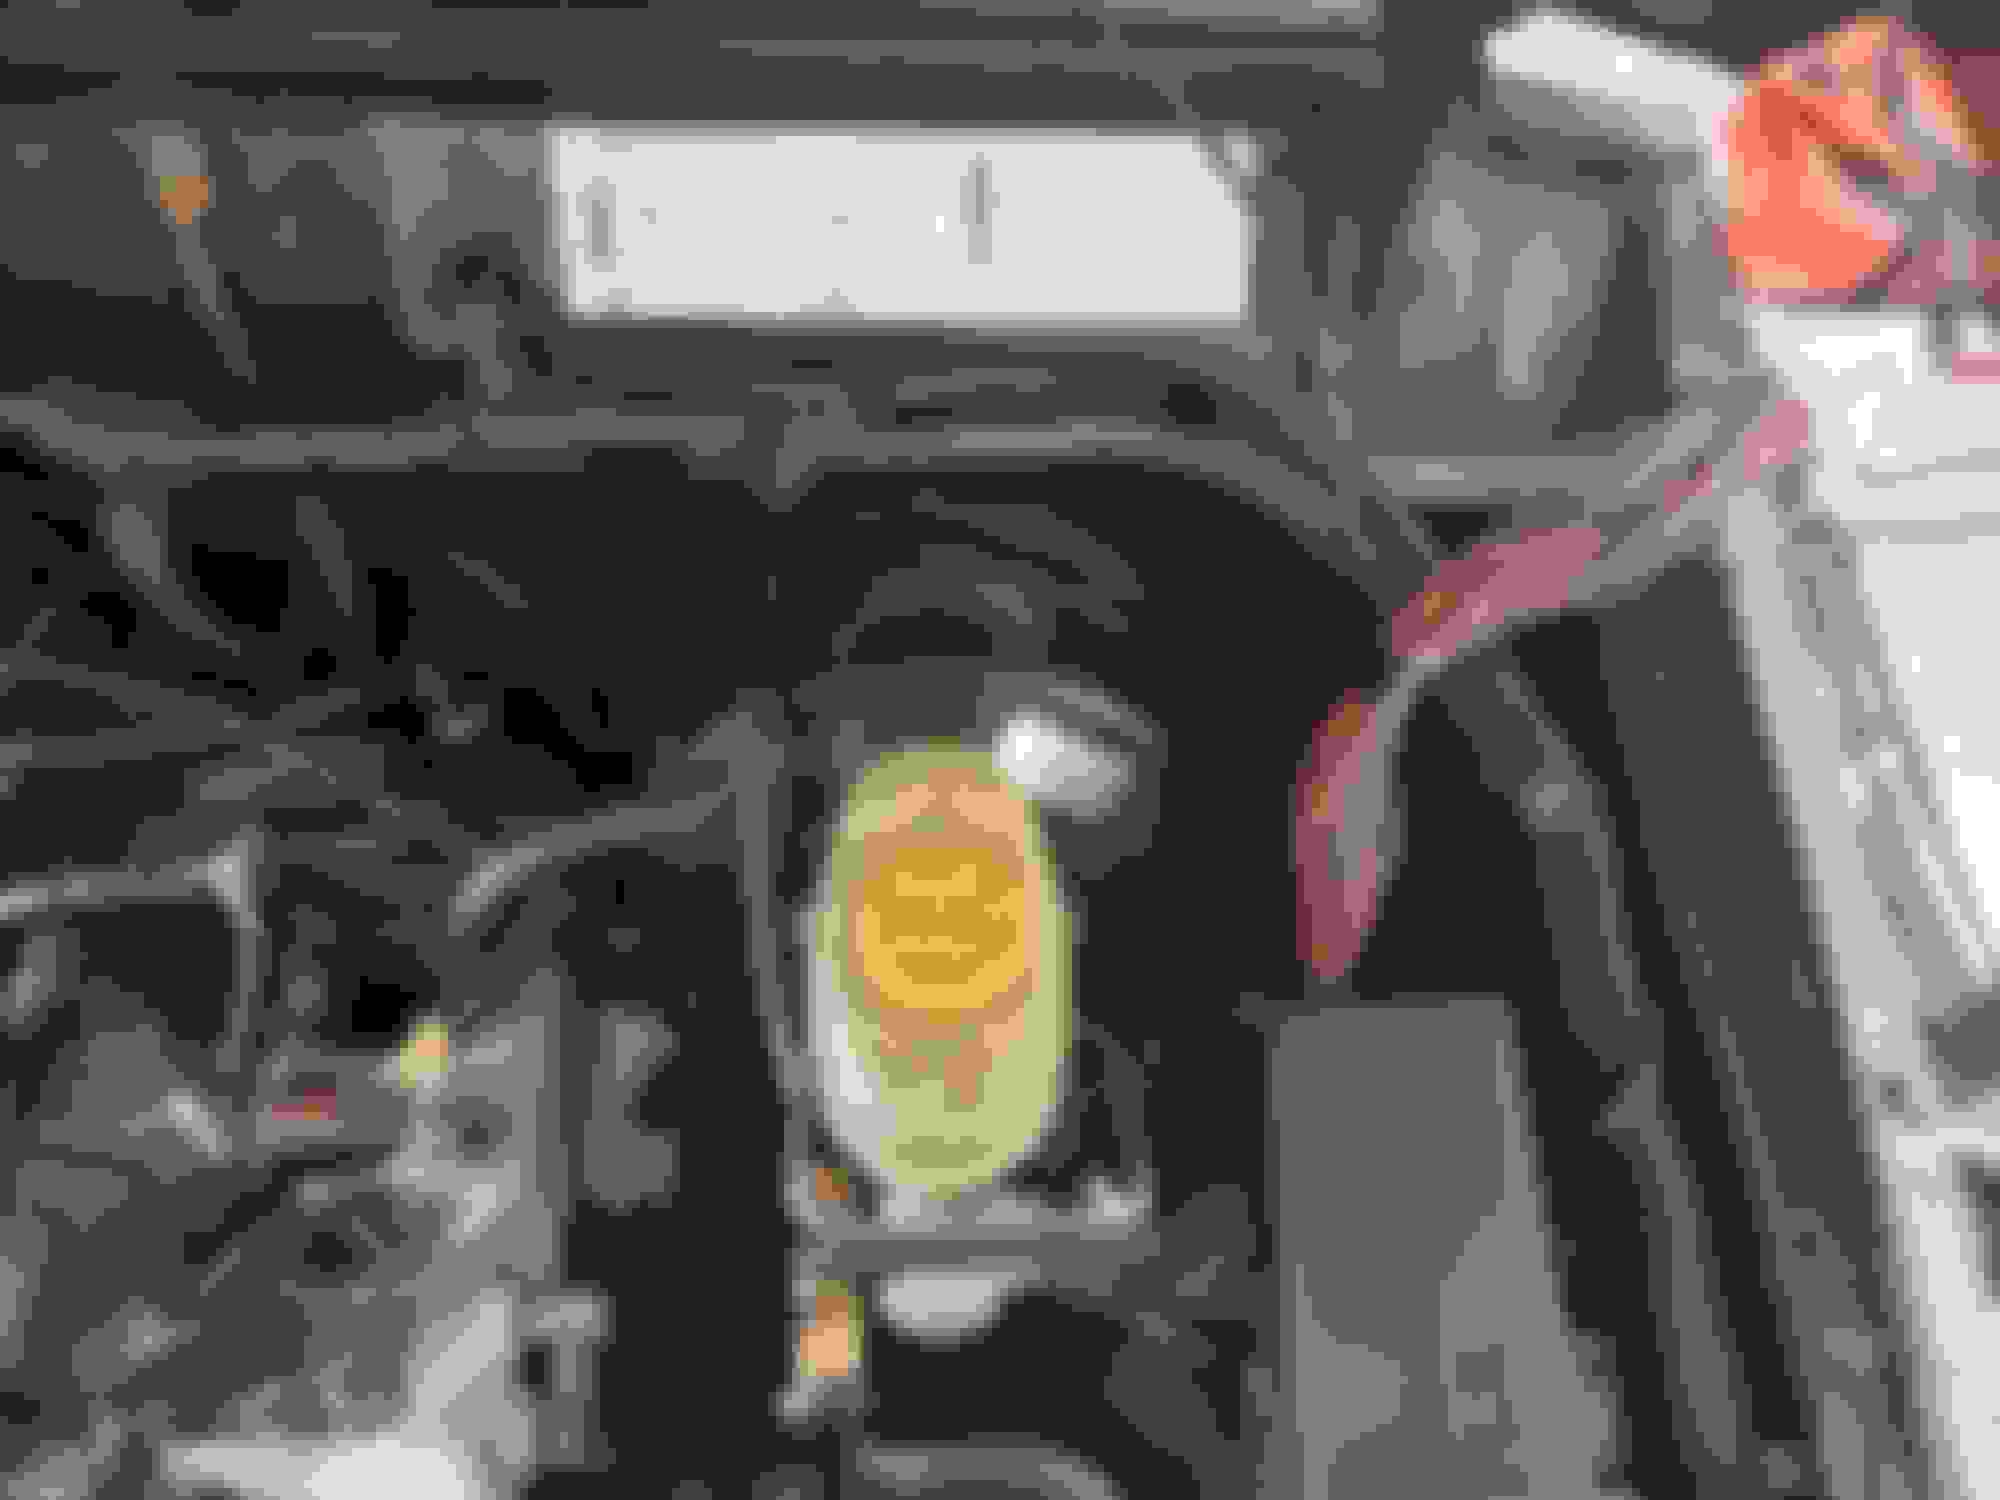
I kept the coolant reservoir mounting tabs on just for now. Most likely they will get removed but I didn't want to rob myself the opportunity to use these later.
Be sure to leave yourself enough slack so that you can move the fuse box out of the way. I mounted an older Dodge pickup truck fuse panel in that area on my 88 XJ and I found it to be a "busy" area... I connector-ized that install, but it had much less circuits.
I opened up the harness all the way up to the split for the fuel rail. I pulled the wiper motor wires down, looped around the extra, and taped it in place.
Then I pulled back the master cylinder sensor wires. They were not long enough so I had to extend it. Nothing to complicated or different than what I've done before.
Then I taped all the wires tight with electrical tape, put the corrogated tubing back on, wrapped the outside of it with electrical tape to make it water resistant, and wrapped all the joints with friction tape.
I went back and taped the windshield washer hose to the outside of the harness to prevent it from moving, and to create an anti-chafe barrier for the zip ties that hold the harness to the body.
The one mistake I made was I pulled the harness to the master cylinder so it got a little tight when I zip tied it back. Also, I seriously don't like how the hood release cable is routed from the factory. Soon enough, I'll unattach it and route it up the corner and secure it with a P-camp.
Dispite all of that eventually, when I am done modding the Jeep forever, I'll rip the harness completely out and reservice it. What I really would like to do is completely rebuild it with fresh wiring, but this will do for now.
Last edited by Travis Mudrich; 09-29-2022 at 08:09 PM.
Reason: Typo
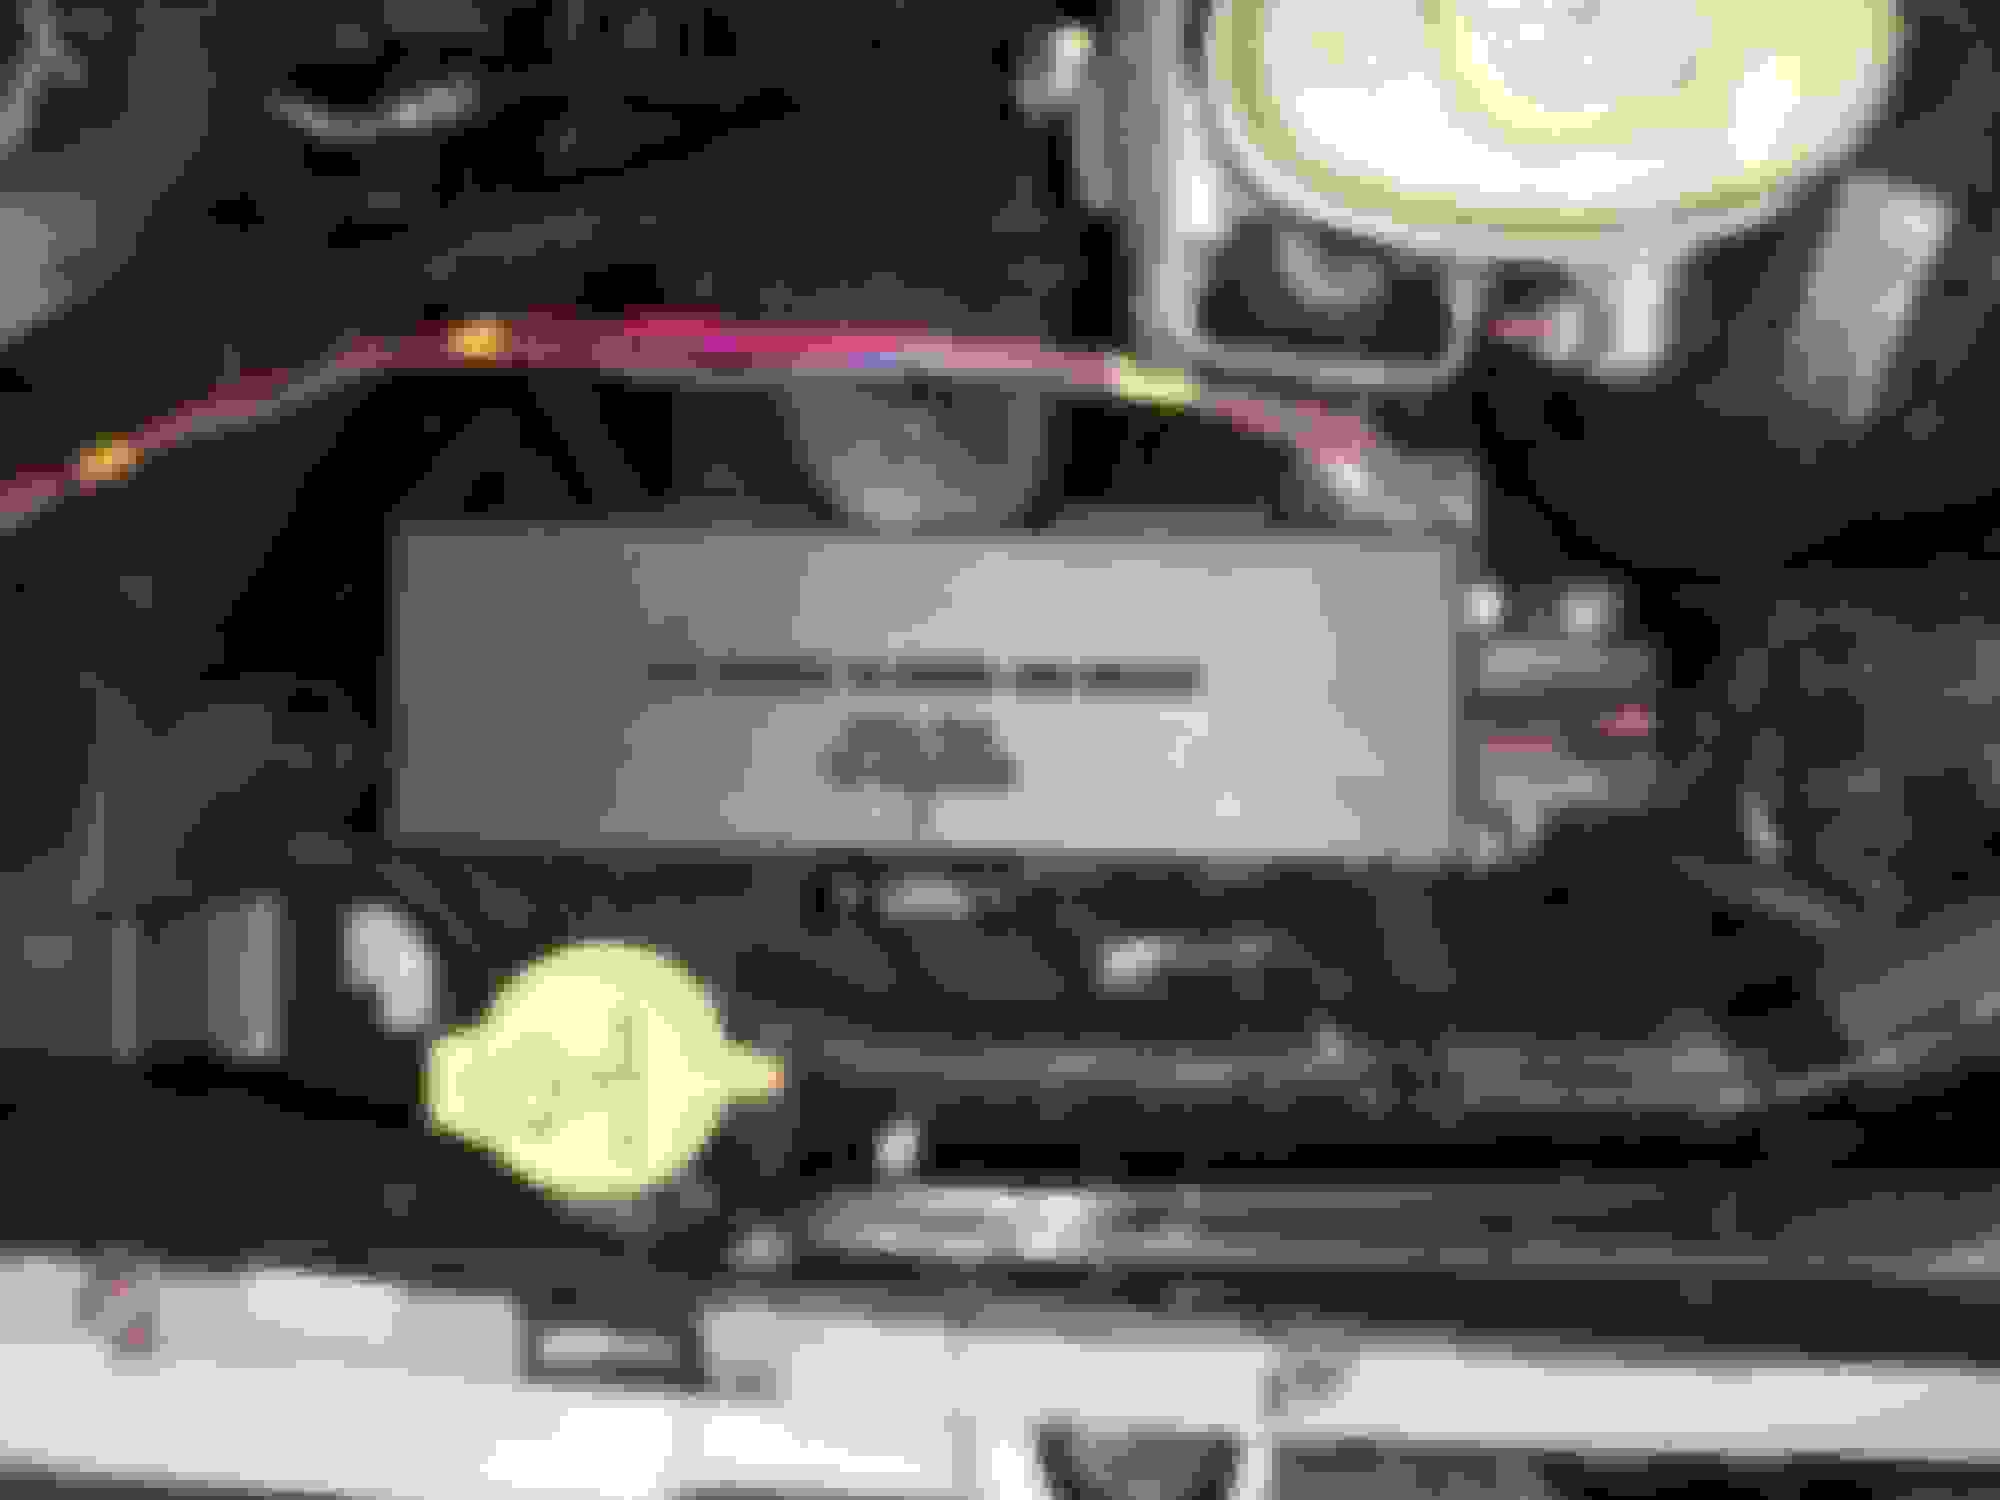
So just like the main PDC, I'm installing a breaker switch. I think 150 amps if fine but if I find that it's blowing I'll upgrade. If it doesn't blow at all, I'll try a lower number.
I pressed out the OEM bolt...
And swapped in a rivnut. I did this because the factory one was not long enough.
I will trim the bolt down later, and it will need reinforcements underneath.
This will eventually get a full copper plate to bridge the gap over to the breaker.
Be sure to leave yourself enough slack so that you can move the fuse box out of the way. I mounted an older Dodge pickup truck fuse panel in that area on my 88 XJ and I found it to be a "busy" area... I connector-ized that install, but it had much less circuits.
Unfortunately, not at the moment, I've just finished the MJ parking brake swap and now I am finishing up the center console from where I did the E-brake delete. Hopefully soon that will be done and I can jump back onto this! Thanks for showing an interest in this!


 02-28-2022 | 07:00 AM