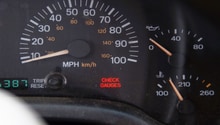
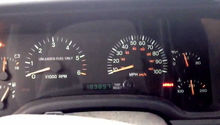
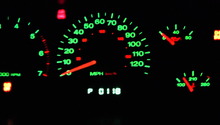
Jeep Cherokee 1984-1996: How to Install Custom Instrument Cluster Guages
Looking for new interesting ways to change the look of your XJ? Check this simple how-to to give you a great custom look.
This article applies to the Jeep Cherokee XJ (1984-1996).
Have you been looking to get your cluster gauged changed, but have been deterred by the price of a professional job? Well, guess what? This is a problem you can repair yourself. Check this guide for a quick fix that will set your XJ apart from the rest.

Materials Needed
- Phillips screwdrivers (small and regular sized)
- Flat head screwdrivers (small and regular sized)
Step 1 – Remove the steering column housing
- Using a flat head screwdriver, remove the screw under the bottom steering column housing.
- Next remove the screw on the left-hand side of the steering column near the tilt lever.
- Pull off the housing; the top and bottom covers should separate easily.
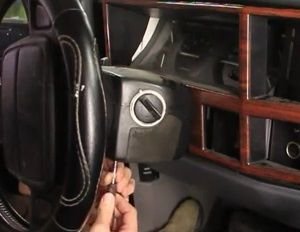
Figure 1. Remove the bottom steering column housing screw. 
Figure 2. Remove screw near the tilt lever. 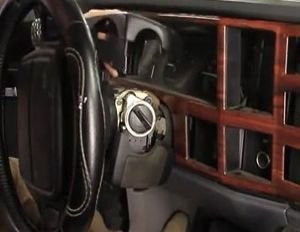
Figure 3. Removing the steering column housing.
Step 2 – Remove the dash panel
- Remove the four screws holding the dash panel in place. Two screws are located above the instrument cluster. The other two screws are located to the sides of the steering wheel: one is above the cigarette lighter and the other is near the defroster switch.
- Carefully pull off the dash panel by hand to completely remove it.
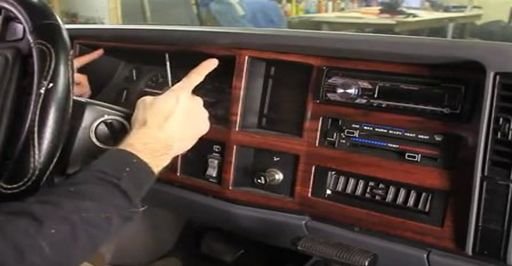
Figure 4. Location of the dash panel's top two screws. 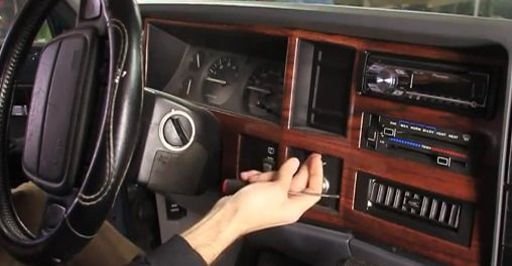
Figure 5. Location of the bottom two dash panel screws. 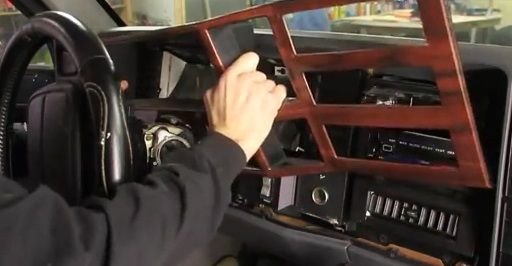
Figure 6. Pull off the dash panel.
Pro Tip
If your Jeep Cherokee has a radio face plate installed, remove the Phillips screws holding it in place and then pull the face plate off.
Step 3 – Remove the instrument cluster
- Remove the the four Phillips screws holding the instrument cluster in place.
- Then remove the two Phillips screws above and below the vent located just to the left of the cluster.
- Gently pull and lift the cluster out, but just enough to where you can access the wire harness connectors. If you are having clearance issues, remove the panel holding the defroster switch in place.
- To detach the connectors, lift the clips and gently pull the connectors out. The instrument cluster should now be free.
- Remove the cluster from the vehicle and set it down safely to avoid damaging it.
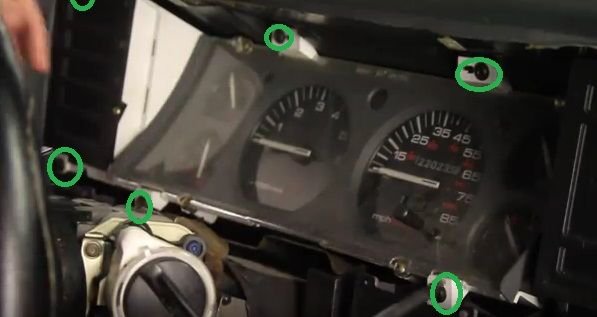
Figure 7. Location of instrument cluster and air vent mounting screws. 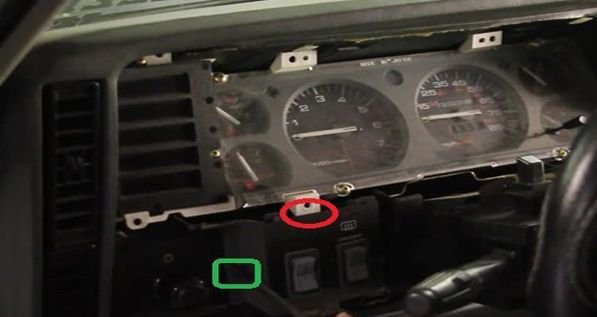
Figure 8. Remove the defroster panel to gain more clearance. 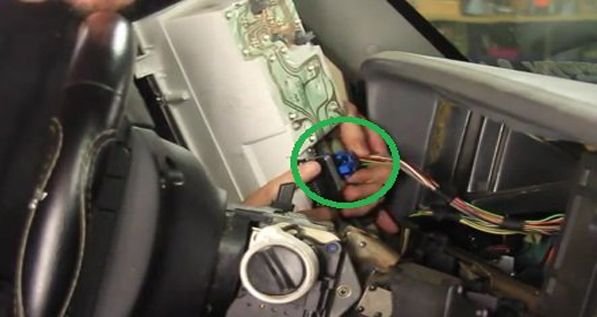
Figure 9. Unplug the cluster's wire harness connectors.
Step 4 – Install the custom cluster gauges
- Remove the four Phillips screws holding the cluster's plastic cover in place.
- Then gently pull off the trip reset button.
- Remove the gray cluster face plate and unscrew the gauge.
- Install the new gauge by sliding it around the long portion of the needle, fitting it snugly onto its black base (make sure to wipe down each gauge before installing the new one for better adhesion).
- Align the gauge and remove the plastic covering the adhesive on the back of the gauge, or add your own adhesive.
- Replace the screws over the new gauge and repeat the same process on the remaining gauges.
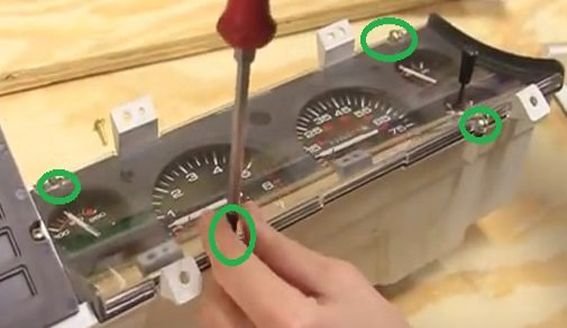
Figure 10. Removing the gauge cluster protector. 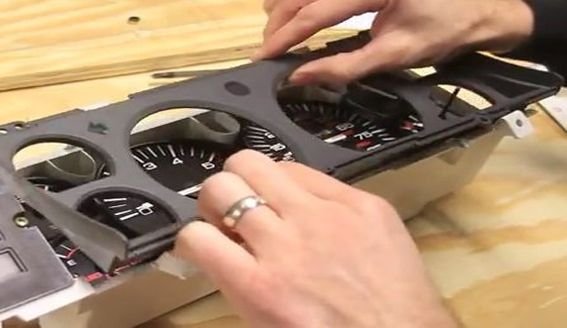
Figure 11. Removing the gauge cluster face plate. 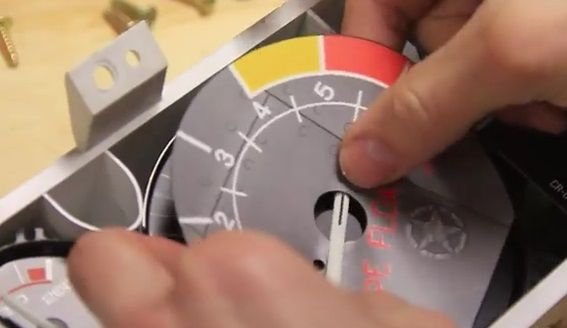
Figure 12. Install the custom gauge plates.
Pro Tip
You can paint the back of the gray face plate white or silver to make the light reflect better and increase the visibility of the new gauges.
Step 5 – Re-install the gauge cluster
- Re-attach and secure the gray face plate and clear plastic to the cluster.
- Re-attach the trip reset button.
- Plug in the cluster's wire harness connectors.
- Slide and secure the cluster back into place.
- Re-install and secure the dash panel.
- Lastly, re-install and secure the steering column housing.
Pro Tip
Do not forget to re-install the defroster panel or the radio face plate if you removed either.
Featured Video: How to Install Custom Gauges
Related Discussion
- 1987 XJ Aftermarket Gauge Install - CherokeeForum.com

