Jeep Cherokee 1984-1996: Why is My Radiator Fan Not Working?
While a car will stay cool when in motion, a cooling fan is used to pull air through the radiator when speeds are not high enough for adequate airflow to cool the water temperature. On the Jeep Cherokee models, mechanical and electric fans operate to prevent overheating when the vehicle is stationary and also aid in air-conditioner operation.
This article applies to the Jeep Cherokee XJ (1984-1996).
XJ Jeep Cherokee models are equipped with both a mechanical fan and electric fan to help keep the engine cool. All XJ Cherokee models are equipped with a mechanical fan that is controlled by a thermal fan clutch. The thermostatic spring on the fan clutch will engage to operate the fan when under-hood temperatures increase. In addition to the mechanical fan, some Cherokees are equipped with an additional electric fan. For these models, the electric fan operates when the coolant temperature reaches approximately 190/220 degrees Fahrenheit, or anytime the air-conditioner/defroster is on. While a failure of either fans may not be noticeable while cruising, the engine coolant temperature can rise and often overheat when idling or moving slowly in stop and go traffic. Additionally, functionality of the air-conditioner can suffer from a faulty fan because less air can be pulled through the AC condenser. Fortunately, testing the functionality of either fans is straightforward and the problem can often be quickly diagnosed. This article will outline the procedure for diagnosing why the cooling fan(s) may not be working on 1984 to 1996 XJ Jeep Cherokee models.

Materials Needed
- Digital multimeter
- Test light
- Standard jumper wire
- Jumper wires with 15 and 25 amp in-line fuses
For mechanical fan diagnosis, see Step 1. For electric fan diagnosis, skip to Step 2.
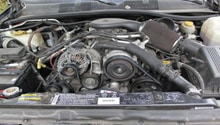
Step 1 – Visually inspect mechanical fan operation
As mentioned, the mechanical fan is connected to a clutch that operates based on the temperature of the thermostatic bi-metal coil on the front of the clutch. As the car is being driven and air is flowing through the radiator, the coil is cool and the fan will simply idle along. If the air temperature moving across the clutch coil rises, the clutch will begin to grab and the fan will spin to draw more air through the radiator. The mechanical fan can fail in one of two ways: the clutch can freeze up, allowing the fan to be locked in and spinning at all times, or the clutch will not engage when hot and prevent the fan from drawing cool air through the radiator. The former will usually cause a heavier load to be placed on the engine and fuel economy will suffer, whereas the latter can result in engine overheating. Functionality of the mechanical fan clutch can typically be determined by visual inspection with the engine running.
- With the engine off and cool, preferably after sitting overnight, try to spin the fan. There should be some resistance and the fan should make only a couple of revolutions at the most. If the fan spins excessively with little to no resistance, the clutch should be replaced. Additionally, a completely locked up fan is also a symptom of a bad clutch.
- If the fan had adequate resistance, but still was able to spin, grab the fan blades at opposite ends and move it forward and back. This will test the lateral movement in the bearing and any movement greater than 1/4" is a definite sign of bearing wear, and therefore the clutch should be replaced.
- If the previous two tests were successful, proceed with starting the engine. The fan should be locked in and spinning as the engine is started. Raise the engine rpm and see if the fan speed/fan noise increases proportionately to the engine speed. If the fan speed remains constant and does not change speeds, the clutch should be replaced. A properly functioning clutch will allow the fan to spin proportionately to the engine speed for approximately one to two minutes before it decouples and lets the fan idles. A friend can be helpful during this test to rev the engine while you inspect the fan.
- After the engine has ran for two to four minutes, the fan should have released and the fan should be idling freely. Raise the engine rpm again and note if the fan speeds up with the engine speed. If the clutch is functioning properly, the fan speed should remain steady.
- Monitor the temperature gauge and allow the engine to run until full operating temperature or higher has been reached. Once the temperature is high enough, typically around 160 to 180 degrees, the fan clutch should once again engage and the fan will spin proportionate to the engine speed.
There should be a distinguishable visual and audible change from a fan that is engaged and one that is disengaged. If any of these tests failed, the fan clutch assembly should be replaced to prevent engine overheating and restore functionality to the mechanical fan.

Pro Tip
An old trick to test the fan with the engine at operating temperature is to lightly brush a rolled up newspaper across the fan blades. If the fan slows down and comes to a halt, the clutch is not operating properly and should be replaced. If attempting this method, be extremely careful as the fan blades can cause serious injury if they come in contact with body parts.
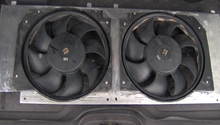
Step 2 – Electric fan testing
Some XJ models come equipped with an electric fan to aid cooling in extremely hot temperatures. The fan is set to come on when the coolant temperature reaches 190 or 218 degrees Fahrenheit (depending on the year model), or when the air-conditioner/defroster is switched on. The coolant temperature switch responsible for electric fan operation on pre 1991 models is located in the radiator tank, whereas 1991+ models use a sensor in the thermostat housing that communicates with the powertrain control module. If your electric fan is not operating correctly, follow these steps to diagnose the problem.
Pre-1991 XJ Models
- Remove the fan relay from the left inner fender (driver side) panel and supply voltage to terminal four of the connector with a jumper wire. If the electric fan begins to operate, the fan motor is good and the problem is elsewhere. If the fan does not work, test for continuity between terminal four and the chassis ground point with a digital multimeter or test light. Continuity indicates a bad fan motor.
- If the fan is operational, turn the ignition switch on and jumper terminal one to terminal four with a jumper wire. If the fan does not operate, this indicates that the fusible link in the fan motor wiring needs replacement.
- If the fan operates after the prior test, test the temperature switch located in the radiator tank by using a jumper wire across the two posts of the switch. If the fan does not operate, replace the temperature switch.
- If the fan once again operates after testing the temp switch, check for voltage at terminal two of the fan relay connector. A lack of voltage indicates a faulty fan diode.

Figure 2. Electric fan circuit schematic. 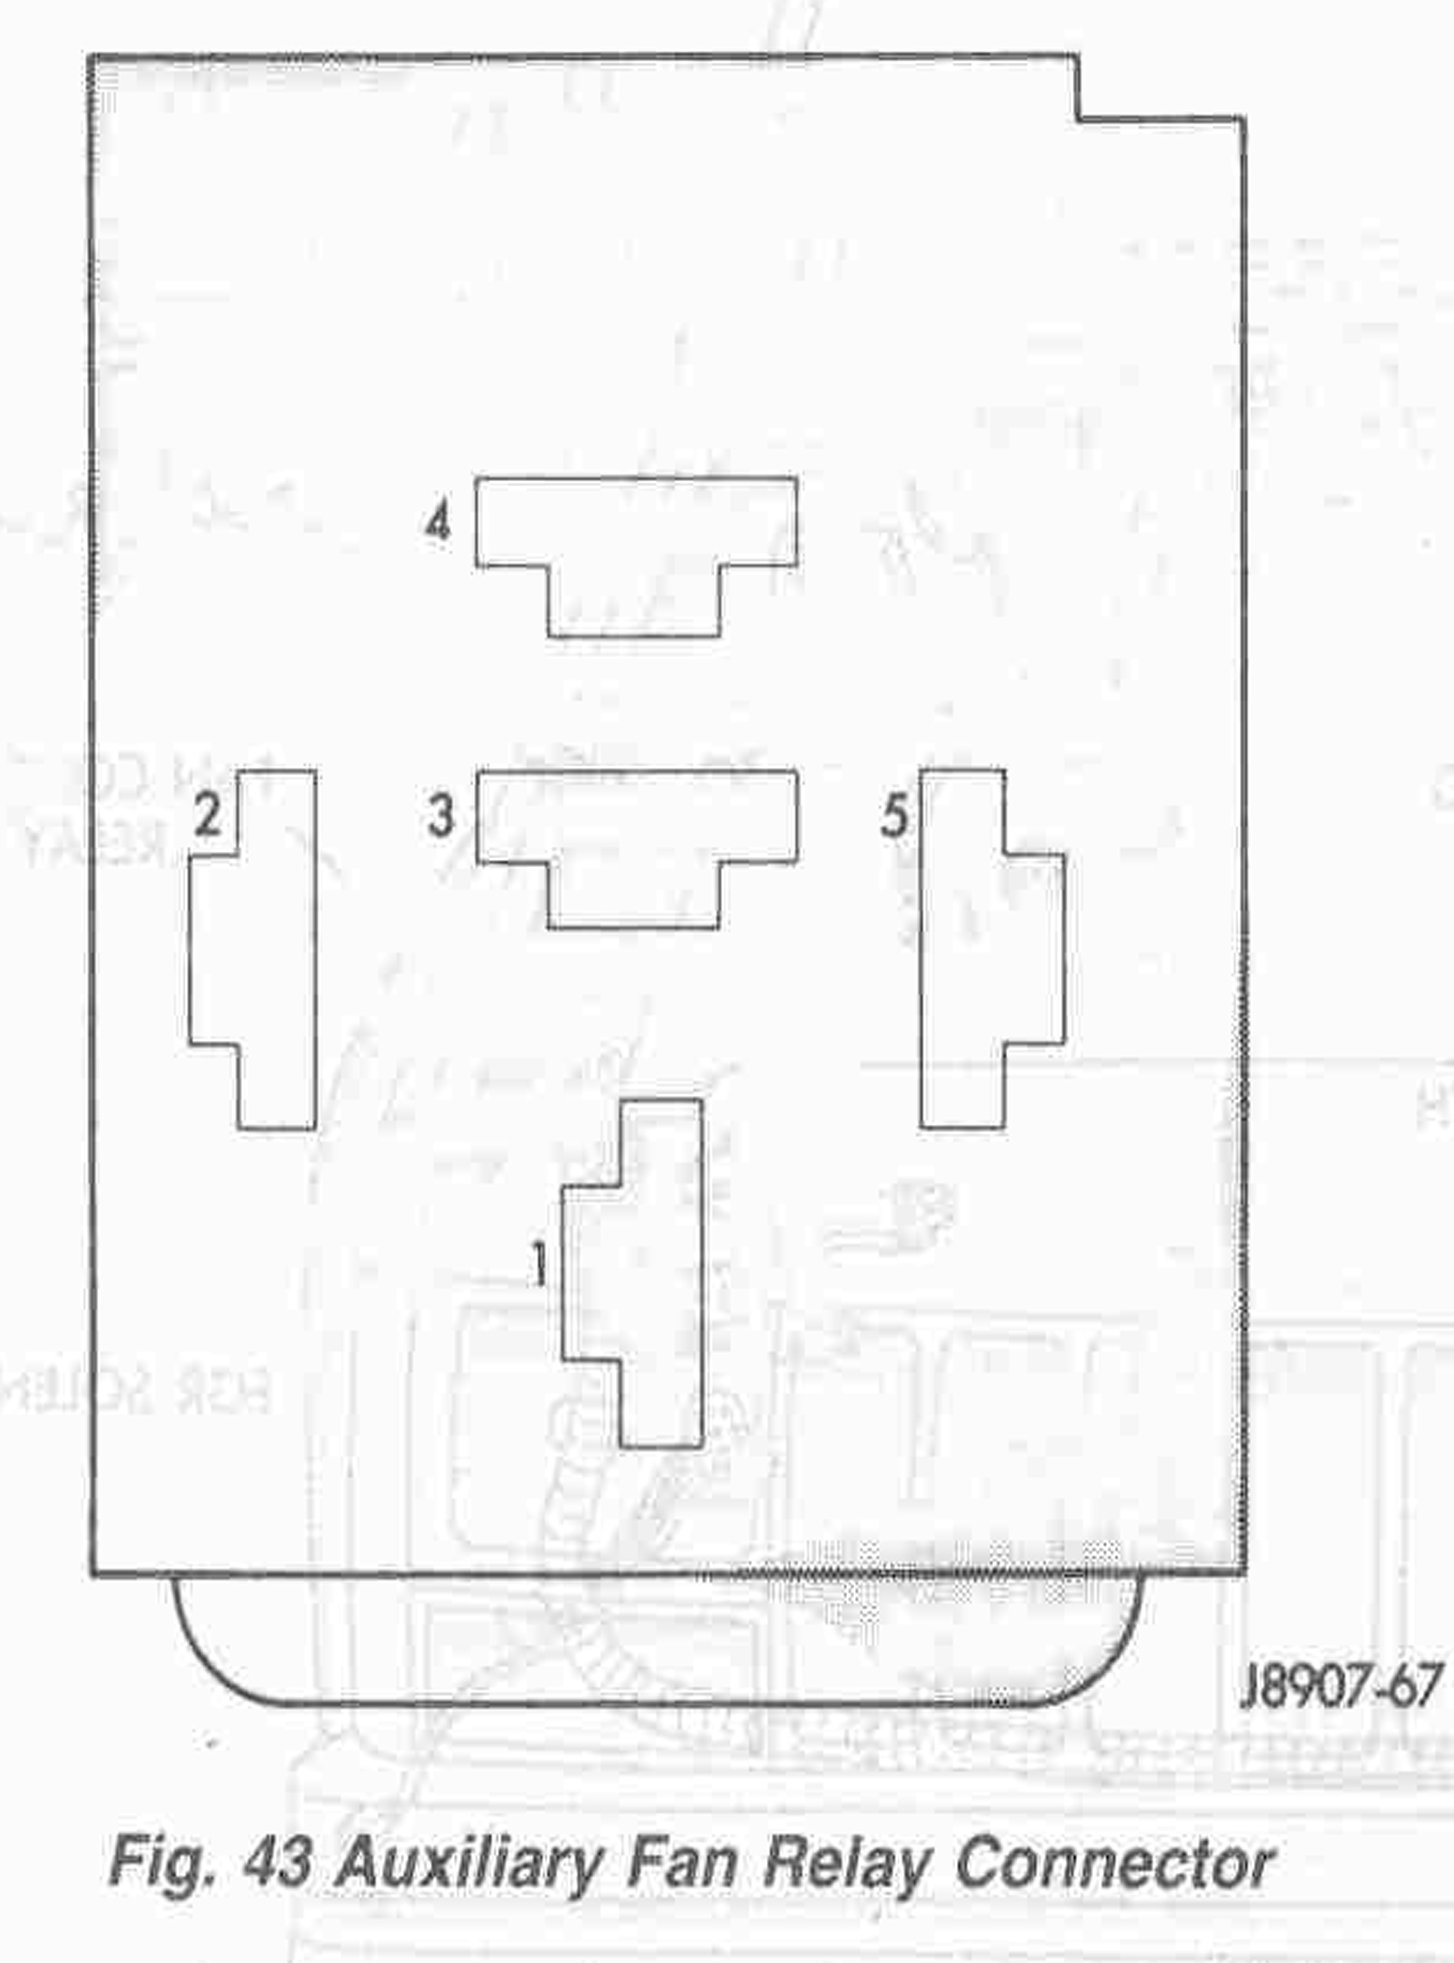
Figure 3. Relay terminals for testing.
1991-1996 Models
- Inspect fuse #4 and fuse #6 in the power distribution module (aka fuse box). If either fuse is blown, replace fuse(s) and check fan operation.
- The fan motor can be tested by unplugging the fan motor connector and using a jumper wire to supply power. Ground the black wire to a known good chassis ground and supply 12v to the red wire. If the fan is good, it should turn on. Replace the fan motor if it does not power on.
- The fan relay can be tested by removing the relay and connecting a test light/digital multimeter between terminals two and four, where no continuity should exist. Leaving the connection in place, ground terminal five with a jumper wire and supply 12v to terminal one with a 15 amp in-line jumper wire. If there is still no continuity, the relay is most likely bad and should be replaced.
- The coolant temperature sensor in the thermostat housing responsible for the electric fan operation can be monitored with a digital multimeter as the coolant temperature heats up. Any large deviations in monitored resistance indicates a faulty temperature sensor and a replacement should be installed.

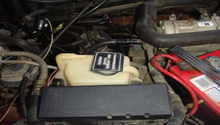
Figure 4. Power distribution center 1991+. 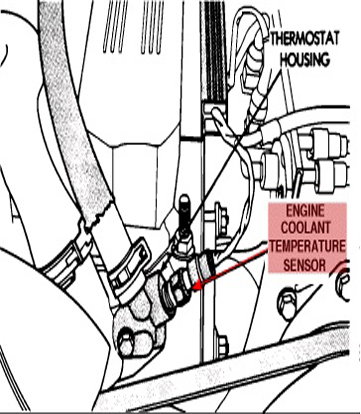
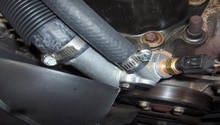
Figure 5. Temperature sensor on thermostat housing. 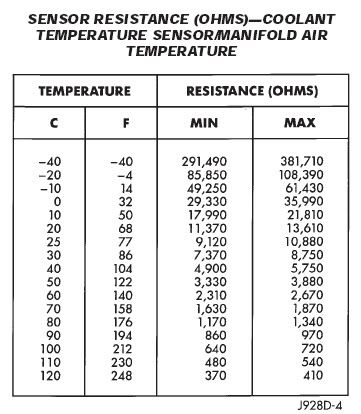
Figure 6. Resistance chart for coolant temperature sensor test.
Pro Tip
On 91+ models, the temperature sensor does not only operate the electric fan, but also sends information to the PCM that affects fuel trims and ignition timing.
(Related Article: How to Replace Coolant Temperature Sensor - CherokeeForum.com)
Related Discussions
- Radiator Fan Not Working - CherokeeForum.com
- Cooling Fan Function - CherokeeForum.com
- What is the Test For a Fan Clutch? - CherokeeForum.com
- Electric Fan Not Working - CherokeeForum.com