Jeep Cherokee 1984-2001: Brake Modifications
These brake modifications are sure to improve your Jeep Cherokee's brake responsiveness and make it stop on a dime.
This article applies to the Jeep Cherokee (1984-2001).
If you have installed bigger wheels or you feel like you just need more stopping power, upgrading the brake system might be the solution. Brake upgrades are something you should consider before taking your Cherokee out into rough or hilly terrain. These three brake modifications are guaranteed to give you significant braking power without having to overspend. For the ultimate stopping power, perform all three upgrades. However, upgrading any one of the three systems will still make a noticeable difference.
Aftermarket Modifications
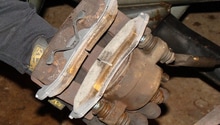
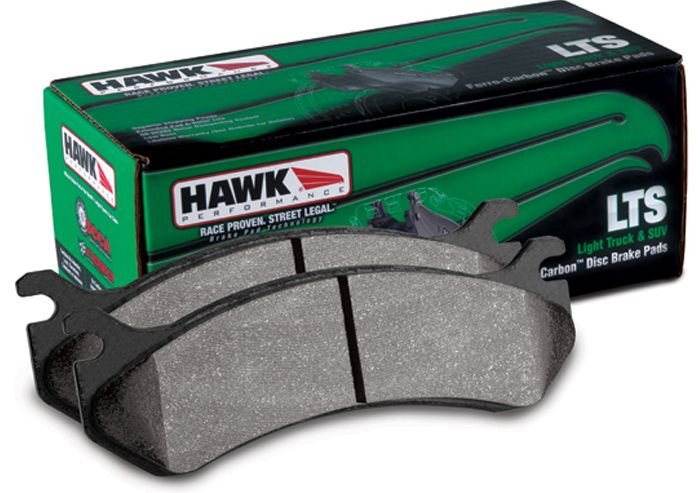
Brake Pads
DIY Cost – $150-$200
Professional Cost – $350-$400
Skill Level – Moderate; this task requires raising the vehicle and removing the wheels.
Your brake pads do most of the work when you're braking, as the caliper presses them together against the rotor to slow down your vehicle. These also get the most wear of any other part of your brake system, so expect to have to change them out somewhat regularly if you do a lot of heavy braking. There are many kinds of brake pads that have their own unique ceramic compound. For heavy duty applications, go for a well known brand such as Hawk LTS or EBC Green Stuff. A high performance set of brake pads should last a long time and improve your braking. Recommended if you're looking for a slight upgrade in the brakes without spending too much money.
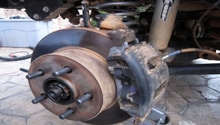
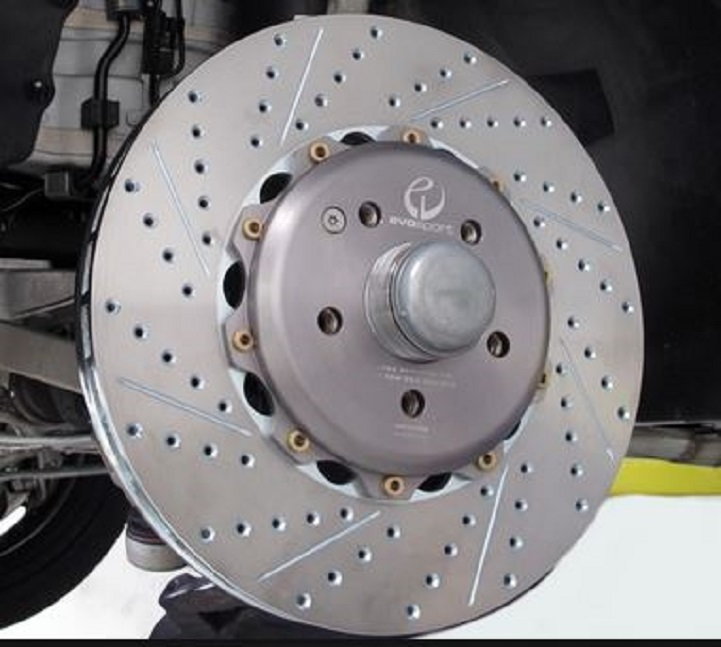
Calipers and Rotors
DIY Cost – $150-$250
Professional Cost – $350-$450
Skill Level – Moderate; this job requires the removal of various brake components.
Loss of braking can be caused by problems with the caliper pistons or wear in the rotors. Unless there's serious wear, there aren't many benefits from getting new calipers, but you can get a slight bump in responsiveness if you replace your rotors with drilled and slotted rotors. These do a much better job of dispelling the heat generated by the brake pads. But it does come with a trade off; drilled and slotted rotors are more prone to cracking. Installing calipers and rotors are not particularly difficult and can be conveniently done at the same time as a brake pad replacement. Recommended if you do a lot of off-roading or heavy braking activities.
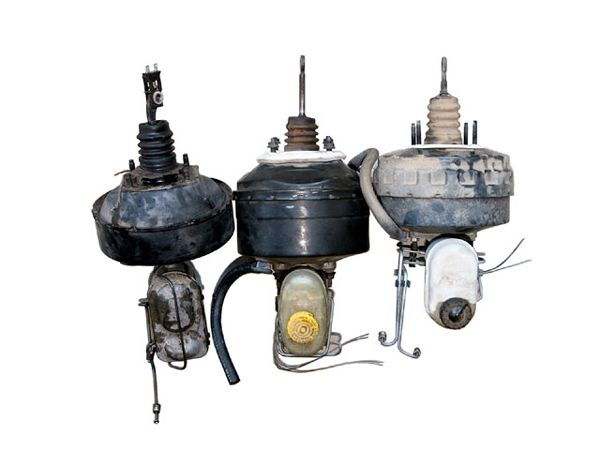
WJ Brake Booster and Master Cylinder
DIY Cost – $300-$500
Professional Cost – $600-$800
Skill Level – Difficult; this will require special tools for flaring brake lines and installing fittings.
The WJ Grand Cherokee shares many components with the XJ Cherokee. It sports a much improved brake booster and master cylinder that can perfectly fit into certain models of Cherokee. Doing this modification will probably make the biggest difference for your Cherokee's brakes. But before you go through with it, make sure that your model year is compatible with the Grand Cherokee parts.
To do the swap, you'll pretty much need to dismantle the brake pedal because it's connected to the brake booster rod. Then you'll also need to drain the brake fluid out of the master cylinder. You'll also possibly need to dismantle some of the surrounding components in the engine compartment. Once you've removed the old brake booster and master cylinder, you'll need to make some adjustments to the WJ brake booster.
You'll need to drill out the hole in the booster rod to a wider diameter in order to make it fit properly. After that, you'll need to grind down the new rod until it's the same shape as the old booster rod. As you're installing the brake booster, you'll notice that the WJ rod is a little longer than the old one. This just means that the brake pedal will stick up a little more, but if that's a problem, you can always install a 1/4" spacer between the firewall and the booster so the brake pedal sits the same as before.
In order to install the WJ master cylinder, you'll need to adjust the brake line. Installing a new brake line does require patience and precision. You'll need access to a flare tool in order to complete this project. Once you have everything you need, it's fairly straightforward. Bend the brake line so that it will roughly fit in your engine compartment. Install fittings into either end, then flare the ends of the brake line and install. After that, you'll need to bleed the brakes and insert new brake fluid. Recommended if you're looking for the ultimate stopping power.
Pro Tip
When working with brake lines, it helps to take an unfolded coat hanger and bend it so you know how you're going to bend your brake line later.
Related Discussions
- Brake Upgrades? - CherokeeForum.com
- Need Some Ideas on Brake Upgrades - CherokeeForum.com
- Front Brakes Upgrades - CherokeeForum.com
- Brake Booster and MC Upgrade... - CherokeeForum.com