Jeep Cherokee 1984-2001: How to Black Out Headlights
This article will show you how to create this look. Read on for the complete story.
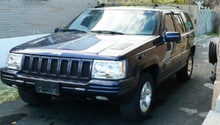
This article applies to the Jeep Cherokee XJ (1984-2001).
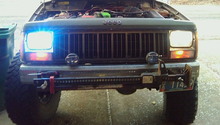
There are three ways to get black headlights. Install either the headlights with black-tinted lenses, tint your own headlights, or install precut headlight tint. There's no need to choose your method right away since this article covers all three. A word of caution: Use black headlights for off-road driving only. Black headlights do not provide enough light for safe highway or city driving.

Materials Needed
- Set of black headlights
- Precut headlight tints
- Flexible black plastic window tint
- Phillips screwdriver
- Heat gun
- Utility knife
- Soap
- Water
- Soft cotton cloth
- Wood or plastic sculpting tool
Method 1 – Install black tinted headlights
Choose the set of headlights that works for your vehicle. Prices range from as little as $20 for projector headlights with a black housing to $275 for black "diamond cut" projector headlights. Installation is the same whether you spend $20 or $275. Installation instructions are below.
Installation Instructions:
- Use your Phillips screwdriver to remove the two screws on the top and bottom corners of the headlight bezel.
- Use your Phillips screwdriver to remove the four screws from the silver retaining ring around the outside of the headlight.
- Unplug the wiring harness from the back of the old headlight.
- Place the new headlight into the housing and attach the wiring harness.
- Test to make sure the light operates.
- Reinstall the retaining ring.
- Reattach the headlight bezel.

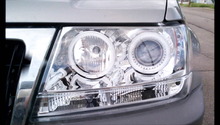
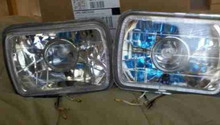
Figure 1. Headlights with black housings. 
Figure 2. "Diamond cut" black headlights.
Method 2 – Tint headlights
You can obtain black headlights by tinting the ones you have.
- Thoroughly wash the headlight and surrounding areas with mild soap and water, then gently dry with your heat gun.

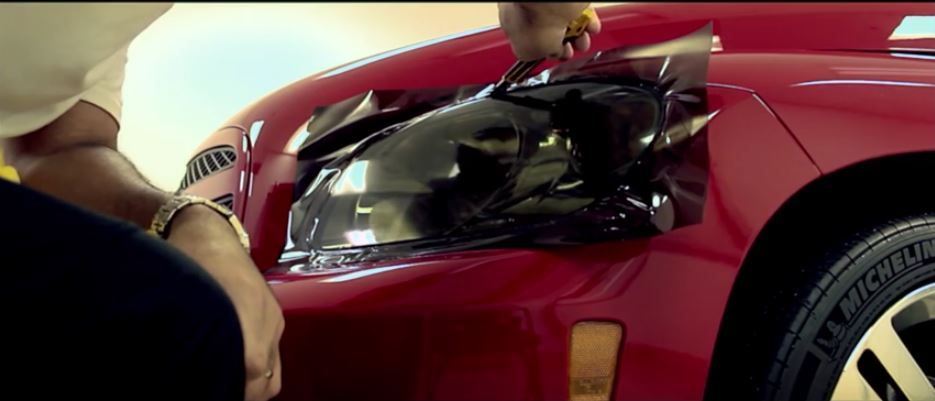
- Apply black tint film. Use a sculpting tool such as a piece of wood covered with cotton cloth, to smooth the tint material onto the headlight and to work it into crevices and corners.
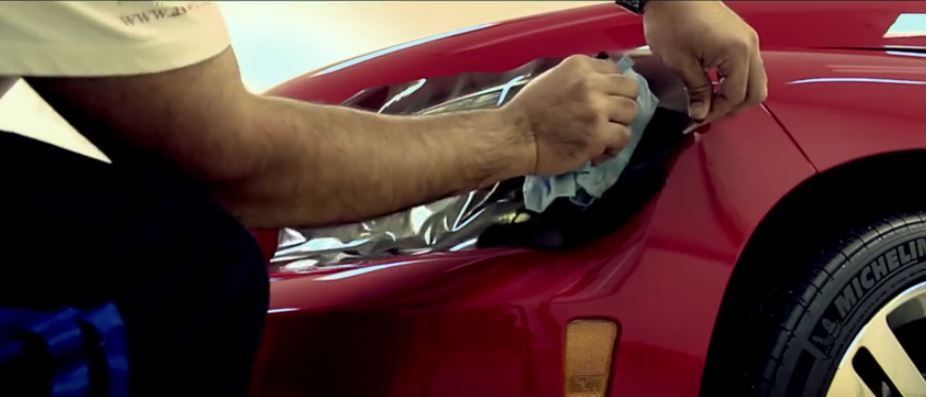
- Gently heat the tint material with your heat gun so the material adheres to the headlight.

- While the material is still warm, use the sculpting tool to work the tint material into the corners and crevices. Do this the entire way around the headlight. You may have to alternately heat the film and apply the tint material a number of times to cover the headlight with the material completely.

- With your utility knife, gently cut away the excess tint material. Do this all the way around the headlight.
- After removing the most excess tint material, use the sculpting tool to gently work any small excess tint material into corners and crevices.

- After applying and sculpting the tint material, go over the headlight once more with the heat gun. Then wash the surface with mild soap, water and soft cotton cloth.

Method 3 – Install precut headlight tint
Buy and install precut headlight tints. Follow the manufacturer's instructions for installation.

Featured Video: How to Tint Car Headlights
Related Discussions
- Smoked Headlights - CherokeeForum.com
- Black Projector Headlight Installation Difficulty - CherokeeForum.com