Jeep Cherokee 1984-2001: How to Paint Your Valve Cover
A low-cost modification you can easily do a home is painting your valve cover. Continue reading to learn how to do just that.
This article applies to the Jeep Cherokee XJ (1984-2001).
Painting your valve cover is a quick and easy way to spruce up your engine compartment, or maybe your valve cover is just too gunked up. Either way, all you need are a few standard tools, a little time and elbow grease. Whether it be removal or paint prep and application, if you need a hand getting the job done, it's time to read on.

Materials Needed
- Ratchet set with 1/4" sockets, 3/8" sockets, 7/16" deep socket, and extension
- Rubber mallet
- Gasket scraper
- Scotch-Brite pads (or other scrubbing device)
- Wash tub or bucket
- Engine degreaser or oven cleaner
- Paint and primer (preferably high-temp)
- New valve cover gasket and/or RTV sealant
- Fine grit and super fine grit (2000+) sandpaper
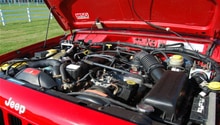
Step 1 – Remove the valve cover
Disconnect the cable from the negative (black) battery terminal. Disconnect and move aside all hoses, lines as well as wiring harnesses from the valve cover. The PCV/blow-by hoses atop the motor may be fragile, so take care when removing them. They should pop out of the motor like a spark plug wire boot. Using the deep socket or ratchet, remove the bolts securing the cover.
Tap the side of the valve cover with the rubber mallet to break the seal. Remove the valve cover.
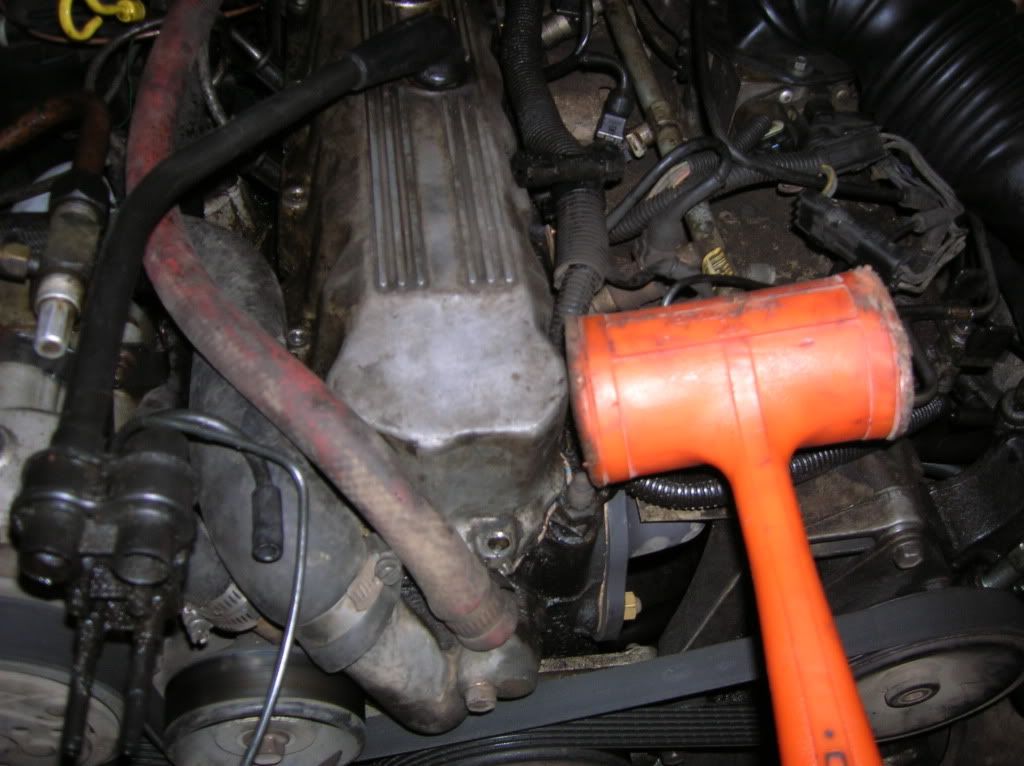
Pro Tip
Be sure that you have removed ALL bolts and fasteners from the valve cover before you attempt to remove it! Trying to pry off the cover while it is still attached can cause it to warp, preventing it from sealing properly.
Step 2 – Clean the valve cover
Remove the valve cover gasket. Use a gasket scraper to remove stuck pieces. With the valve cover in a pan or bucket, spray it with engine degreaser or oven cleaner. Allow it to soak in. Rinse off the cover. If any residue remains, use more degreaser and a Scotch-Brite pad to scrub the cover until it is completely clean.
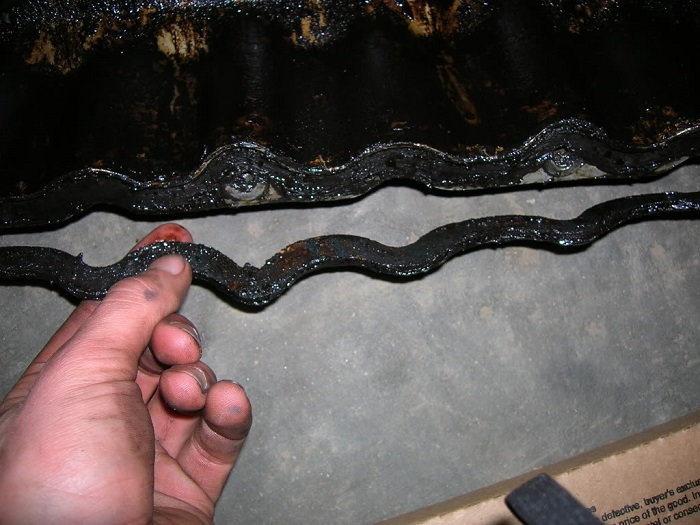
Figure 2. Remove the old valve cover gasket. 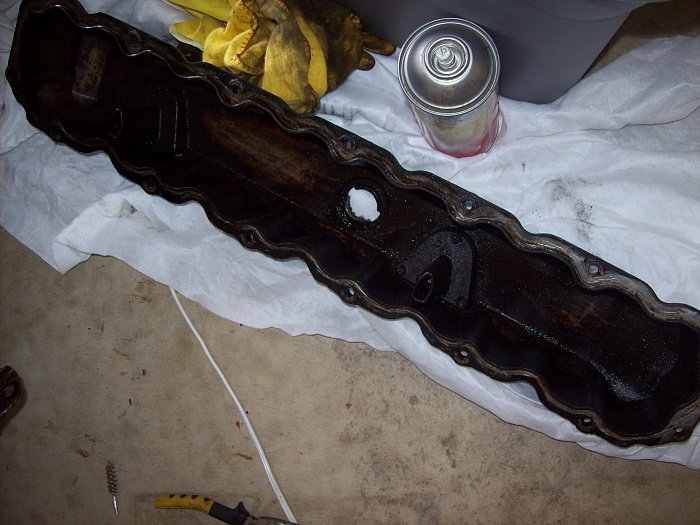
Figure 3. Use engine degreaser to clean the valve cover.
Pro Tip
Do not allow the degreaser or rinse water to run down a drain or gutter. Take it to your local hazardous waste collection spot.
Step 3 – Prep the cover for paint
If your valve cover is already painted, you will may want to strip the old paint first. Purchase a can of paint stripper and follow the instructions on the can. Make sure to perform this step in a well-ventilated area!
Once your cover is cleaned and, if applicable, stripped, start with a high-temperature (rust-preventative is a plus!) primer. Follow the directions provided, making sure to leave plenty of drying time between coats.
Using fine grit sandpaper and a block, smooth out any lumps or bumps in the primer.
Step 4 – Paint the valve cover
Following the directions on the can, paint the valve cover in a well-ventilated area. Try not to paint under direct sunlight, or high humidity conditions. Leave plenty of drying time between coats, and don't spray too heavily to prevent drips. Allow the cover to dry completely, then use super fine grit (2000+) sandpaper to smooth out any issues. You can also use sandpaper on the cover's detailing to create contrast.
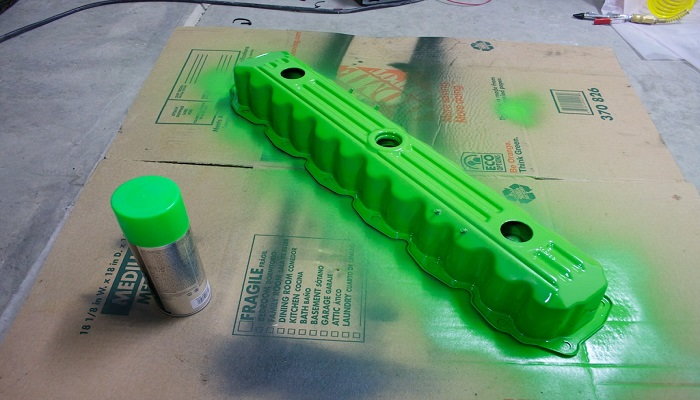
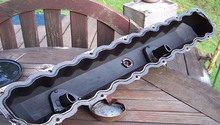
Figure 4. Spray your valve cover with your chosen color. 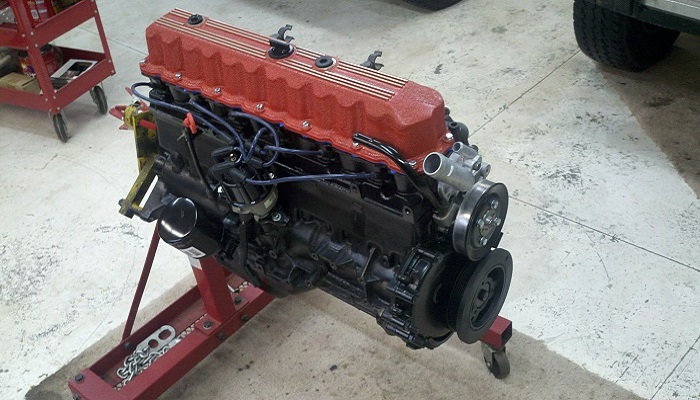
Figure 5. Sand the ribs on the valve cover for a nice contrasting look.
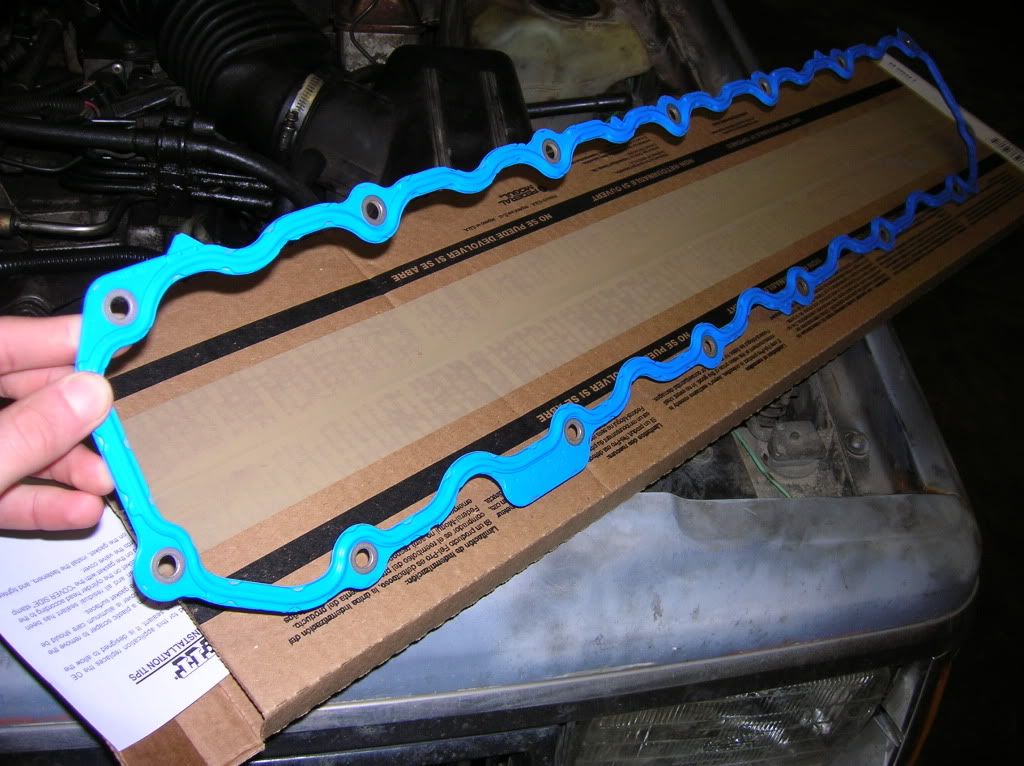
Step 5 – Install a new gasket
Once the cover is dry and smooth, install the new valve cover gasket to the cylinder head. Use RTV sealant for extra protection against leaks.
Step 6 – Install the valve cover
Place the valve cover onto the cylinder head, pressing it down to seal the gasket. Install and tighten the mounting bolts. Reconnect all hoses, lines and wiring harnesses that were previously removed. Reconnect the cable to the negative battery terminal. Step back and admire your handiwork!

Pro Tip
Make sure you install all bolts evenly (in steps) to prevent warping the valve cover. Do not over-tighten the bolts!
Featured Video: Jeep Valve Cover Gasket Replacement
Related Discussions
- Dressing Up Your Engine - CherokeeForum.com
- Engine Paint - CherokeeForum.com
- Changing Gasket, Painting Cover - CherokeeForum.com
- Refurbing Valve Cover - CherokeeForum.com
- Valve Cover Paint Swap - CherokeeForum.com