Jeep Cherokee 1984-2001: How to Replace Battery Cable
Battery cables are prone to tearing and corrosion. When that happens, it's necessary to replace them. This article will show you what you need to do in order to set up new battery cables.
This article applies to the Jeep Cherokee XJ (1984-2001).
We all know that corrosion develops on battery terminals and that corrosion can get into the battery cables as well. Over time, the corrosion will destroy the wiring inside the battery cable. Sometimes you can just cut off the corroded wire, but in extreme cases you'll need to replace the battery cables. It's not so difficult once you know what you're doing.

Materials Needed
- 4AWG cables (2 positive and 2 negative)
- Brass marine clamp terminals
- Copper ring terminal
- Sockets and wrenches
- Flat head screwdriver
- Knife
- Wire stripper
- Wire crimper
- Heat shrink tubing
- Heat gun
- Battery cleaner
- Battery terminal preserver
Step 1 – Clean and disconnect battery terminals
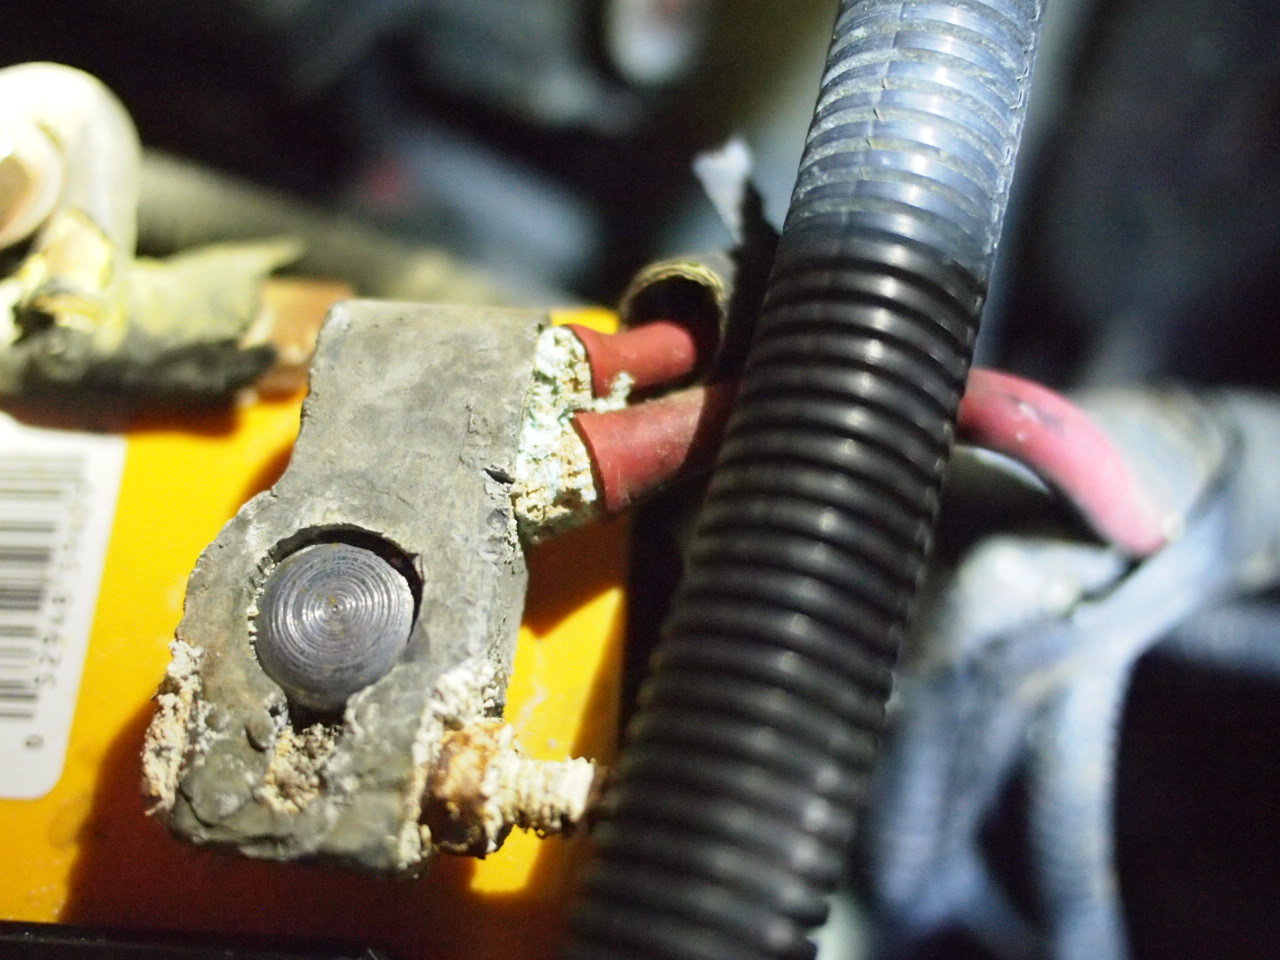
You'll need to clean off any major corrosion before replacing the cables. Spray some battery cleaner on the corrosion and wait a few minutes for it to settle, then rinse it off with water. Once everything is clean, you can unhook the battery cables starting with the negative (black) cable.
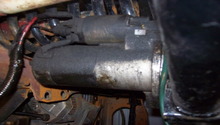
Step 2 – Replace the starter cable
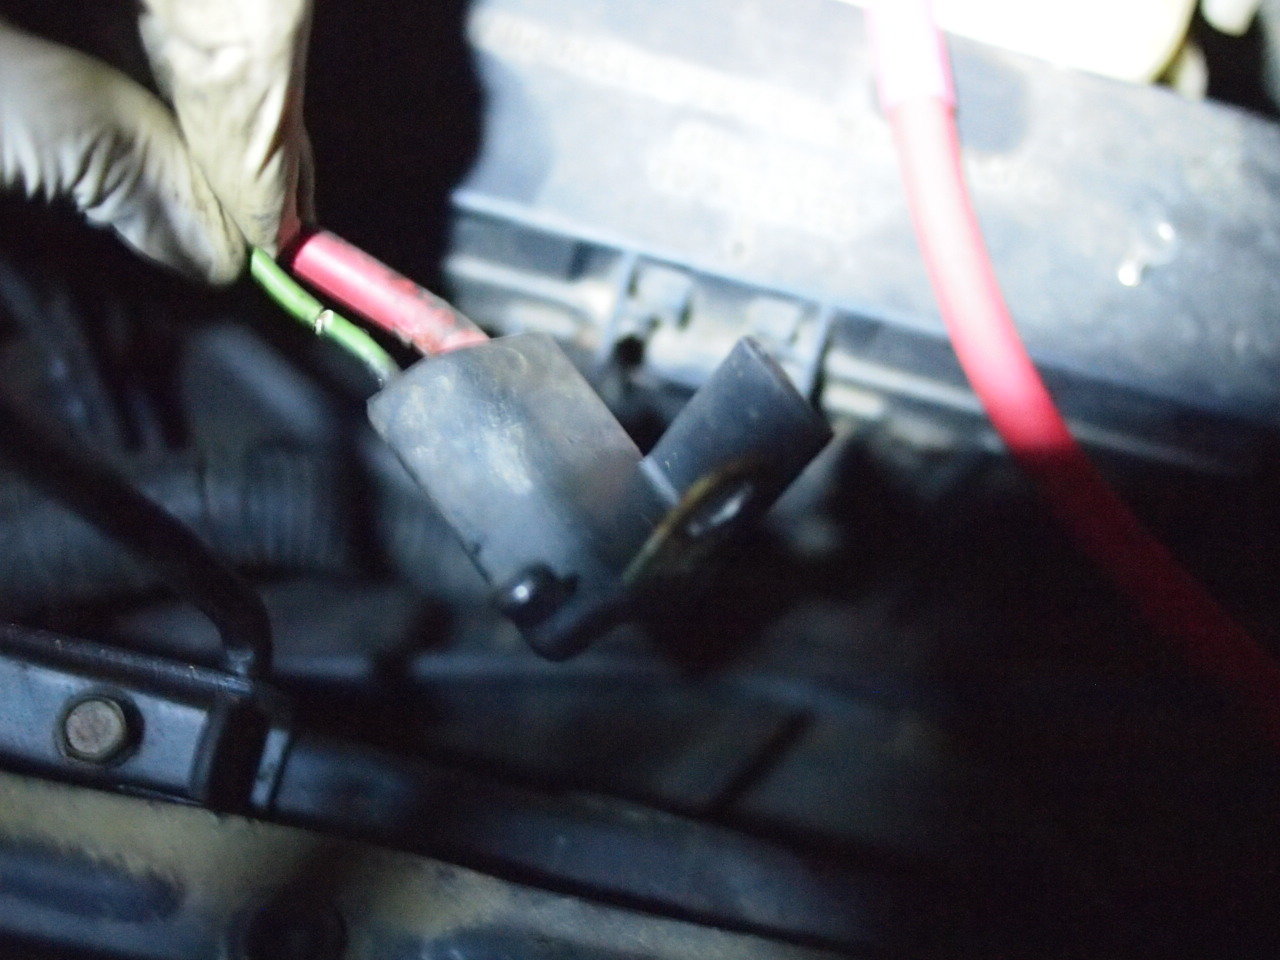
Follow the battery cable that goes to the starter. There's a plastic sleeve that all of the cables go through, which you'll need to carefully cut open in order to get to the cables. Once you find the connection at the starter, you'll see the battery cable and a smaller wire attached to a rubber harness. Unbolt the harness from the starter. Then cut the smaller wire from the harness.
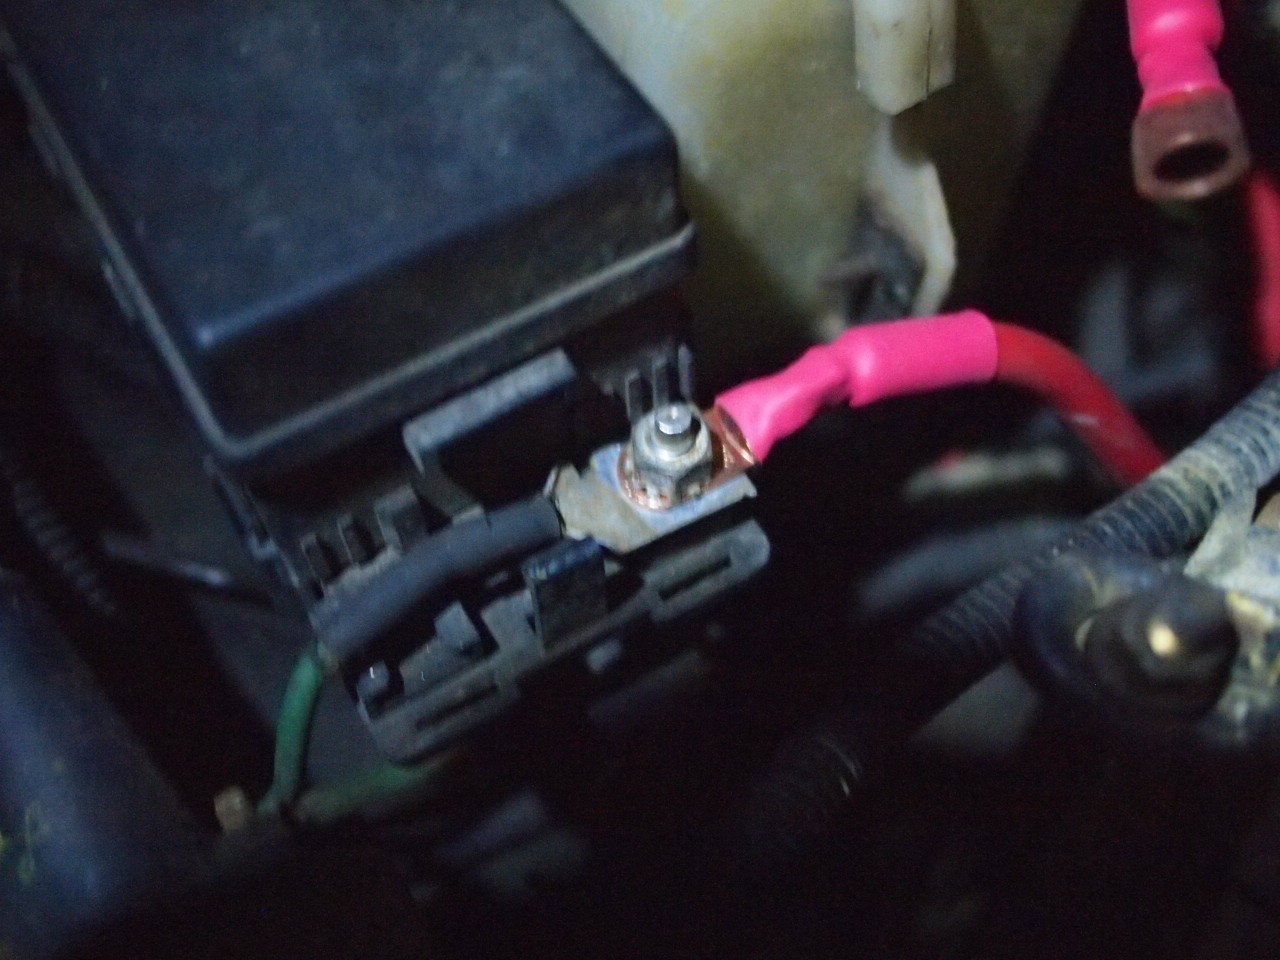
Strip the smaller wire and slide some heat shrink tubing over the end. Thread the wire through a copper ring terminal. Use your wire crimper to crush the terminal to the wire, so that they are firmly attached. Slide the heat shrink tubing so it covers the exposed wires, and then use your heat gun to shrink the tubing. With the ring terminal attached, hook the small wire to the starter. Take your new positive battery cable and hook it to the starter. Then bolt down both wires.
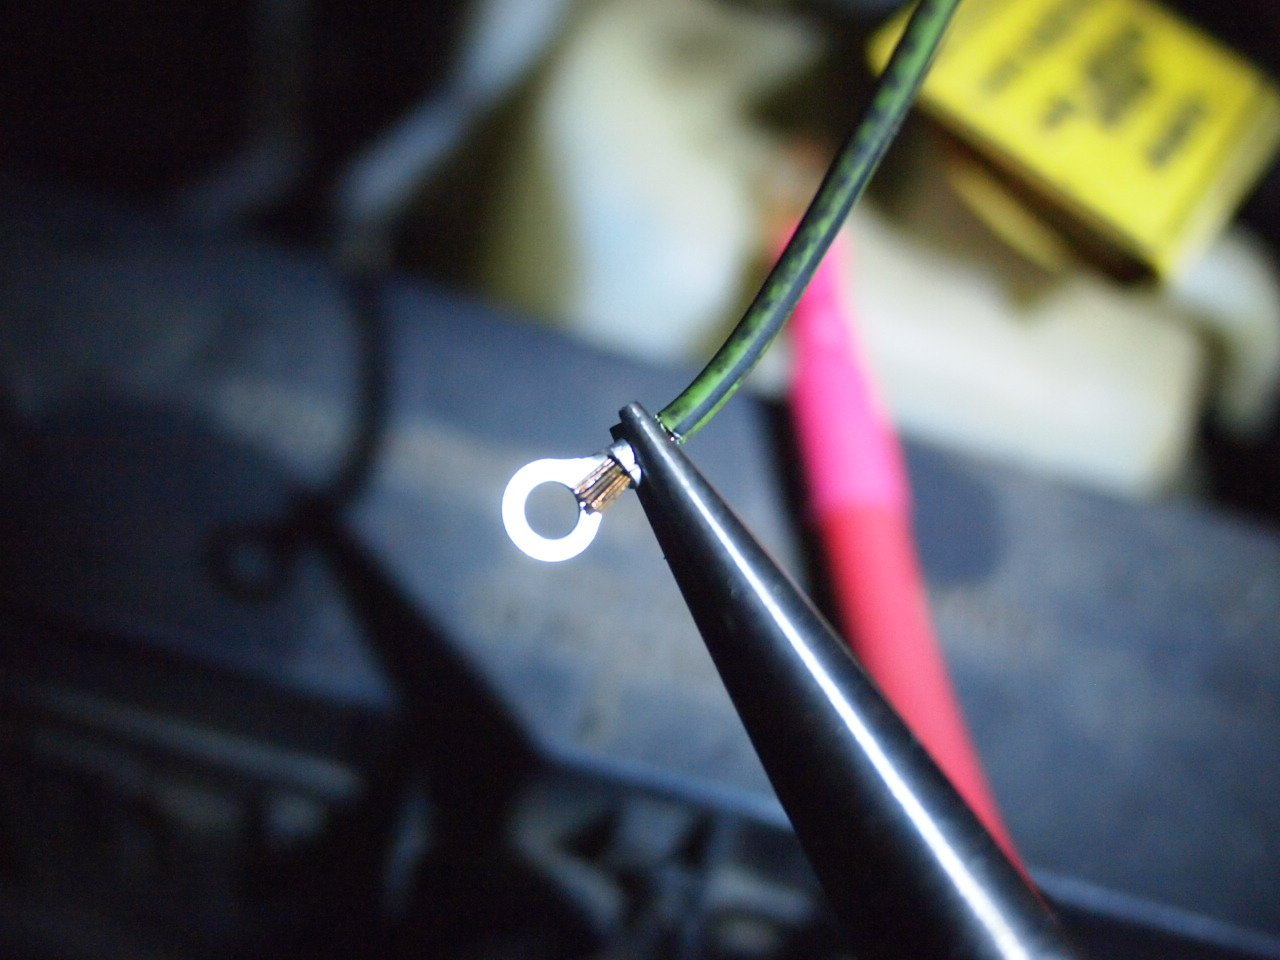
Figure 3. Crimp the wire to the ring terminal. 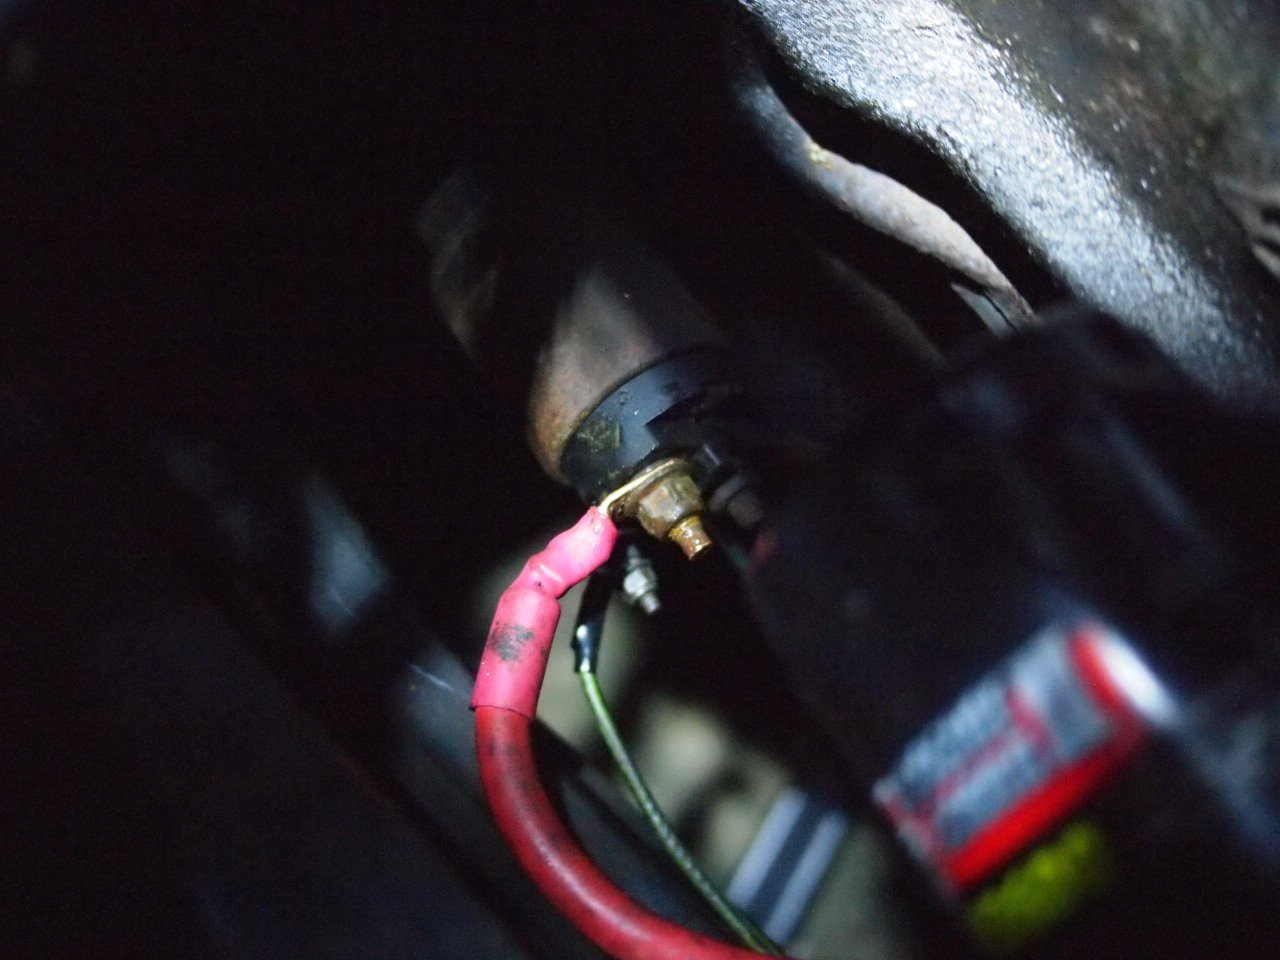
Figure 4. Attach smaller wire and battery cable to the starter.
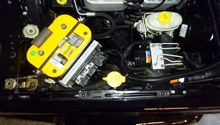
Step 3 – Replace the fuse box cable
Follow the positive battery cable that goes to the fuse box. Since there's no harness, you won't need to modify the second wire; just unbolt and remove the old battery cable. Then, attach the new cable and bolt it down.
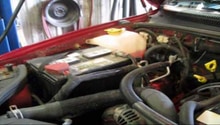
Step 4 – Replace the negative cables
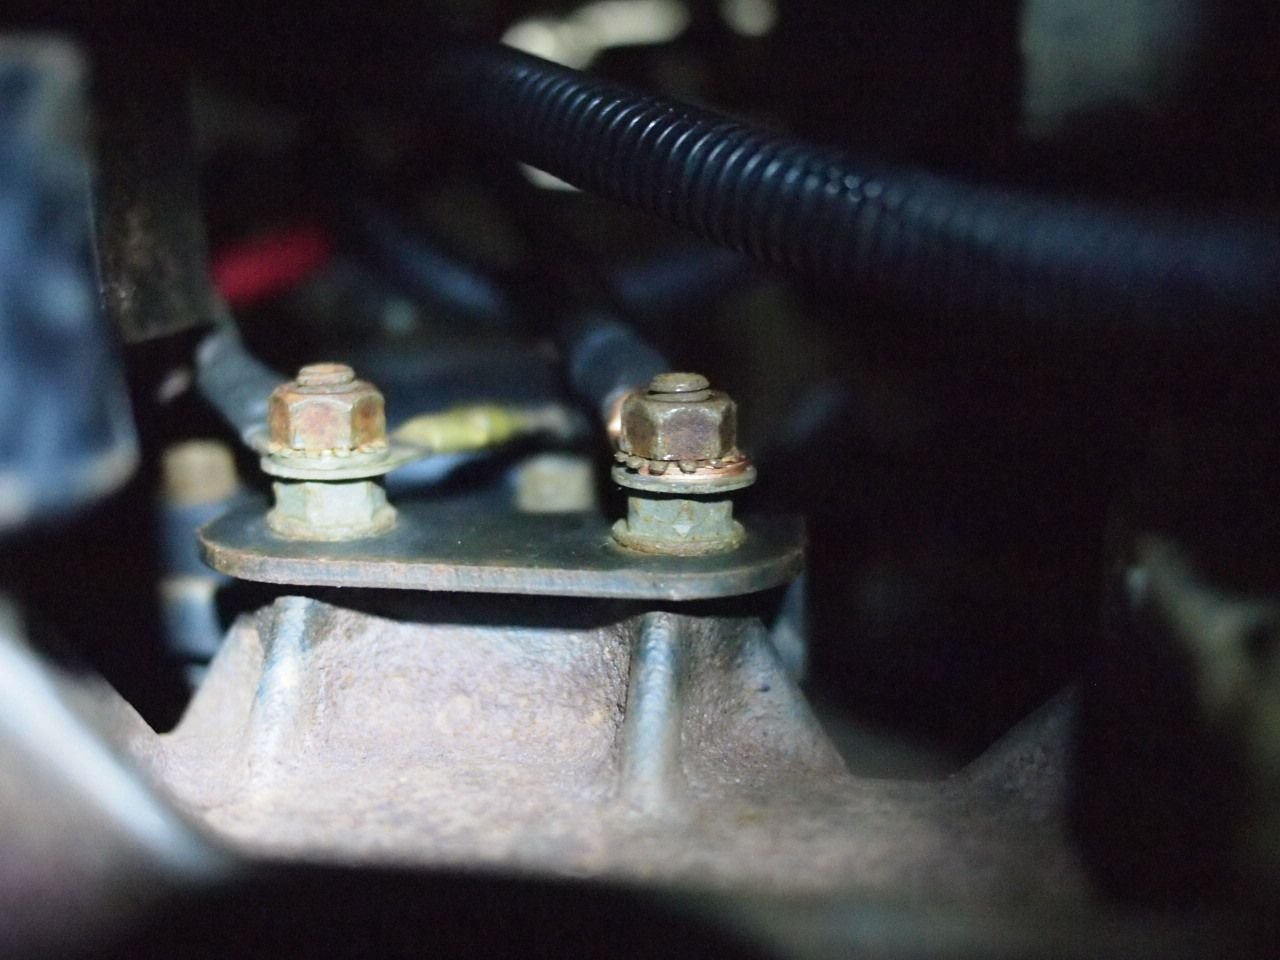
Follow the negative cable that goes to the front of the engine block. Unbolt it from the engine block and remove the old cable. Attach one of your new cables and bolt it down. The second negative cable will connect to a grounding point. Clean the ground connection before you attach the new cable.
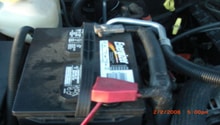
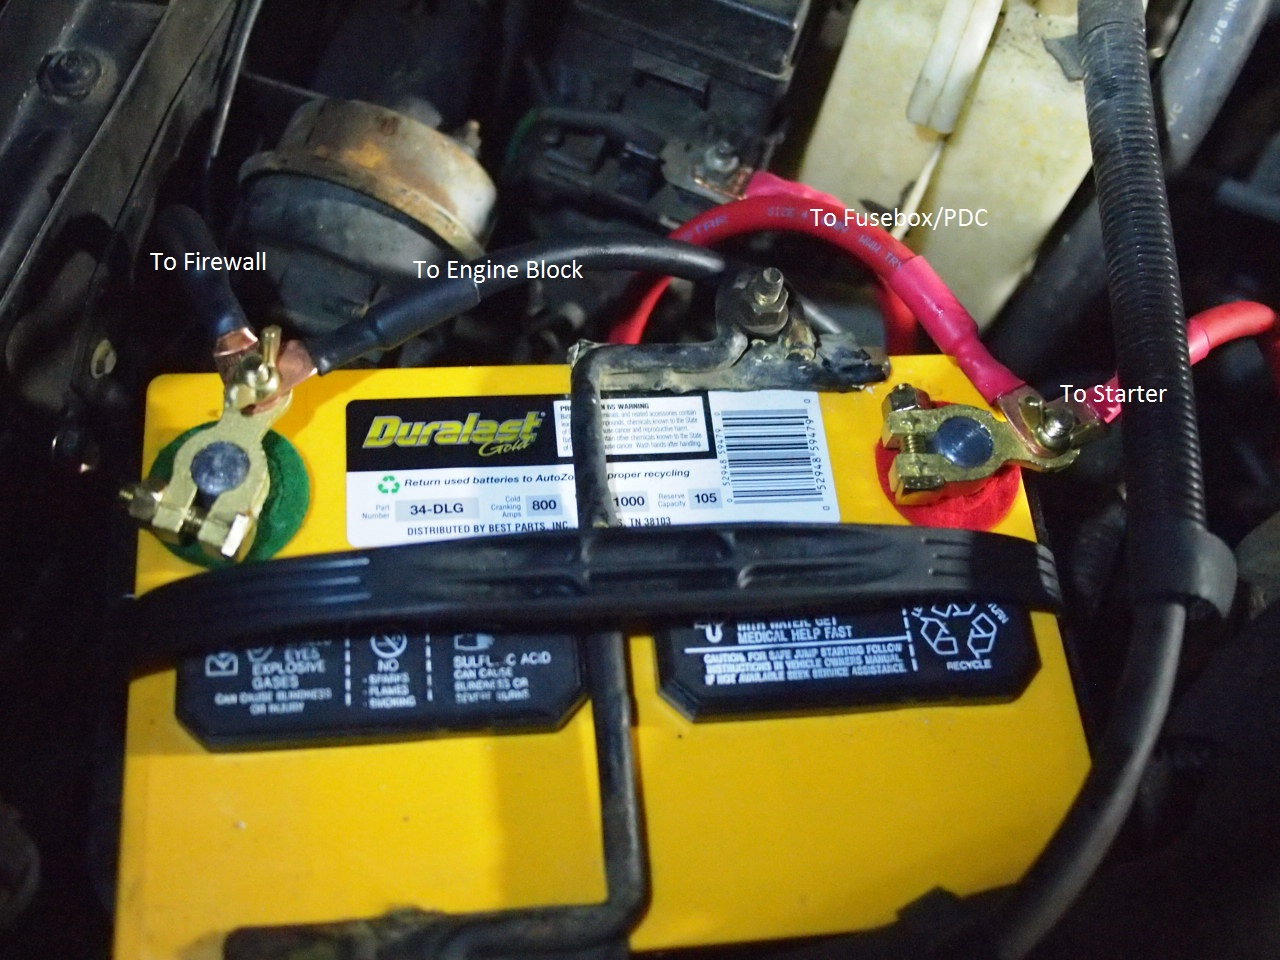
Step 5 – Connect cables to the battery
Spray some battery terminal preserver on the cable and battery terminals to help prevent future corrosion. Then connect the two positive cables to the positive battery terminal and connect the two negative cables to the negative terminal.
Featured Video: Cherokee Battery Cable Replacement
Related Discussions
- Corroded Battery Cable Replacement - CherokeeForum.com
- Battery Cables - CherokeeForum.com
- Battery Cable Problems - CherokeeForum.com