Jeep Cherokee 1984-2001: How to Replace Coil Springs
Replacing the spring coils on your Jeep Cherokee may not be as expensive as you think. In fact, with a little bit of tenacity, you can easily replace the coils on your XJ.
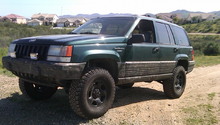
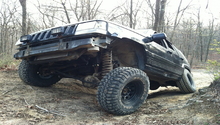
This article applies to the Jeep Cherokee XJ (1984-2001).
It takes a lot to wear out the suspension coils on your Jeep Cherokee. When it does happens, every little rough spot on the road is felt through the entire cabin. So unless you enjoy an XJ feeling like a broken massage chair at the airport, it's time to replace them. If you are like those interested in performance, you can take this time to install stronger coils. Whatever type of coil you choose, just know that they all follow similar installation procedures. In this article we explain how to safely install spring coils on your Jeep Cherokee.

Materials Needed
- Spring coil compressor
- Hydraulic jack and jack stands
- Metric socket set up to 19mm
- 10mm open-ended wrench
- Penetrating oil
Step 1 – Jack that Jeep up
First things first, use a hydraulic jack to lift up the side you will be working on. Secure it in place using a set of jack stands, and then remove the wheels.

(Related Article: How to Jack Up Your Car - CherokeeForum.com)
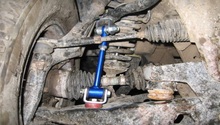
Step 2 – Remove the sway bar and strut hardware
Time to make some room in your work space.
- Before loosening anything, grab your penetrating lube and spray everything down. Give it a few minutes to take effect.
- Loosen the 10mm bolts holding the strut to the wheel hub.
- Remove the spring clip.
- Then remove the sway bar nut and push it out of the way.
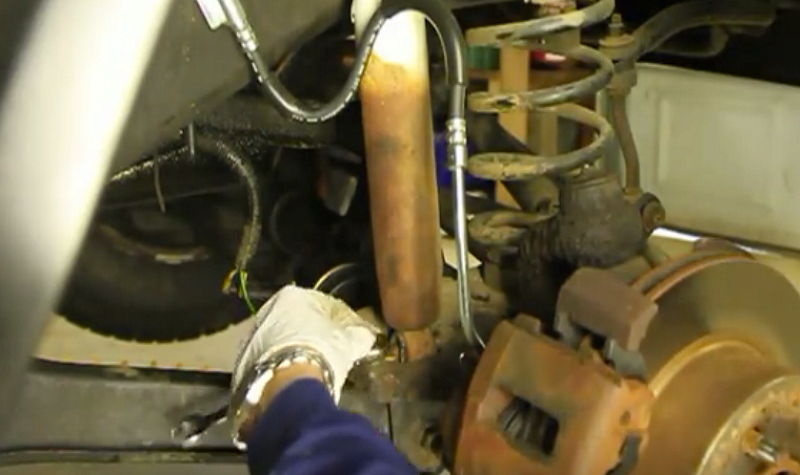
Figure 2. Remove the strut bolt. 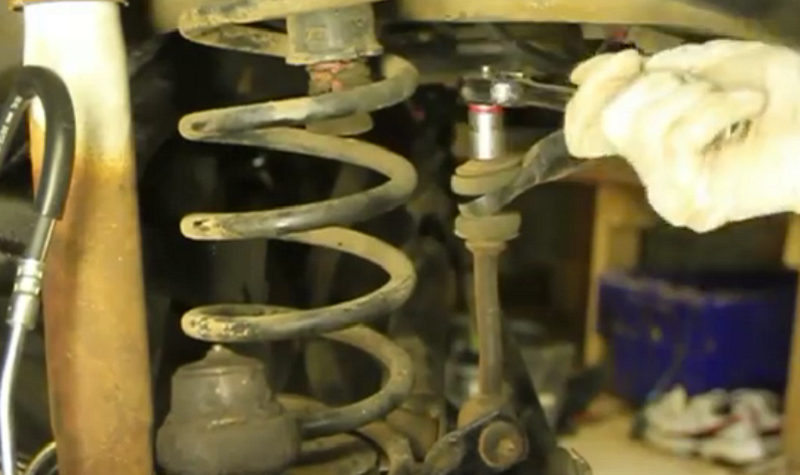
Figure 3. Remove the sway bar end-link nut.
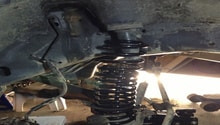
Step 3 – Mount the spring compressors
There are different types of spring compressors; the most commonly used version has two clamps that mount to either side of the coil. After positioning them on the coil, use a ratcheting wrench to decompress the coil. Keep tightening the coil until you are able to remove it from the Jeep.
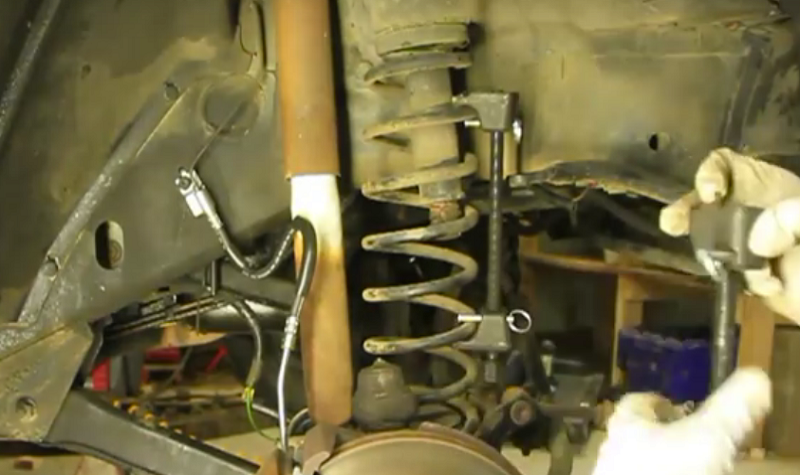
Figure 4. Attach the spring coil compressor. 
Figure 5. Compress the coil and remove it from the car.
Step 4 – Remove compressor and compress new springs
With the coils off, loosen the compressor so that you can remove it and mount it onto the new coil. Make sure you are very careful during this process. If the compressor is mishandled, it can release the tense spring and cause some bodily harm. Attach the compressor to the replacement coils. Try to keep them parallel to each other.

Figure 6. Remove the spring coil compressor. 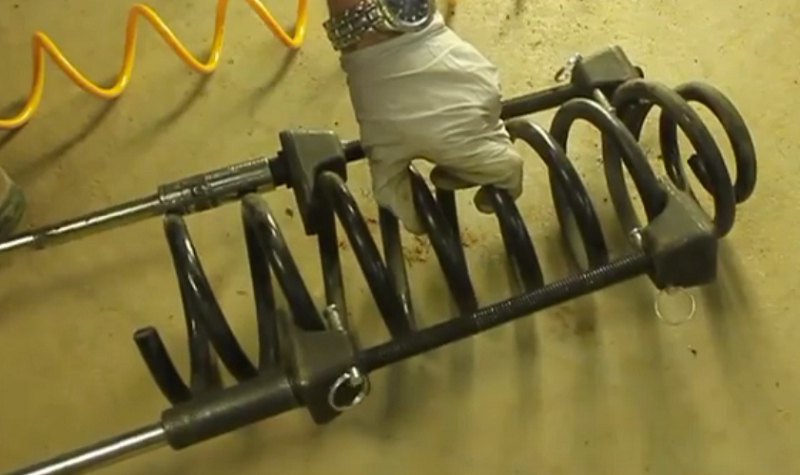
Figure 7. Install the compressor.
Step 5 – Install the coil
Take the compressed coil and install it. You will most likely have to pry it into place.
- Once installed, begin to loosen the compressor.
- Position the coil so it seats properly.
- Mount the strut, spring clip and sway bar end-link.
- Install the wheel.
- Repeat this process on the other side of the Jeep.
- Lower your Jeep down to take it for a test drive and get a wheel alignment.

Featured Video: How to Replace Your Coil Springs
Related Discussions
- Front Coil Spring Spacer Installation - CherokeeForum.com
- Most Simple Way to Remove Coil Springs - CherokeeForum.com
- Coil Spring Spacer Install - CherokeeForum.com
- Front Coil Spring Swap - CherokeeForum.com