Jeep Cherokee 1984-2001: Why is My Car Overheating?
The cooling system in the Jeep Cherokee routes coolant throughout the engine and radiator to keep the engine at optimal temperatures for combustion. The cooling system must be maintained at the proper level, mixture, and pressure to be effective.
This article applies to the Jeep Cherokee XJ (1984-2001).
As the engine is running, combustion temperatures can reach up and over 1,500 degrees. This high level of heat is transmitted to the engine block and cylinder head where it must be dissipated. It's the cooling system's job to maintain engine temperatures outside of the combustion chamber to less than 250 degrees. You may wonder how the coolant/water mixture doesn't vaporize when contacting such high temperatures. As the coolant is leaving the engine, it's routed to the radiator where it passes through many small tubes. The radiator allows air to pass by the tubes from either a fan or air pressure created from the vehicle movement. Pressure is maintained in the cooling system by a pressure cap often rated near 15 psi. Keeping pressure in the system, in combination with the right amount of ant-freeze, raises the coolants boiling point. When the system is operating trouble free, the coolant's temperature remains low enough for this process to repeat continuously.

Materials Needed
- Flashlight
- Digital multimeter
- Cooling system pressure tester
- Anit-freeze mixture tester
- Non-contact infrared thermometer
- Engine trouble code scanner
- pH strip and refractometer or hydrometer
- Dye and black light (optional)
Notes
- These steps will be listed in the order of easiest to perform to the hardest.
- Always scan for diagnostic trouble codes, as these may save you time when searching for your problem.
- When testing the cooling system, do not let the coolant temperature rise above 230 degrees Fahrenheit.
Step 1 – Perform a visual inspection
Often the easiest way to find a cooling system problem is by noting the system's operation when the problems began. Ask yourself some questions such as:
- Was there steam/coolant emitting from the radiator cap/overflow bottle when the engine began to overheat? This occurs when air enters the system and pressure cannot be maintained.
- Was there white smoke emitting from the tailpipe? If white smoke is emitting from the tailpipe, coolant is entering the combustion chamber. This is indicative of a blown head gasket or cracked cylinder head/block.
- Was my electric or engine-driven fan turning at its normal rate? Your electric fan may have failed or there may be a wiring problem in that circuit. Engine-driven fans use the serpentine belts movement against a pulley. The serpentine belt may be stretched or there may be an inadequate amount of tension on the belt.
Start by filling the cooling system to its proper level. Check the condition of the coolant, noting if it's cloudy or contaminated.
Check the condition of the serpentine belt and make sure it has the proper amount of tension.
Look around the cooling system's hoses for leaks and wear. If you notice the sweet smell of coolant when the engine is first started, look for coolant leaking out of the heater box drain. This indicates a cracked/leaking heater core.
Start the engine with the radiator cap off and look for bubbles from combustion in the radiator. If bubbles are found, pressure from the combustion chamber is making its way into the cooling system.
Using a non-contact infrared thermometer, measure the temperature at the thermostat housing and compare the reading to the temperature gauge on the cluster. If the readings are different, there is a problem with the gauge and/or the coolant temperature sensor. Also, read the temperature at the upper radiator hose. The hose should measure closely to the thermostat housing temperature when the thermostat's rated opening temperature is reached. If there is no temperature change, the thermostat is stuck closed.
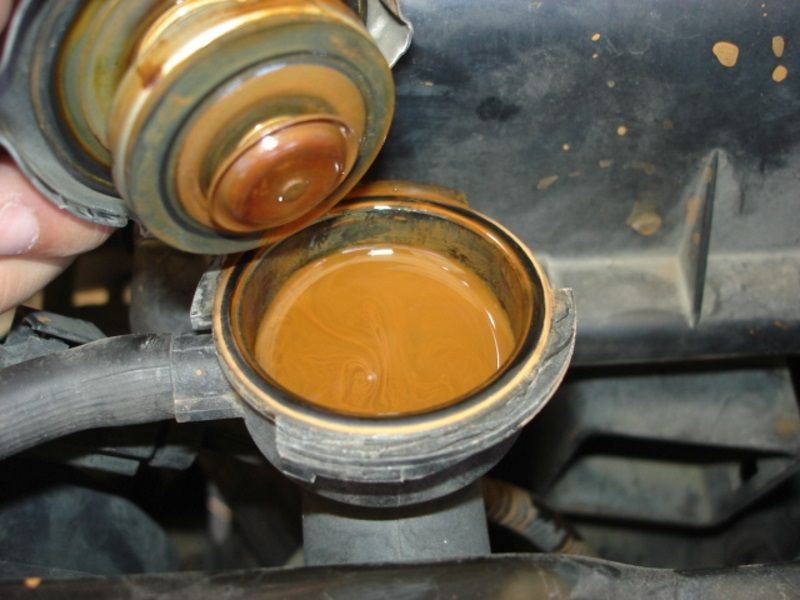
Figure 1. Very dirty coolant. 
Figure 2. White smoke should not be emitting from the exhaust.
Readers that find the engine's coolant boiling should perform Step 2.
Step 2 – Test the coolant's mixture
A pH test strip and refractometer (or hydrometer) can be used to measure the coolant's mixture. You want the mixture at a combination of 50% anti-freeze to 50% water.
Step 3 – Pressure test cooling system and radiator cap
Fill the cooling system and note the operating pressure listed on the outside of the radiator cap. Attach the radiator cap to the pressure tester and pump up the pressure to the amount on the cap. If the pressure does not hold just below the relief valve setting, a new radiator cap is needed. Check with a parts store or your dealer for the correct radiator cap pressure level.
Now attach the pressure tester to the radiator and pump up the pressure to slightly above the radiator cap's level. A cooling system with no leaks should hold this pressure for several minutes. Look for external leaks in the cooling system if a pressure drop occurs. If the source of the pressure drop is not located, an internal leak exist. Add dye to the coolant and use a black light if external leaks are hard to find.
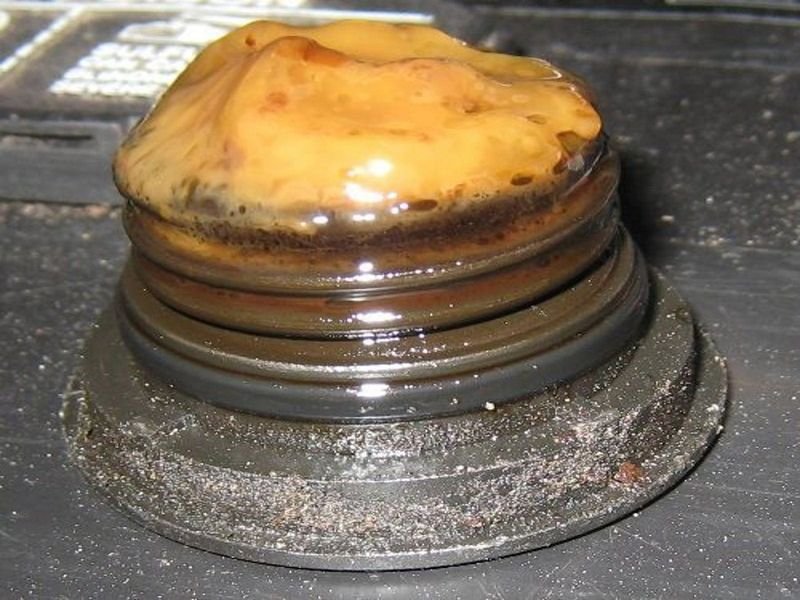
Figure 3. The result of coolant mixing with oil. 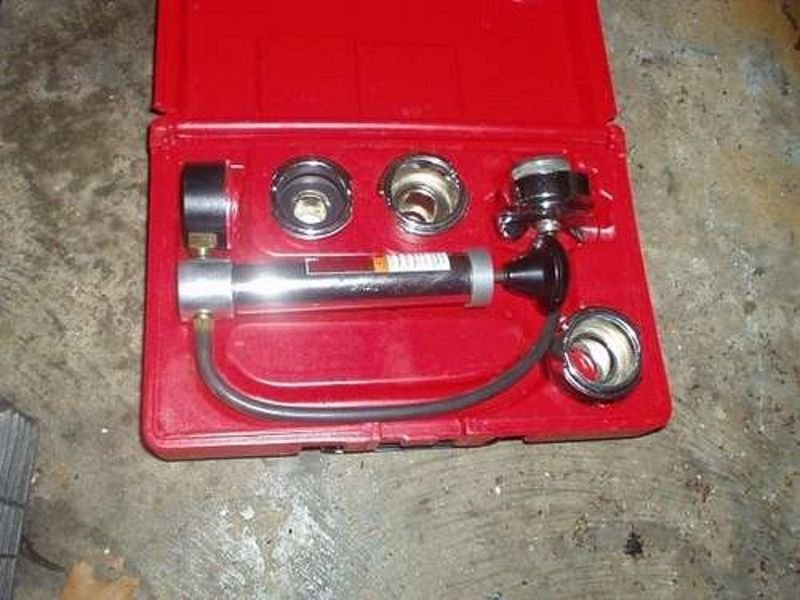
Figure 4. A cooling system pressure tester.
Step 4 – Test the cooling fan
If your engine is overheating when your Jeep is stopped or moving slowly, chances are your cooling fan is not working. Unplug the electrical fan's connector before inspection, as some fans can operate even with the ignition off.
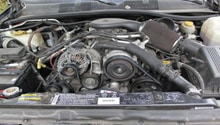
Inspect the fan for damage to the fan shroud and fan blades. As stated in step one, engine-driven fans rotate from the serpentine belt's movement. Check the condition of the fan pulley. It should not be producing loud noises or wobbling as it rotates. A clutch fan can be checked by wiggling the fan front to back, then rotating it. There should be no free play in the bearings.
A piece of cardboard can be used to check the operation of the viscous fan clutch. While monitoring the coolant level, watch for the clutch to engage once engine operating temperature is reached (less than 220 degrees Fahrenheit).
Begin to test the electrical fan by spinning it with your hand. If it's free to rotate, the electrical system and fan motor will need to be tested. Locate the electrical connectors on the cooling fan circuit. While the fan is operating, wiggle them. If the fan suddenly looses power, there is a poor connection inside. If the fan will not operate, use a digital multimeter to measure the voltage drop to the input terminal of the fan. Attach the black multimeter lead to the battery ground. The measurement should be at or near battery voltage. If voltage is present at the input terminal, measure the ground side of the fan. Connect the red multimeter lead to the battery voltage. The reading should be less than 100 milli-volts. If the voltage drop is acceptable, measure the continuity of the fan motor with an ohm meter. The reading "OL" on your meter stands for open lead, indicating no continuity is present and replacement of the fan is needed.
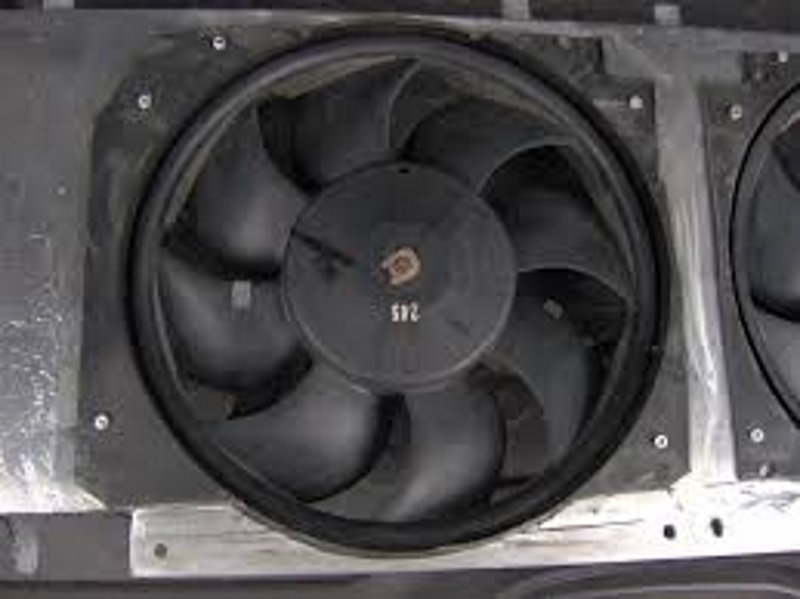
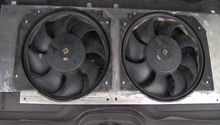
Figure 5. Inspect the cooling fan for damage. 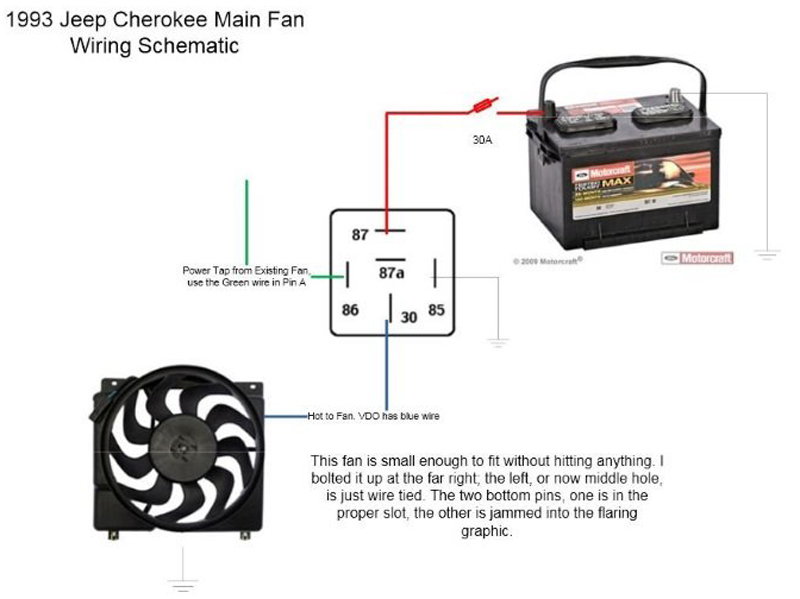
Figure 6. A Cherokee electrical fan wiring diagram.
Related Discussions
- Engine Overheating - CherokeeForum.com
- Cherokee Overheating - CherokeeForum.com
- 2000 XJ 4.0 Electric Fan Not Working - CherokeeForum.com