Jeep Cherokee 1997-2001: How to Make Rock Sliders
Rock sliders not only look cool, but they help you maneuver in rocky terrain. This article will show you what it takes to make your own rock sliders.
This article applies to the Jeep Cherokee XJ (1997-2001).
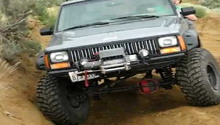
If you like to take your Jeep out into the rocky wilderness, you can appreciate the need for rock sliders. It's basically a steel tube that's affixed to the sides of your Jeep that helps protect the door from getting damaged by rocks. Purchasing a pair of aftermarket rock sliders can cost up to $400. If you have the know-how, fabricating your own set of rock sliders can be fairly straightforward.

Materials Needed
- 10-20 feet of mild steel tubing
- Mig welder
- Drill
- Reciprocating saw
- 3/8 inch self tapping bolts
- No slip tape
- Jack stands
- Marker
- Tape measure
- Safety glasses
- Gloves
Before you start cutting, make a mock up of what you're going to build. Since it's your own rock slider, you should make it your own design. Think about how far it should stick out from the door. Too much will add extra weight and make your Jeep harder to maneuver. Too little and it won't offer the protection you're looking for. The kind of terrain you plan on driving in is also important.
Step 1 – Cut and measure
There are three main parts to a rock slider. The slider itself is just the part that sticks out. You'll also need a bracket to hold the slider to the bottom trim and two or more crossbars that can be bolted to the undercarriage.
The slider is the longest part. You have enough clearance between the front and back fenders for a five foot rock slider, but you may want it to be slightly smaller than that.
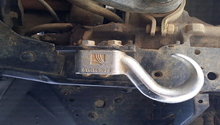
The crossbars will have to be different lengths because of the shape of the undercarriage. The crossbar towards the back will need to be about 3/8 inches longer than the one on the front. To bolt the crossbar to the undercarriage, you're going to need either an L-bracket or back plates.
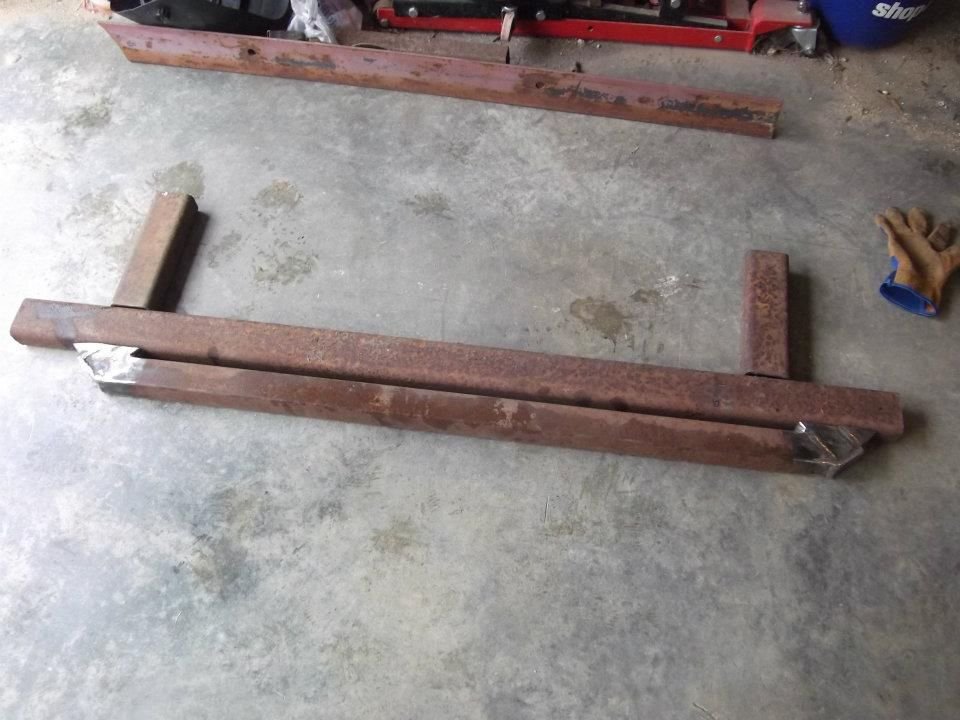
The bracket that will go along the trim needs to be slightly smaller than the slider.
After you have the three main parts measured and cut, you may also want to consider adding a rail to go along the outside of the slider. This will give you better protection for the door.
Step 2 – Weld and assemble
The first thing you should do is weld shut the ends of your slider tube. You don't want debris to get inside the tube, plus it looks nicer. Cut off a small piece of steel for a cap and weld it to the end of the slider.
Before you weld your bracket and crossbars, you'll want to drill in the holes for the bolts.
After that, weld your L-brackets/back plate to each of the crossbars. Weld the crossbars to your rock slider. Then, finally, weld the trim bracket across the top of your crossbars.
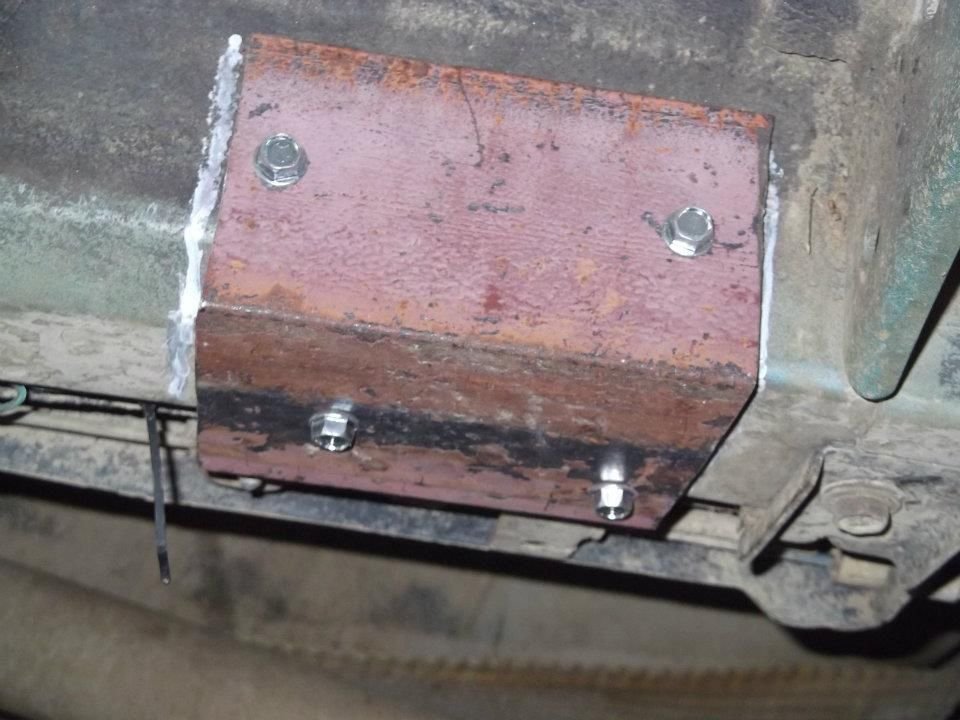
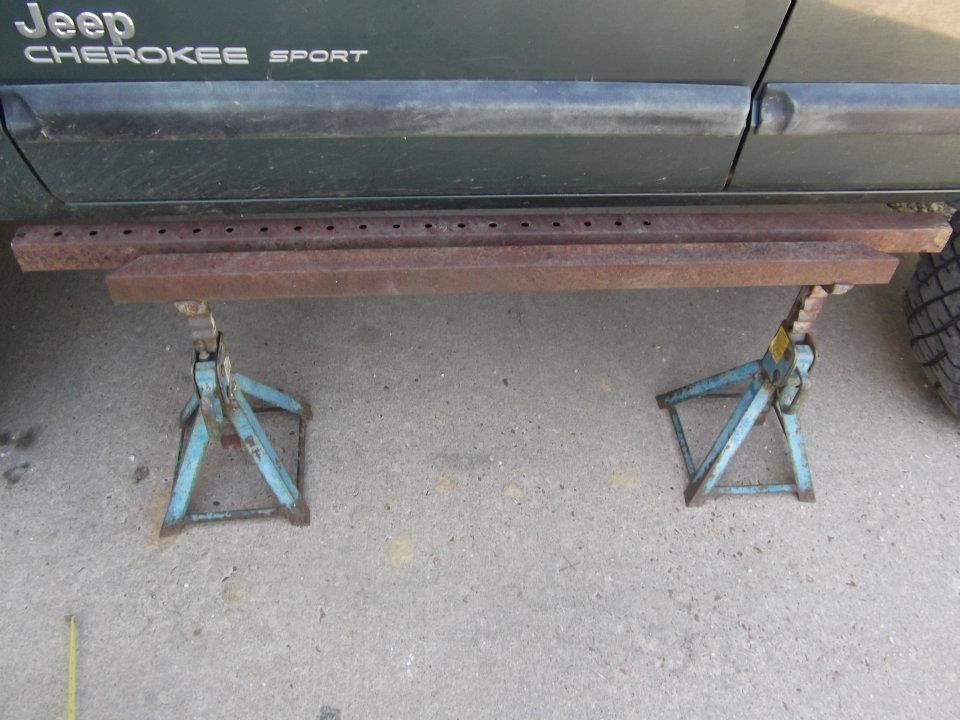
Figure 4. Drill holes for crossbar bracket. 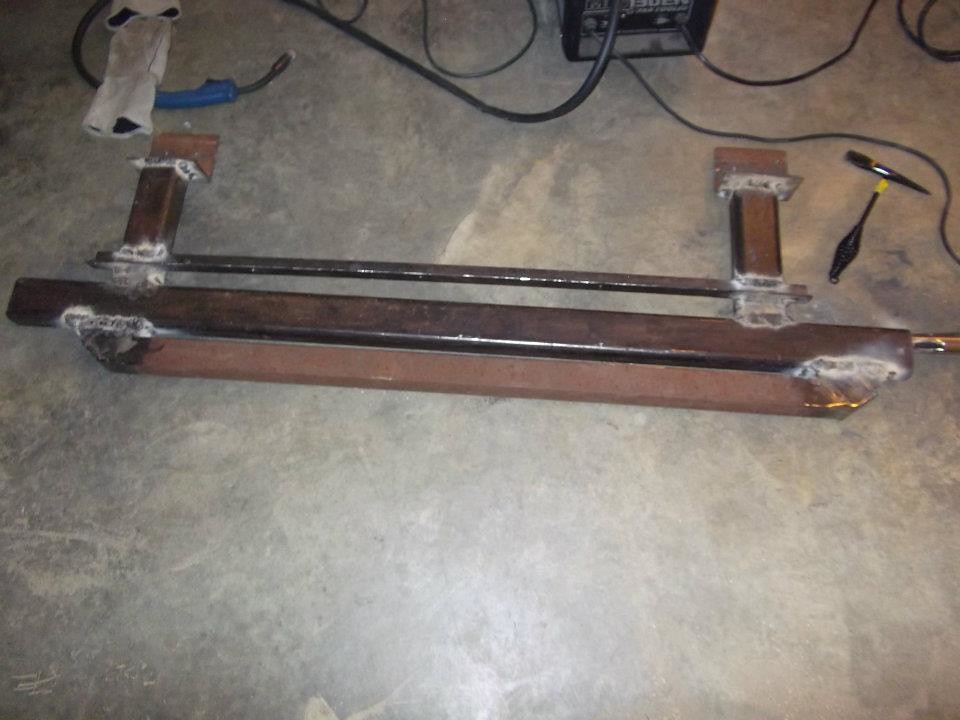
Figure 5. Weld everything together.
Pro Tip
Always wear gloves and safety glasses when welding.
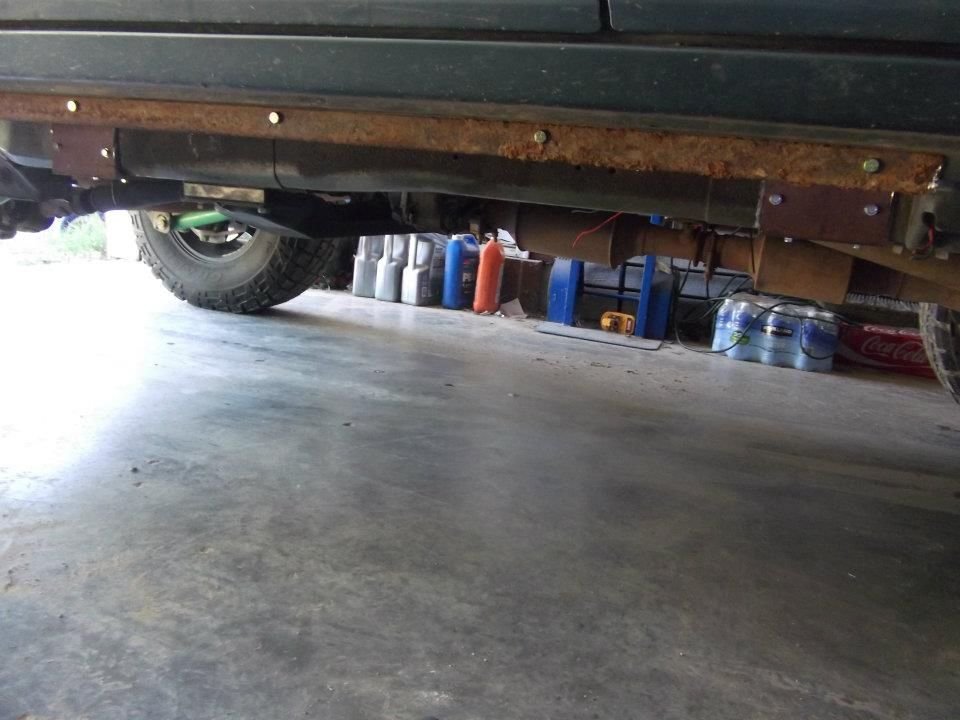
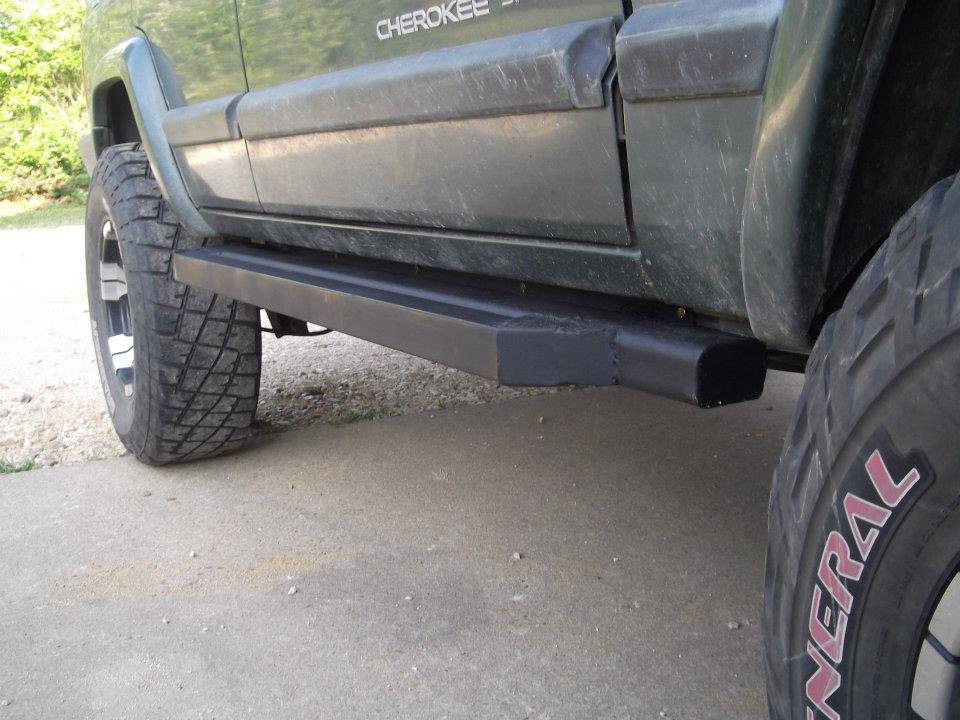
Step 3 – Install
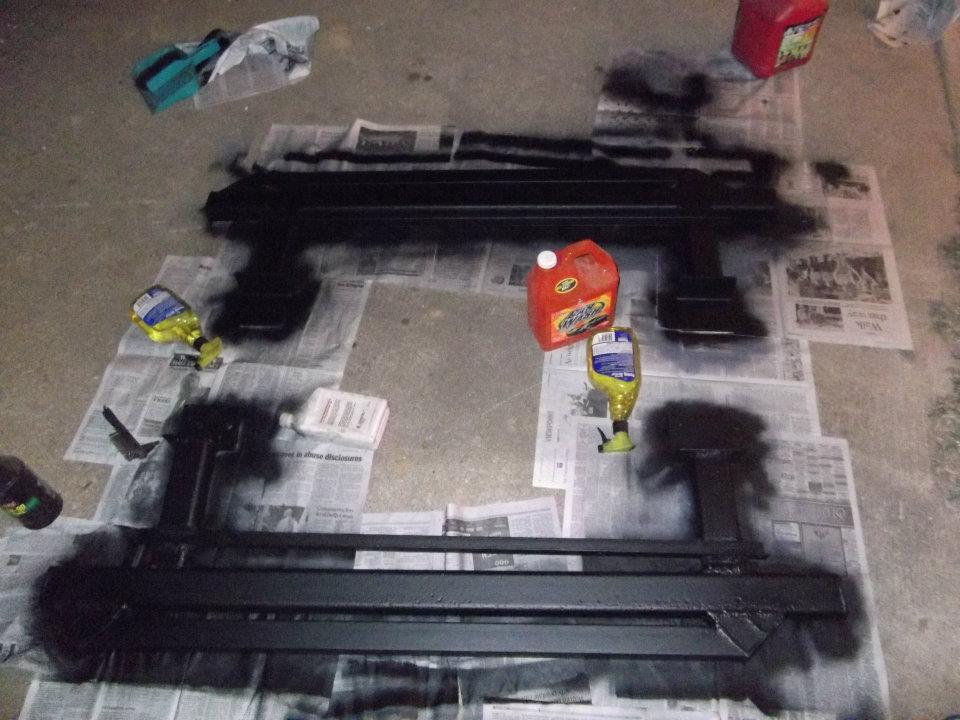
Before you install your new rock slider, you should clean up the steel and the welds. Then paint it so it looks nicer.
When you're installing it, make use of a pair of jack stands to hold it up as you bolt it in. Use self-tapping bolts along the top of your trim bracket and the crossbar brackets.
Related Discussions
- Homemade Rock Slider with Steps - CherokeeForum.com
- 2x6 Rocker Rock Sliders - CherokeeForum.com
- Rock Sliders with Pics - CherokeeForum.com
- Mounting Rock Sliders - CherokeeForum.com