Jeep Cherokee 1997-2001: How to Replace Tail Light Assembly
Swap out a faulty tail light on a Jeep Cherokee within minutes using these simple instructions.
This article applies to the Jeep Cherokee XJ (1997-2001).
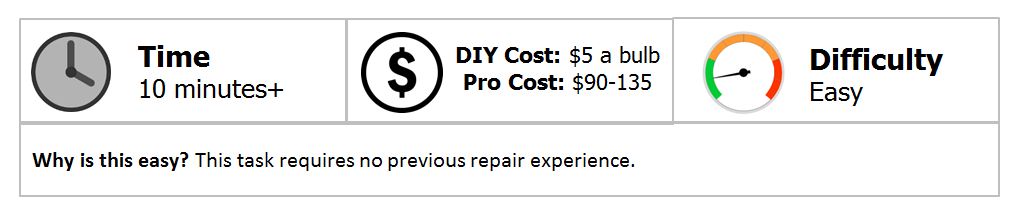
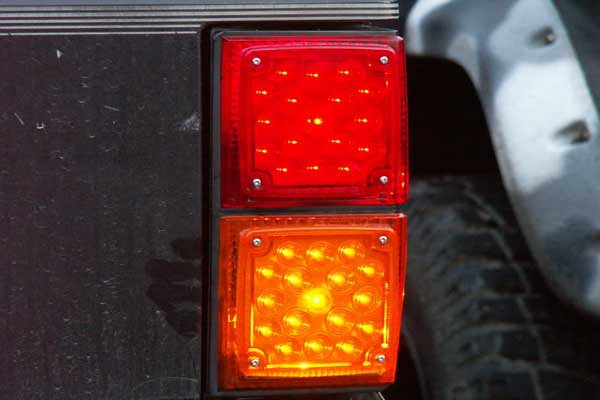
Your tail lights consist of multiple bulbs that work together to alert drivers behind your vehicle about what you plan to do next. Your Jeep Cherokee is equipped with a driver-side and a passenger-side tail light assembly. If one or more bulbs blow out, it's highly recommended that you remove the assembly and switch out the old bulbs as quickly as possible. Driving with broken or malfunctioning tail lights could result in a ticket. Of all the repairs you might need to make on your Jeep, this is one you'll definitely want to make at home. Your labor costs are around $5-7 and the total repair time is about 10 minutes. Compare that to what you'll pay at an average dealership. According to recent estimates, you could end up paying your local dealer a whopping $107 in labor costs, and $8 in part costs for this repair, if you seek professional help. Keep reading to learn how to complete this simple repair all on your own.
Materials Needed
- 10mm socket wrench with extension
- Replacement bulbs
Step 1 – Remove top bolt
Grab your 10mm socket and use it to remove the top bolt.
- To do so, you'll need to rotate the bolt in a counterclockwise direction using your socket wrench.
- Do the same for the remaining two bolts.
- There should be two bolts located on the top of the tail light assembly and one located on the bottom.
- Set your bolts to the side so you do not lose them while you work.

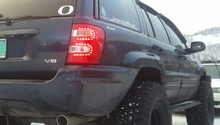
Step 2 – Pull off tail light
Grab a hold of the loosened tail light assembly and pull it off by hand. Next, twist off the individual light bulbs one by one until they completely detach from the assembly.
Step 3 – Replace your bulbs
Unscrew the old bulbs and replace them with fresh ones.

Step 4 – Screw bulbs back into place
Attach each of the three bulbs back into place on the assembly.
- Screw the bulbs back into place one by one.
- Next, attach your wires into place.
- Finish this step by lining up the lower clip, which is located at the bottom of the assembly with the adjoining hole.
Step 5 – Re-attach bolts
Grab your socket wrench and use it to re-attach the bolts you removed in step one.
- You must re-attach all three bolts to securely lock your tail light assembly firmly into place.
- Check your tail light to ensure it's working properly.
- You're all done!
Featured Video: How to Remove and Install Rear Tail Light
Related Discussions
- Rear Tail Light Socket Replacement - CherokeeForum.com
- Tail Light Bulb - CherokeeForum.com