Jeep Grand Cherokee 1993-1998: How to Install Trailer Wiring Harness
This article will provide you with a step-by-step walkthrough for installing a trailer wiring harness.
This article applies to the Jeep Grand Cherokee ZJ (1993-1998).
So, you've got yourself a trailer as well as hitch all set up and ready to go. Except for one thing: you need to hook the tail lights for the trailer, and your Grand Cherokee didn't come with the factory towing package. Don't worry, installing a trailer wiring harness is not as difficult as it may seem, and you don't need many tools to get it done. You'll need to do some basic wiring, but this actually a great project for flexing your DIY muscles.

Materials Needed
- Trailer wiring kit (tow ready T-One connector recommended)
- Drill
- Phillips screwdriver
- Flat head screwdriver or pry tool
- Crimp tool and wire strippers
- Extra 12 gauge wire
- Extra butt connectors
- Extra zip ties
- Electrical tape
Your trailer wiring kit should come with the trailer electrical harness, a control module, driver's and passenger's side t-connector harnesses, a ground wire with a ring terminal, 12 gauge wire to connect to the battery, and a fuse holder with a fuse.
Step 1 – Pull out side panels
Open the trunk and remove the spare tire. Remove the back threshold trim held by four bolts. Now you can remove the bolts at the bottom of the side panels and the screws holding the square brackets. Use your pry tool to pry out the side panels. It's not necessary to remove them completely, since you only need to get access to the tail light electrical harnesses.

Figure 1. Threshold trim. 
Figure 2. Square bracket. 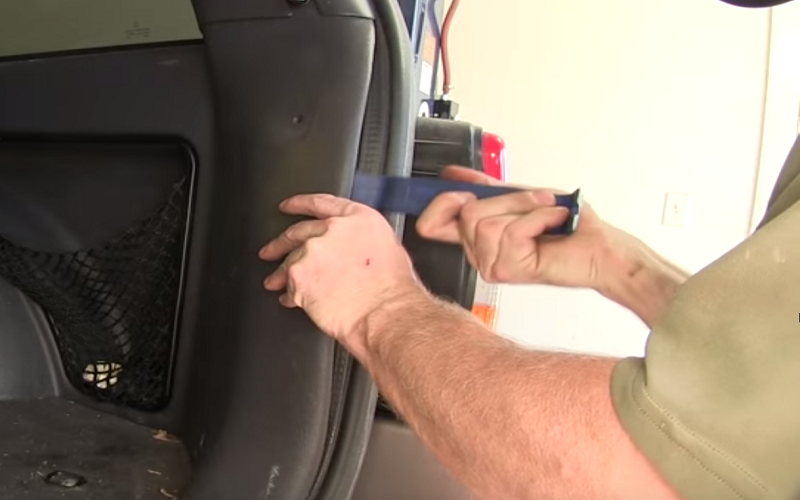
Figure 3. Pry out the side panel.
Step 2 – Connect t-connectors
Behind each side panel you should find that the tail light harnesses use connectors that will fit directly to your kit's wiring harness. Find the t-connector labeled for the driver's side. Unplug the tail light harness by pushing in the clip. Now connect both ends to the t-connector for the driver's side. Pull your kit harness' wires around the side panel and under the carpet to the back of the passenger's side panel. Connect the passenger's side t-connector to the tail light connectors.
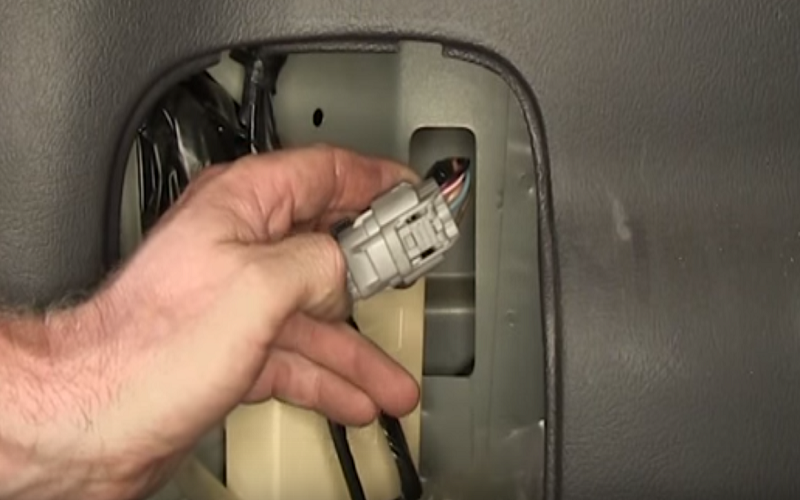
Figure 4. Tail light harness. 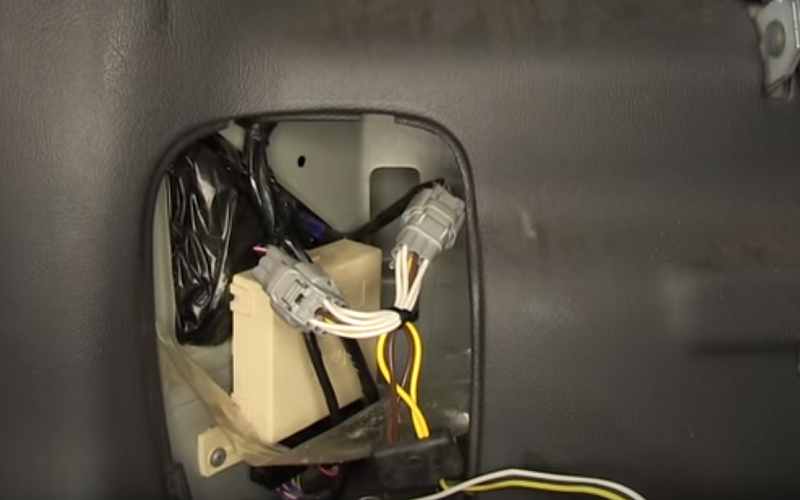
Figure 5. T-connector. 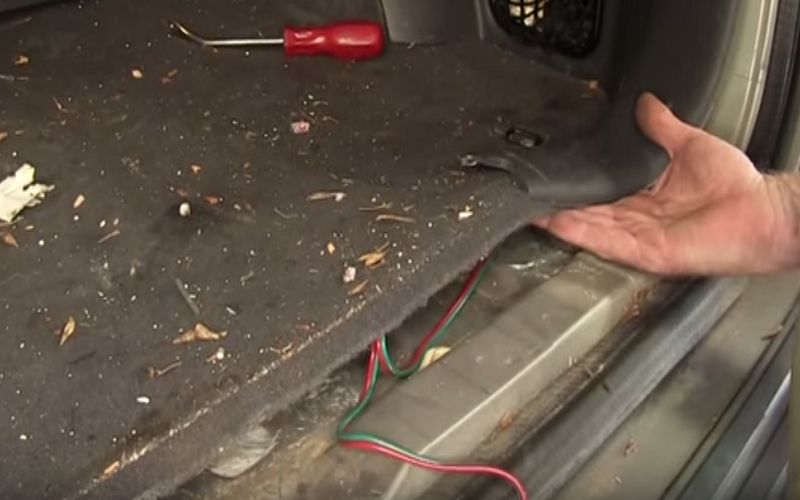
Figure 6. Tuck wiring under the carpet.
Step 3 – Install ground wire and module
The short wire with the ring terminal needs to be attached to metal. So either find a grounding point nearby or create one yourself by drilling into the metal and attaching the ring terminal.
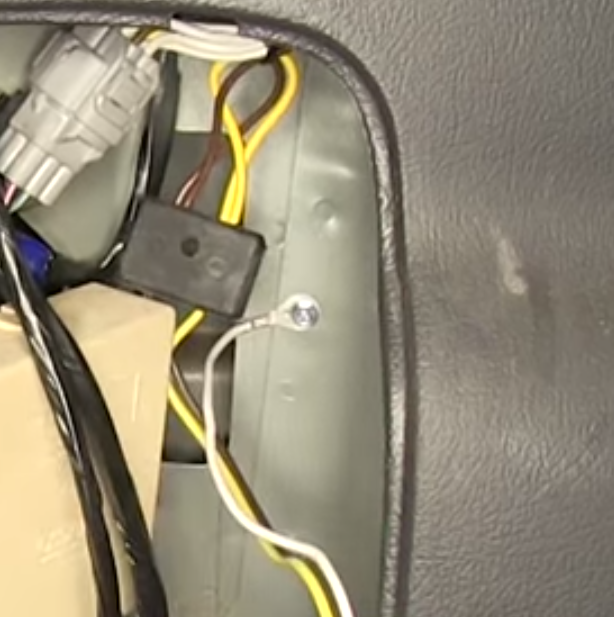
Before you install your module, you'll notice that there's another wire attached to it that doesn't have a connector. This needs to be connected to either your battery or a 12 volt power source. That's what the long 12 gauge wire is for. Strip the ends of the 12 gauge wire and module wire. Insert one of the wires into a butt connector, and crimp it. Then crimp the other wire to the connector.
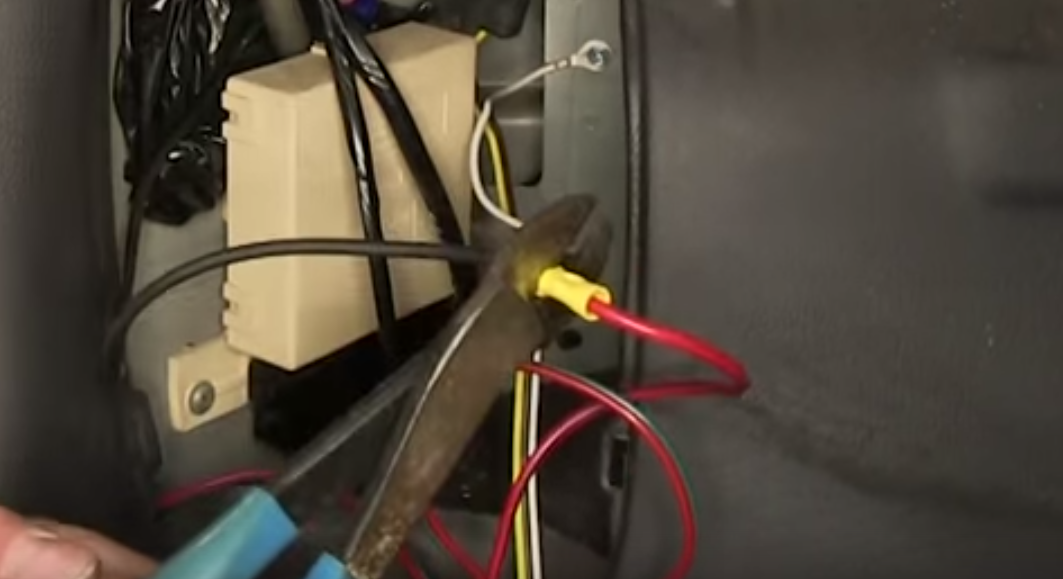
Now you're ready to install the module. Most kits comes with an adhesive tape that you can stick to the back, so you can hang it behind one of the side panels.

Step 4 – Route your 12 gauge wire
With this step there can be some deviance. If you've already done some wiring work, such as an aftermarket amplifier, you can use that wire as your 12 volt source. Otherwise, you'll just need to route your 12 gauge wire to the battery. If you're routing it underneath the vehicle, make sure to avoid any moving parts such as the axles or suspension, or any sources of heat like the exhaust. If you're routing it inside the vehicle, you'll need to remove the side paneling and pull up carpet to then pass it through the firewall at the front. Use your zip ties to keep the wire taut. Pull your wire up to the front of the engine compartment on the side where your battery sits.

Figure 10. Wiring under the Jeep. 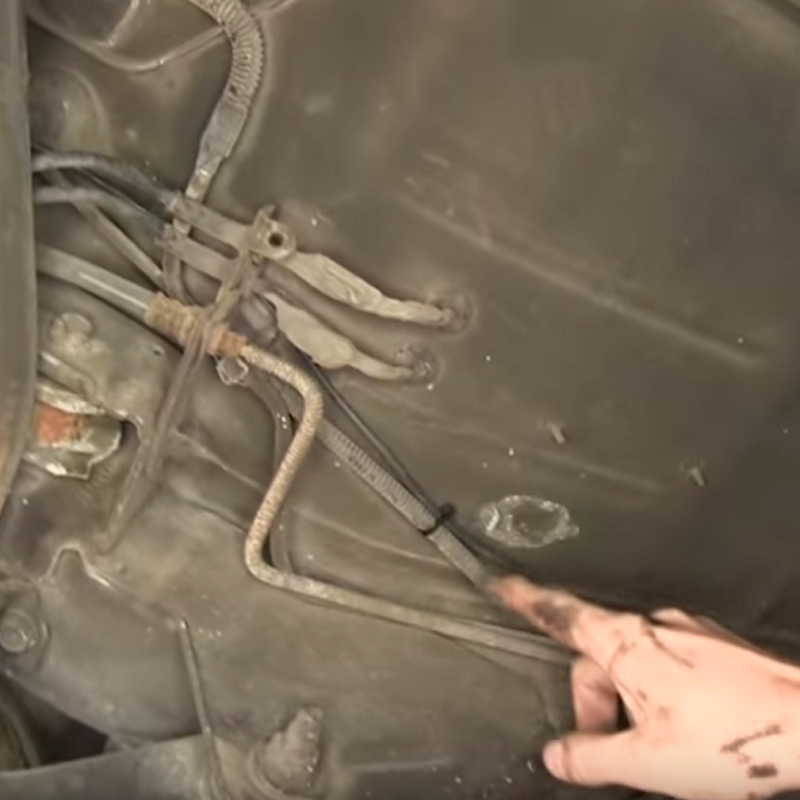
Figure 11. More wiring.
Pro Tip
To get the 12 gauge wire under the vehicle, you'll need to find a small hole in the trunk or remove the tail lights and pull it down through there.
Step 5 – Connect fuse and 12 gauge wire
Pull your 12 gauge wire up and out of the engine compartment. Now you need to attach a fuse to the wire. Take your supplied fuse holder to cut and strip the wire attached to it. One end needs to be crimped and connected to your 12 gauge wire using a butt connector. The other end needs to have a ring terminal crimped to it. Install your fuse to the fuse holder, then attach the ring terminal to one of your battery terminals. Your trailer harness should now be receiving power. You can check using a multimeter or test light. Make sure that power is going to the correct destination when the brakes are pressed or the turn signals are on.
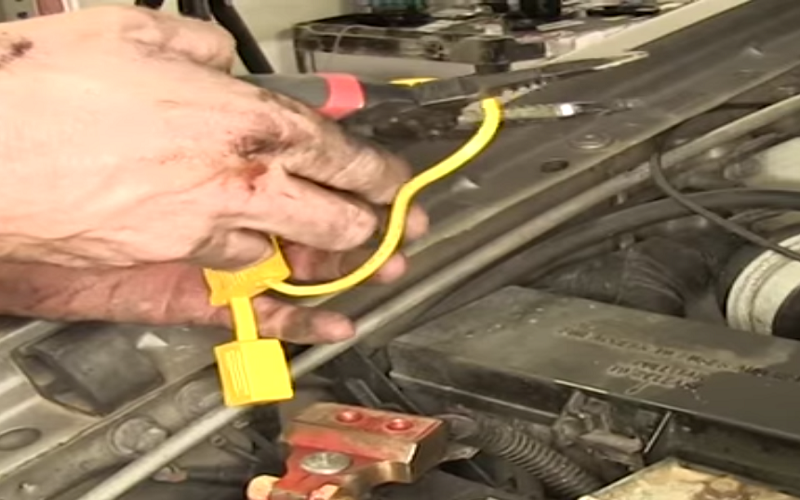
Figure 12. Cut the fuse holder wires. 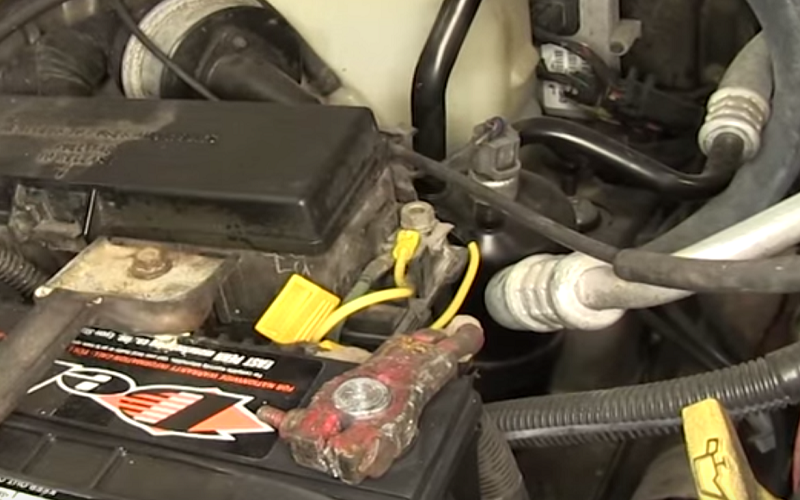
Figure 13. Connect ring terminal to power source. 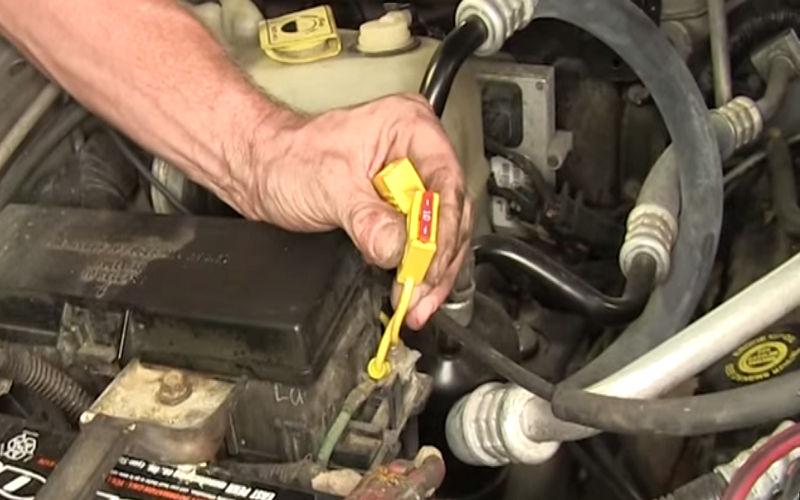
Figure 14. Insert fuse to the fuse holder.
Featured Video: Installation of Trailer Wiring Harness
Related Discussions
- Truck Has Towing Package Where Do I Connect the Pigtail - CherokeeForum.com
- Trailer Wiring Question - CherokeeForum.com
- How to Install Trailer Light Controller Harness - '97 Grand Cherokee ZJ - CherokeeForum.com


