Jeep Grand Cherokee 1999-2004: How to Change Oil
Changing the oil yourself is easy and saves you a few bucks each time you do it. Follow this simple step-by-step, as we walk you through this essential part of Jeep Grand Cherokee maintenance. You will find the process gets easier over time and you'll have a feeling of satisfaction that the job is done right.
This article applies to the Jeep Grand Cherokee WJ (1999-2004).
If anything is the life blood of your Jeep, it's the oil. Oil lubricates the engine, including the pistons, cylinders, valves, and the valve train. And like any essential fluid, it works best if it's clean. The manufacturer recommends changing your Jeep's oil every 5,000 miles or every six months, whichever comes first. (Synthetic oil users can wait up to 7,500 miles between changes.) The tools as well as equipment you'll need are minimal, and the investment in time and money is also small. Plus, after you're done, you'll have the satisfaction of knowing there are no leaks and the job was done correctly.

Materials Needed
- 1/2" open-end or box wrench
- Oil filter removal tool
- 5 quarts oil
- New oil filter
- Jack or lift
- Funnel (optional)
- Jack stands (optional)
- Oil drain pan
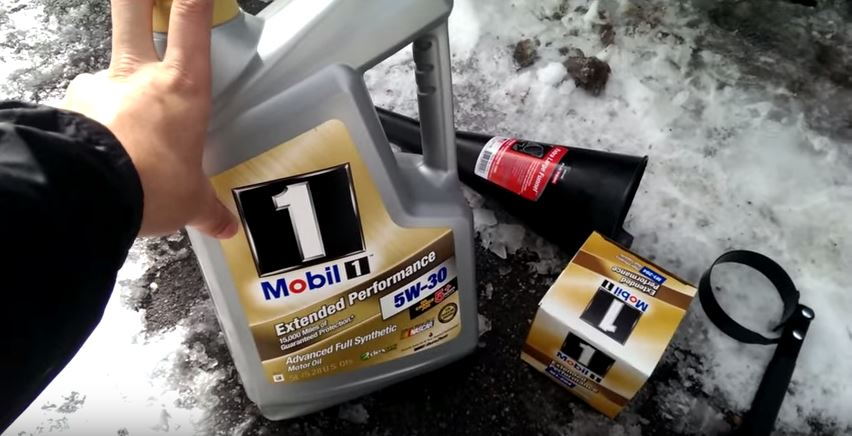
Choose synthetic or natural oil. The manufacturer recommends 5W-20 weight oil (10W-40 for a high output motor).
Step 1 – Gather materials
Before you begin, gather the materials you will need to do the job.
Pro Tip
You may (or may not) be able to remove the oil filter from the Jeep without an oil filter removal tool, but it is a handy item to have if you need it and it costs only a few dollars.
Step 2 – Jack up the vehicle
Set the parking brake and/or put the Jeep in gear. If you have an hydraulic jack, use it to jack up the vehicle (or use a tire jack). Use jack stands to stabilize the Jeep.

Pro Tip
To avoid serious injury or death, always use extreme caution when working underneath a vehicle suspended on a jack or on jack stands.
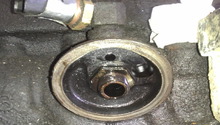
Step 3 – Remove the oil pan plug
- Place the drain pan underneath the oil pan. Locate the oil pan and plug. Use your 1/2" wrench to loosen the plug.
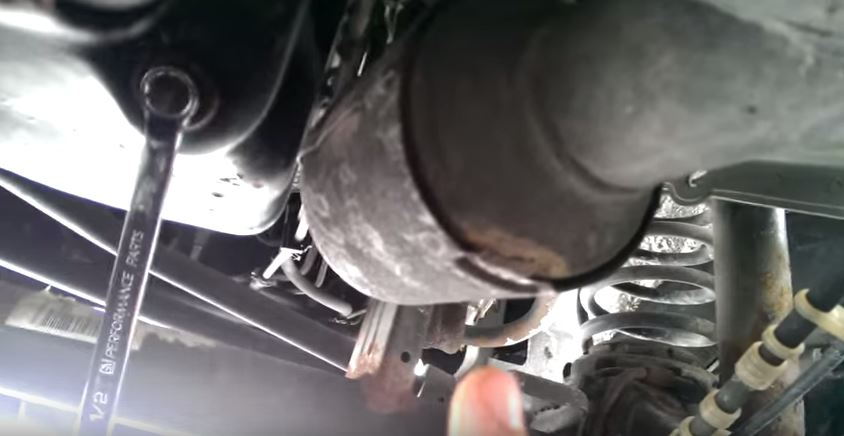
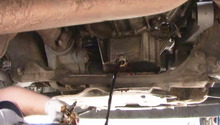
Pro Tip:
Finger in illustration (above) points out the exhaust pipe that is hot. Allow your vehicle to cool down half an hour before you start the oil change.
- Once the plug is loose, remove the wrench. A small amount of oil will begin to drain into the drain pan at this point. With your fingers, keep slight pressure on the plug and hand-remove the oil plug. You can feel the plug as it begins to loosen.
- When it is very loose, pull the plug toward you and away from the oil pan. Allow the oil to flow into the drain pan. Note: you will get some oil on your fingers.
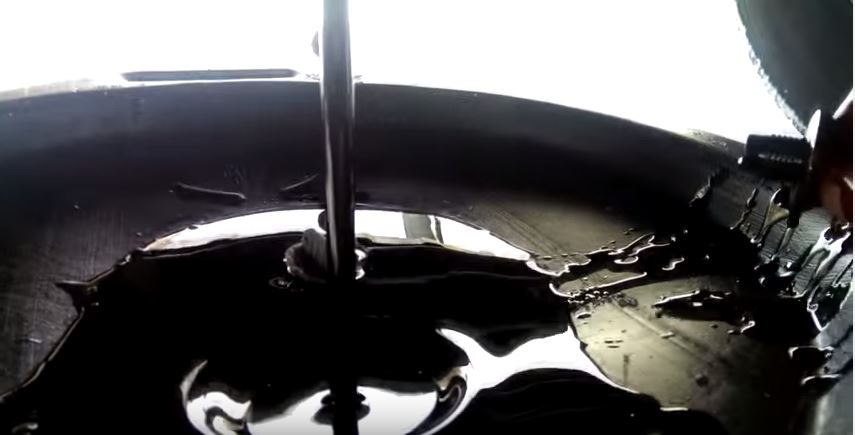
- Allow all of the oil to drain out of the oil pan. After all the oil has drained from the pan, replace the oil plug and snug it down with your 1/2" wrench. Do not over-tighten, or you will strip the threads on the pan.
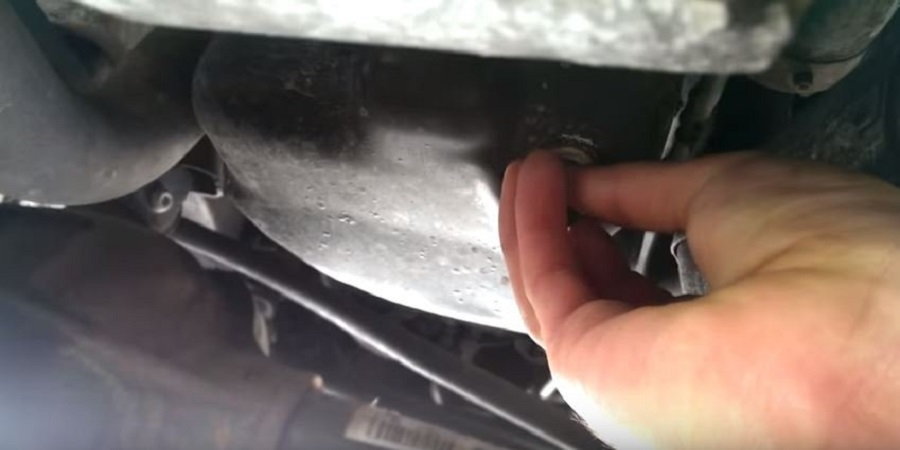
Figure 5. Replace the oil plug. 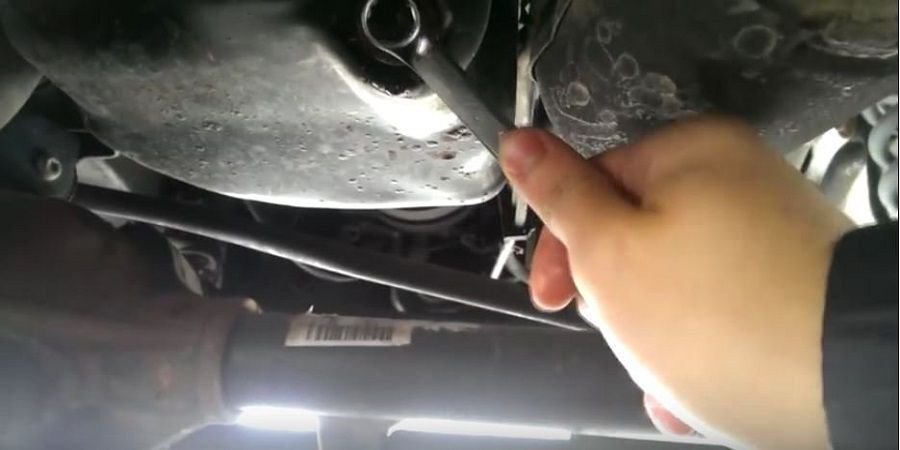
Figure 6. Snug down the oil plug with the 1/2" wrench.
Pro Tip
Dispose of used oil and the old oil filter in accordance with local and state environmental laws.
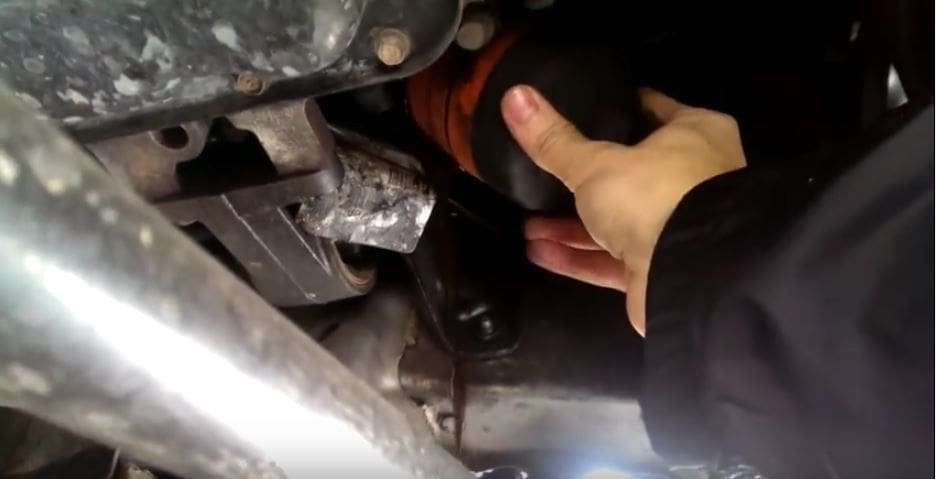
Step 4 – Remove the old oil filter
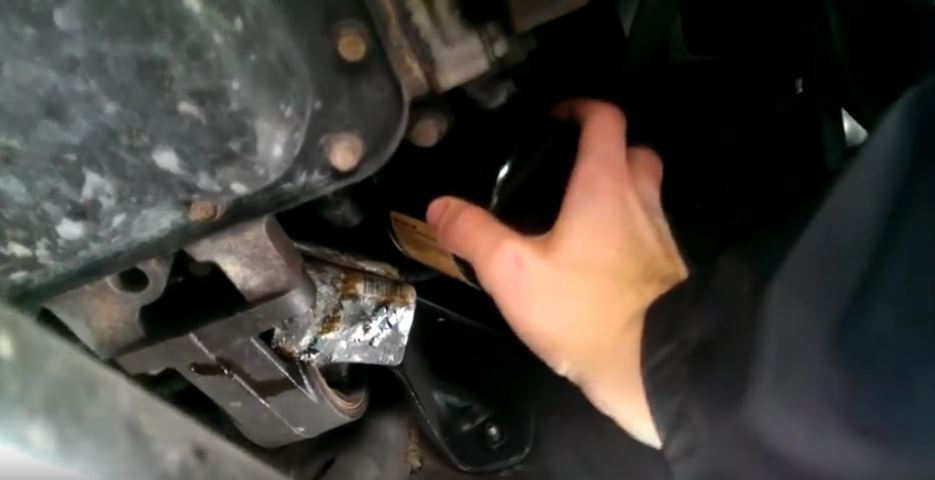
- Locate the old oil filter underneath the engine.
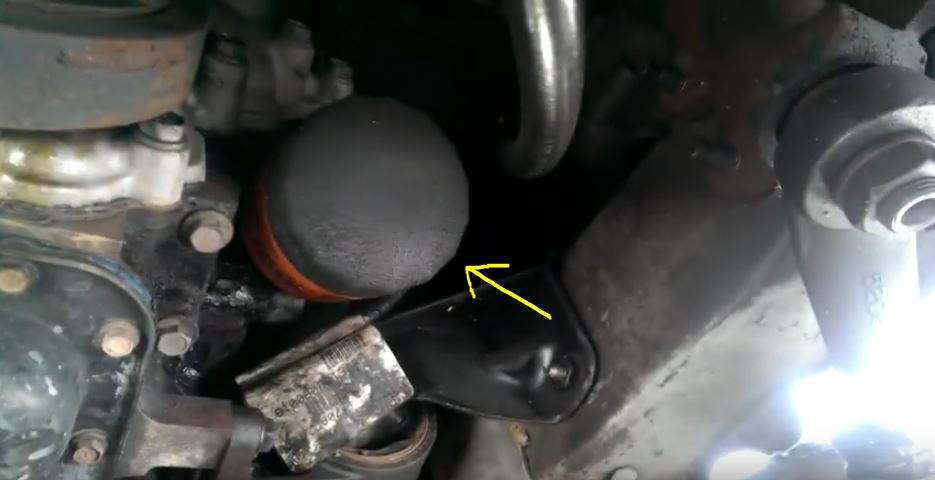
- Place the oil drain pan underneath the area where oil is likely to flow after you loosen the oil filter. Loosen the filter; use the oil filter removal tool if needed.
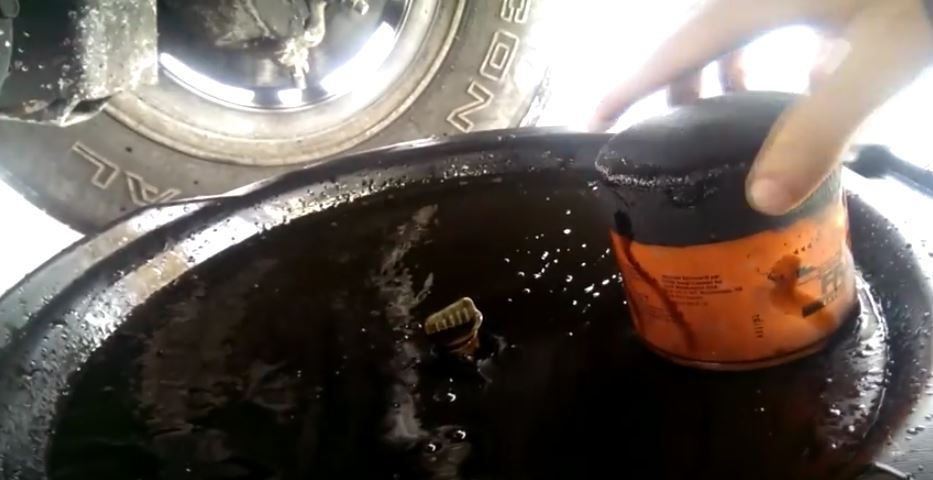
- Place the old oil filter into the drain pan with the used oil.
Step 5 – Install new oil filter
- Before installing the new filter, dip your finger into some new oil and smear it onto the filter's gasket. This keeps the gasket pliable and makes for a better contact with the filter mount on the engine. It also can help prevent leaks.
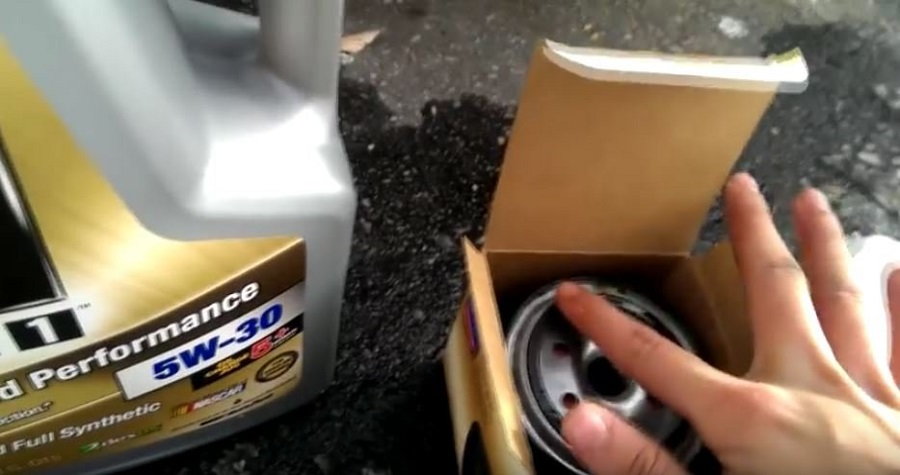
Figure 10. Lubricated the oil filter gasket. 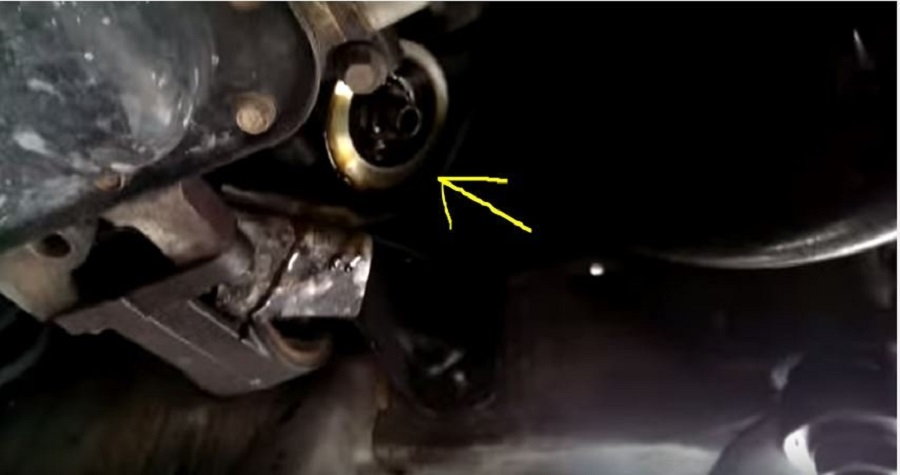
Figure 11. Location of oil filter mount on engine.
- Grab the new filter and screw it onto the filter mount on the engine. Hand-tighten only, about a 3/4 turn. Do not use the oil removal tool to tighten the filter—doing so will tighten the filter too much.
Step 6 – Add new oil
- Locate the oil fill cap on the engine.

- Remove the cap and insert the funnel. You may notice some yellow material on the underside of the oil cap. This is nothing to worry about; it is a little oil that bubbled up from the oil pan and oxidized.
- Pour in five quarts of oil.
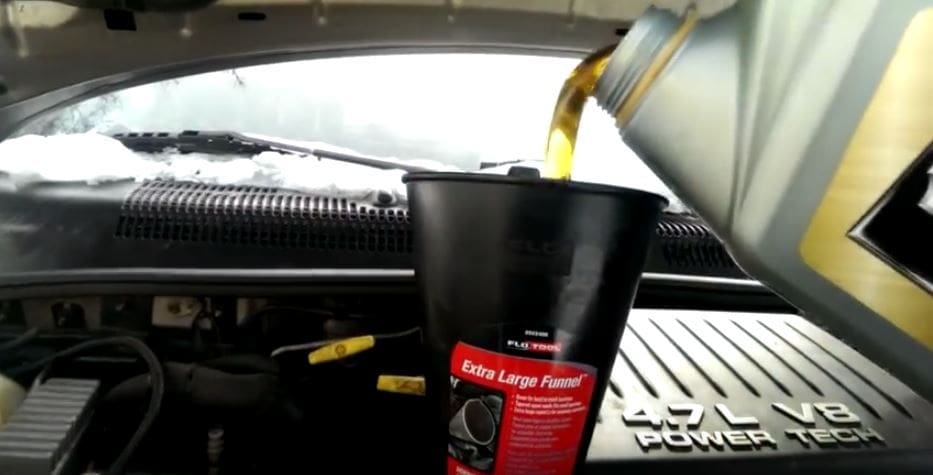
- Replace the oil cap.
- Lower the vehicle.
- Start the engine and check underneath the Jeep for leaks. If there are no visible leaks, you're done.
Featured Video: How to Change Oil
Related Discussions
- Oil Change, Which Oil Weight - CherokeeForum.com
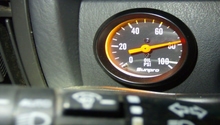
- Oil Pressure After Oil Change - CherokeeForum.com
- Strange Behavior After Oil Change - CherokeeForum.com
- Oil Change Advice, Please Help - CherokeeForum.com