Jeep Grand Cherokee 1999-2004: How to Flush Your Radiator
Flushing the old coolant from your Jeep Grand Cherokee ensures that your radiator cools your engine at its full potential. Here's how to do it yourself.
This article applies to the Jeep Grand Cherokee WJ (1994-2004).
As you can imagine, keeping your Jeep Grand Cherokee's engine cool is one of the most important things you have to do to lengthen your engine's life and protect it. The radiator is designed to cool down the hot coolant flowing through the engine. Over time, dirt and debris can build up inside of the radiator, along with your antifreeze losing its acidity, which prevents it from working at its full potential, keeping it from cooling the engine properly. Flushing the system ensures the flow of coolant is smooth through the radiator and ensures there is fresh antifreeze to cool the engine down as much as possible, which makes this procedure a very important one to do every other year or so, depending on your driving and the quality of antifreeze you use. The process is simple and shouldn't take more than an hour. Read on to learn how to flush your own radiator.

Materials Needed
- Large container
- New 50/50 antifreeze
Step 1 – Drain old coolant
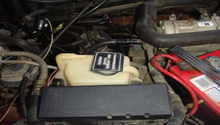
Open the radiator's cap on top of the radiator, under the hood. Locate the radiator's drain plug under the radiator. It's located on the bottom of the radiator on the passenger's side. Place the large container underneath it to collect the old coolant, and loosen it by twisting it counterclockwise.
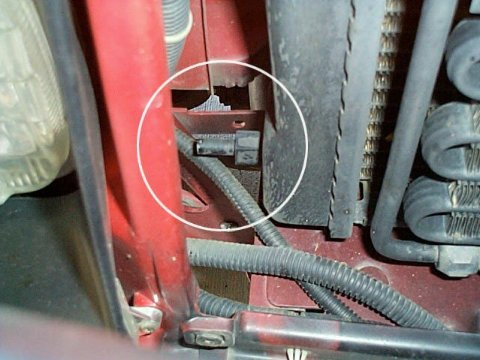
Figure 2. Radiator's plastic drain plug. 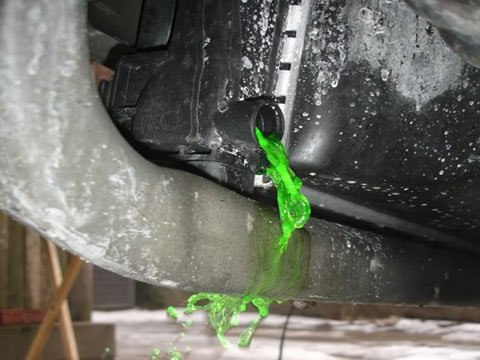
Figure 3. Drain coolant into a container.
Pro Tip
You don't need to raise your vehicle since the Jeep Grand Cherokee is high enough for you to locate the drain plug.
Step 2 – Flush radiator
After you've let all the coolant drain from the radiator and into the container, tighten the drain plug. Fill the radiator with distilled water, close the radiator's cap, and let the car run for a few minutes with the heater on. This will allow the thermostat to open. Flush the radiator again by opening up the cap and removing the drain plug to let all the water drain. Repeat this process two to three times, or until you see clear water draining from the radiator.
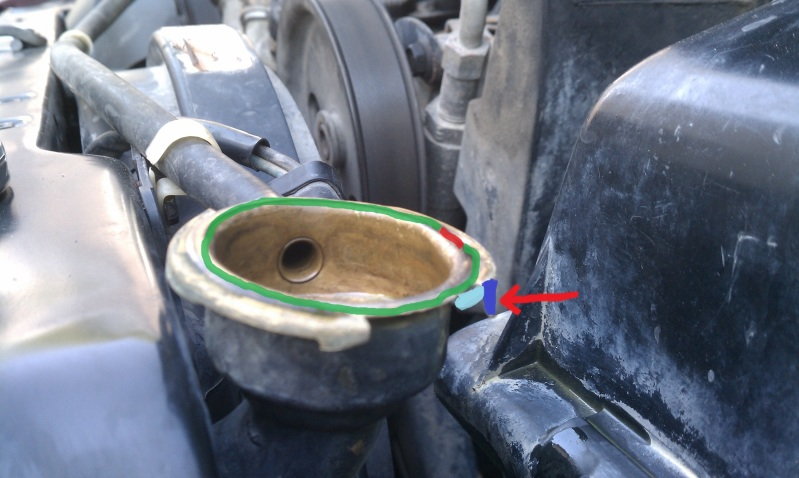
Step 3 – Fill radiator with coolant
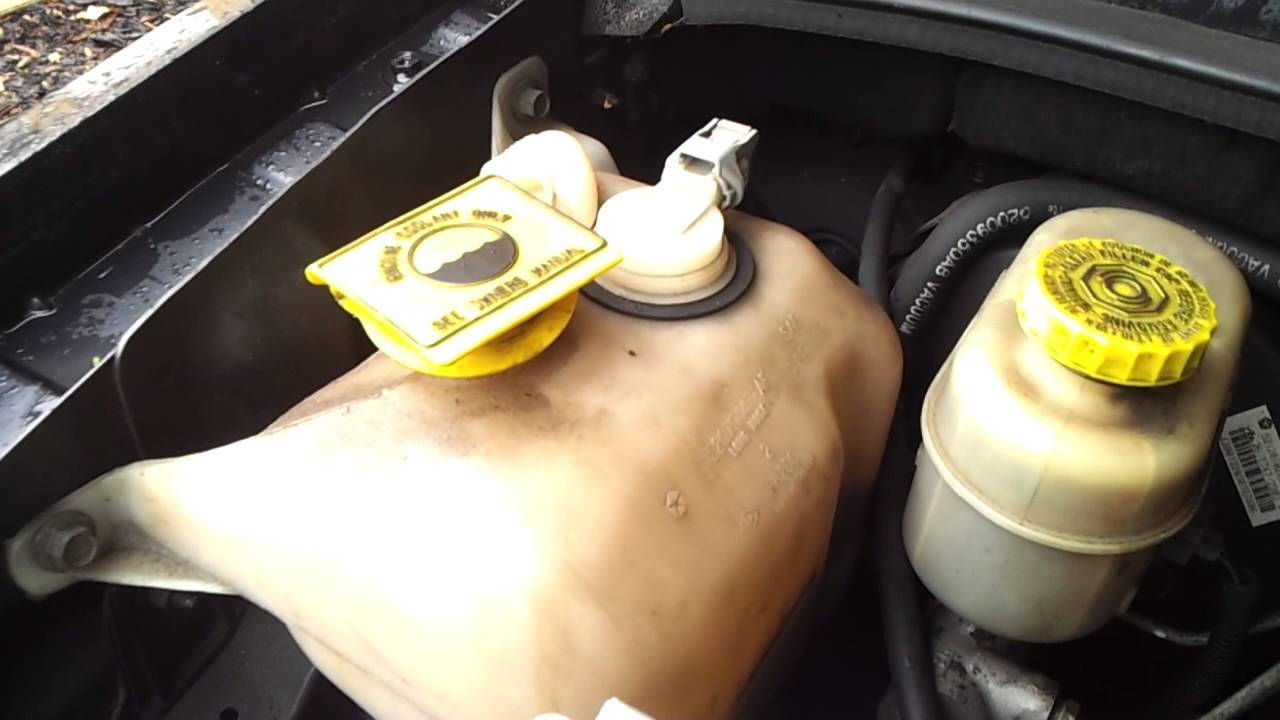
When you finally start seeing clear water draining from your radiator, let the radiator drain completely, then close the drain plug. Fill the radiator through the radiator's cap with 50/50 mix of distilled water and antifreeze. A lot of coolant comes already mixed for you. Start the vehicle and let it run for a few minutes with the overflow reservoir's cap off, until the thermostat opens, then refill the radiator back to the top. After the level is consistently full, be sure to refill the radiator's overflow reservoir to the max.
Pro Tip
Dispose the old coolant properly by taking it to your nearest auto store; they will dispose it for free. Don't pour it down the drain.
Related Discussions
- Coolant Radiator Flush - CherokeeForum.com
- Deep Radiator Flush - CherokeeForum.com
- Help with Coolant Flush - CherokeeForum.com