Jeep Grand Cherokee 1999-2004: How to Install Satellite Radio
Transform your Jeep Grand Cherokee into a stadium, studio or concert hall with a satellite radio. You can add on to your existing stereo and save big in the process.
This article applies to the Jeep Grand Cherokee WJ (1999-2004).
Satellite radio is now almost standard on most newer models, but the older Jeep Grand Cherokee models were not so fortunate. No worries, in this article you will learn how to modify your ash tray to accept the Sirius Stratus 6-Dock and Play radio for a lot less than you would imagine. Learn how to do it step-by-step.

Materials Needed
- Phillips screwdriver
- Drill
- Utility knife
- Sirius Stratus 6-Dock and Play radio with Power Connect Vehicle Kit
Step 1 – Mount your satellite radio antenna
This is the first step, and an important one. To get the crystal clear reception your crave, you will need to make sure your antenna is mounted properly. For the Jeep Grand Cherokee, you want to mount it on the rear section of the roof, centered along the top of the tailgate. The kit should come with everything you need to properly mount the antenna. You have to make sure there are at least three inches of metal surrounding the antenna, so mount it as shown in Figure 1.

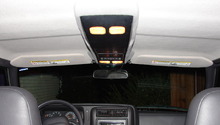
Once glued to the roof, route the wire down through the weather stripping, along the top of the tailgate and into the trunk area. The wire is thin and easy to hide, so run it from the rear to the front of the vehicle (see Figure 2), hiding it behind carpet and under the trim pieces in order to avoid obstructing any passenger access as shown in Figure 3. Once you get to the front, feed it up and behind the ask tray in preparation for the next step.

Figure 2. How to route the antenna wire. 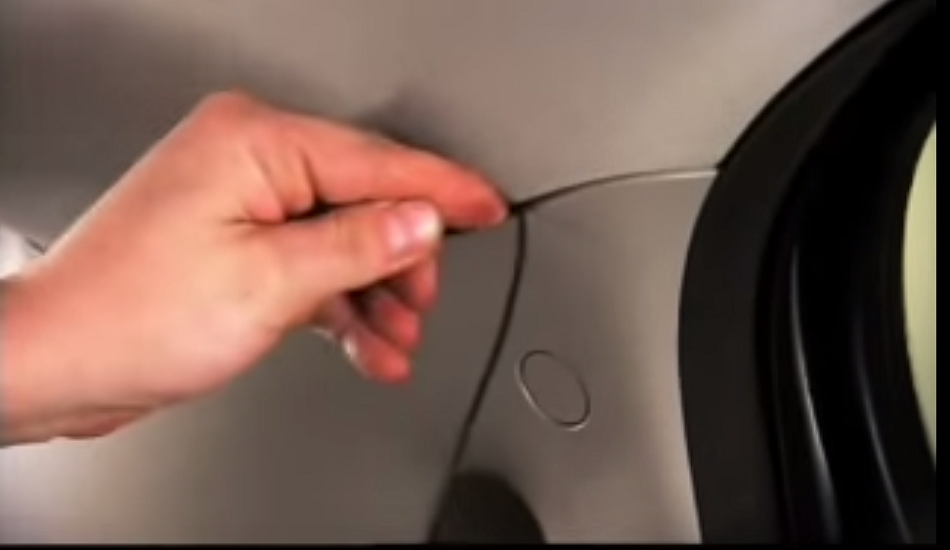
Figure 3. Hiding the wire.
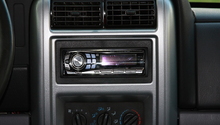
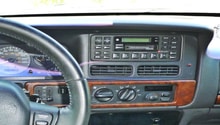
Step 2 – Remove the stereo and ashtray assembly
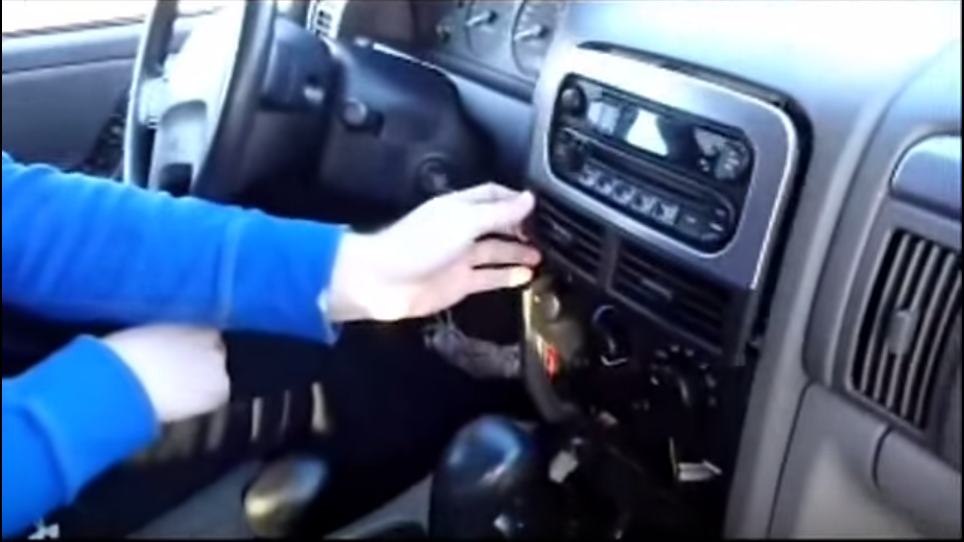
Pry off the stereo trim carefully and remove any mounting screws holding the stereo in place as shown in Figure 4. The entire unit should slide out, and you can leave it be until you are ready to hook the dock up to the auxiliary input.
Speaking of which, go ahead and remove the entire ashtray assembly. You will need to make a few small modifications to get the dock in place. Remove the ashtray door from the assembly, revealing the metal backing frame.
Step 3 – Mount the dock to the ashtray
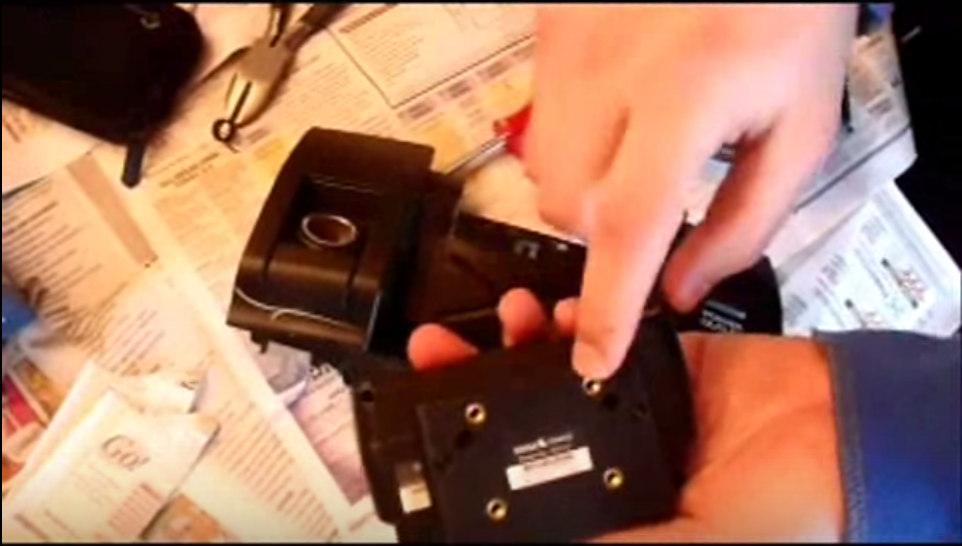
You will need to cut the metal and bend it back using a pair of pliers, so that you can mount the dock flush to the front face of the assembly as shown in Figure 5. Using the screw holes on the back of the dock as a template, mark and drill your pilot holes. You will need four M4 screws to mount the dock to the ashtray frame. There is no set method of doing this, just line up the holes and fasten it as best you can to keep it in place.
Drill a few holes along the back of the assembly to route the power and auxiliary cables. Power can be spliced from the stereo, and the auxiliary cable will run behind the climate control unit and into the back of the stereo.
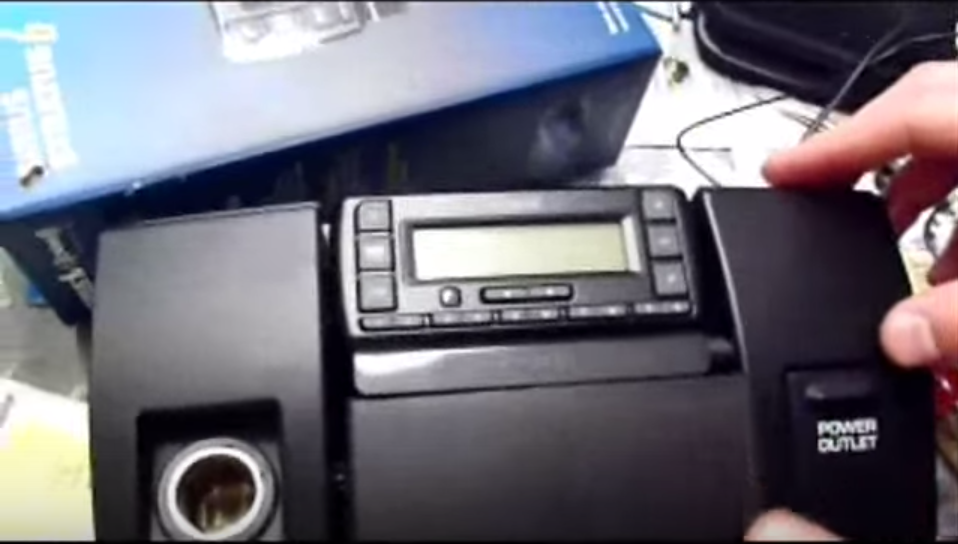
To finish the job nicely, cut the ashtray door with a sharp utility knife and straight edge so that it closes just below the dock, as shown in Figure 6.
Step 4 – Connect the dock to the stereo
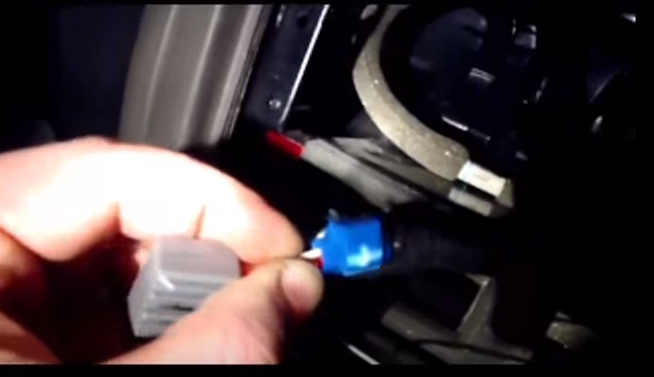
You can tap the power line from the stereo harness to the dock, so that they turn on and off simultaneously as shown in Figure 7. All that's left to do is plug in the antenna to the dock and the auxiliary input to the stereo, and then snap the plastic trim face back into place.
Fire it up and enjoy!
Featured Video: Jeep Grand Cherokee Custom Radio Install
Related Discussions and Video
- How To Install Your Sirius XMRadio: 3.0 Antenna Installation - Youtube.com
- Retrosound Newport Radio - CherokeeForum.com
- Options for Adding AUX Input - CherokeeForum.com
- Radio Reception Problems - Cherokeeforum.com