Jeep Grand Cherokee 1999-2004: How to Polish Foggy Headlights
Foggy headlights are dangerous and can negatively impact the appearance of your Jeep Grand Cherokee. Learn how to polish them here.
This article applies to the Jeep Cherokee WJ (1999-2004).
Polishing out the headlights on your Jeep Grand Cherokee WJ is an easy project that you can complete from the comfort of your own home garage or front yard. You'll need a few materials, but you shouldn't need to spend more than $50 to complete this project. Once you're done, you'll end up with clear, shiny looking headlights that you can count on to provide incredible visibility, which is especially important while driving on the road at night. Let's get started!

Materials Needed
- Package of polishing cloths
- (5) Packages of 1500 and 2000-grit wet/dry sandpaper
- Meguiar's PlasX polish (for clear plastics)
- Small bucket filled with clean water
Step 1 – Remove the headlight
While not completely necessary, you might want to remove the headlight to avoid damaging the paint during the sanding process. You can also apply tape around the surrounding area or work slowly to minimize your risk for damage, which is generally pretty low. To remove your headlight assembly, simply remove the bolt and pull out the headlight by hand; be sure to disconnect the plastic retainers that connect the assembly to your Jeep.

Step 2 – Wet sand the lens
Wet the 1500-grit sandpaper and begin sanding the clear, plastic headlight lens, including the blinker, to remove buildup. This step could take as much as 20 minutes or more, depending on how much buildup is present on the lens. Sand for a moment, and then wipe off the accumulated buildup and water, and repeat.

Pro Tip
You might need to go over the entire lens several times, adding more water to your sandpaper as you remove more and more dirt and buildup from the cover.
Step 3 – Wet sand the lens using 2000-grit sandpaper
Adding more water to your clear, plastic lens, wet sand the entire surface, removing any final traces of buildup present. Work slowly to minimize scratch marks that might occur during the sanding process. You might only notice a slight difference this time around. Dry off the lens when you're done.
Step 4 – Apply the polish
Apply polish to your applicator sponge; using Meguiar's PlastX polish is recommended. Apply the polish one section at a time. Buff in each section using your polishing cloths. You might need to do the lens twice. Reinstall your headlight assembly when you are done, and then move to the other side.
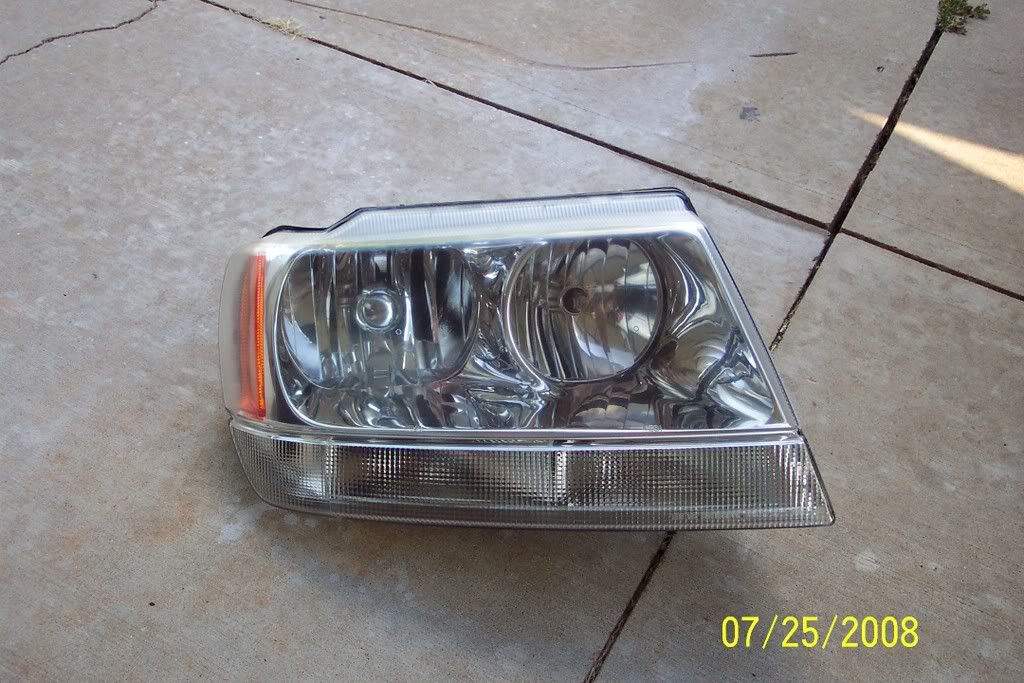
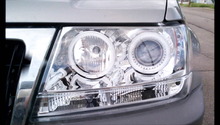
Figure 3. This is what the final result should look like. 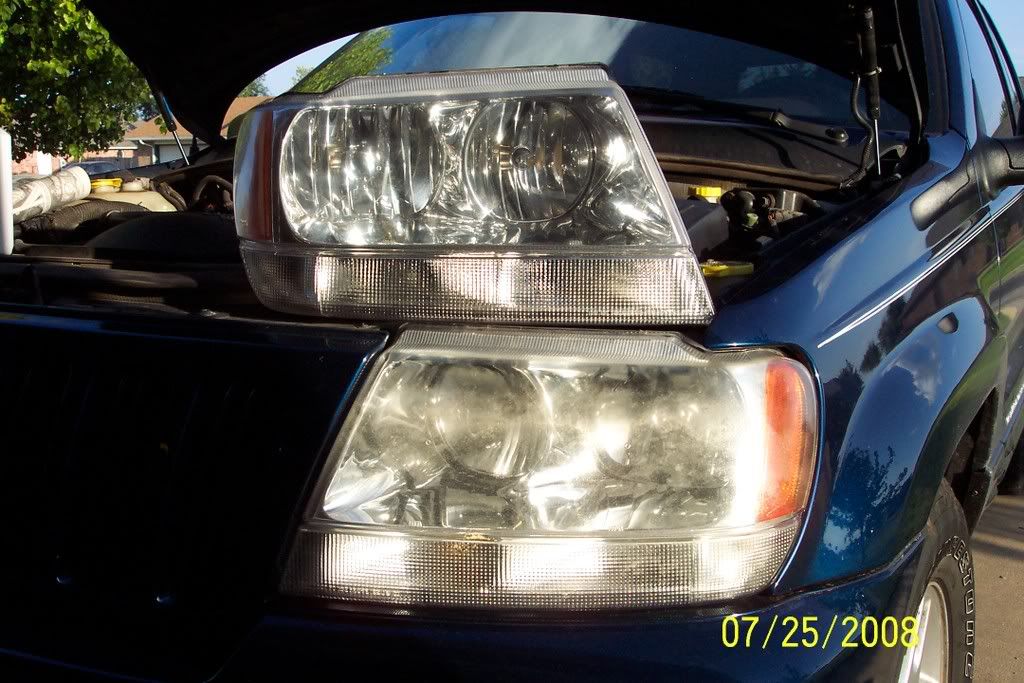
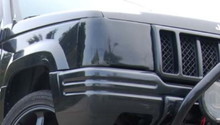
Figure 4. Side-by-side comparison.
Related Discussion
- Polishing Foggy Headlights - CherokeeForum.com